33
NL
32
NL
Uw videorecorder kan automatisch een 16:9 signaal lezen van de
AV2-ingang of een eerder opgenomen 16:9 band. Het kan een 16:9
signaal uitzenden via een 21-pins SCART-kabel.
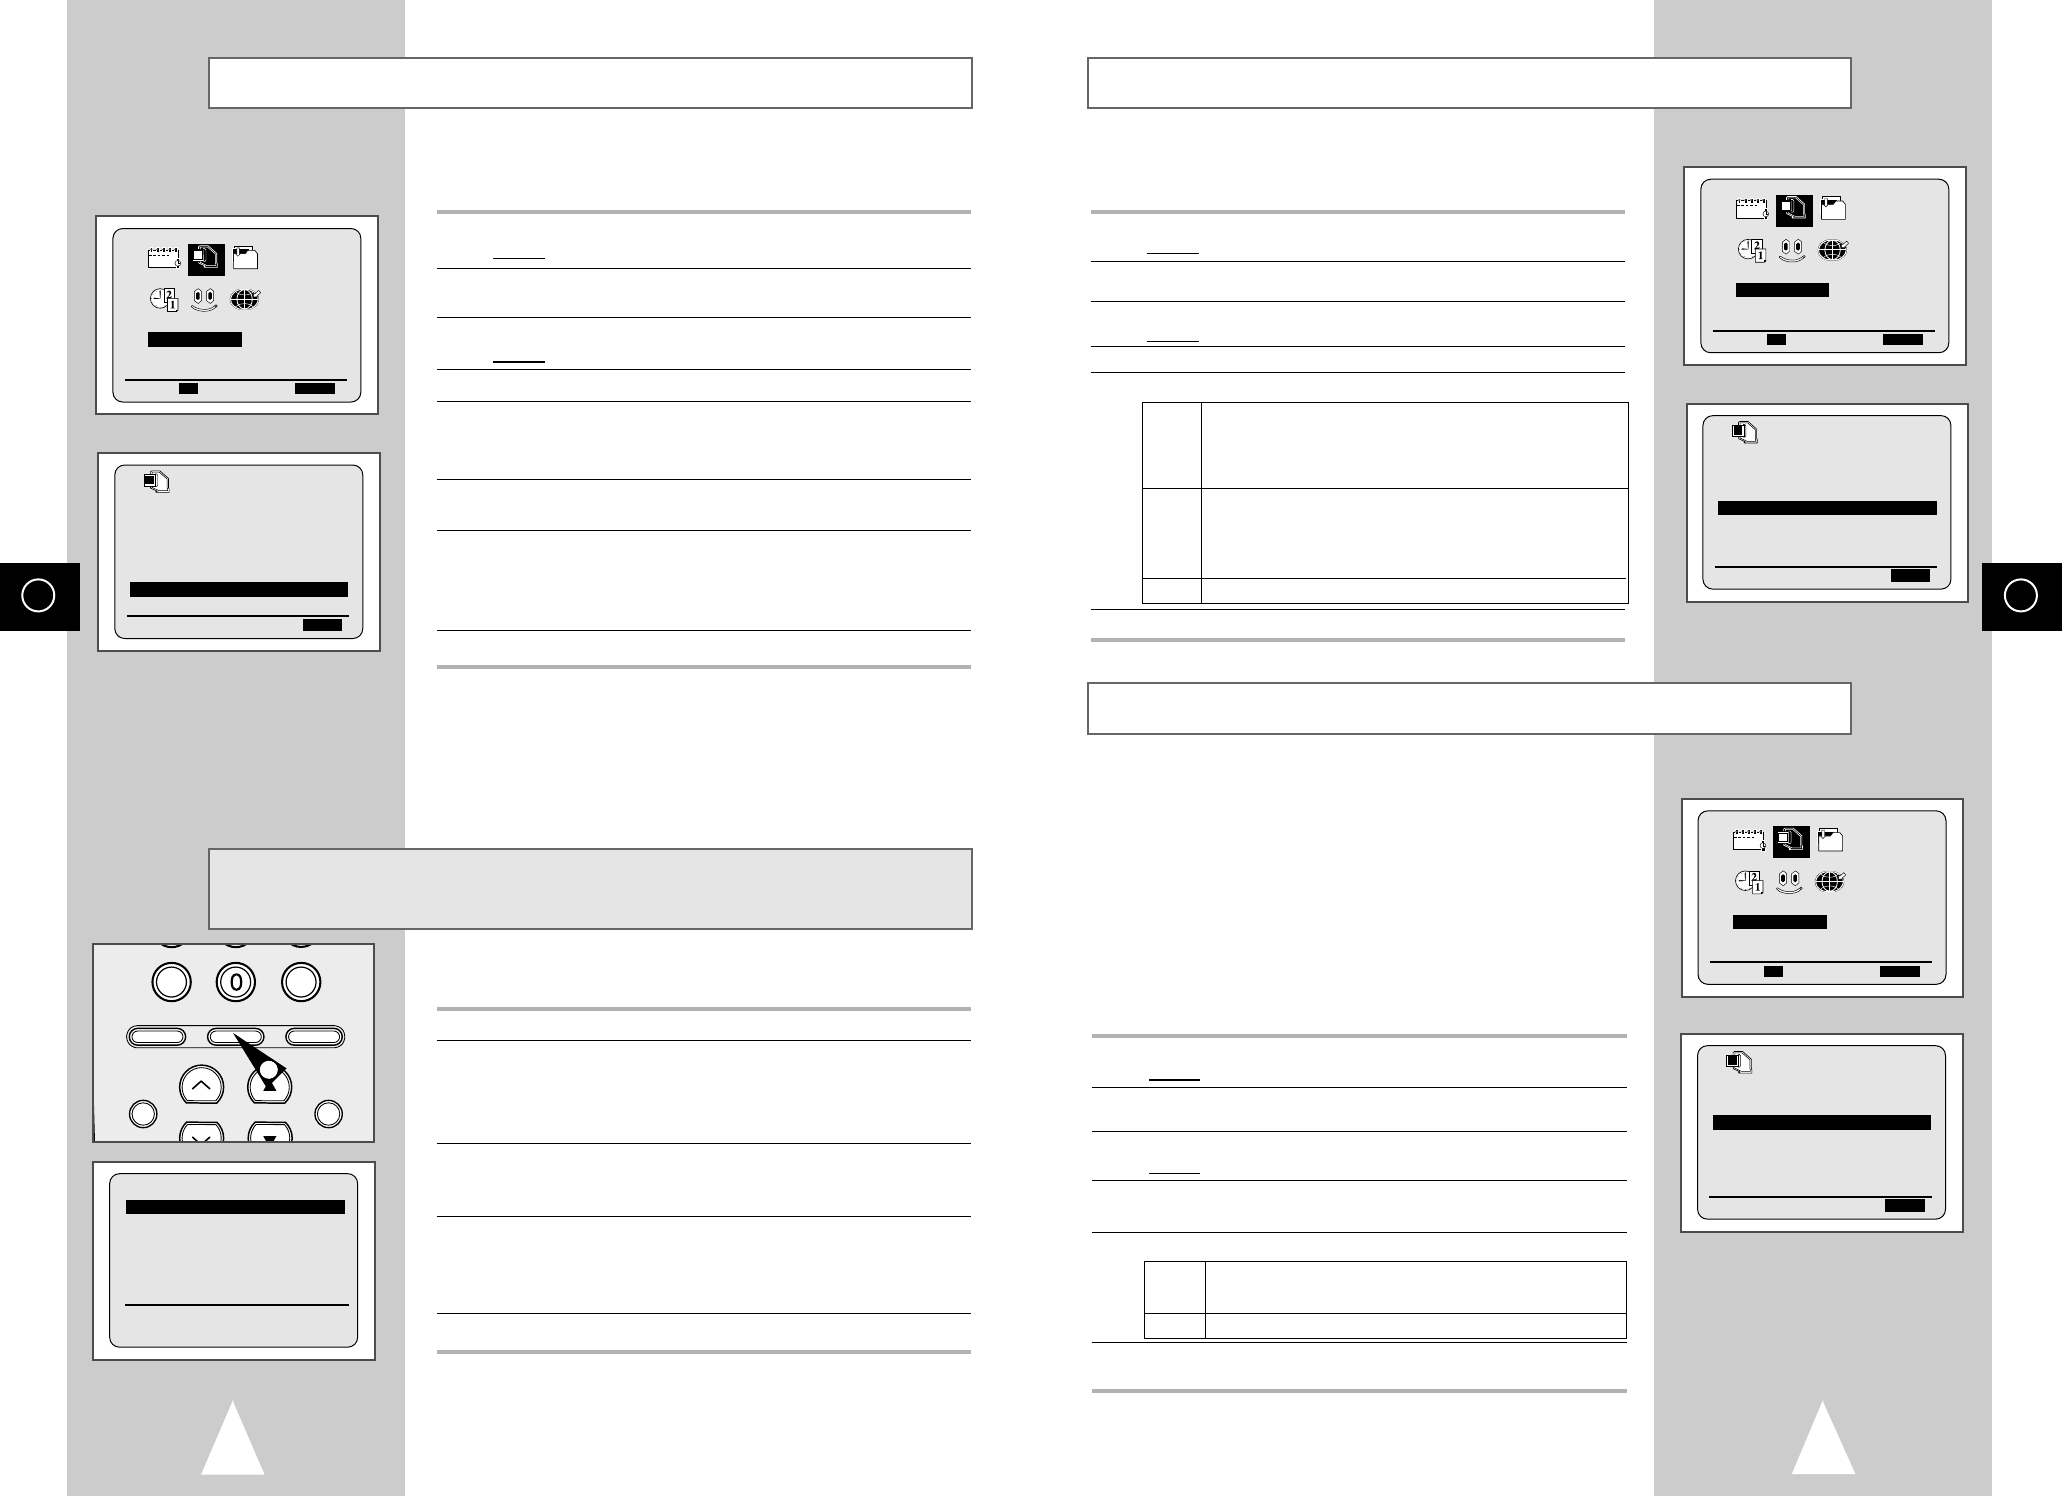
1 Druk op MENU van de afstandsbediening.
Gevolg
: Het programmeermenu verschijnt.
2 Druk op de toetsen
➐
,
❷
of
➛
,
❿
tot de optie INSTELLING
wordt getoond.
3 Druk op OK om die optie te kiezen.
Gevolg
: Het menu INSTELLING verschijnt.
4 Druk op de toets
➐
of
❷
tot de optie 16:9 is geselecteerd.
5 Druk op de toets
❿
om AUTO
➝
AAN
➝
UIT te selecteren.
AUTO
Stel deze stand in wanneer u een breedbeeld-TV heeft.
De videorecorder herkent breedbeeld-TV-programma’s en
normale TV-programma’s automatisch wanneer een band
wordt afgespeeld of wanneer er wordt opgenomen.
AAN De videorecorder speelt altijd af en neemt altijd op in de
stand die overeenkomt met een 16:9 (breedbeeld) TV. Stel
deze stand in als de videorecorder geen breedbeeld-TV-
programma’s kan herkennen met de “AUTO”-stand.
UIT Stel deze stand in als u geen breedbeeld-TV heeft.
6
Na het instellen drukt u twee keer op MENU om het menu te verlaten.
Voordat u opneemt of een band afspeelt, kunt u de vereiste
videonorm kiezen.
In de stand AUTO, kiest uw videorecorder automatisch de
ontvangstnorm.
➢
◆ Wanneer u een band afspeelt, wordt de norm automatisch
door uw videorecorder gekozen.
◆ Wanneer u op deze videorecorder een via NTSC
opgenomen band afspeelt, stel dan de kleur in die
overeenkomt met die van uw televisie. Als uw TV alleen
het PAL-systeem kent, stel dan NTPB in. Als uw TV
meerdere systemen kent (NTSC 4,43 compatibel), stel dan
NT4,43 in. U kunt dan volgens de NT4,43 norm opnemen.
1 Druk op MENU van de afstandsbediening.
Gevolg
: Het programmeermenu verschijnt.
2 Druk op de toetsen
➐
,
❷
of
➛
,
❿☎
tot de optie INSTELLING
wordt getoond.
3 Druk op OK om die optie te kiezen.
Gevolg
: Het menu INSTELLING wordt getoond.
4 Druk op de toets
➐
of
❷
tot de optie KLEUR SYSTEEM is
geselecteerd.
5
Druk op de toets
❿
om AUTO ➝ PAL ➝ B/W te kiezen.
AUTO Wanneer u een band afspeelt, wordt de videonorm
automatisch door uw videorecorder gekozen.
B/W Zwart en Wit
6 Na het instellen drukt u twee keer op MENU om het menu te
verlaten.
Videonorm kiezen
Formaat 16:9 (Breedbeeld)
OSD :AAN
TAPE LENGTE :E180
KLEUR SYSTEEM :AUTO
16:9 :AUTO
SPAARSTAND :UIT
IPC :AAN
➐❷
❿
EINDE:MENU
Met de Picture functie kunt u de scherpte van het beeld aan uw
persoonlijke voorkeur aanpassen.
1 Druk tijdens het afspelen op de MENU-toets.
Gevolg: Het programmeermenu verschijnt.
2 Druk op de toetsen
➐
,
❷
of
➛
,
❿
tot de optie INSTELLING
wordt getoond.
3 Druk op OK om die optie te kiezen.
Gevolg
: Het menu INSTELLING verschijnt.
4 Druk op de toets
➐
of
❷
tot de optie IPC is geselecteerd.
5 Druk op
❿
om de IPC-optie (Intelligent Picture Control).
➢ Als de IPC-optie is ingeschakeld (AAN), dan wordt de
beeldscherpte automatisch aangepast.
6 Wilt u de beeldscherpte met de hand aanpassen, schakel de IPC-
optie dan eerst
UIT.
7 Gebruik de toetsen
➛
of
❿
om de beeldscherpte aan uw wensen
aan te passen.
➢ Als u binnen tien seconden geen toets indrukt, dan verdwijnt
het menu
BEELD automatisch.
8 Druk nogmaals op MENU als u klaar bent met instellen.
Met de Picture functie kunt u de scherpte van het beeld aan uw
persoonlijke voorkeur aanpassen.
1 Druk tijdens het afspelen op de IPC-toets.
2 Druk op de toets
❷
om de IPC-optie (Intelligent Picture Control)
AAN of UIT te schakelen.
➢ Als de IPC-optie is ingeschakeld (AAN), dan wordt de
beeldscherpte automatisch aangepast.
3 Wilt u de beeldscherpte met de hand aanpassen, schakel de IPC-
optie dan eerst
UIT.
◆ Het balkje voor de beeldinstelling verschijnt.
4 Gebruik de toetsen
➛
of
❿
om de beeldscherpte aan uw wensen
aan te passen.
➢ Als u binnen tien seconden geen toets indrukt, dan verdwijnt
het menu
BEELD automatisch.
5 Druk nogmaals op IPC als u klaar bent met instellen.
Intelligente beeldinstelling
Intelligente beeldinstelling
★
(SV-661X/SV-465X/SV-461X/
SV-265X/SV-261X)