Opzioni immagine
Toni colore→ Freddo / Normale / Caldo1 / Caldo2
È possibile selezionare il tono del colore ottimale per la propria vista.
Le regolazioni vengono memorizzate in base alla modalità
Immagine
selezionata.
Caldo1 o Caldo2 vengono attivate solo quando la modalità dell’immagine
è Film.
Dimensione
È possibile impostare il formato dell’immagine che più si adatta alle proprie
esigenze.
Automatico: Imposta l’immagine in formato Auto wide.
16:9:
Imposta il formato delle immagini su 16:9.
Wide Zoom: Selezionare questo menu per vedere le immagini in formato 4:3 su un televisore in formato 16:9 allargando
verticalmente le immagini 4:3.
Zoom: Allarga verticalmente il formato 16:9 delle immagini.
4:3: Imposta il formato delle immagini a 4:3.
Adatta allo schermo: Visualizza il segnale pienamente nativo HD non visualizzabile mediante un normale TV.
A seconda del tipo di sorgente di ingresso, le opzioni relative alla dimensione dell’immagine possono variare.
Le voci disponibili variano in base alla modalità selezionata.
Le impostazioni possono essere regolate e memorizzate per ogni dispositivo esterno connesso a un ingresso TV.
Se si visualizza una immagine ssa per oltre due ore, sullo schermo potrebbe apparire una immagine residua
temporanea.
Wide Zoom: Premere il tasto ► per selezionare Posizione, quindi premere il tasto ENTER
E
. Per spostare l’immagine
in alto o in basso, utilizzare il tasto ▲ o ▼. Quindi premere il tasto ENTER
E
.
Zoom: Premere il tasto ► per selezionare Posizione, quindi premere il tasto ENTER
E
. Premere il pulsante ▲ o ▼
per spostare l’immagine verso l’alto o il basso. Quindi premere il tasto ENTER
E
. Premere il tasto ► per selezionare
Formato, quindi premere il tasto ENTER
E
. Premere il tasto ▲ o ▼ per aumentare o ridurre il formato dell’immagine in
direzione verticale. Quindi premere il tasto ENTER
E
.
Dopo aver selezionata l’opzione Adatta allo schermo in modalità HDMI (1080i/1080p) o Component (1080i/1080p):
Selezionare Posizione premendo il pulsante ◄ o ►. Utilizzare il tasto ▲, ▼, ◄ o ► per spostare l’immagine.
Reset: Premere il tasto ◄ o ► per selezionare Reset, quindi premere il tasto ENTER
E
. E’ possibile azzerare
l’impostazione.
Usando la funzione Adatta allo schermo/ con un ingresso HDMI 720p, 1 riga verrà tagliata all’inizio, alla ne, a sinistra e
a destra come nella funzione di overscan.
Mod schermo
Quando si imposta la dimensione dell’immagine a Automatico su un televisore con formato 16:9, è possibile determinare o
meno le dimensioni dell’immagine da visualizzare nel formato 4:3 WSS (Wide Screen Service). Ogni nazione europea richiede
un formato dell’immagine diverso e questa funzione deve essere quindi selezionata dall’utente.
16:9:
Imposta il formato delle immagini su 16:9.
Wide Zoom: Selezionare questo menu per vedere le immagini in formato 4:3 su un televisore in formato 16:9 allargando
verticalmente le immagini 4:3.
Zoom: Allarga verticalmente il formato 16:9 delle immagini.
4:3: Seleziona la modalità schermo per 4:3.
Questa funzione è disponibile in modalità Automatico.
Questa funzione non è disponibile in modalità Comp. o HDMI.
Digital NR → Spento / Bassa / Media / Alto / Automatico
Se il segnale ricevuto dal televisore è debole, è possibile attivare la funzione Digital Noise Reduction per ridurre i disturbi
statici e l’effetto ghosting sullo schermo.
Se il segnale è debole, selezionare una delle altre opzioni disponibili no a ottenere la migliore qualità visiva.
Livello di nero HDMI → Normale / Bassa
Consente di selezionare direttamente il livello di nero sullo schermo per regolarne la profondità.
Questa funzione si attiva solo quando l’ingresso esterno è collegato a HDMI (segnali RGB).
❑
N
N
•
•
•
•
•
•
N
N
N
N
N
N
N
N
N
•
•
•
•
N
N
N
N
Continua...
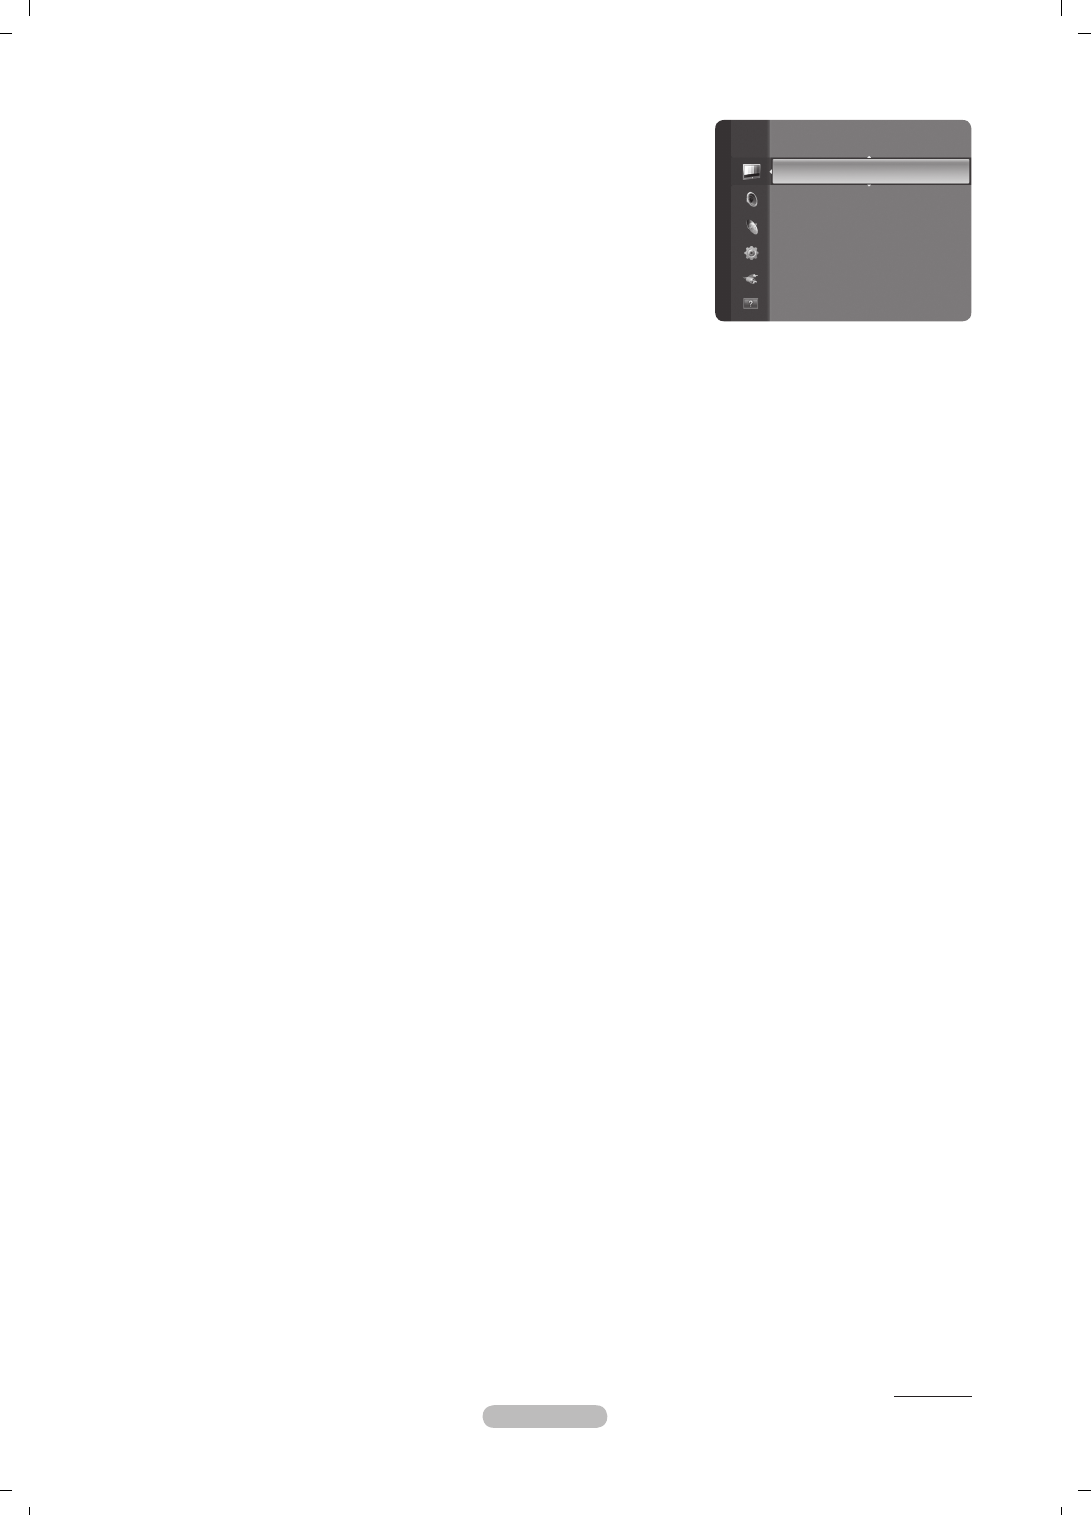
Tinta (V/R) : V50/R50
Impostazioni avanzate
Opzioni immagine ►
Reset immagine
Picture