Ś4ś
Contents
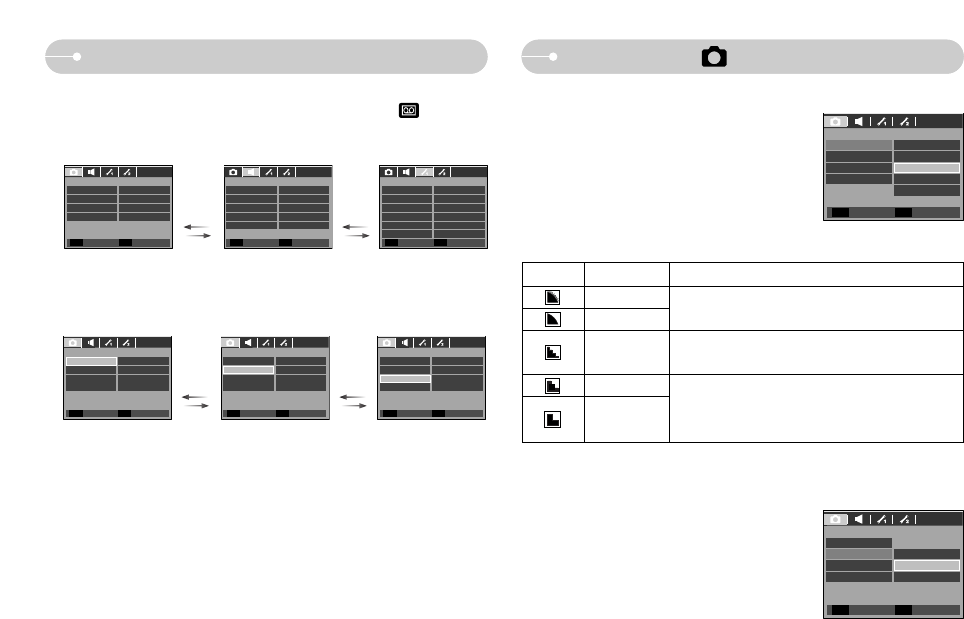
ƅSharpness ŊŊŊŊŊŊŊŊŊ30
ƅContrast ŊŊŊŊŊŊŊŊŊŊ30
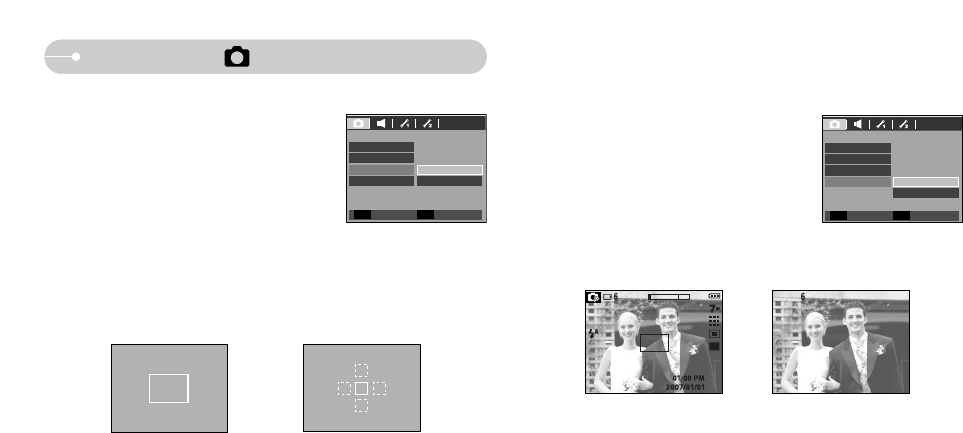
ƅAuto Focus type ŊŊŊŊŊŊŊ31
ƅOSD (On Screen Display)
information ŊŊŊŊŊŊŊŊŊ31
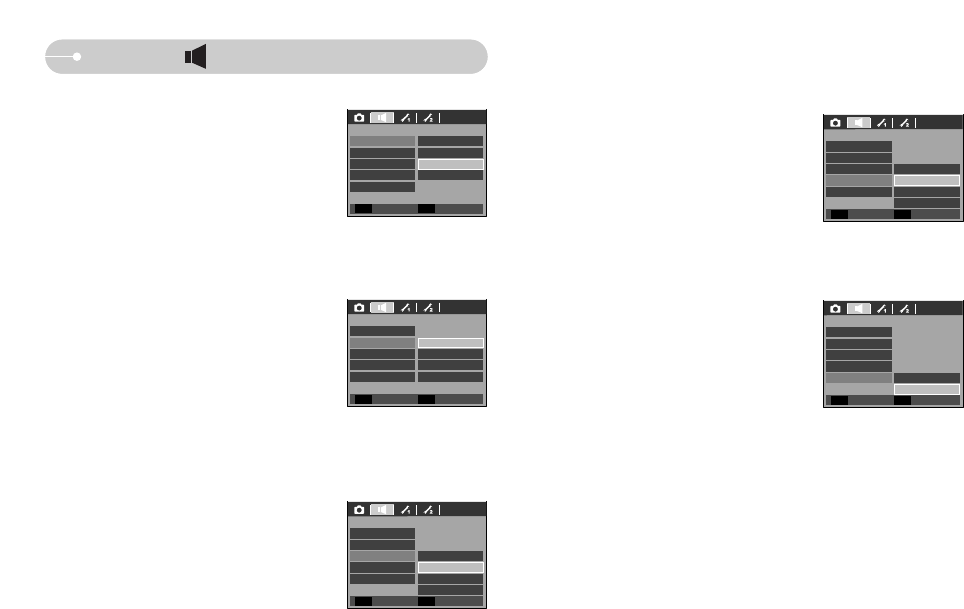
ƀSound ŊŊŊŊŊŊŊŊŊŊŊ32
ƅVolume ŊŊŊŊŊŊŊŊŊŊŊ32
ƅStart up sound ŊŊŊŊŊŊŊŊ32
ƅShutter sound ŊŊŊŊŊŊŊŊ32
ƅBeep Sound ŊŊŊŊŊŊŊŊŊ32
ƅAF sound ŊŊŊŊŊŊŊŊŊŊ32
ƀSetup 1 ŊŊŊŊŊŊŊŊŊŊŊ33
ƅFile name ŊŊŊŊŊŊŊŊŊŊ33
ƅLanguage ŊŊŊŊŊŊŊŊŊŊ33
ƅ
Setting up the Date/ Time/ Date typeŊ
33
ƅImprinting the recording date ŊŊ34
ƅLCD brightness ŊŊŊŊŊŊŊ34
ƅAuto Focus lamp ŊŊŊŊŊŊŊ34
ƅStart up image ŊŊŊŊŊŊŊŊ34
ƀSetup 2 ŊŊŊŊŊŊŊŊŊŊŊ35
ƅQuick view ŊŊŊŊŊŊŊŊŊ35
ƅAuto power off ŊŊŊŊŊŊŊŊ35
ƅLCD save ŊŊŊŊŊŊŊŊŊŊ35
ƅSelecting Video out type ŊŊŊŊ36
ƅFormatting a memory ŊŊŊŊŊ36
ƅInitialisation ŊŊŊŊŊŊŊŊŊ37
ƅSelecting a battery type ŊŊŊŊ37
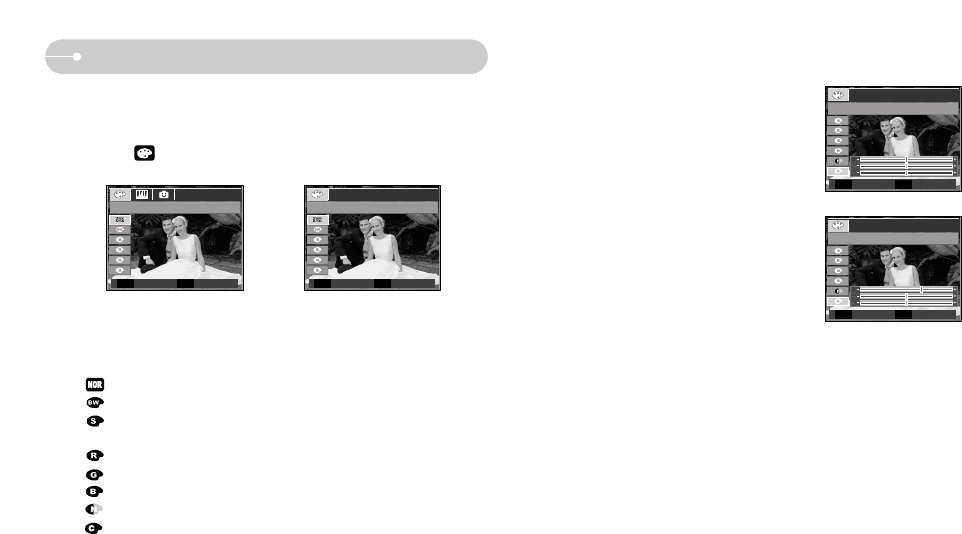
ƀE (Effect) button ŊŊŊŊŊŊŊ37
ƀ
Special Effect (E button) : Colour
Ŋ38
ƀSpecial Effect (E button) :
Image editingŊŊŊŊŊŊŊŊŊ39
ƅSaturation ŊŊŊŊŊŊŊŊŊŊ39
ƀSpecial Effect (E button) : FUN Ŋ39
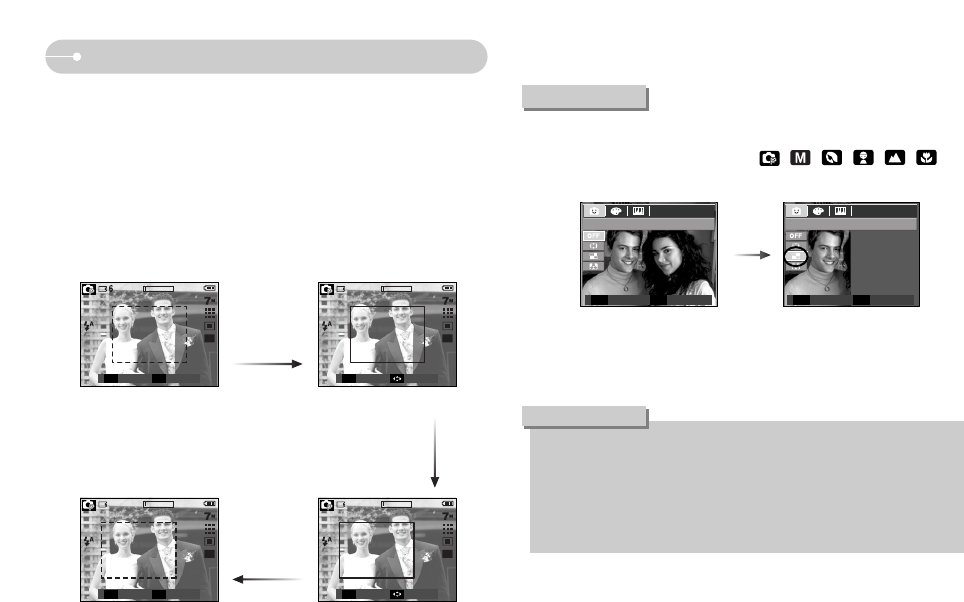
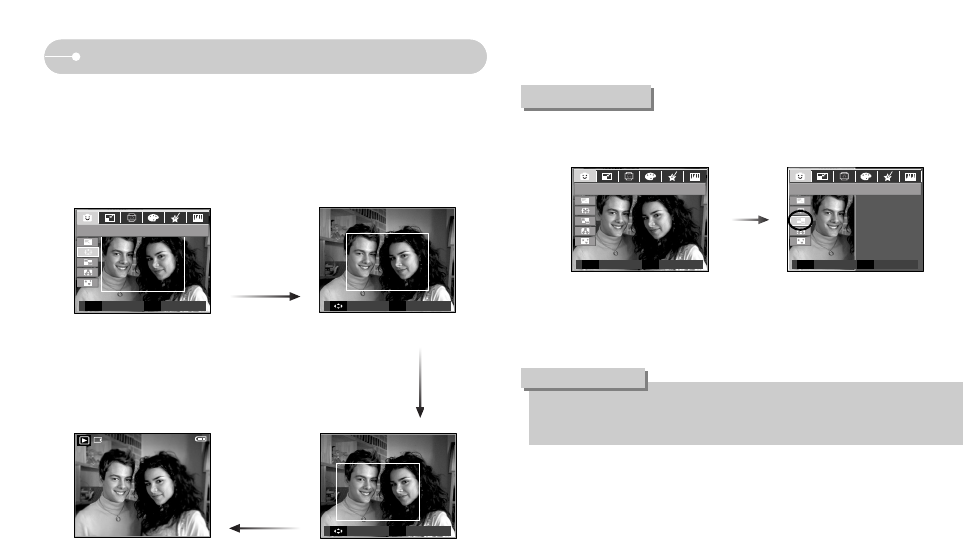
ƅPreset focus framesŊŊŊŊŊŊ39
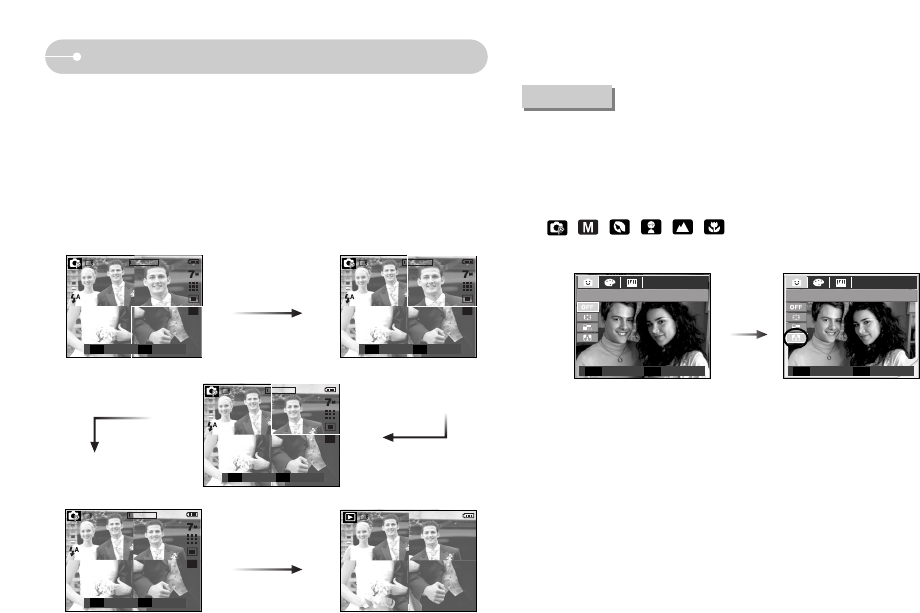
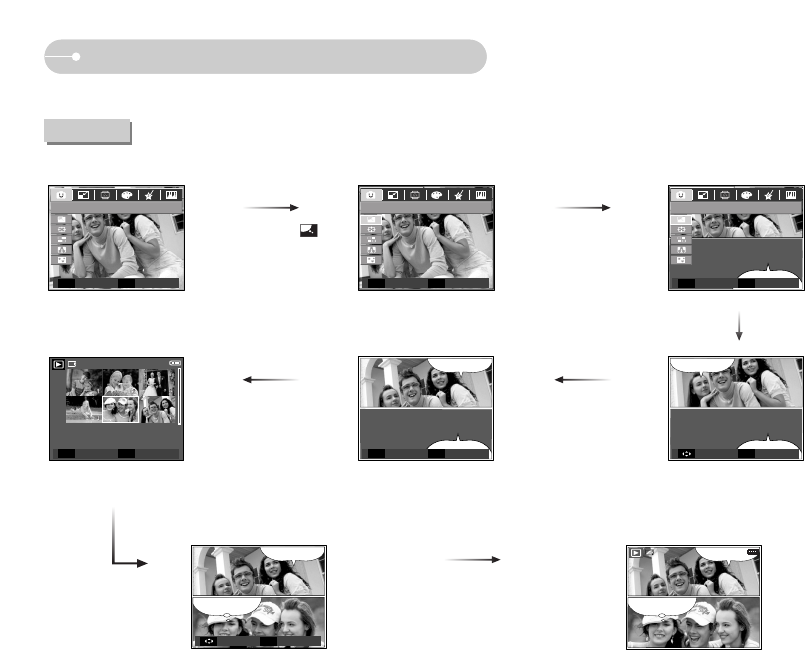
ƅComposite shootingŊŊŊŊŊŊ40
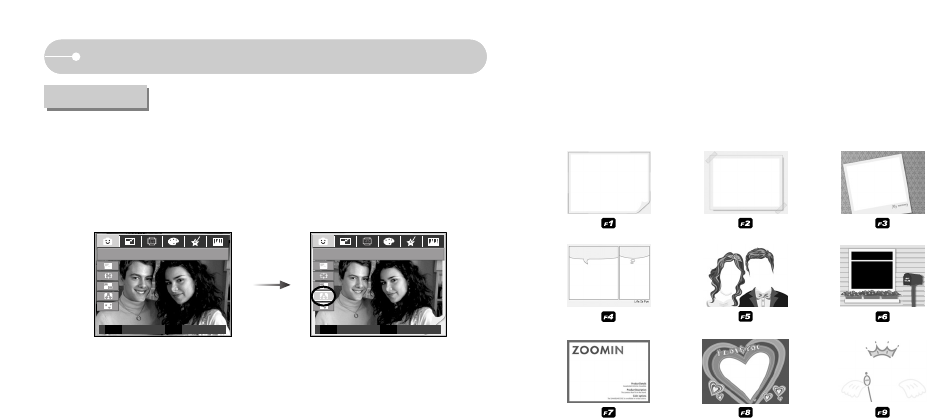
ƅPhoto Frame ŊŊŊŊŊŊŊŊ42
ƀ+ / - button ŊŊŊŊŊŊŊŊŊŊ43
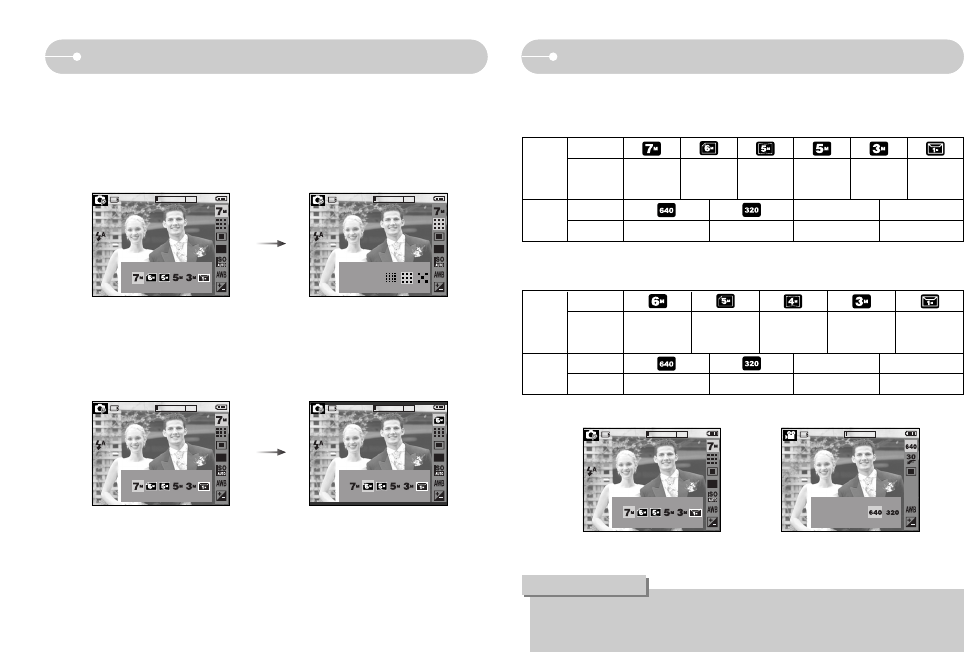
ƀSize ŊŊŊŊŊŊŊŊŊŊŊŊ44
ƀQuality / Frame rate ŊŊŊŊŊŊ45
ƀMeteringŊŊŊŊŊŊŊŊŊŊŊ45
ƀContinuous shot ŊŊŊŊŊŊŊ46
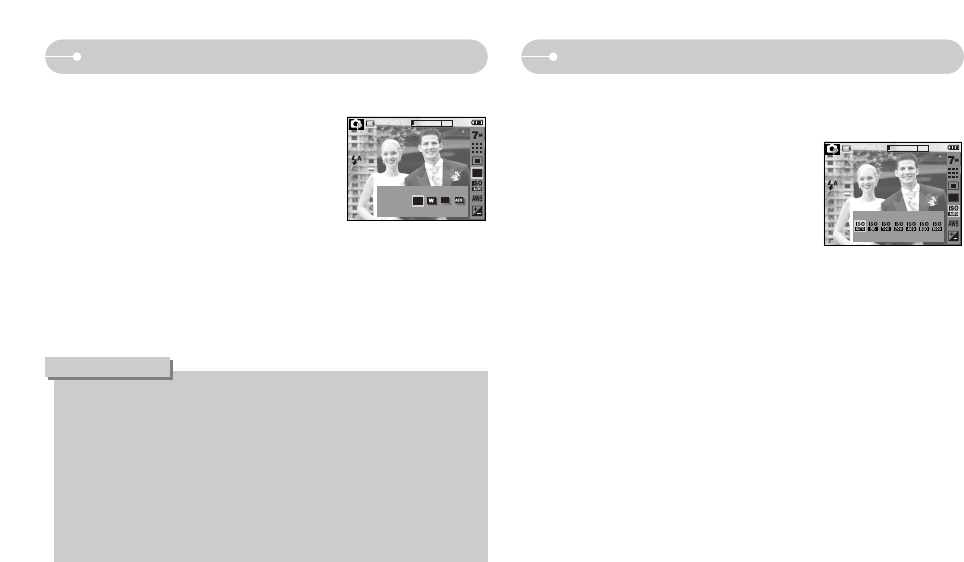
ƀISOŊŊŊŊŊŊŊŊŊŊŊŊŊ46
ƀWhite balance ŊŊŊŊŊŊŊŊ47
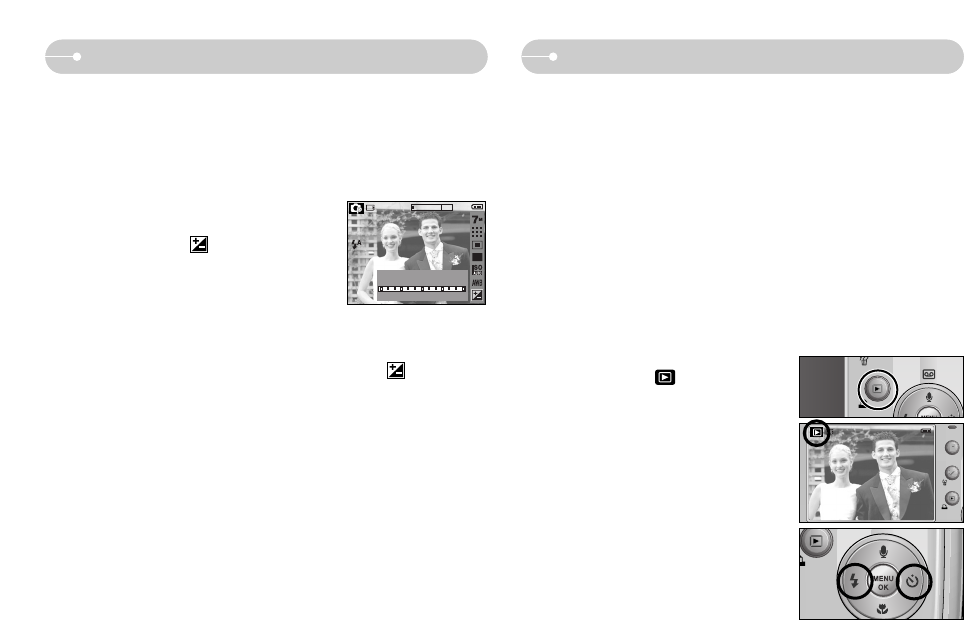
ƀExposure compensation ŊŊŊŊ48
ƀStarting play mode ŊŊŊŊŊŊ48
ƅPlaying back a still image ŊŊŊ48
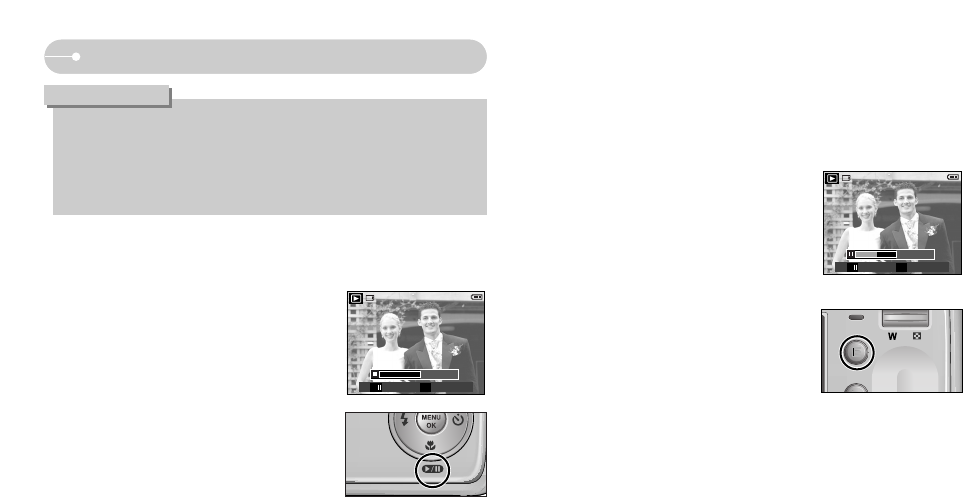
ƅPlaying back a movie clip ŊŊŊ49
ƅHow to capture the movie clip Ŋ49
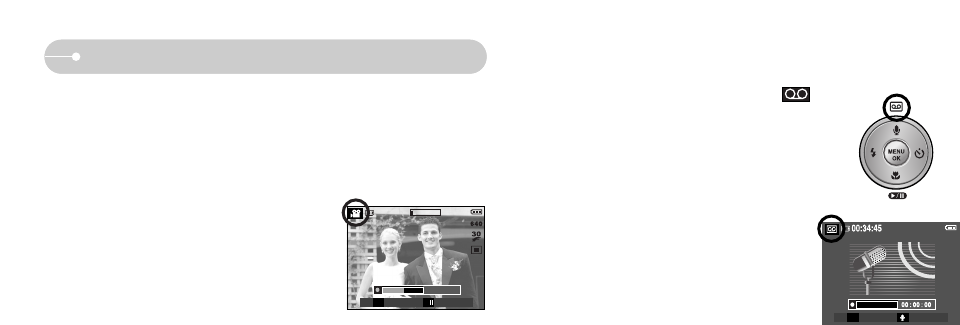
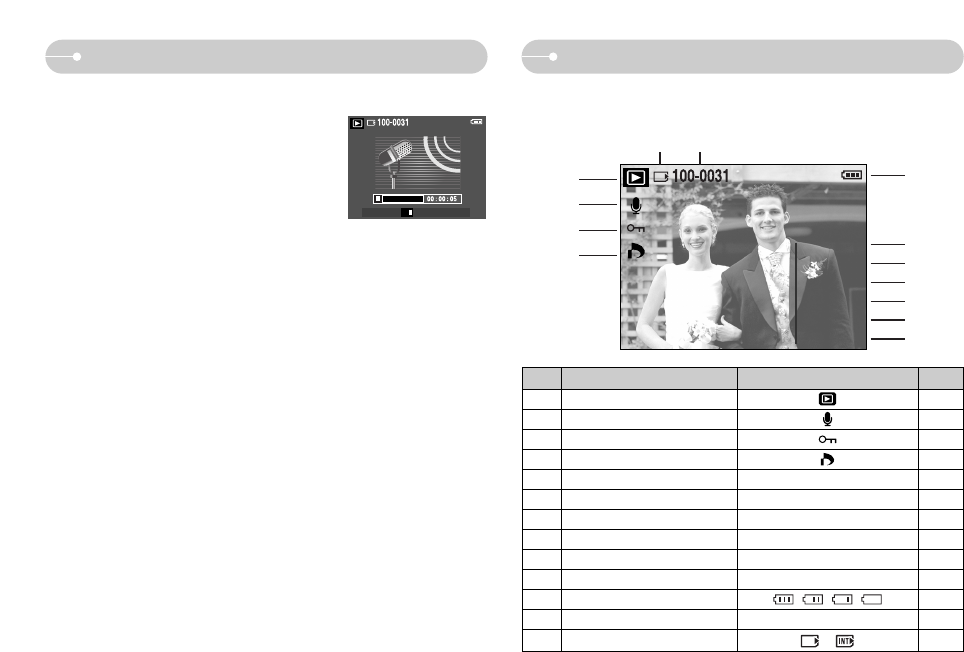
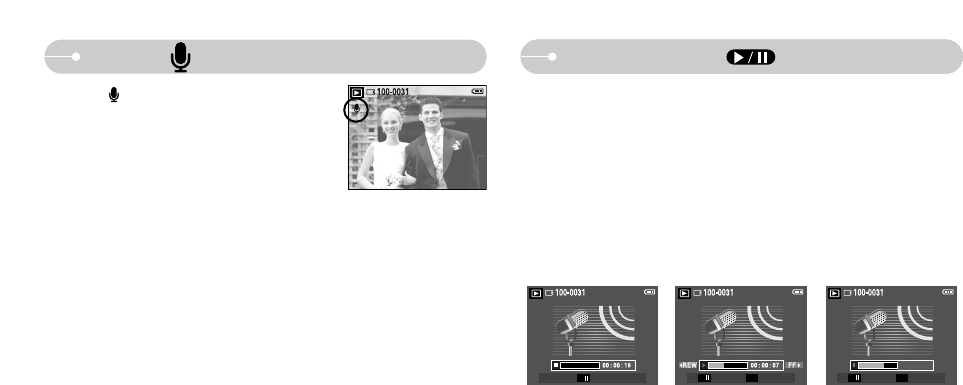
ƅPlaying back a recorded voice Ŋ50
ƀLCD monitor Indicator ŊŊŊŊŊ50
ƀUsing the camera buttons to set
the camera ŊŊŊŊŊŊŊŊŊ51
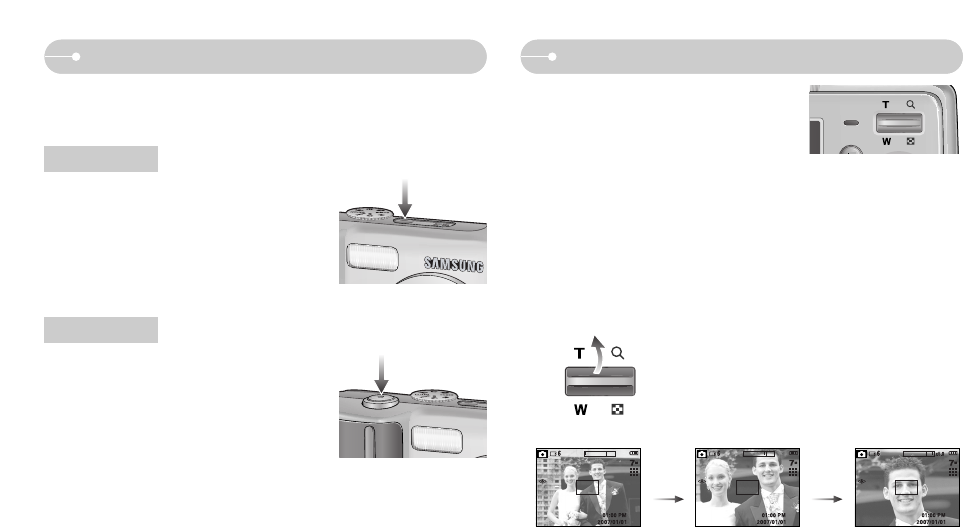
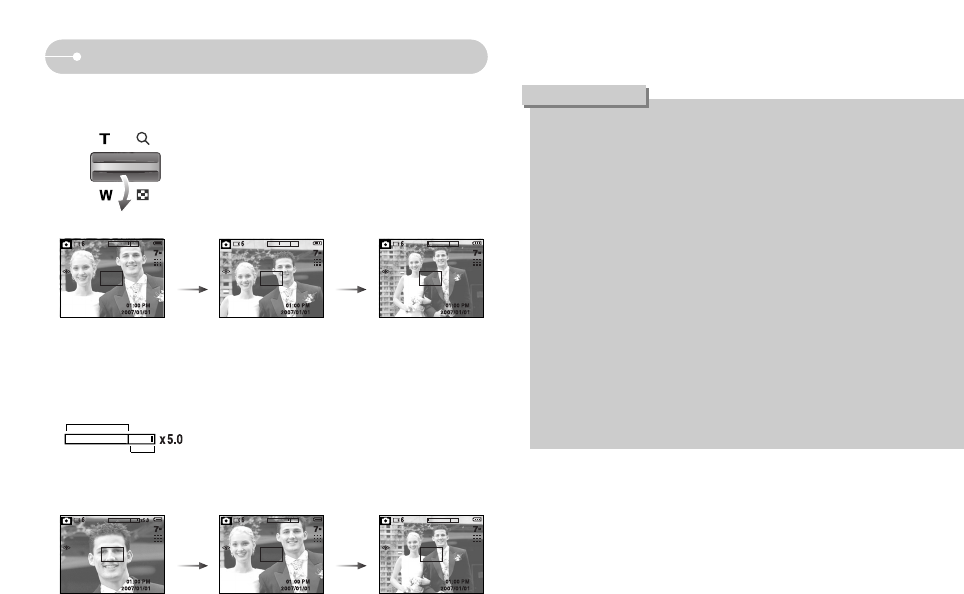
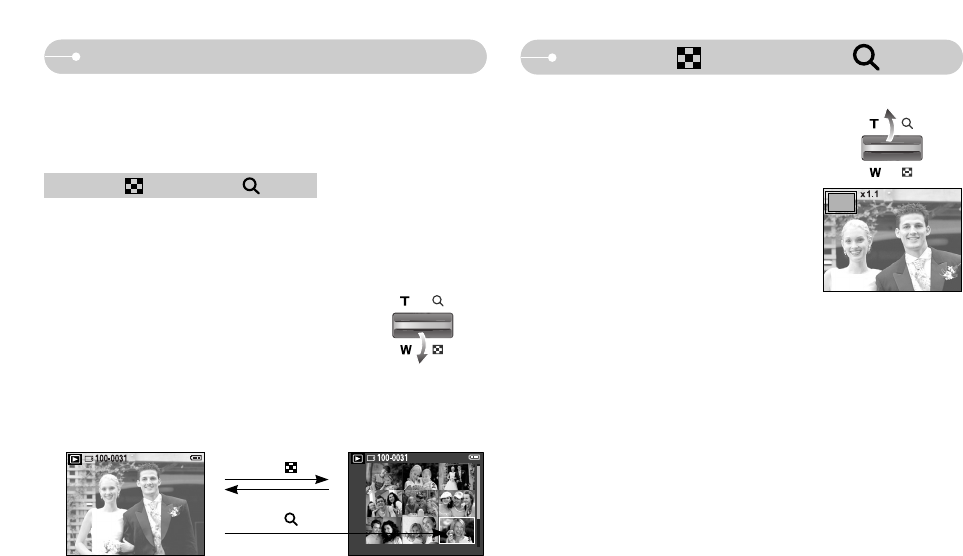
ƀThumbnail / Enlargement button Ŋ51
ƀVoice memo / Up button ŊŊŊŊ52
ƀPlay & Pause / Down button ŊŊ53
ƀ
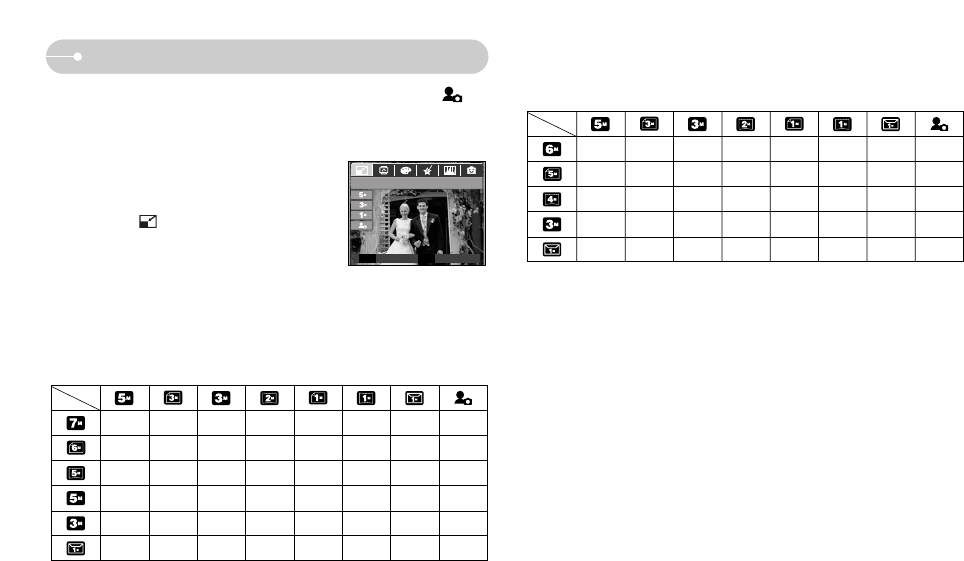
Special Effect (E button) : Resize
Ŋ54
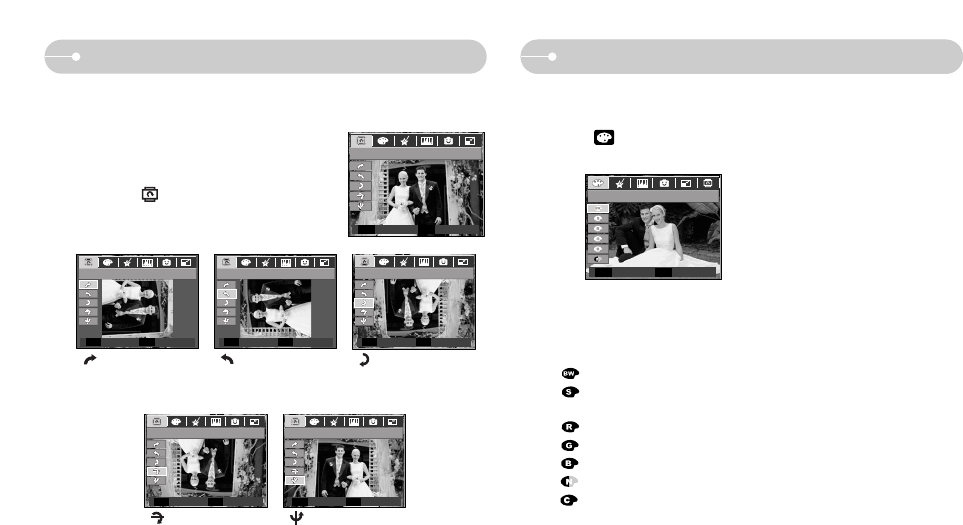
ƀSpecial Effect (E button) :
Rotating an image ŊŊŊŊŊŊ55
ƀ
Special Effect (E button) : Colour
Ŋ55
ƀSpecial Effect (E button) :
Special Colour ŊŊŊŊŊŊŊŊ56
ƅColour Filter ŊŊŊŊŊŊŊŊŊ56
ƅColour maskŊŊŊŊŊŊŊŊŊ57
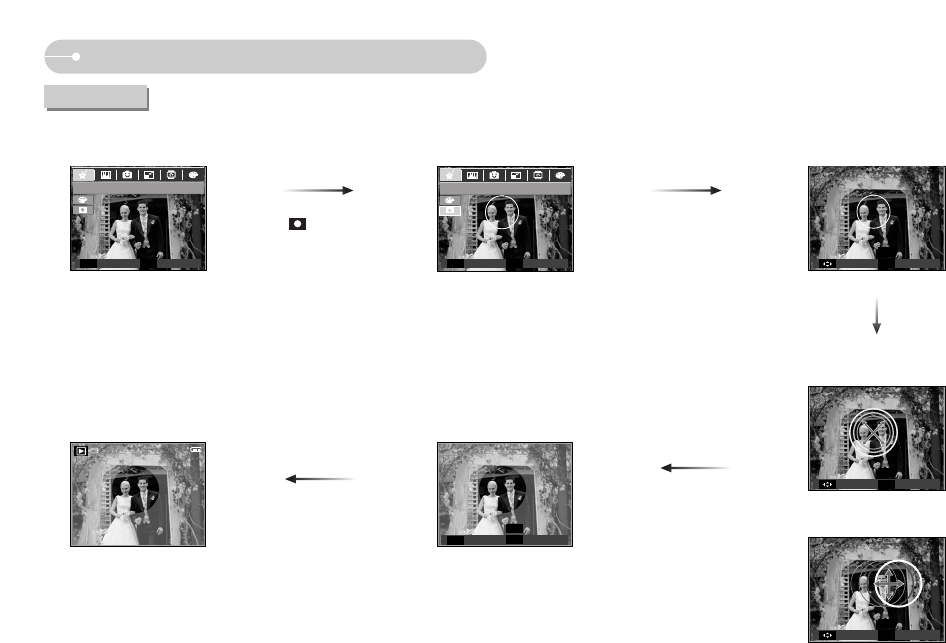
ƀSpecial Effect (E button) :
Image editingŊŊŊŊŊŊŊŊŊ58
ƀSpecial Effect (E button) : FUN Ŋ59
ƅCartoonŊŊŊŊŊŊŊŊŊŊŊ59
ƅPreset focus frames ŊŊŊŊŊ60
ƅComposite imageŊŊŊŊŊŊŊ61
ƅPhoto Frame ŊŊŊŊŊŊŊŊ63
ƅSticker ŊŊŊŊŊŊŊŊŊŊŊ64
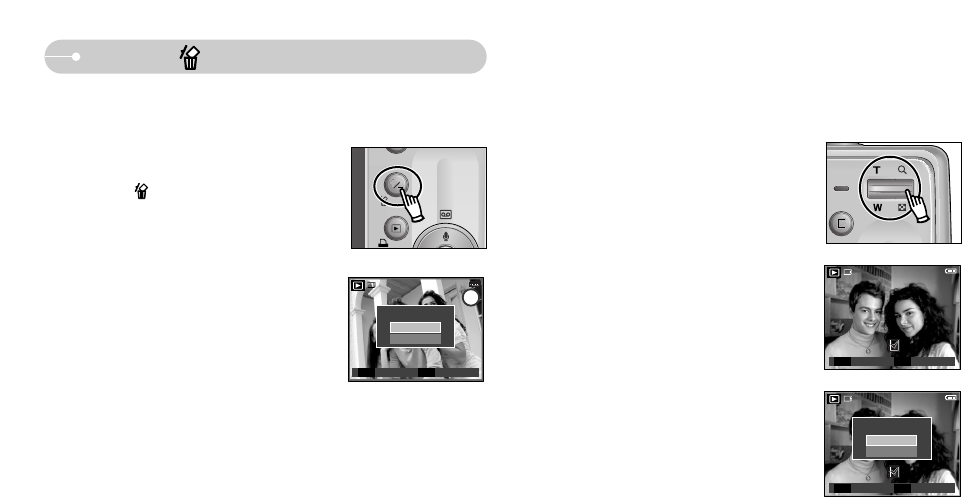
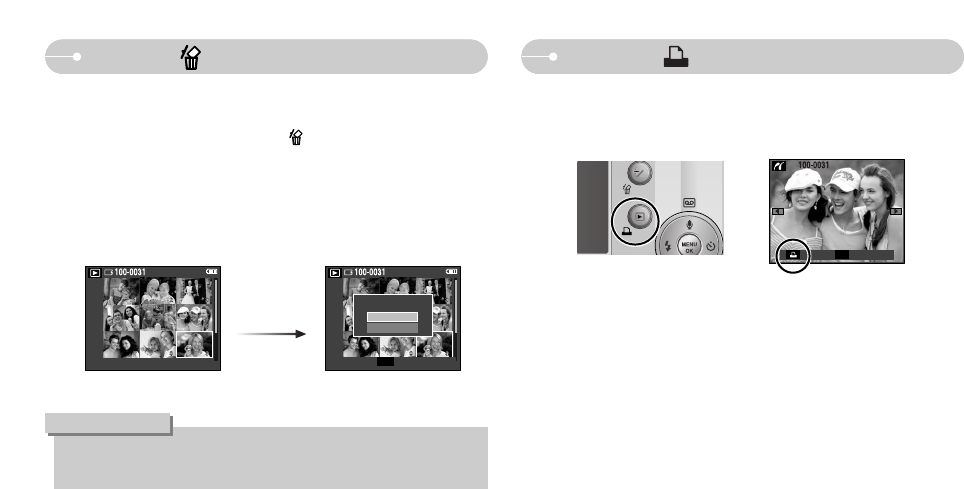
ƀDelete buttonŊŊŊŊŊŊŊŊŊ65
ƀPrinter buttonŊŊŊŊŊŊŊŊŊ66
ƀLeft / Right / Menu / OK button Ŋ67
ƀSetting up the play back function
using the LCD monitor ŊŊŊŊŊ67
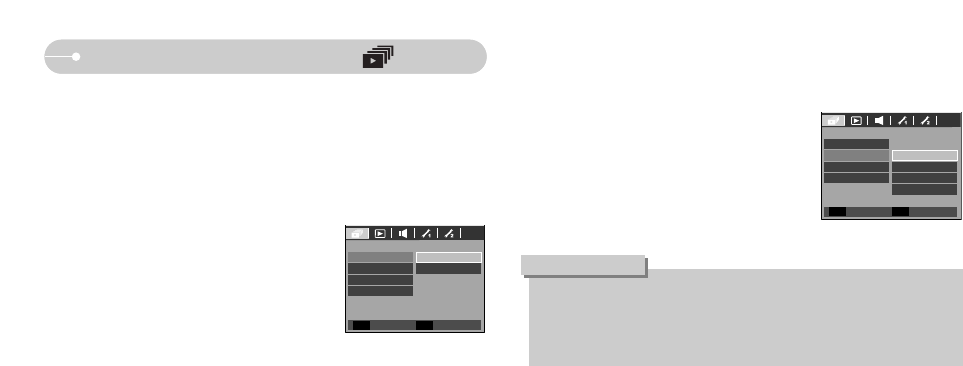
ƀStarting the slide show ŊŊŊŊŊ69
ƀPlayback ŊŊŊŊŊŊŊŊŊŊ70
ƅProtecting images ŊŊŊŊŊŊ70
ƅDeleting images ŊŊŊŊŊŊŊ71
ƅDPOF ŊŊŊŊŊŊŊŊŊŊŊ71
ƅCopy To Card ŊŊŊŊŊŊŊŊ73
ƅOn Screen Display information Ŋ74
ƀPictBridge ŊŊŊŊŊŊŊŊŊŊ75
ƅPictBridge : Picture Selection ŊŊ76
ƅPictBridge : Print Setting ŊŊŊŊ76
ƅPictBridge : Reset ŊŊŊŊŊŊ77
ƀImportant notesŊŊŊŊŊŊŊŊ77
ƀWarning indicator ŊŊŊŊŊŊŊ79
ƀ
Before contacting a service centre
Ŋ79
ƀSpecifications ŊŊŊŊŊŊŊŊ81
ƀSoftware Notes ŊŊŊŊŊŊŊŊ84
ƀSystem Requirements ŊŊŊŊŊ84
ƀAbout the software ŊŊŊŊŊŊ84
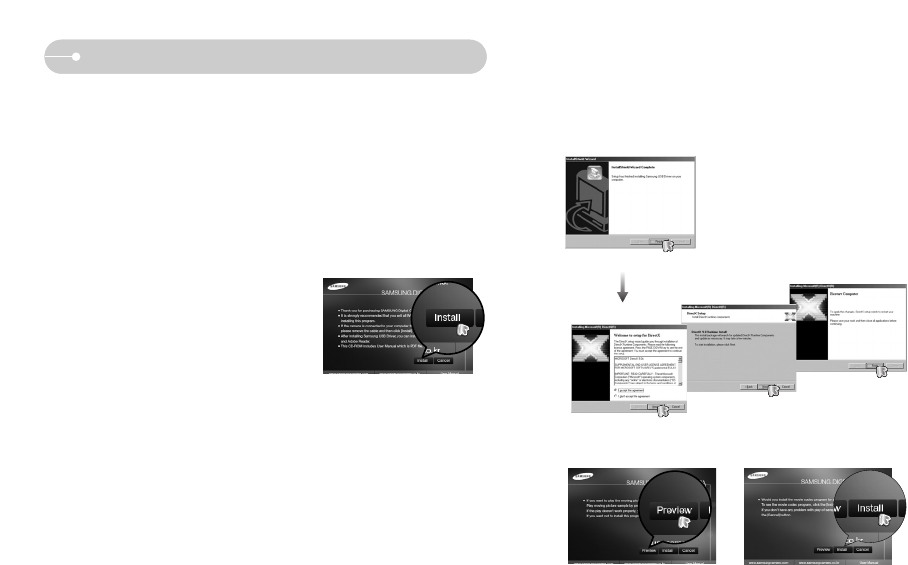
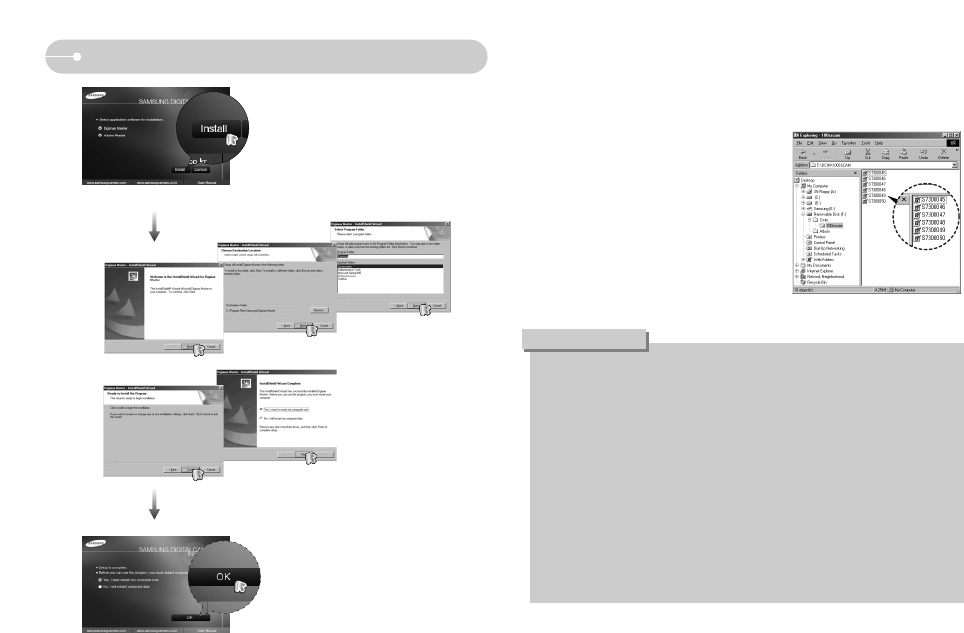
ƀ
Setting up the application software
Ŋ85
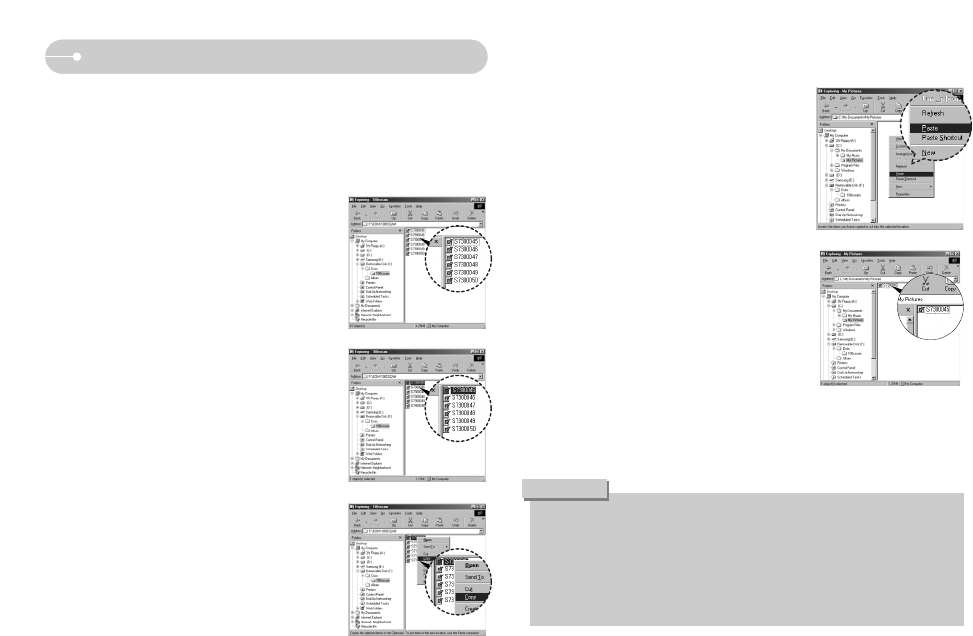
ƀStarting PC mode ŊŊŊŊŊŊŊ87
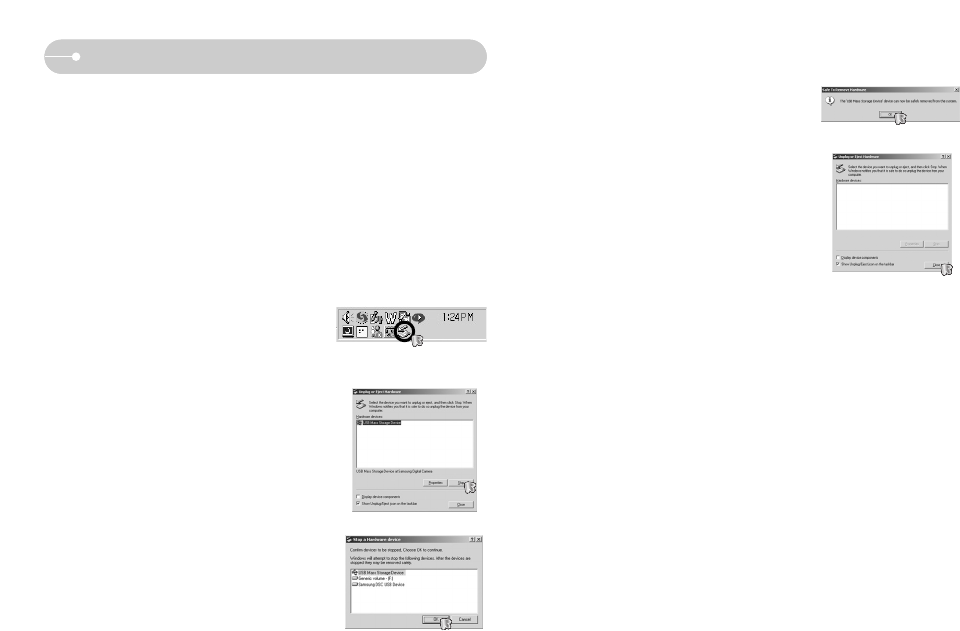
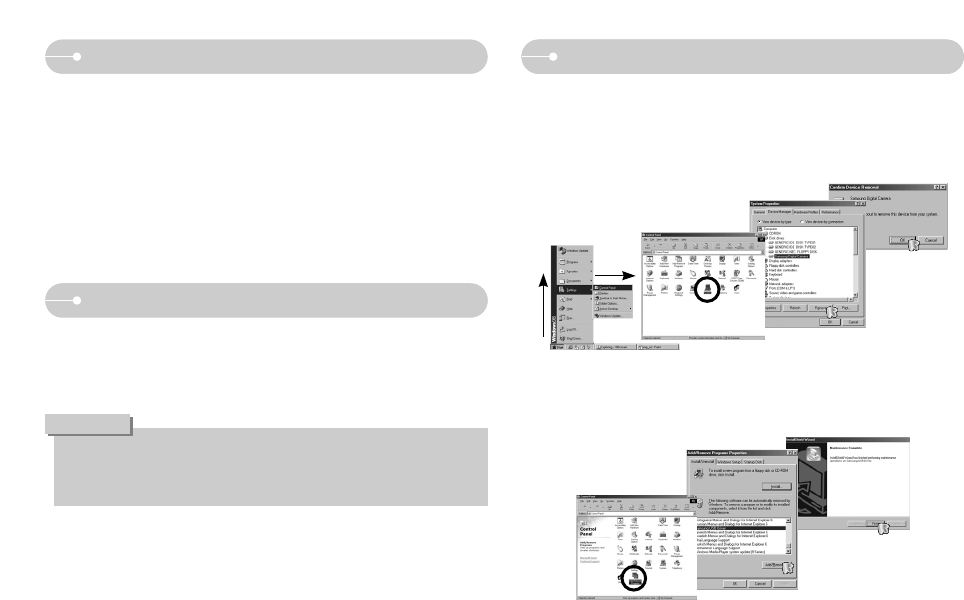
ƀRemoving the removable diskŊŊ89
ƀ
Setting up the USB Driver for MAC
Ŋ90
ƀUsing the USB Driver for MAC Ŋ90
ƀRemoving the USB Driver for
Windows 98SE ŊŊŊŊŊŊŊŊ90
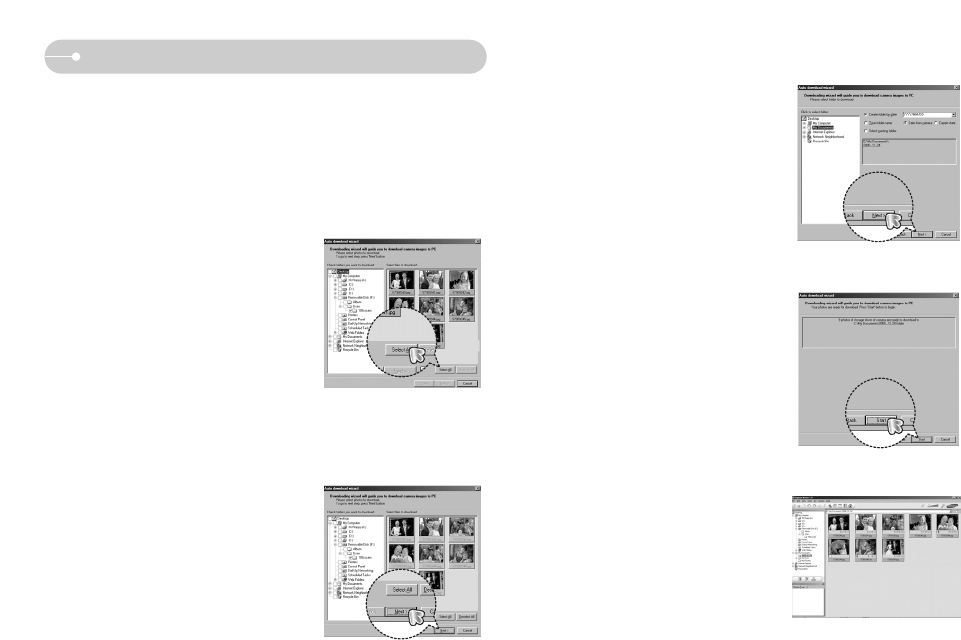
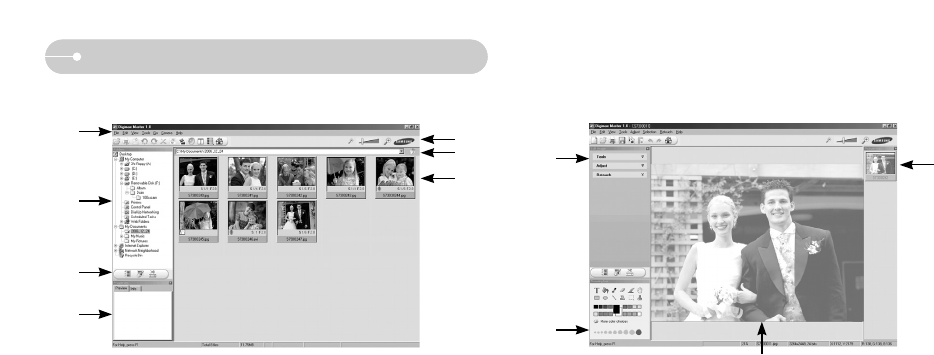
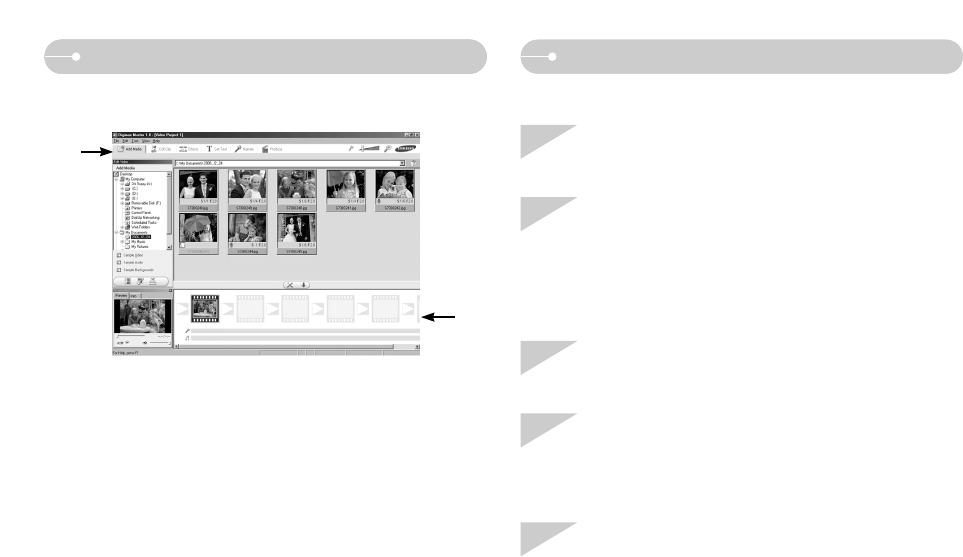
ƀDigimax MasterŊŊŊŊŊŊŊŊ91
ƀFAQ ŊŊŊŊŊŊŊŊŊŊŊŊ93
SOFTWARE
PLAY