Select the Operating mode.
Press the or button on the control panel for 2 seconds.
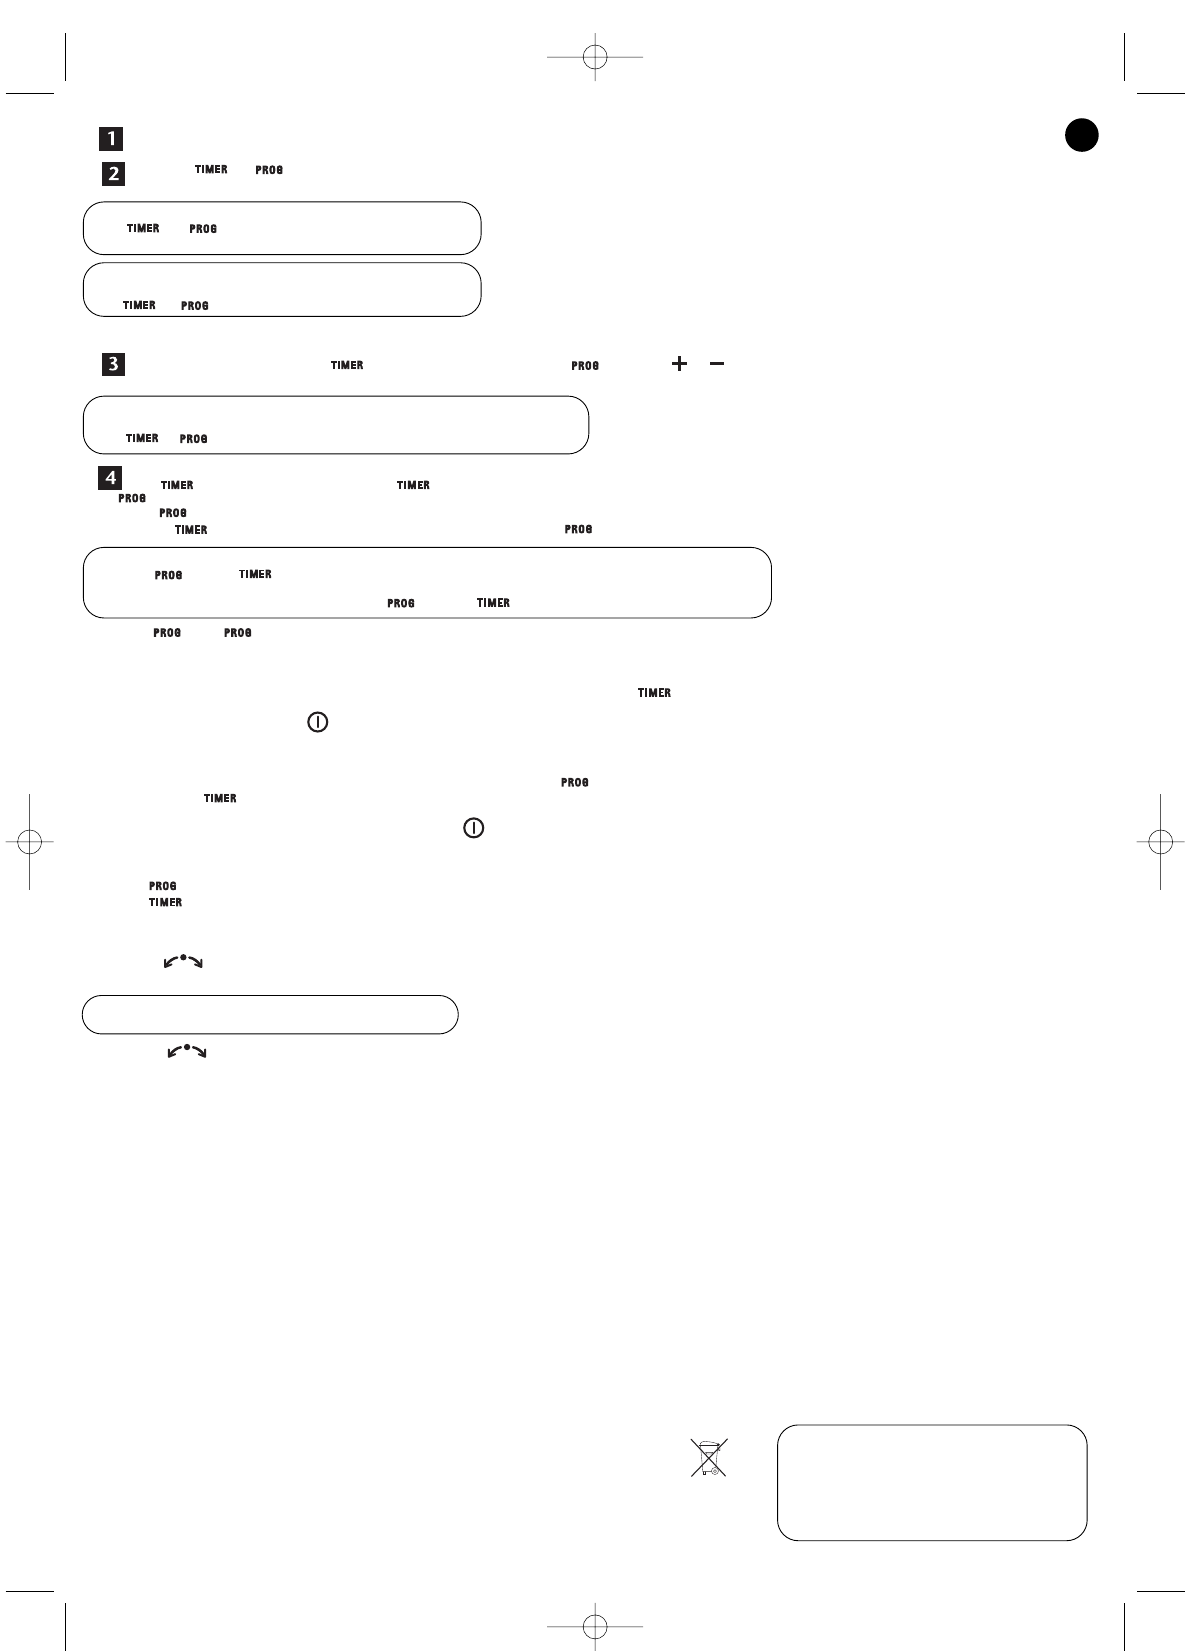
On the control panel:
- The or function indicator flashes.
- The MODE indicator you have selected lights up.
You can see on the display screen:
- The operating mode you have selected.
- The or symbol flashing.
Note: If you do not define a time, the function will be cancelled after a few seconds.
To define the operation time (for ) or the time of the later start (for ), press the or buttons on the control panel (from 1 to 15 hours).
You can see on the display screen:
- The operating mode you have selected.
- The or symbol flashing with the times selected.
For : to confirm the setting, press the button or wait for automatic confirmation.
For : to confirm the setting,
- press the button
- or press the button (2 seconds) to add an operation time, then press the button.
On the control panel:
- only the or (and) function indicator is lit up.
You can see on the display screen:
- The operating mode you have selected and the or (and) symbol with the number of hours chosen.
Note: For , if the button is not pressed to confirm, the function will be cancelled after a few seconds.
TIMER Function:
The appliance operates in the MODE you have chosen and for the length of time defined in ; it will automatically switch to stand by after this operating time.
It is possible at all times:
- To stop the appliance (by pressing ).
- To change the operating mode.
PROG Function:
The appliance will be started later at the number of hours you have defined in . The appliance will then operate in the MODE you have selected (and for the length
of time defined in , if this function has been programmed).
It is possible at all times:
- To start the appliance or stop your programme. (by pressing ).
Display on screen:
The times displayed on the screen are:
- For the function: the number of hours remaining before the appliance will start.
- For the function: the number of hours of operation remaining.
The countdown on the display is in steps of one hour, at the end of the hour that has passed.
Oscillation Function:
1/ Press the button on the control panel or the remote control.
The appliance oscillates angularly through 90°.
On the control panel:
- The oscillation function indicator lights up.
2/ Press the button on the control panel or the remote control again.
The appliance will stop oscillating.
7- CLEANING
• Your appliance must be switched off using the ON / OFF switch located at the base, unplugged and allowed to cool before any cleaning is carried out.
• You can clean it with a slightly damp cloth.
• Important: Never use abrasive products which might damage the appearance.
• Your appliance is fitted with a removable and washable dust filter (fig. 1+ 6 – H) (warm water and soap) which has to be cleaned regularly (fig. 5a+5b).
• Always ensure that the filter is dry before fitting it.
• Never use the appliance without its filter.
8- STORAGE
• It is important that the appliance be allowed to cool down before it is put away.
• When you are not using the appliance, store it in a dry place.
• If it is to be stored for a long period, remove the batteries from the remote control.
9- IN THE EVENT OF PROBLEMS
• Never dismantle your appliance yourself. A poorly repaired appliance may be dangerous for the user.
• Before contacting one of Approved Service Centres (see below), ensure that:
- the appliance is set to normal operating mode;
- the air inlet and outlet grills are totally clear.
10- PROTECTING THE ENVIRONMENT
Your appliance contains many materials that can be reused or recycled. Take it to a civic collection point or, if there is
none near you, to an authorized service centre for appropriate disposal.
This appliance uses a battery. To protect the environment, do not throw away dead batteries, instead, take them to a
battery collection point. Do not dispose of with household waste.
GB
If you have any problems or queries please call our
Customer Relations Team for expert help and advice:
HELPLINE:
0845 602 1454 - UK
(01) 461 0390 - Ireland
Or consult our web site: www.rowenta.co.uk
(if this is a Rowenta product).
NOT SO9020 CD050131 15/05/06 10:34 Page 8