3 • Switching on your steam
generator
Plug your steam generator into a mains
socket with an earth pin - fig.3. For best
results you should use a mesh
type/vented ironing board. The green
light (located on the control panel)
flashes and the boiler heats up - fig.4.
When starting, and regularly while it is
being used, your steam generator's
electric pump injects water into the boiler.
It makes a noise but this is quite normal.
The steam generator and the iron are
ready to iron when the steam ready
indicator light is on, without flashing, and
the iron temperature control light is off.
4 •
Operating the control panel
• Flashing green light - fig.4 : the water is
heating up in the boiler.
• Green indicator light not flashing -
fig.6 : steam is ready for use.
• Red indicator light flashing - fig.9 : the
water tank is empty.
• Orange "Calc-Away System" - fig.11 or
"Boiler rinse" - fig.17 light (depending
on model) flashes: you must rinse your
collector.
5 •
Using your steam generator
Place the iron’s temperature control -
fig.5 to the type of fabric to be ironed -
see table below. The iron temperature
control light turns on.
While ironing, the light on top of the iron
and the steam ready light turn on and
off, as the temperature adjusts without
interrupting ironing. To obtain steam,
press on the steam control button
beneath the iron handle and keep it
pressed - fig.7. The steam will stop when
you release the button.
Always spray starch on the reverse side
of the fabric to be ironed.
The first time the appliance is used,
there may be some fumes and smell but
this is not harmful. They will not affect
use and will disappear quickly.
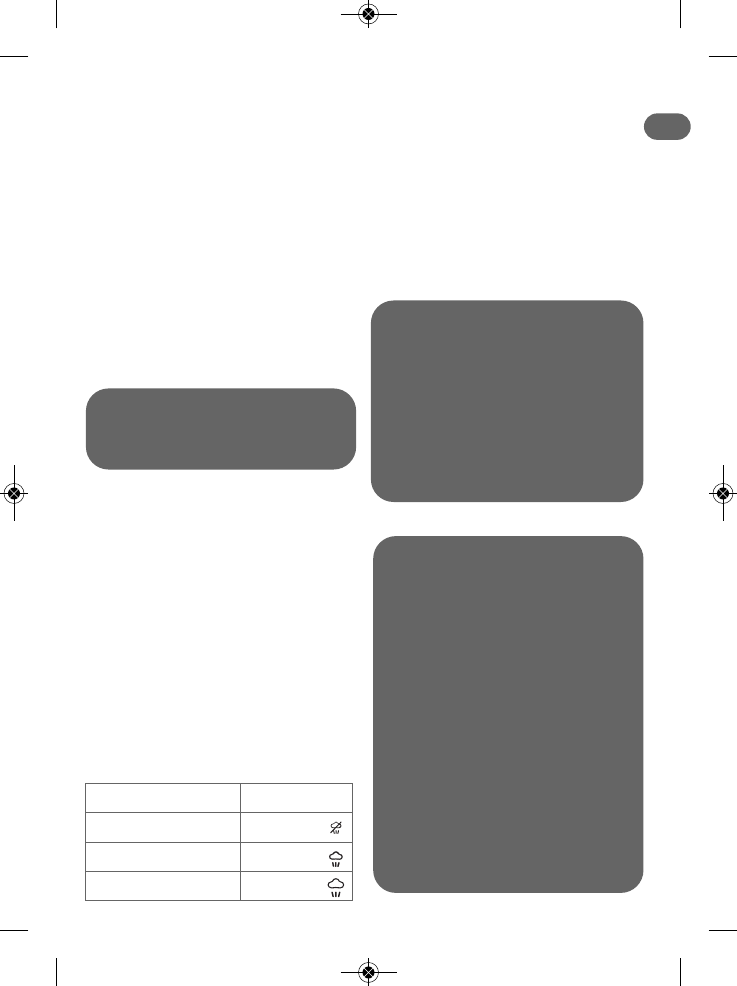
USE __________________________________________________
TYPE OF
FABRIC
SETTING
TEMPERATURE CONTROL
SYNTHETICS
(Polyester, Acetate, Acrylic, Polyamide)
•
SILK / WOOL
• •
COTTON / LINEN
• • •
Recommendations: To prime the
steam circuit, either before using the
iron for the first time, or if you have
not used the steam function for a few
minutes, press the steam control
button several times in a row - fig.7,
holding the iron away from your
clothes. This will enable any cold
water to be removed from the steam
circuit.
Iron temperature control setting: Start
with fabrics to be ironed at a low
temperature and finish with those
which need higher temperatures. Each
time you change fabrics, wait for the
light to turn off. Mixed fibre fabrics:
set the ironing temperature to the
setting for the most delicate fabric.
Woollen garments: press repeatedly
on the steam control button to obtain
short bursts of steam, without placing
the iron on the garment itself. This will
avoid making the fabric shiny.
If you
want to use steam on delicate fabrics
(•), press the steam control button
(under the handle of the iron)
intermittently to avoid possible water
droplets appearing with the steam.
3
EN
F
D
NL
I
E
P
GR
TR