574283
99
Zoom out
Zoom in
Previous page
1/190
Next page
99
5
Connecting the Camera to a Printer
Connect your camera to a printer using the
USB cable provided.
1. Check that the camera’s power
is off.
2. Check that the printers power is
off.
Load paper into the printer and check
that the printer is ready to print.
3. Connect one end of the USB
cable provided to the USB port
of your printer.
4. Connect the other end of the
USB cable to the USB terminal
on your camera.
5. Turn the printer's power on.
To disconnect the camera from the printer,
check that the power of both units is off
before disconnecting the USB cable
between them.
Printing One Image
1. Check that the printer is ready
for printing.
The "Connecting" screen appears.
2. Press the ADJ. button.
The "Connecting" screen appears. When
the connection between the printer and
the camera is established, the Direct
Print playback mode screen appears.
For some printers, the "Connecting"
screen automatically appears before you
press the ADJ. button.
The LCD monitor displays the last image
you shot.
3. Press the #$
#$#$
#$ buttons to select
an image for printing.
4. Press the ADJ. button.
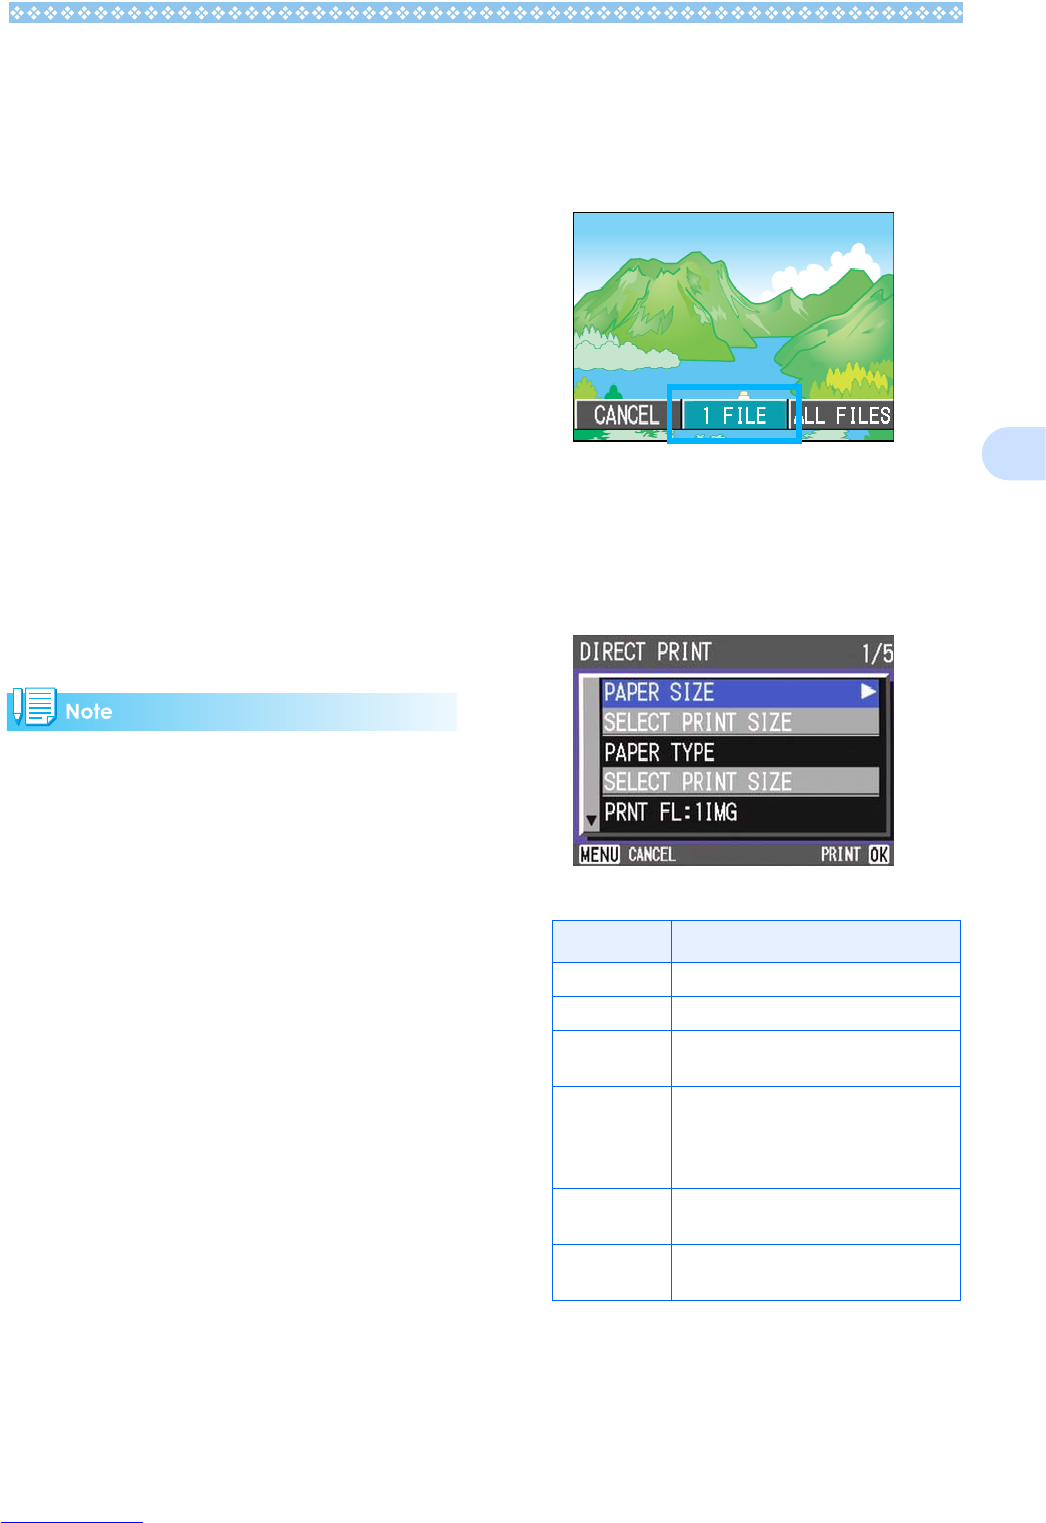
5. Make sure that [1 FILE] is
selected, and then press the O
OO
O
button.
The Direct Print menu appears.
6. Press the !"
!"!"
!" buttons to select
an item, and then press the $
$$
$
button to display the detailed
options screen.
The following items are available:
Item Name Function
PAPER SIZE Sets the paper size.
PAPER TYPE Sets the paper type.
LAYOUT Sets the number of images printed on a
sheet of paper.
DATE PRINT Selects whether to print the date (shoot-
ing date). The date format can be set
using the date/time option in the Setup
Mode.
FILE NAME
PRINT
Selects whether to print the file name.
OPTIMIZE
IMAGE
Selects whether to optimize the image
data prior to printing on the printer.
Downloaded from www.Manualslib.com manuals search engine
99


Need help? Post your question in this forum.

Forumrules


Report abuse

Libble takes abuse of its services very seriously. We're committed to dealing with such abuse according to the laws in your country of residence. When you submit a report, we'll investigate it and take the appropriate action. We'll get back to you only if we require additional details or have more information to share.

Product:

For example, Anti-Semitic content, racist content, or material that could result in a violent physical act.

For example, a credit card number, a personal identification number, or an unlisted home address. Note that email addresses and full names are not considered private information.

Forumrules

To achieve meaningful questions, we apply the following rules:

Register

Register getting emails for Rollei DR5100 at:


You will receive an email to register for one or both of the options.


Get your user manual by e-mail

Enter your email address to receive the manual of Rollei DR5100 in the language / languages: English as an attachment in your email.

The manual is 9,78 mb in size.


You will receive the manual in your email within minutes. If you have not received an email, then probably have entered the wrong email address or your mailbox is too full. In addition, it may be that your ISP may have a maximum size for emails to receive.

The manual is sent by email. Check your email

If you have not received an email with the manual within fifteen minutes, it may be that you have a entered a wrong email address or that your ISP has set a maximum size to receive email that is smaller than the size of the manual.

The email address you have provided is not correct.

Please check the email address and correct it.

Your question is posted on this page

Would you like to receive an email when new answers and questions are posted? Please enter your email address.


Info