574283
69
Zoom out
Zoom in
Previous page
1/190
Next page
69
3
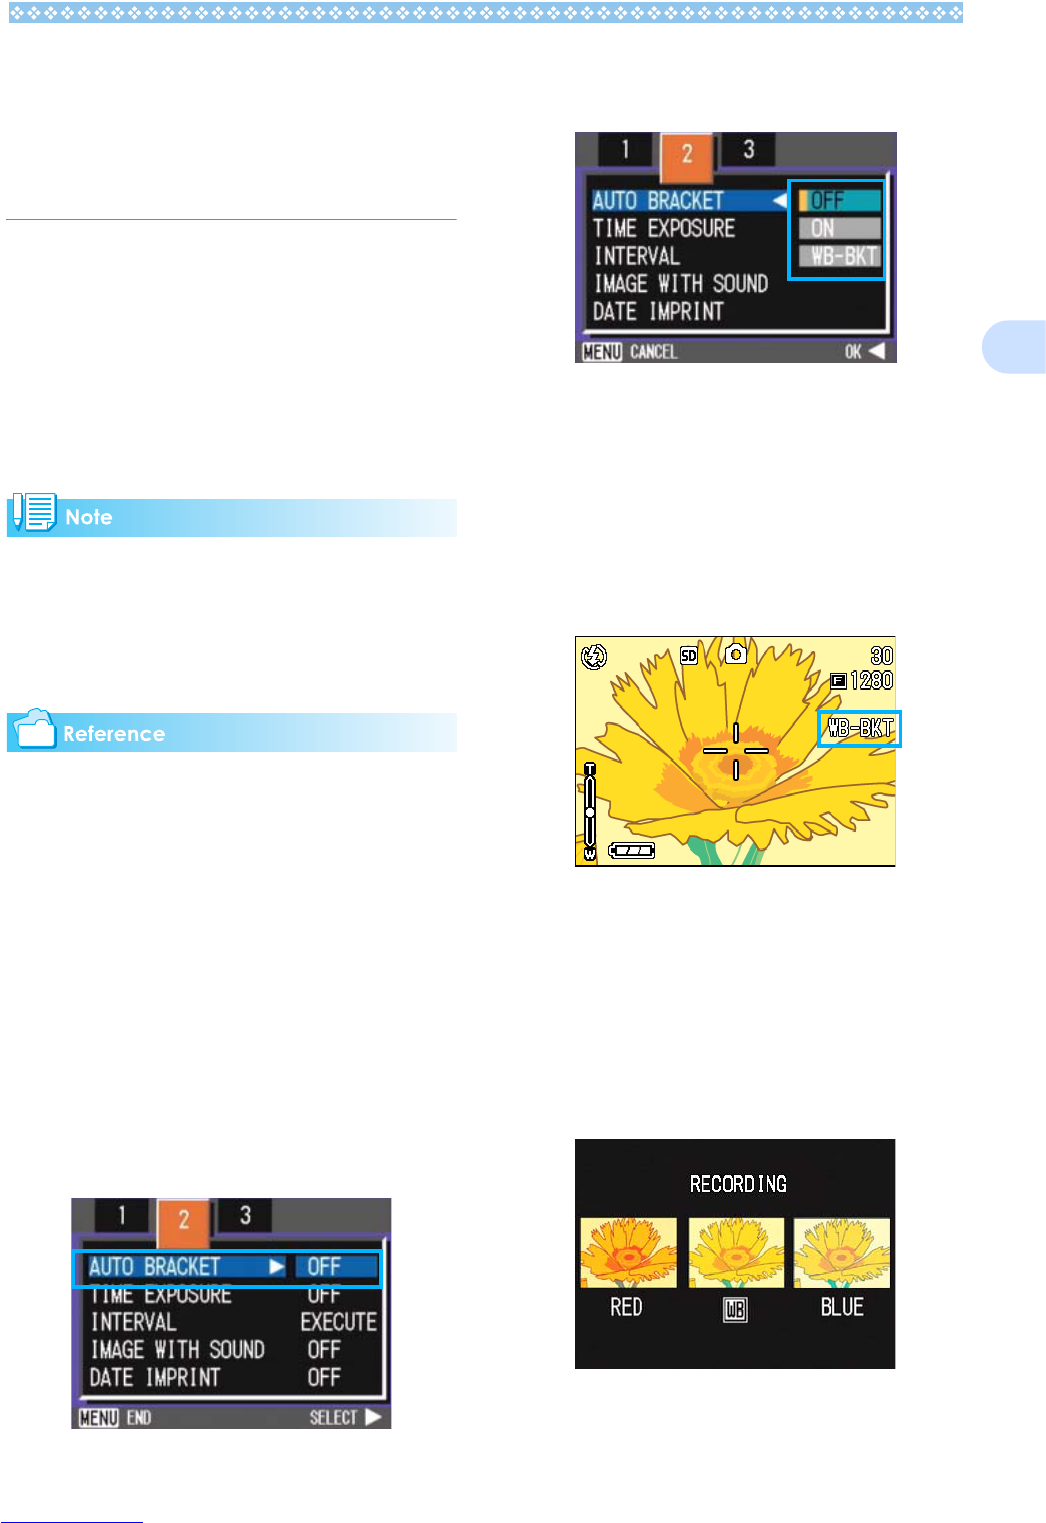
Shooting Consecutively
with Different White
Balance (WHITE BAL-
ANCE BRACKET)
Three images are automatically recorded - a
reddish image, a bluish image, and an image
of the current white balance.
The first image is reddish, the second one is
equal to the current setting, and the third one
is bluish.
This is useful if the appropriate white balance
cannot be judged.
By default, your camera is set to OFF.
This function is not available for Multi-Shot (P.43)
shooting and Auto Bracket shooting (P.77).
Flash cannot be used.
Time Exposure (P.78) is set to OFF.
For how to change the white balance, see P.62.
To shoot with White Balance Bracket, follow
the steps below.
1. Turn the mode dial to 5
55
5 (Shoot-
ing Mode) or A/M (Aperture Pri-
ority/Manual Exposure Mode).
2. Press the M
MM
M button.
The Shooting menu appears.
3. Press the #$
#$#$
#$ buttons to switch
between displays as required.
4. Select [AUTO BRACKET] and
press the O
OO
O or $
$$
$ button.
5. Press the !"
!"!"
!" buttons to select
[WB-BKT].
6. Press the O
OO
O or #
##
# button.
White Balance Bracket settings are com-
plete.
7. If you pressed the #
##
# button, also
press the M
MM
M button.
The Shooting menu disappears and the
screen displays the set values.
8. Press the shutter button.
Three images (reddish, bluish, and equal
to the current white balance) are auto-
matically recorded.
The three still images displayed on the
LCD monitor immediately after shooting
are reddish, equal to the current setting,
and bluish from left.
This setting will be used for shooting until
you turn the power off.
Downloaded from www.Manualslib.com manuals search engine
69


Need help? Post your question in this forum.

Forumrules


Report abuse

Libble takes abuse of its services very seriously. We're committed to dealing with such abuse according to the laws in your country of residence. When you submit a report, we'll investigate it and take the appropriate action. We'll get back to you only if we require additional details or have more information to share.

Product:

For example, Anti-Semitic content, racist content, or material that could result in a violent physical act.

For example, a credit card number, a personal identification number, or an unlisted home address. Note that email addresses and full names are not considered private information.

Forumrules

To achieve meaningful questions, we apply the following rules:

Register

Register getting emails for Rollei DR5100 at:


You will receive an email to register for one or both of the options.


Get your user manual by e-mail

Enter your email address to receive the manual of Rollei DR5100 in the language / languages: English as an attachment in your email.

The manual is 9,78 mb in size.


You will receive the manual in your email within minutes. If you have not received an email, then probably have entered the wrong email address or your mailbox is too full. In addition, it may be that your ISP may have a maximum size for emails to receive.

The manual is sent by email. Check your email

If you have not received an email with the manual within fifteen minutes, it may be that you have a entered a wrong email address or that your ISP has set a maximum size to receive email that is smaller than the size of the manual.

The email address you have provided is not correct.

Please check the email address and correct it.

Your question is posted on this page

Would you like to receive an email when new answers and questions are posted? Please enter your email address.


Info