For safe and correct use, be sure to read the Safety Information in
Read This FIrst before using the machine.
Information for This Machine
Troubleshooting
Adding Paper and Ink
Web Image Monitor
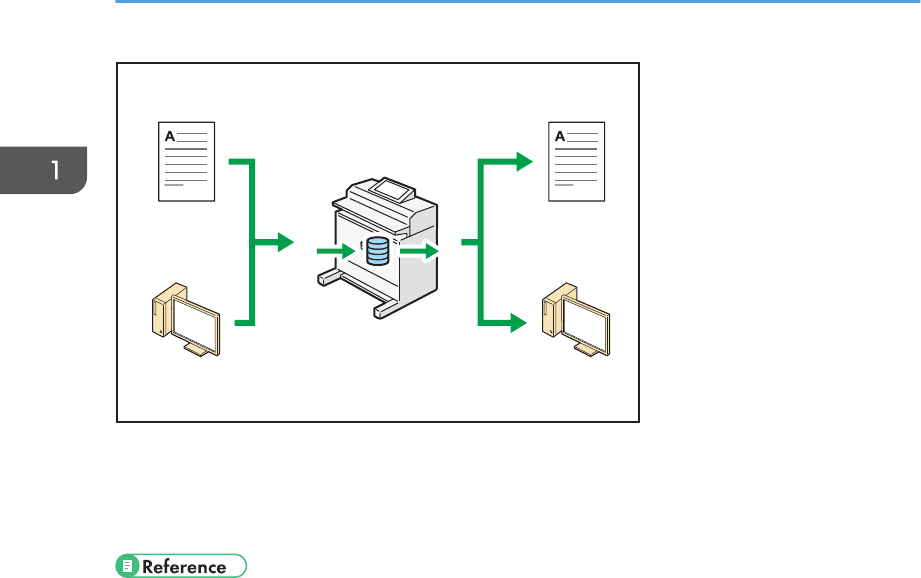
Document Server
Scan
Print
Copy
Getting Started
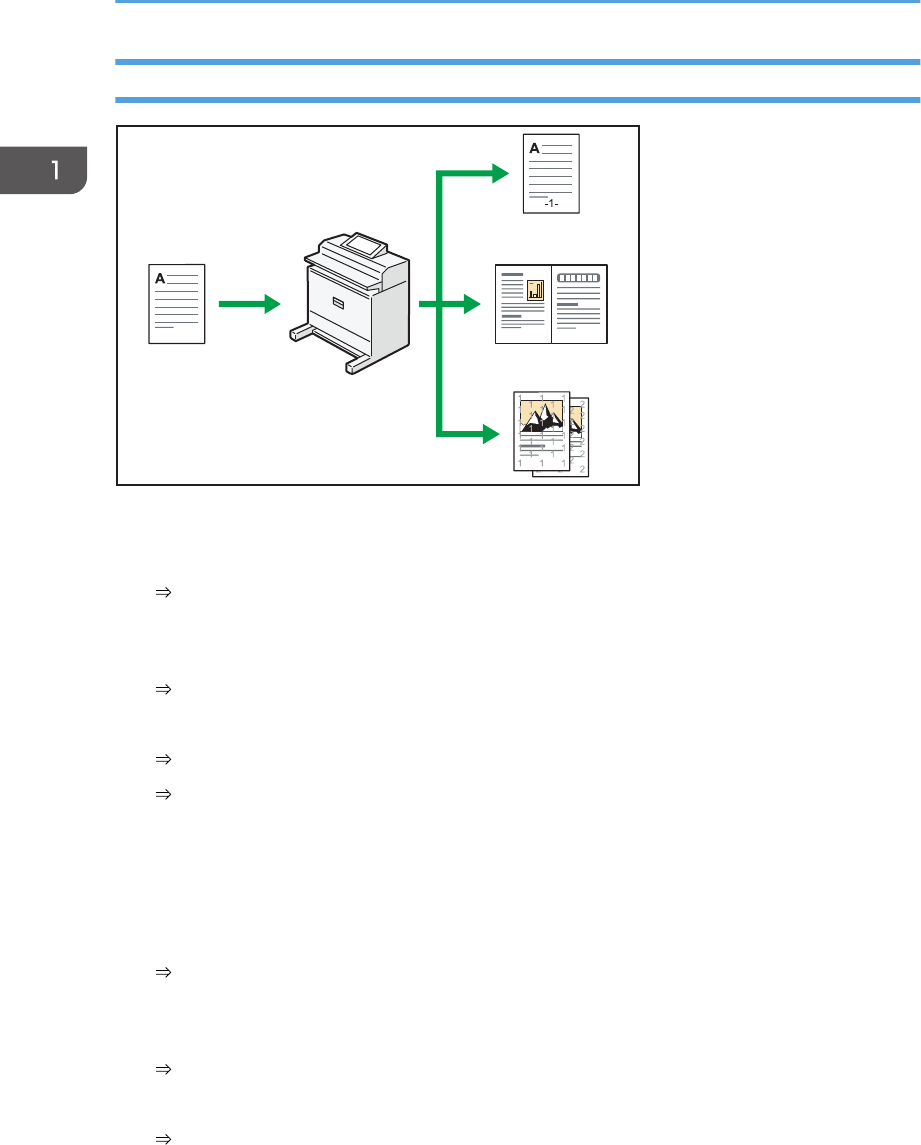
What You Can Do with This Machine
User Guide
TABLE OF CONTENTS
How to Read the Manuals.................................................................................................................................7
Symbols Used in the Manuals.......................................................................................................................7
Names of Major Features..................................................................................................................................9
1. What You Can Do with This Machine
Searching by What You Want to Do.............................................................................................................11
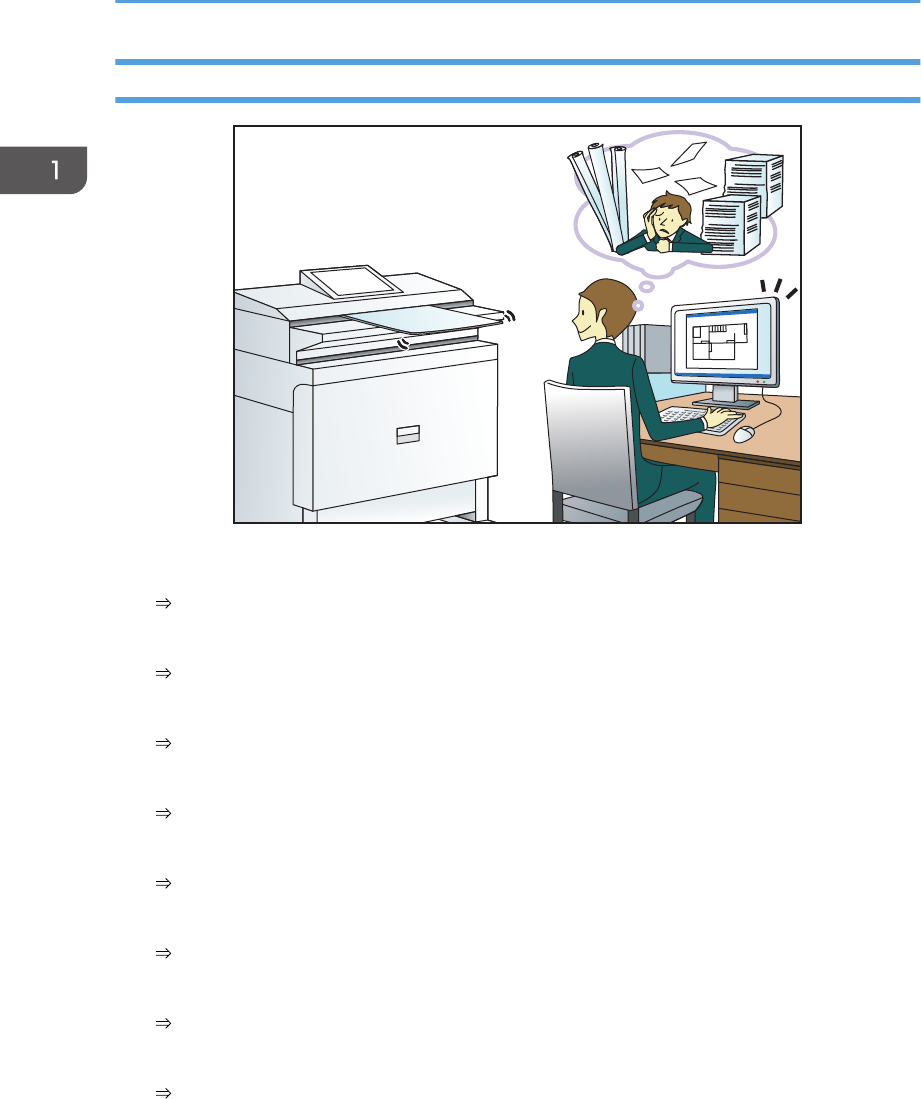
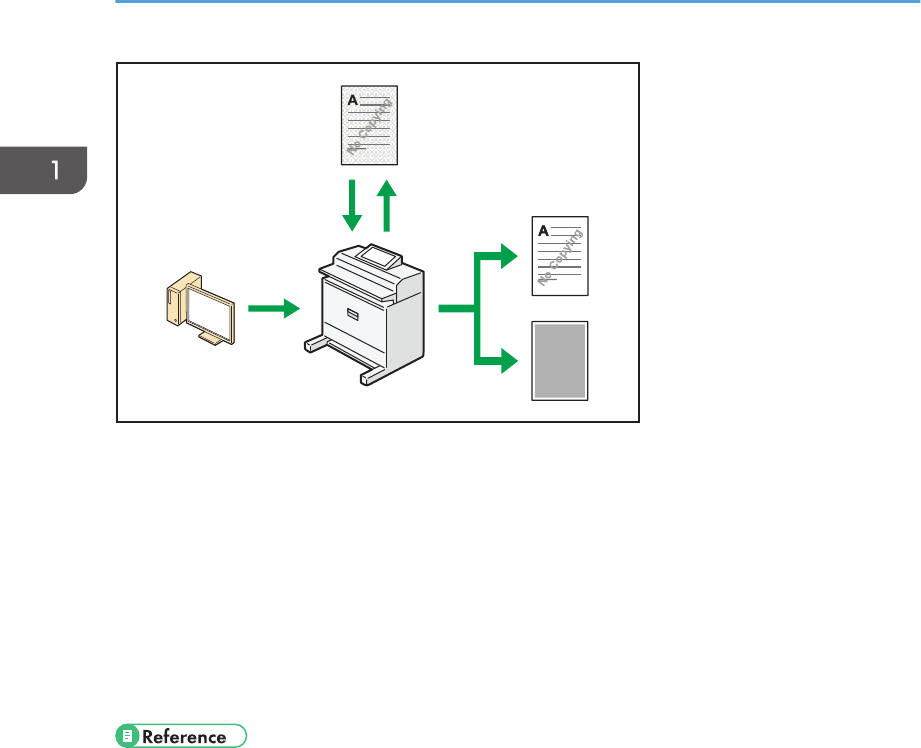
Reducing my Costs.......................................................................................................................................11
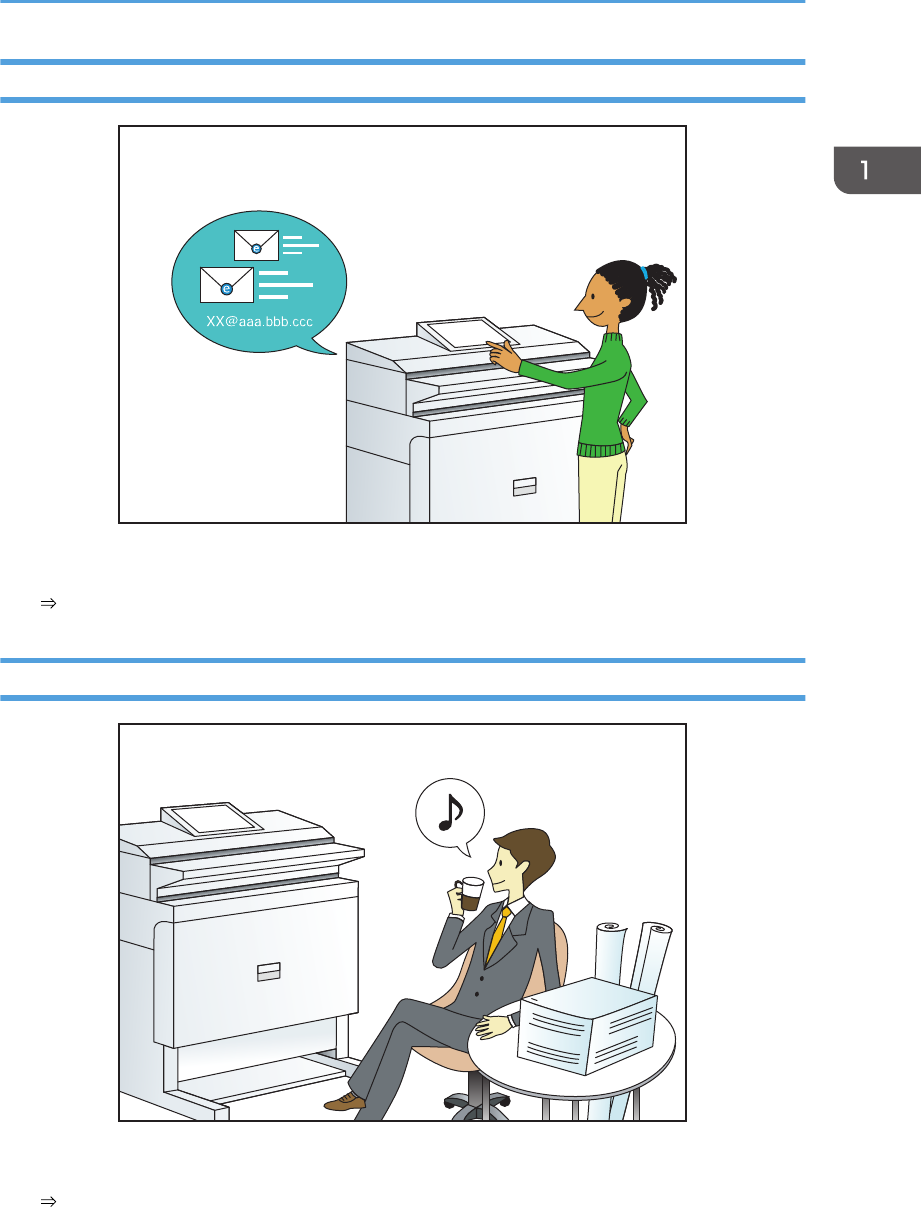
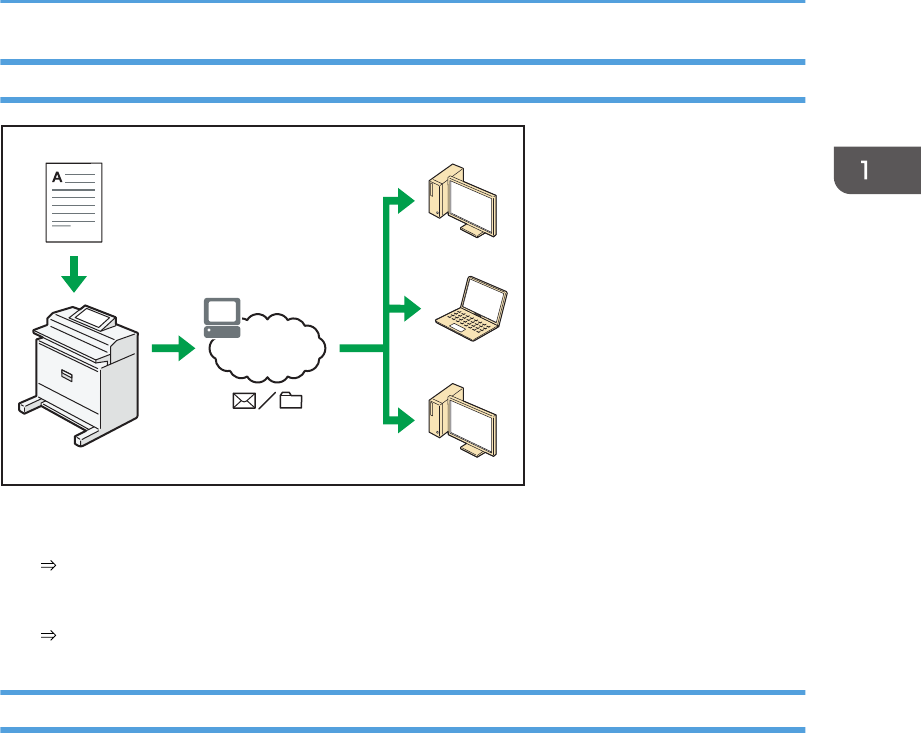
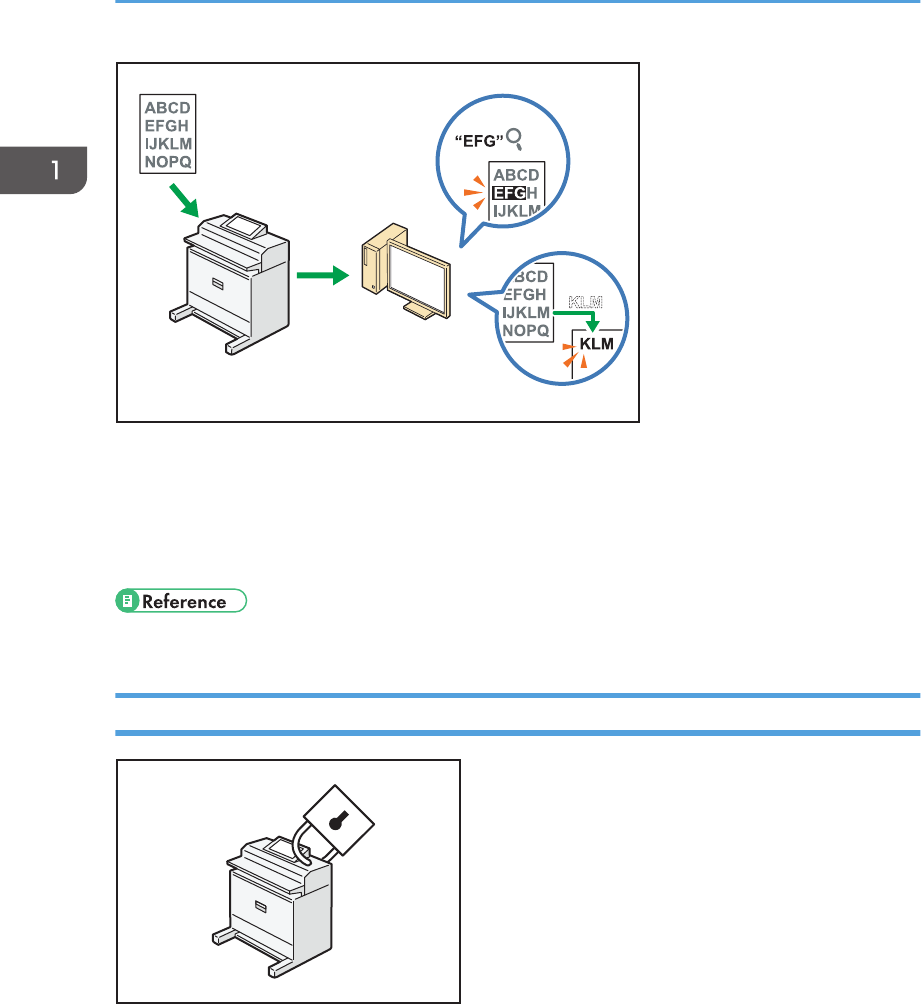
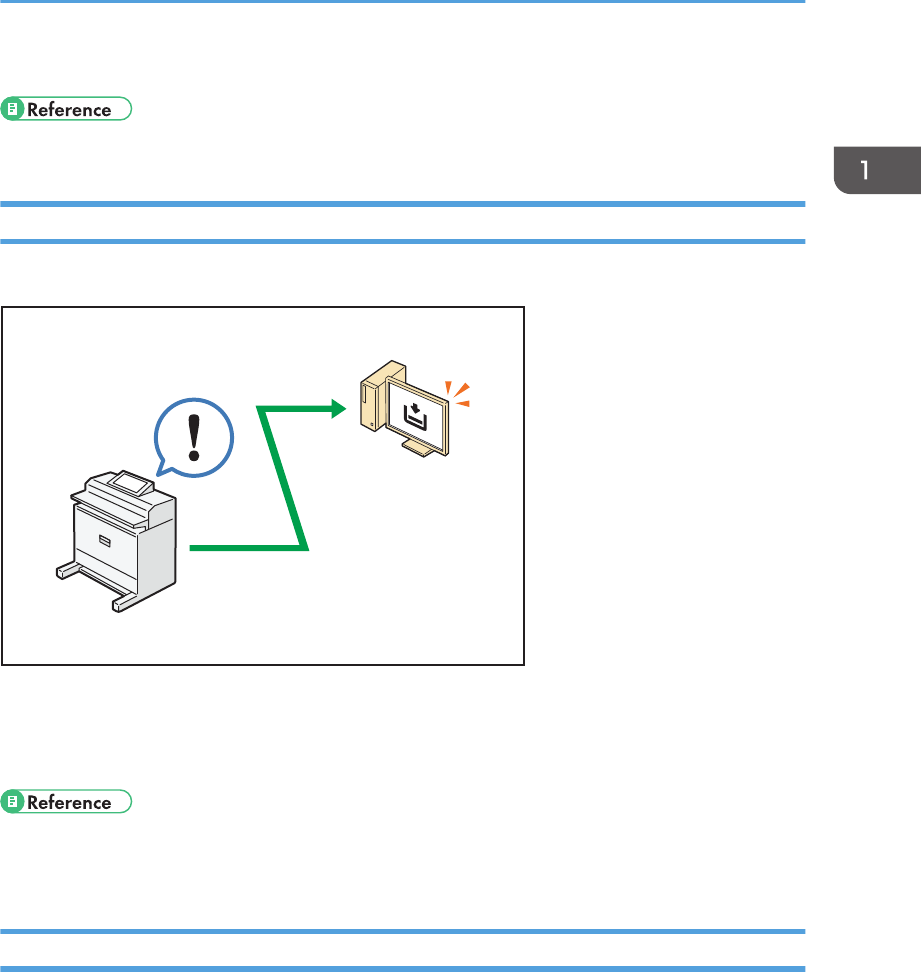
Using Scanned Files on the Computer.......................................................................................................12
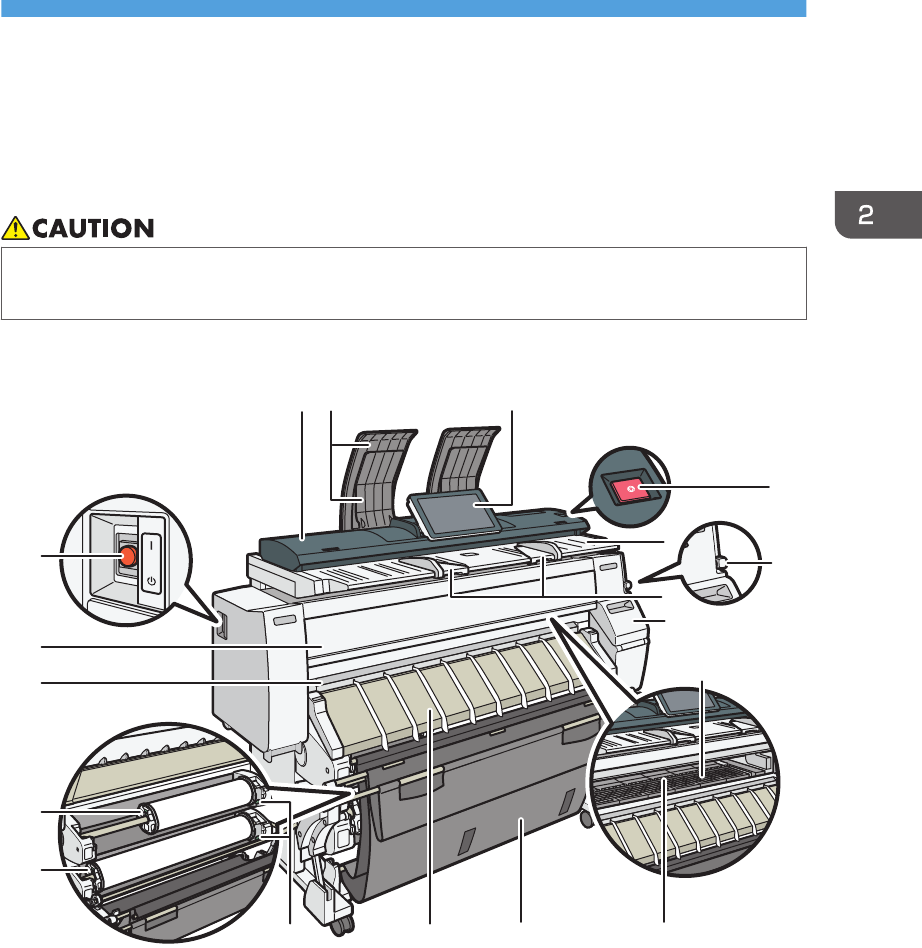
Guide to Names and Functions of Components............................................................................................23
Guide to Functions of the Machine's Options................................................................................................26
Guide to Functions of the Machine's External Options.............................................................................26
Guide to the Names and Functions of the Machine's Control Panel...........................................................27
Changing the Display Language....................................................................................................................28
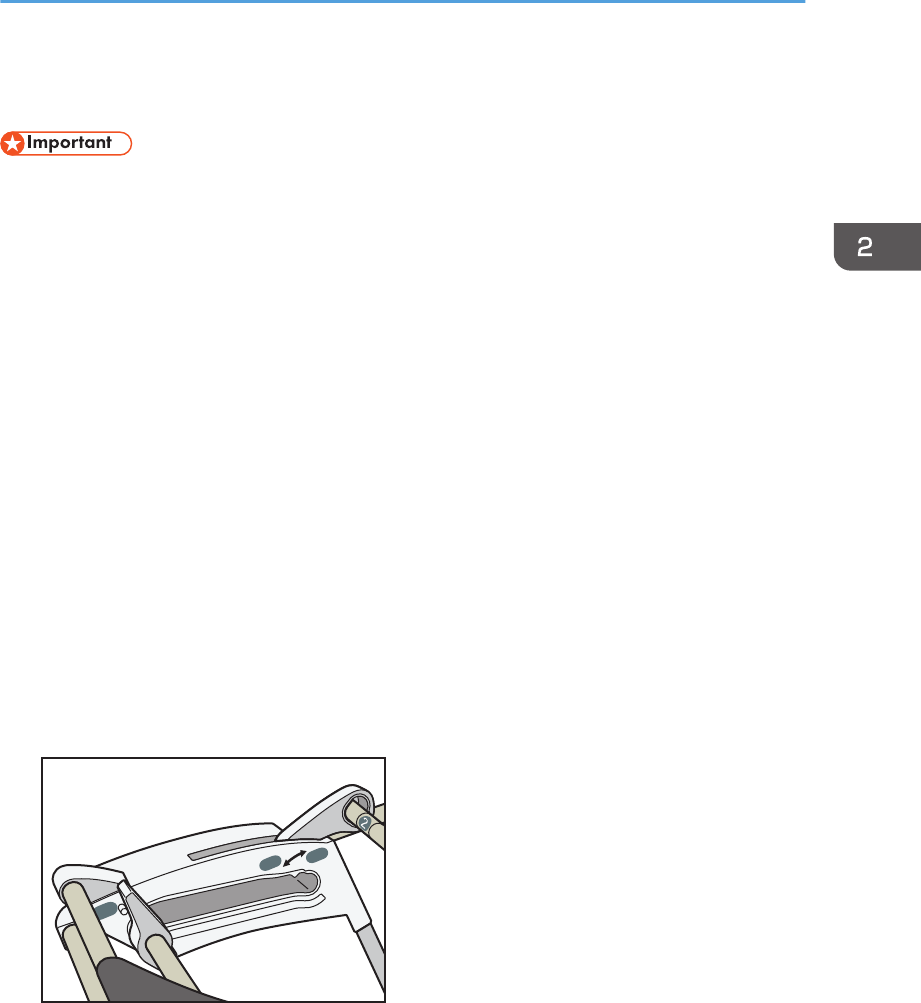
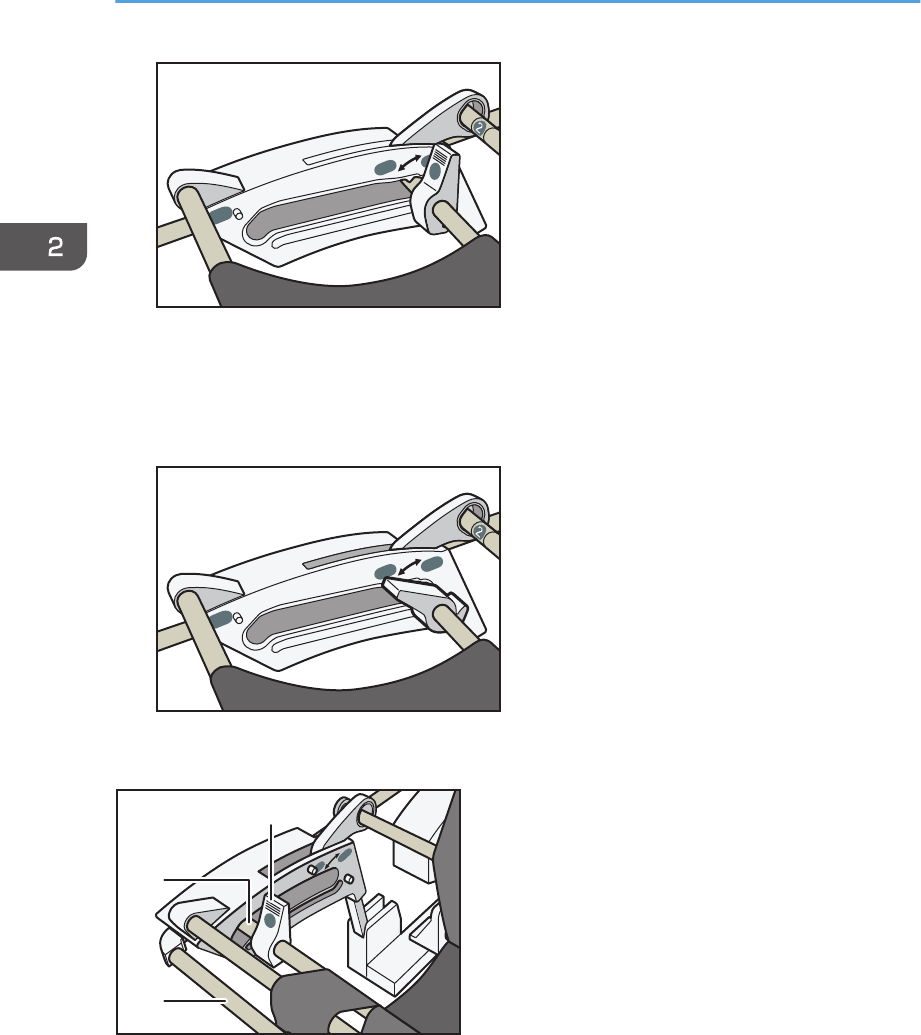
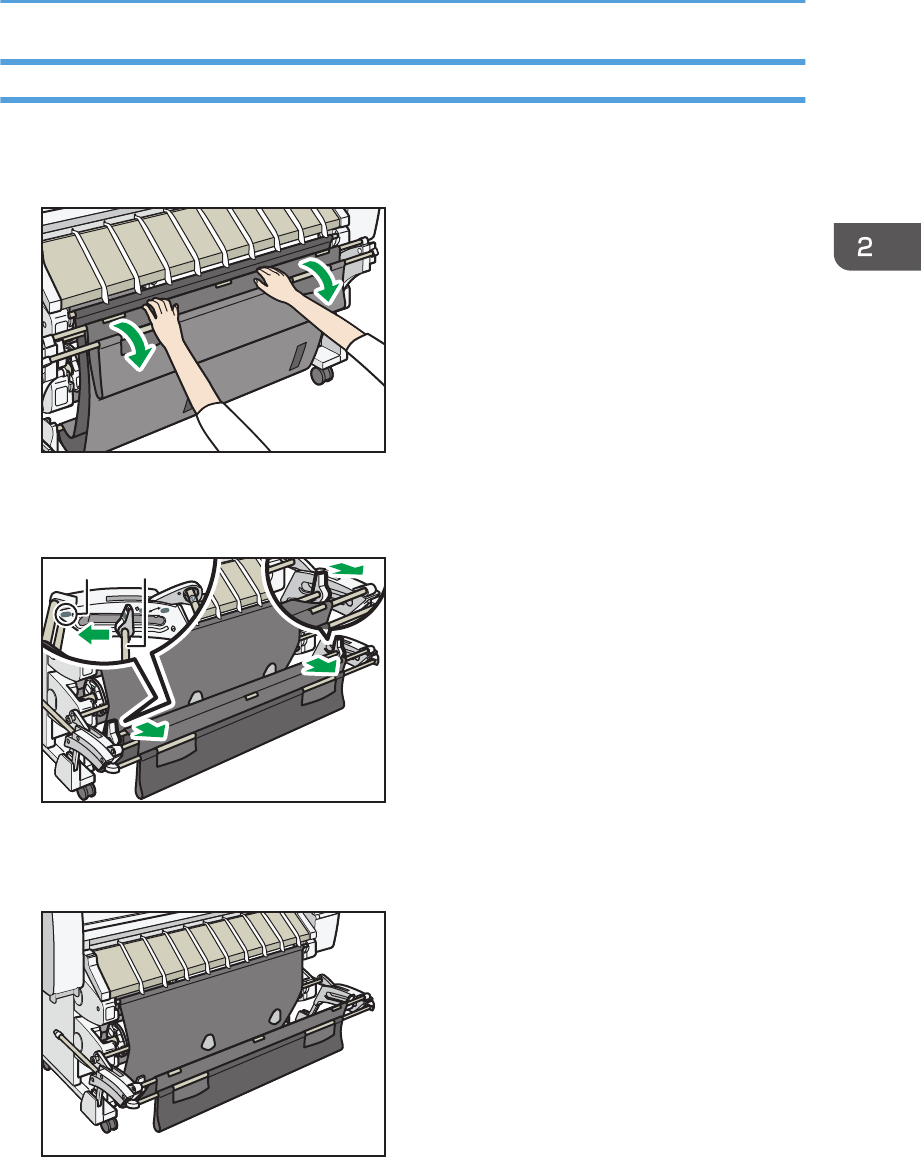
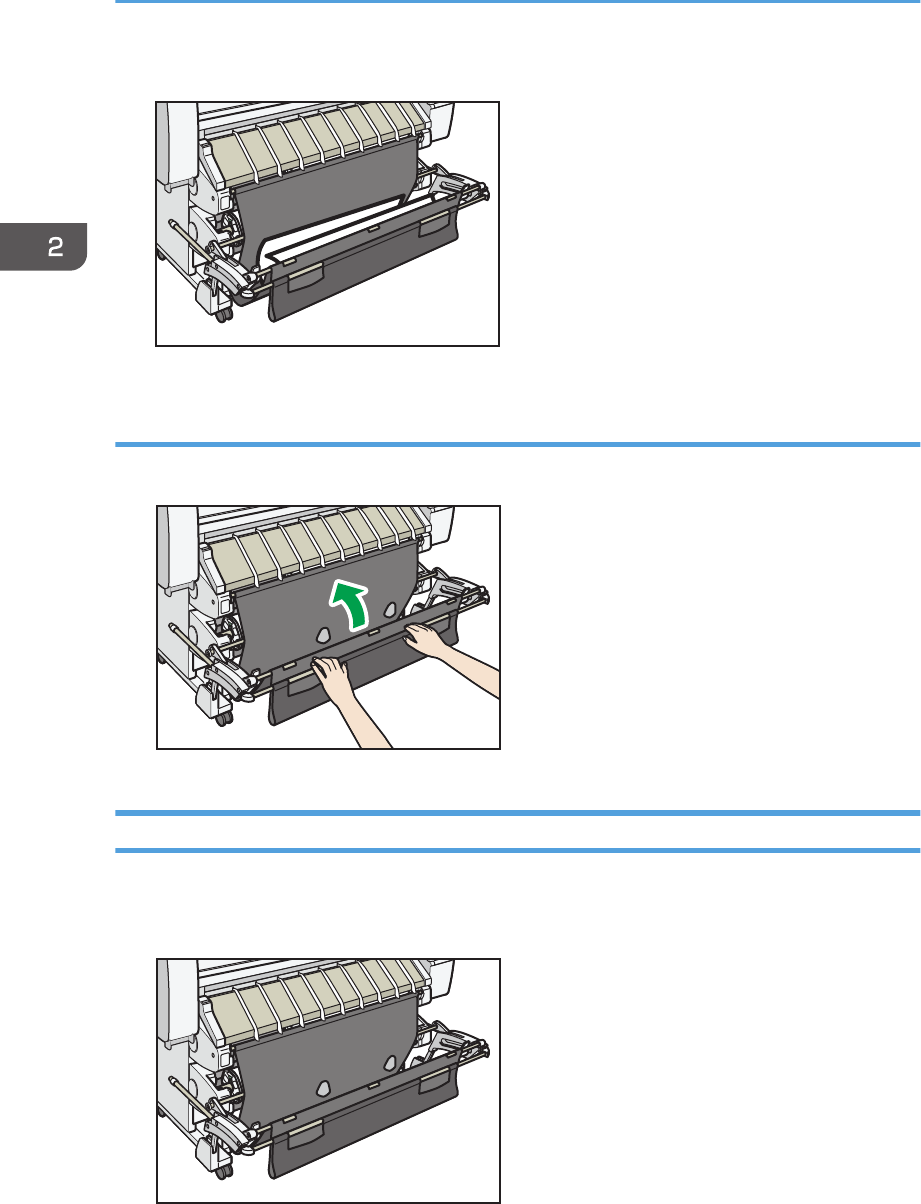
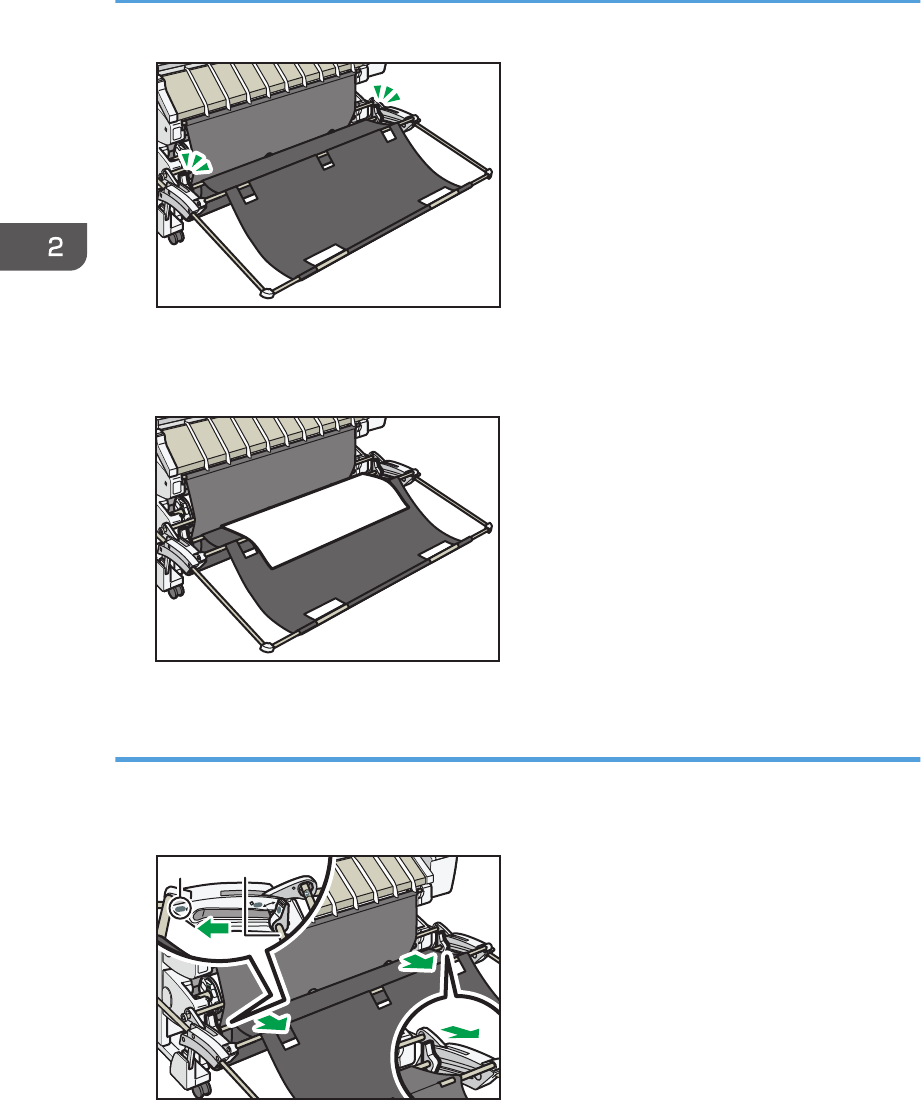
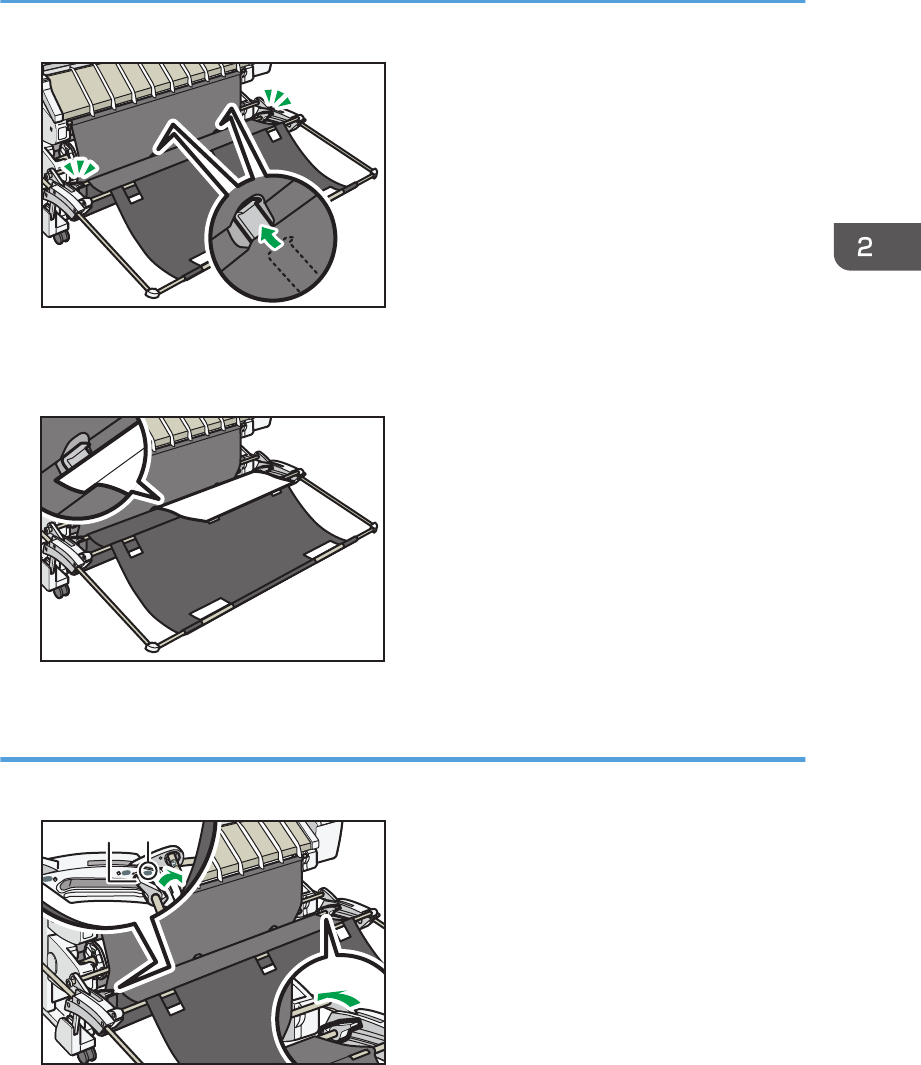
Setting the Output Basket.................................................................................................................................29
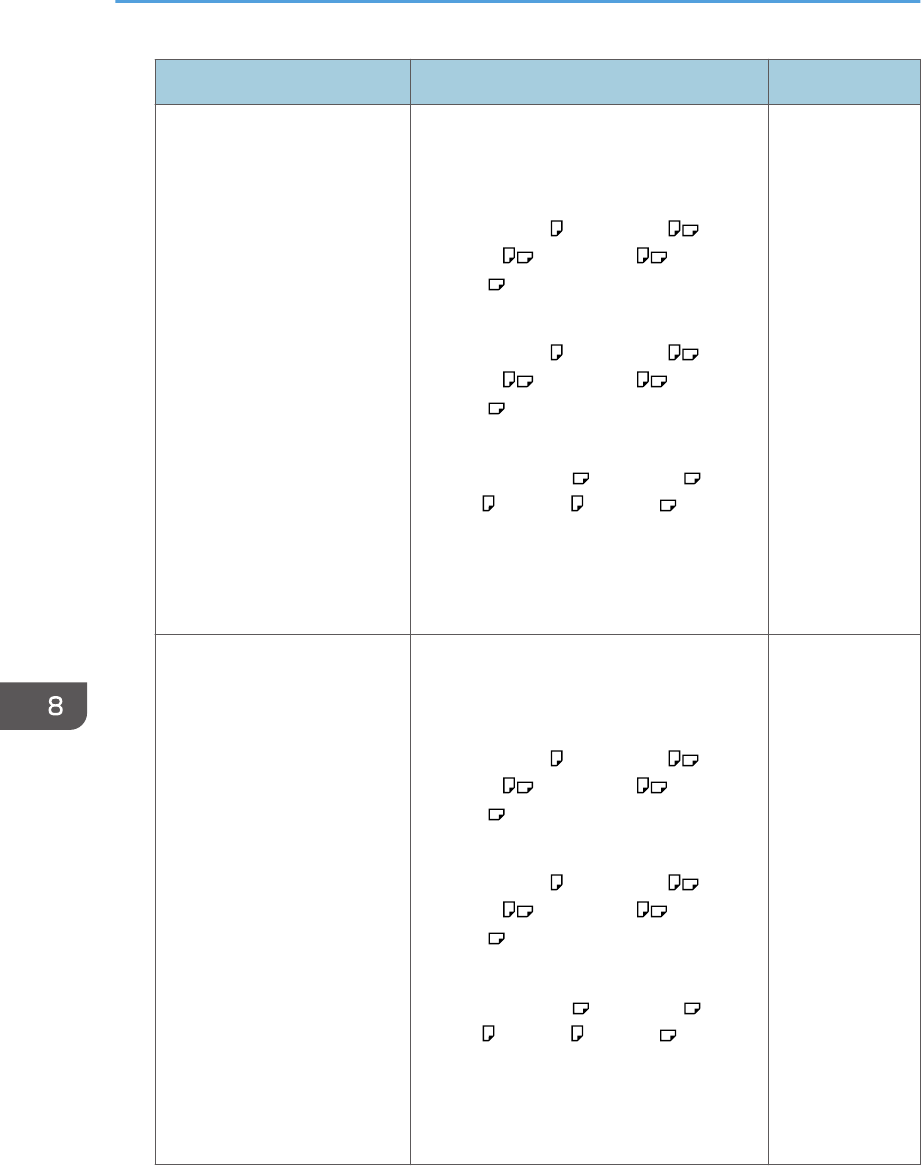
Setting Up the Output Basket in Basic Mode............................................................................................ 31
Setting Up the Output Basket in A0/A1/E/D Stack Mode....................................................................32
Setting Up the Output Basket in A1/A2 (landscape)/D/C (landscape) Stack Mode.........................35
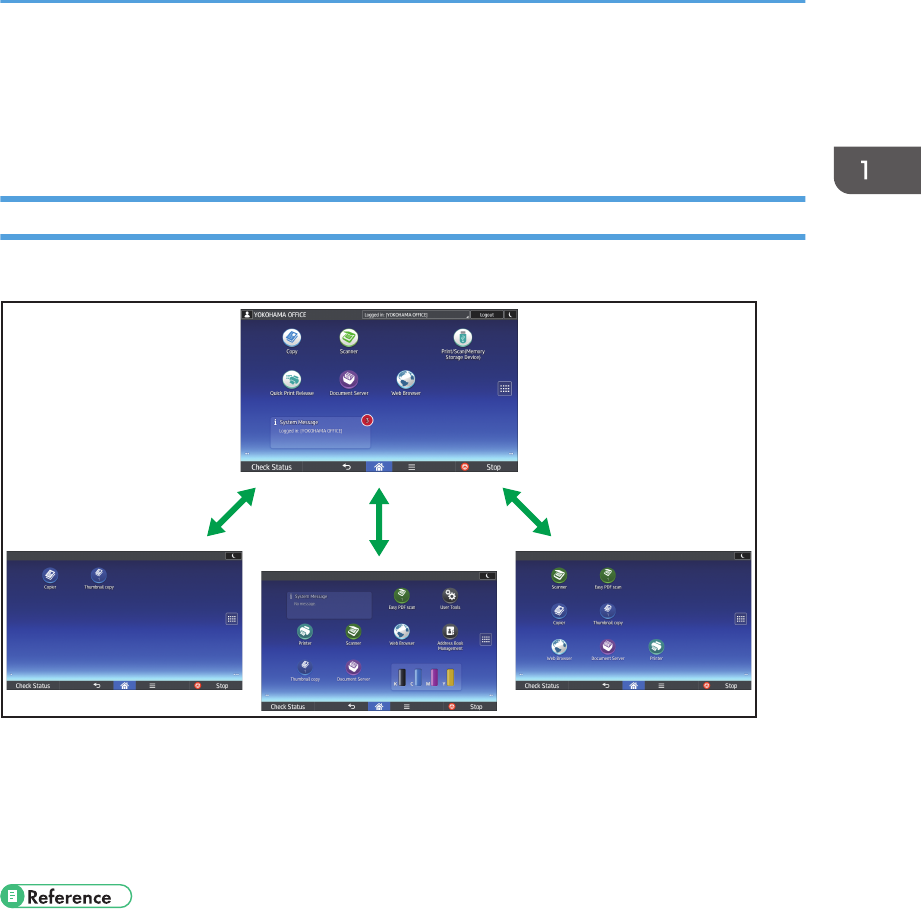
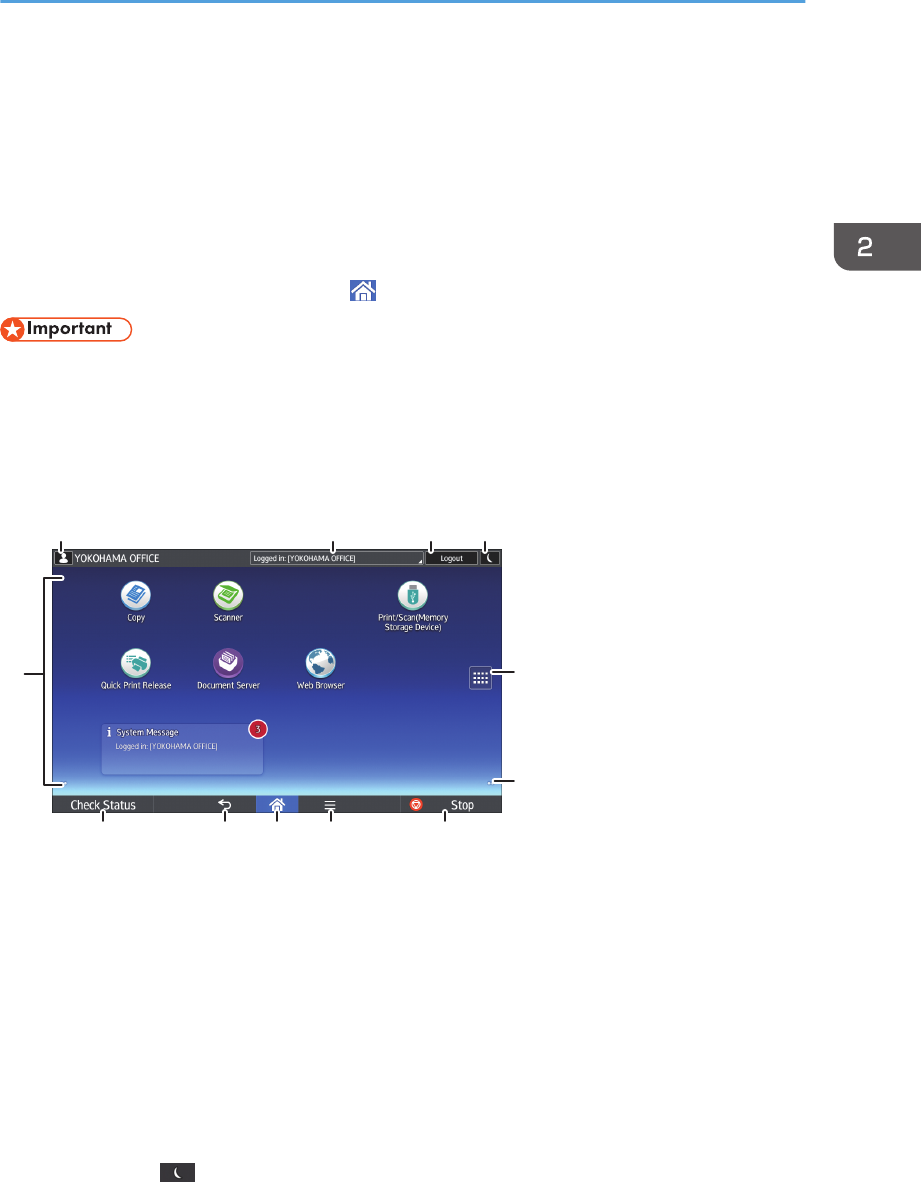
How to Use the [Home] Screen......................................................................................................................39
Adding Icons to the [Home] Screen...........................................................................................................41
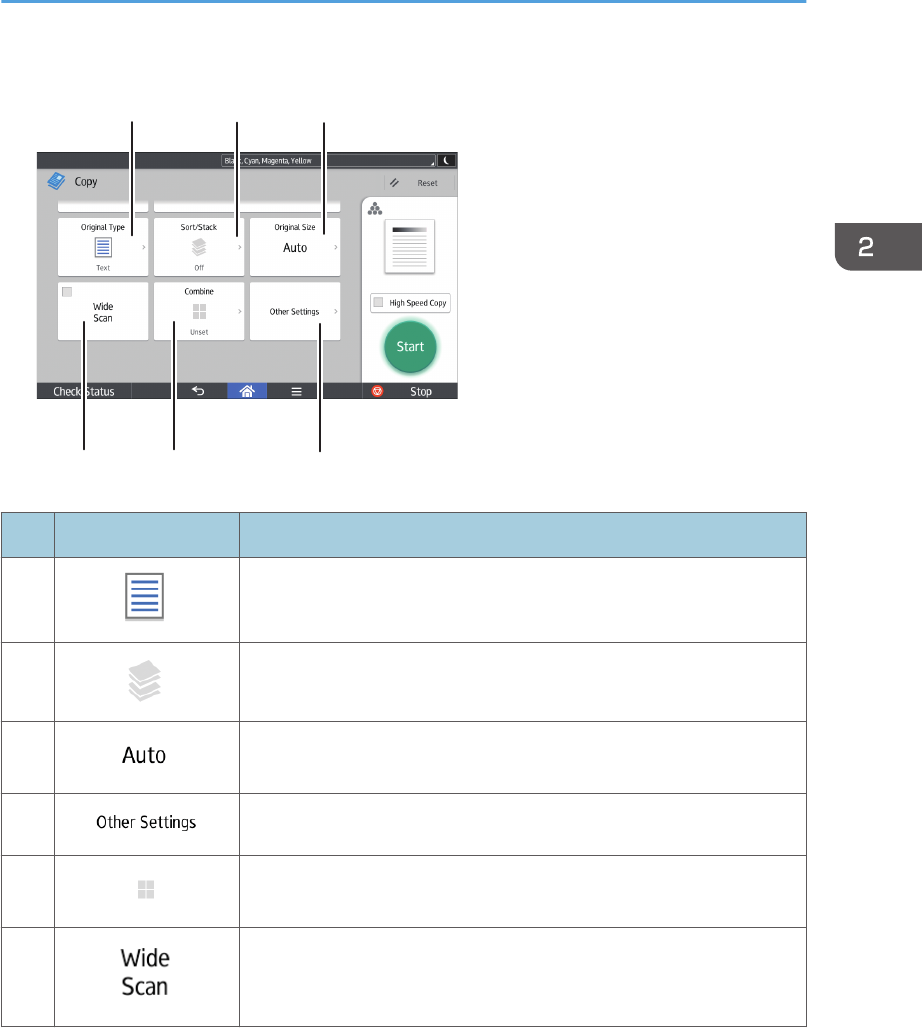
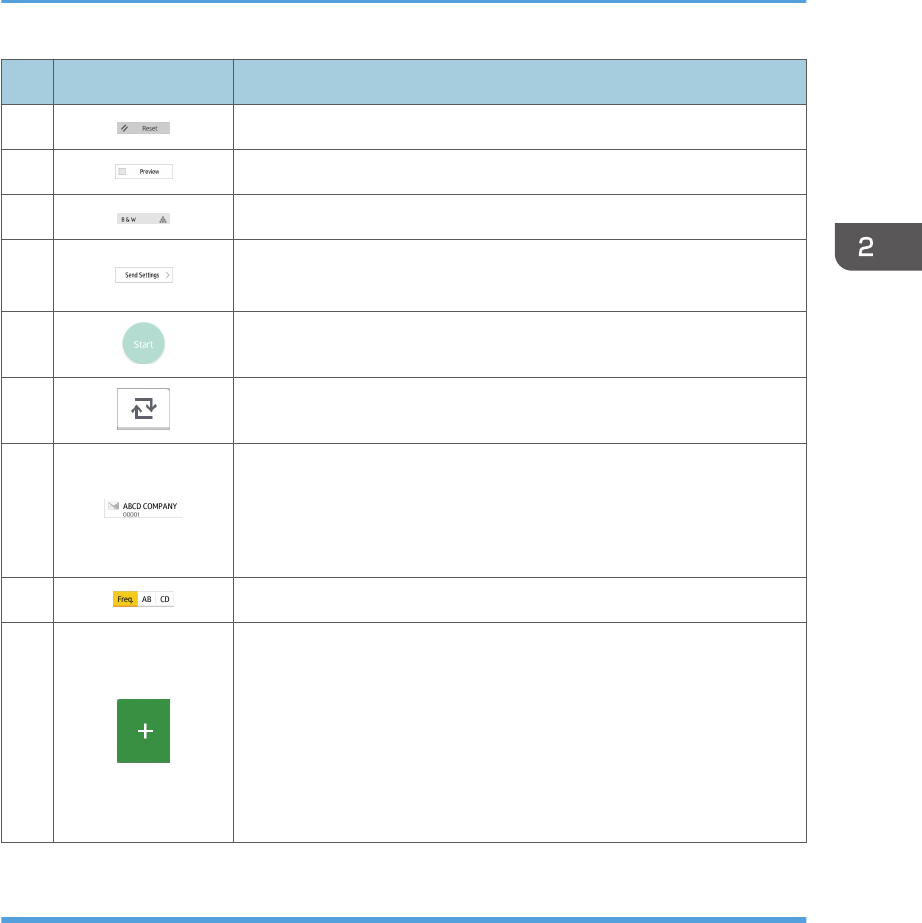
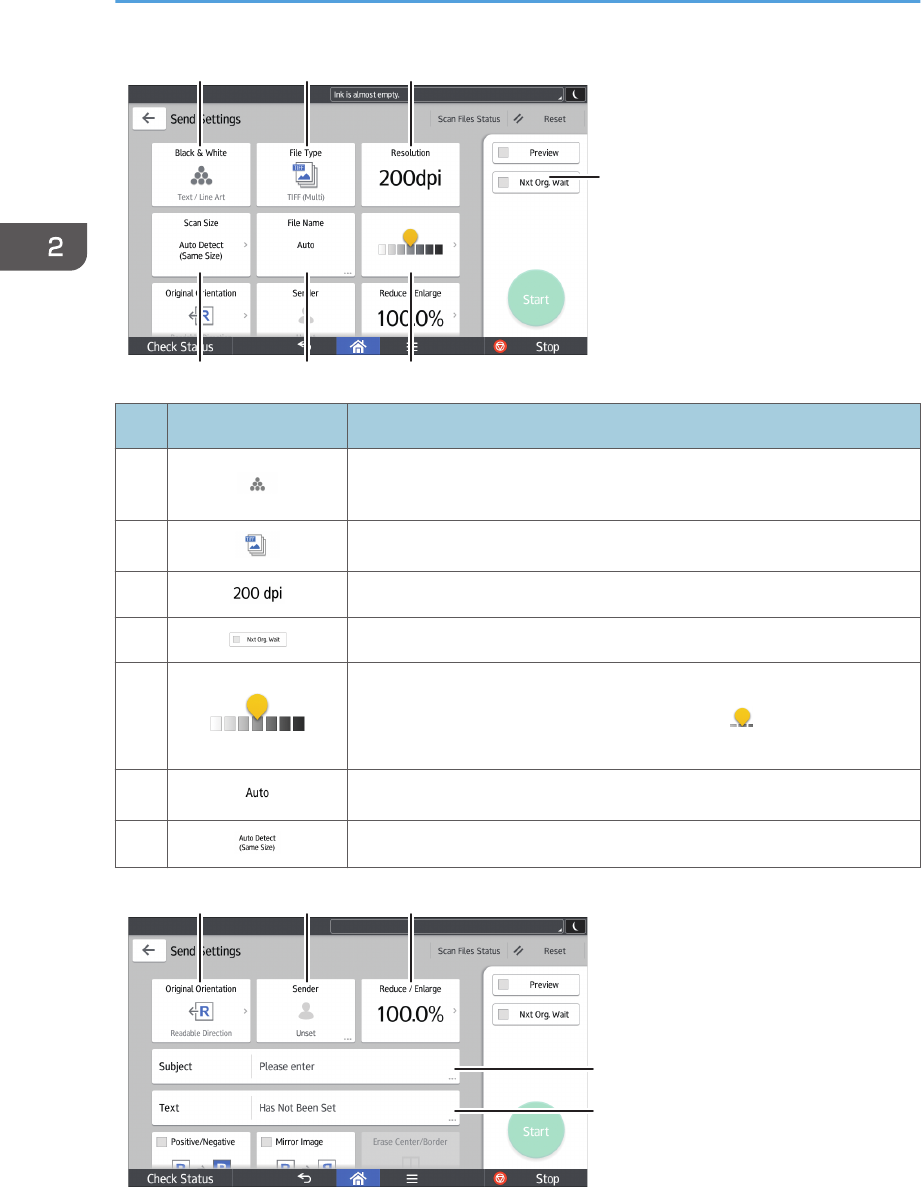
How to Use Each Application.........................................................................................................................43
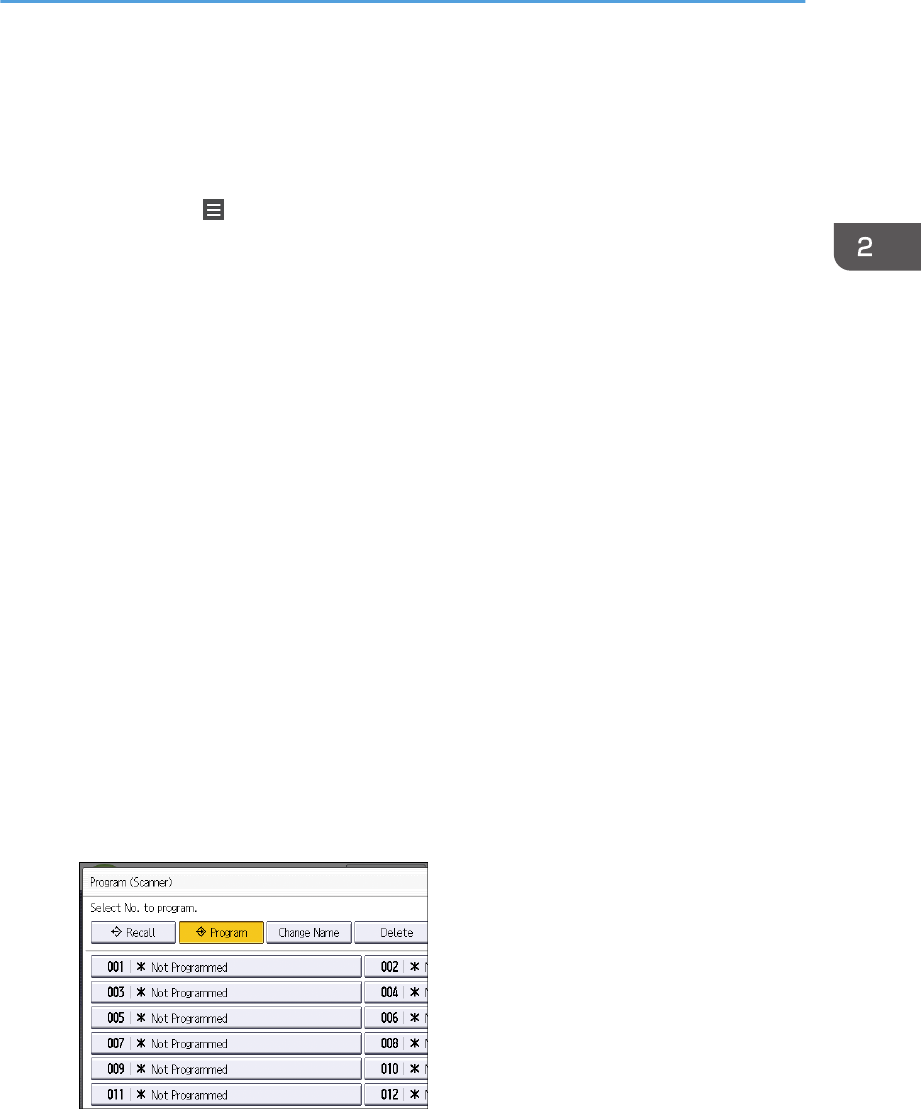
Registering Functions in a Program.................................................................................................................50
Example of Programs (When Using the Classic Applications)................................................................ 53
Turning On/Off the Power..............................................................................................................................55
Turning On the Main Power........................................................................................................................55
Turning Off the Main Power........................................................................................................................55
Logging In the Machine...................................................................................................................................57
When the Authentication Screen is Displayed..........................................................................................57
User Code Authentication Using the Control Panel..................................................................................57
Logging In Using the Control Panel............................................................................................................57
Logging Out Using the Control Panel.........................................................................................................58
Changing the Number of Sets....................................................................................................................86
2
Storing Data in the Document Server.............................................................................................................87
4. Print
Installing the Printer Driver for a Network Connection..................................................................................89
Installing the Printer Driver for the Selected Port........................................................................................89
Using Windows Print Server........................................................................................................................92
Installing the Printer Driver for USB Connection............................................................................................93
Windows Server 2003/2003 R2.............................................................................................................93
Windows Vista, Windows Server 2008....................................................................................................94
Windows 7/8/8.1/10, Windows Server 2008 R2/2012/2012 R2................................................94
Displaying the Printer Driver Properties..........................................................................................................96
Standard Printing..............................................................................................................................................97
Combining Multiple Pages into Single Page..................................................................................................98
Types of Combine Printing.......................................................................................................................... 98
Sending a Locked Print File.......................................................................................................................100
Printing a Locked Print File Using the Control Panel...............................................................................100
Hold Print........................................................................................................................................................102
Sending a Hold Print File..........................................................................................................................102
Printing a Hold Print File Using the Control Panel...................................................................................102
Registering an SMB Folder.......................................................................................................................116
3
Deleting an SMB Registered Folder.........................................................................................................119
Entering the Path to the Destination Manually........................................................................................120
Basic Procedure for Sending Scan Files by E-mail......................................................................................122
Registering an E-mail Destination.............................................................................................................123
Deleting an E-mail Destination.................................................................................................................124
Entering an E-mail Address Manually.....................................................................................................125
Basic Procedure for Storing Scan Files........................................................................................................126
Checking a Stored File Selected from the List.........................................................................................127
Specifying the File Type................................................................................................................................128
Displaying Top Page.....................................................................................................................................135
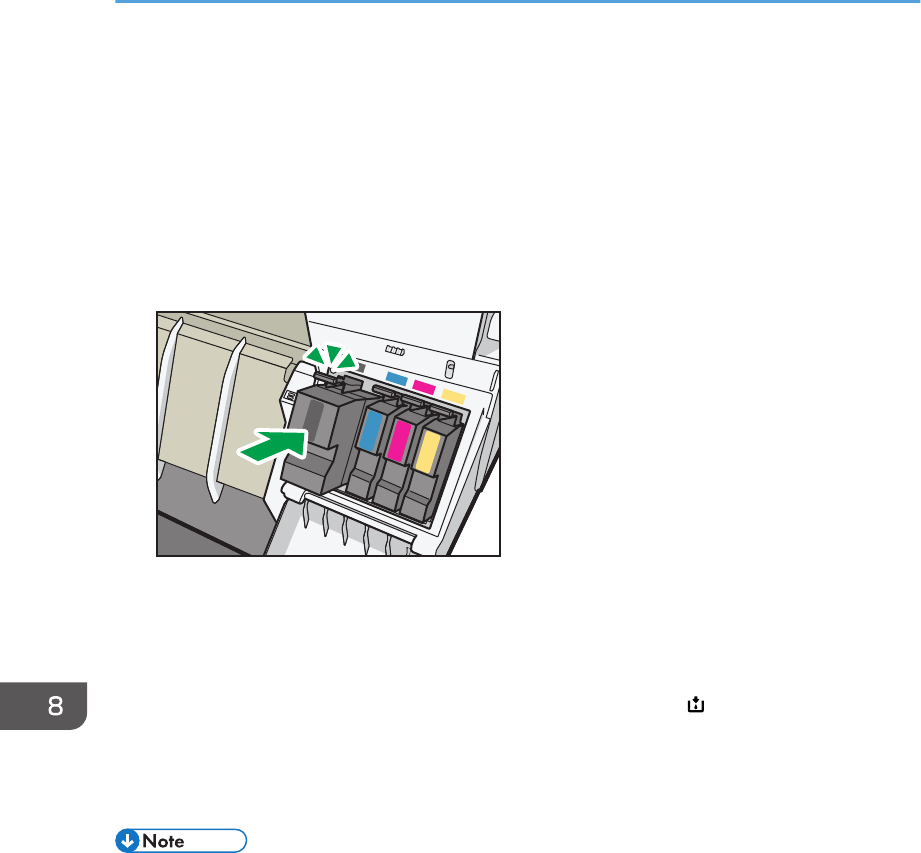
Used Print Cartridges................................................................................................................................178
Replacing an Ink Collector Unit....................................................................................................................179
9. Troubleshooting
When a Status Icon Is Displayed..................................................................................................................181
When the Indicator Lamp for [Check Status] Is Lit or Flashing...................................................................182
When the Machine Makes a Beeping Sound.............................................................................................184
4
When You Have Problems Operating the Machine...................................................................................185
When Multiple Functions Cannot Be Executed Simultaneously............................................................190
Messages Displayed When You Use the Copy/Document Server Function...........................................191
Messages Displayed When You Use the Printer Function..........................................................................193
Messages Displayed on the Control Panel When You Use the Printer Function..................................193
Messages Printed on the Error Logs or Reports When You Use the Printer Function...........................196
Messages Displayed When You Use the Scanner Function......................................................................205
Messages Displayed on the Control Panel When You Use the Scanner Function..............................205
Messages Displayed on the Client Computer.........................................................................................214
When Other Messages Appear...................................................................................................................220
When There Is a Problem Scanning or Storing Originals......................................................................221
When the Address Book Is Updated.......................................................................................................222
When Data Cannot Be Sent Due to a Problem with the Destination.....................................................223
When the Machine Cannot Be Operated Due to a Problem with the User Certificate.......................223
When Problems Occur While Logging In............................................................................................... 225
When the User Lacks Privileges to Perform an Operation.....................................................................225
When the LDAP Server Cannot Be Used.................................................................................................225
When Print Results Are Not Satisfactory......................................................................................................227
Checking Whether the Print-heads Scratch the Paper........................................................................... 227
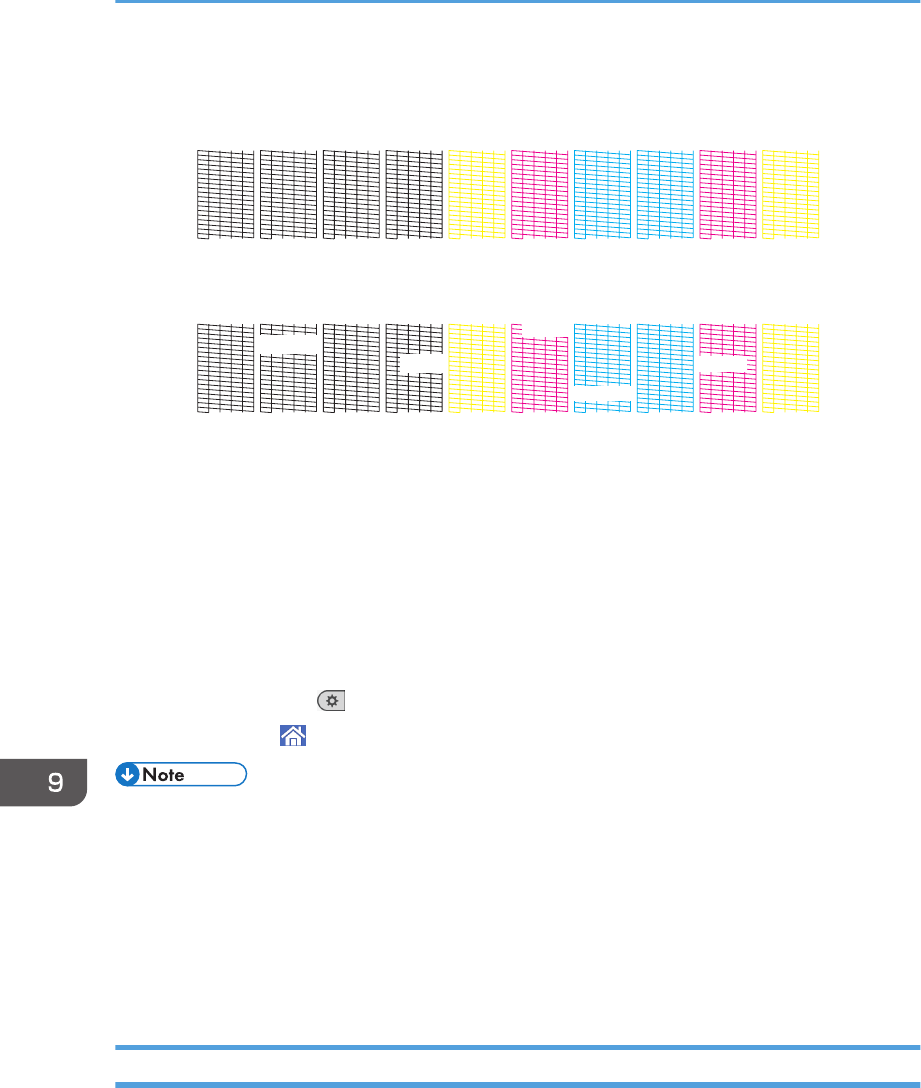
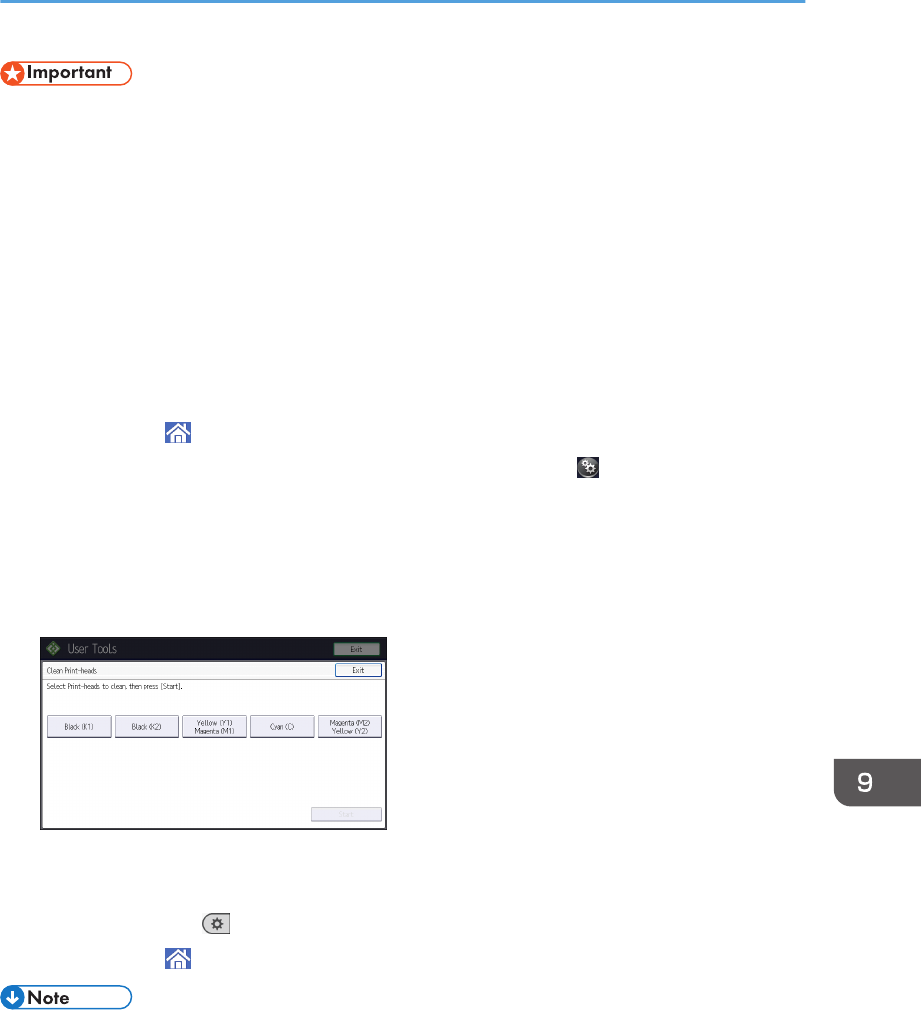
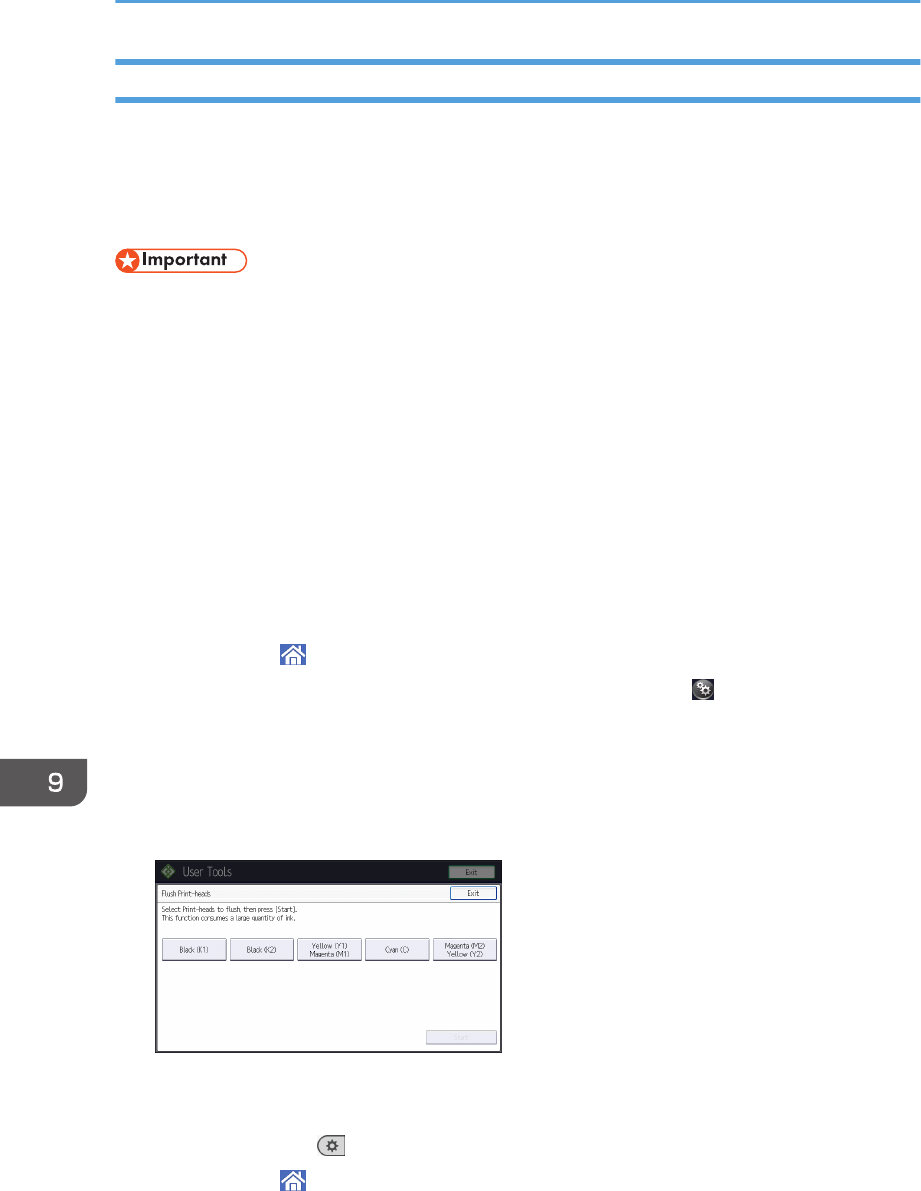
Checking Whether a Nozzle Is Clogged................................................................................................227
If the Printout Is Smeared with Dots of Ink That Are 1 to 2 mm in Diameter.........................................228
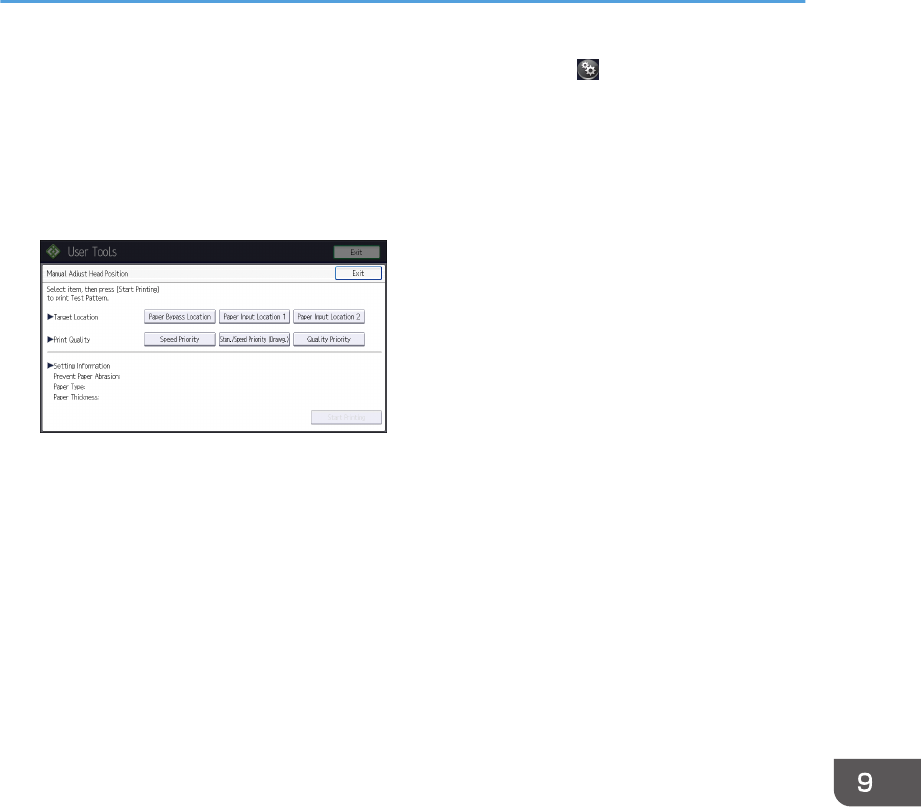
Adjusting the Print Quality.............................................................................................................................229
Libble takes abuse of its services very seriously. We're committed to dealing with such abuse according to the laws in your country of residence. When you submit a report, we'll investigate it and take the appropriate action. We'll get back to you only if we require additional details or have more information to share.
Product:
Forumrules
To achieve meaningful questions, we apply the following rules:
First, read the manual;
Check if your question has been asked previously;
Try to ask your question as clearly as possible;
Did you already try to solve the problem? Please mention this;
Is your problem solved by a visitor then let him/her know in this forum;
To give a response to a question or answer, do not use this form but click on the button 'reply to this question';
Your question will be posted here and emailed to our subscribers. Therefore, avoid filling in personal details.
Register
Register getting emails for Ricoh MP CW2201 at:
new questions and answers
new manuals
You will receive an email to register for one or both of the options.
Get your user manual by e-mail
Enter your email address to receive the manual of Ricoh MP CW2201 in the language / languages: English as an attachment in your email.
The manual is 14,11 mb in size.
You will receive the manual in your email within minutes. If you have not received an email, then probably have entered the wrong email address or your mailbox is too full. In addition, it may be that your ISP may have a maximum size for emails to receive.
If you have not received an email with the manual within fifteen minutes, it may be that you have a entered a wrong email address or that your ISP has set a maximum size to receive email that is smaller than the size of the manual.
The email address you have provided is not correct.
Please check the email address and correct it.
Your question is posted on this page
Would you like to receive an email when new answers and questions are posted? Please enter your email address.