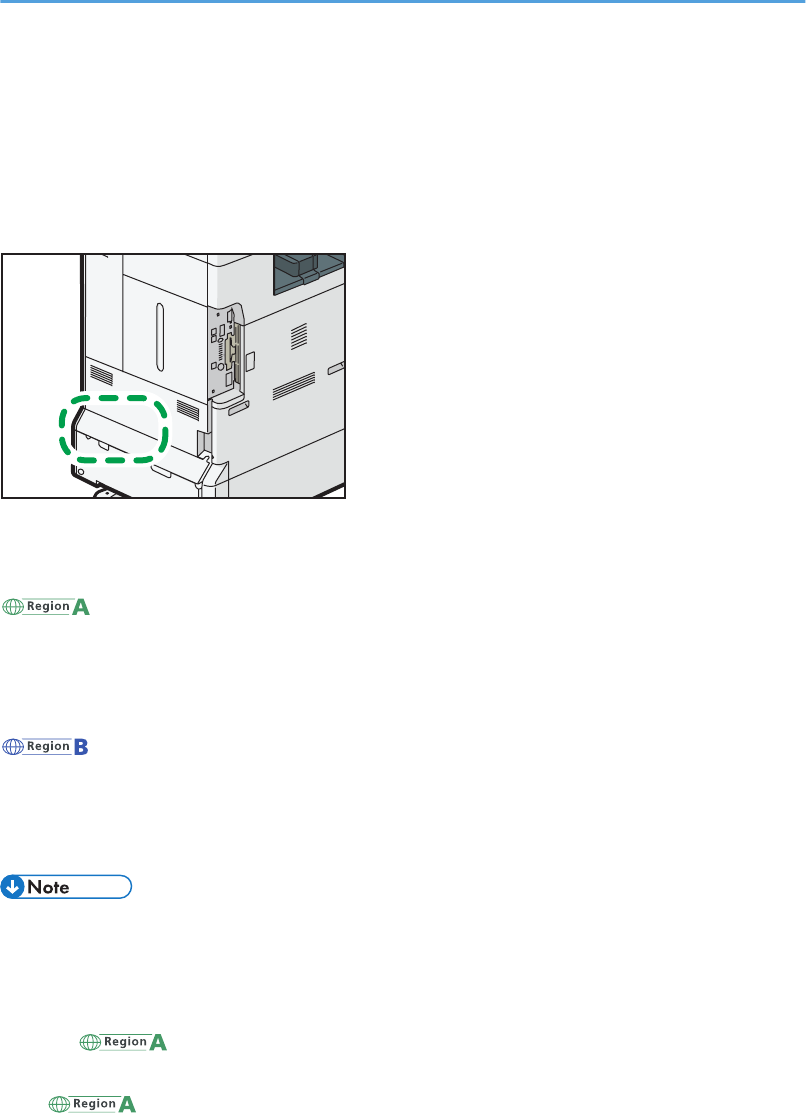
For safe and correct use, be sure to read the Safety Information in
"Read This First" before using the machine.
For information not found in paper manu-
als, see the online manuals available on our
web site
(http://www.ricoh.com/downloads/) .
Information for This Machine
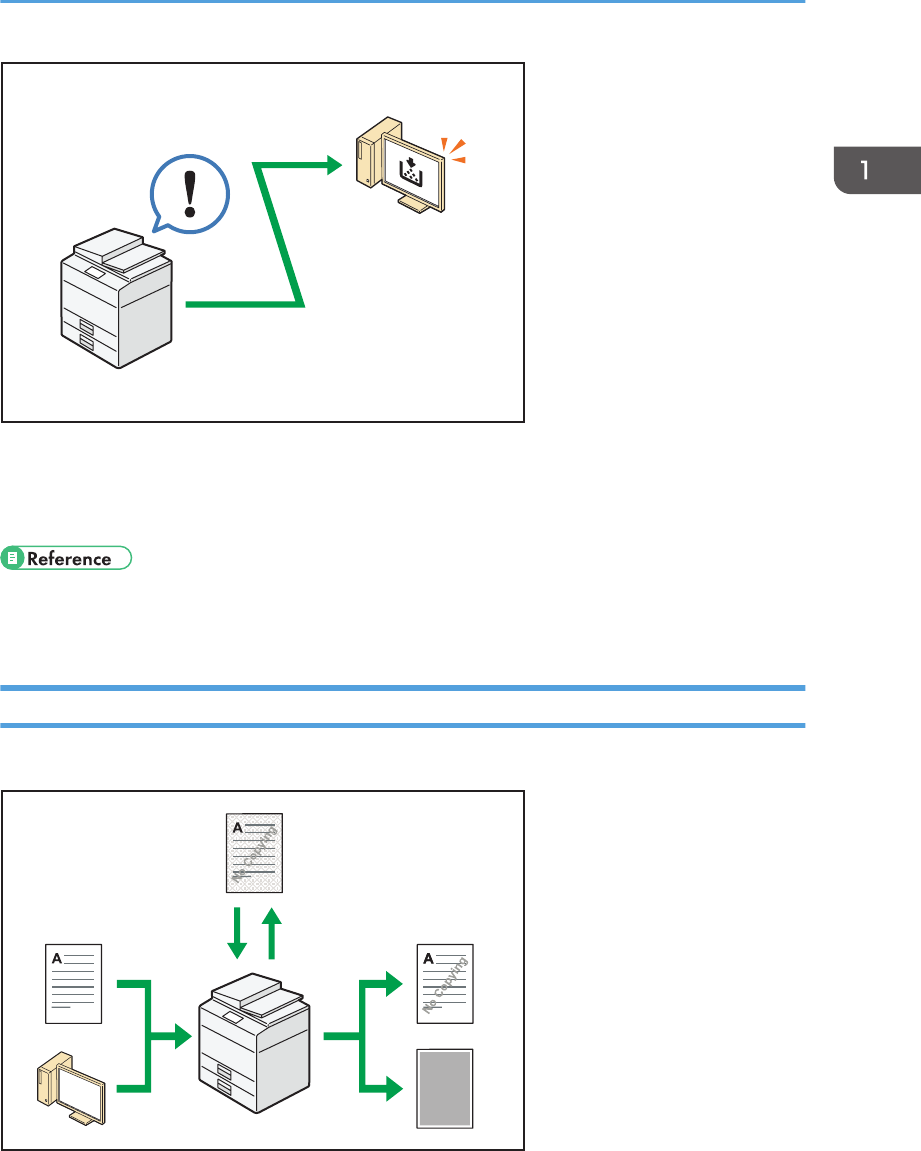
Troubleshooting
Adding Paper and Toner
Web Image Monitor
Document Server
Scan
Print
Fax
Copy
Getting Started
What You Can Do with This Machine
User Guide
TABLE OF CONTENTS
How to Read the Manuals.................................................................................................................................7
Symbols Used in the Manuals.......................................................................................................................7
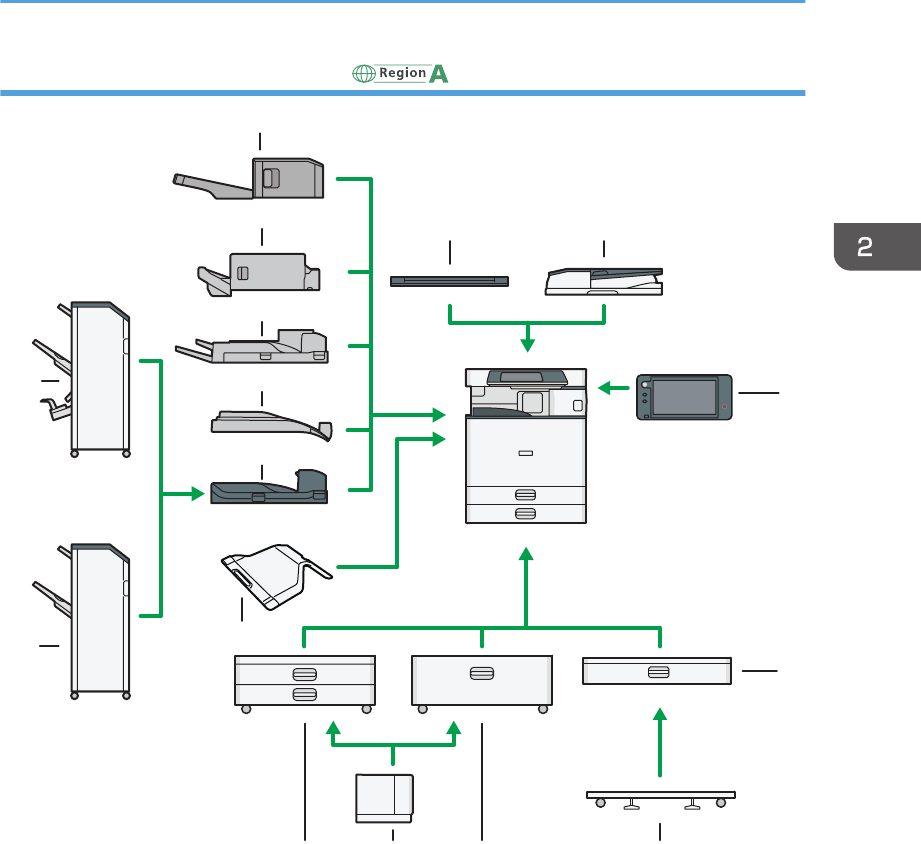
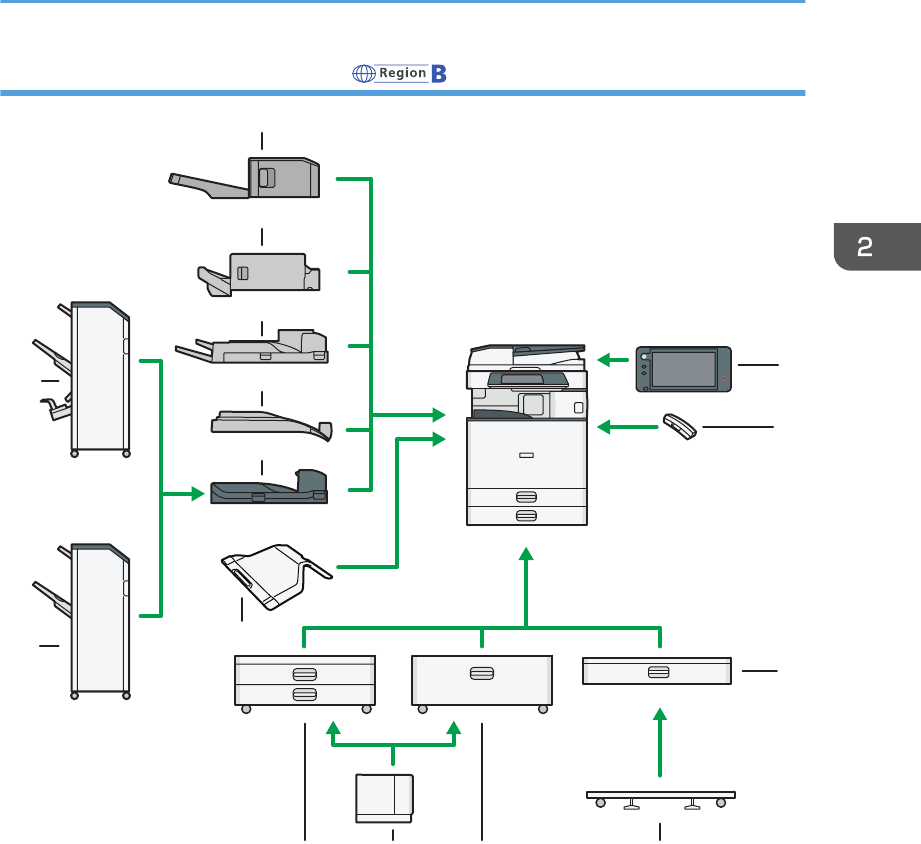
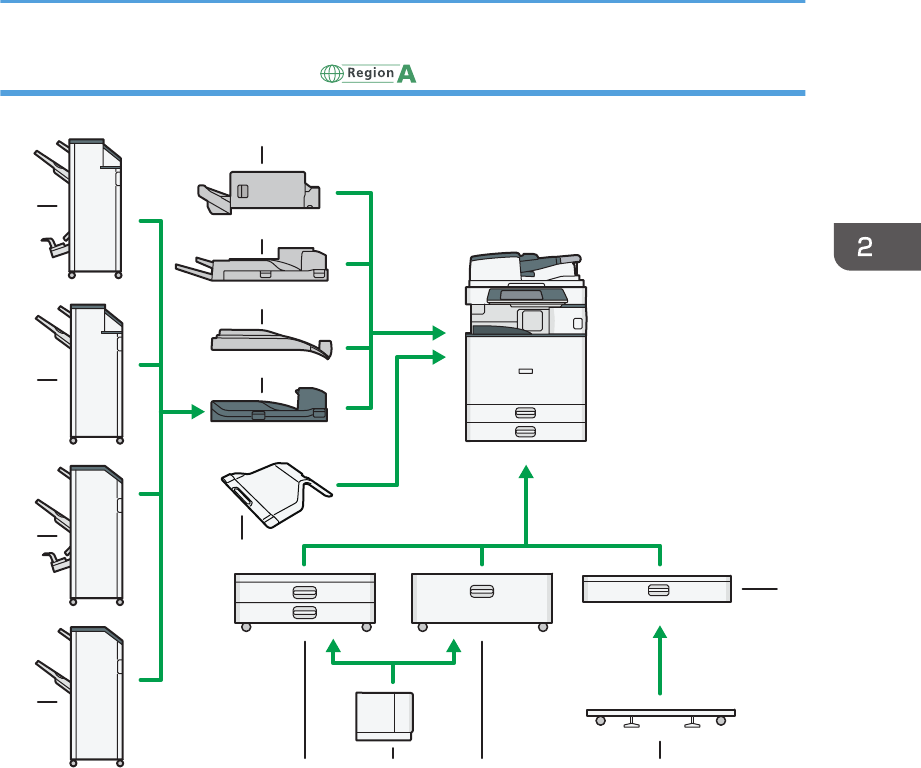
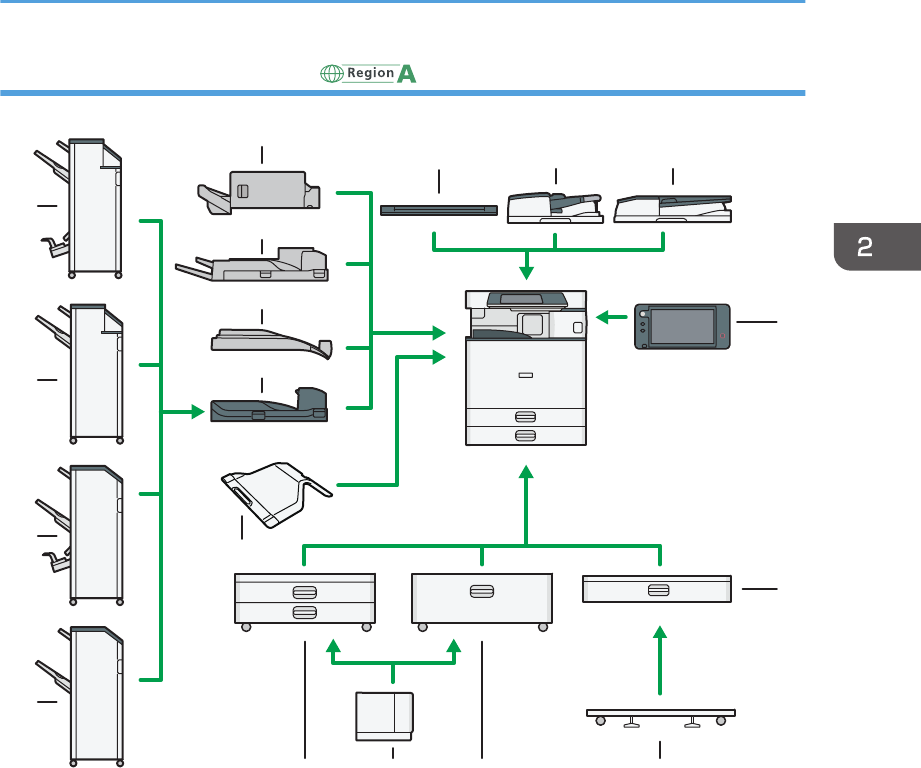
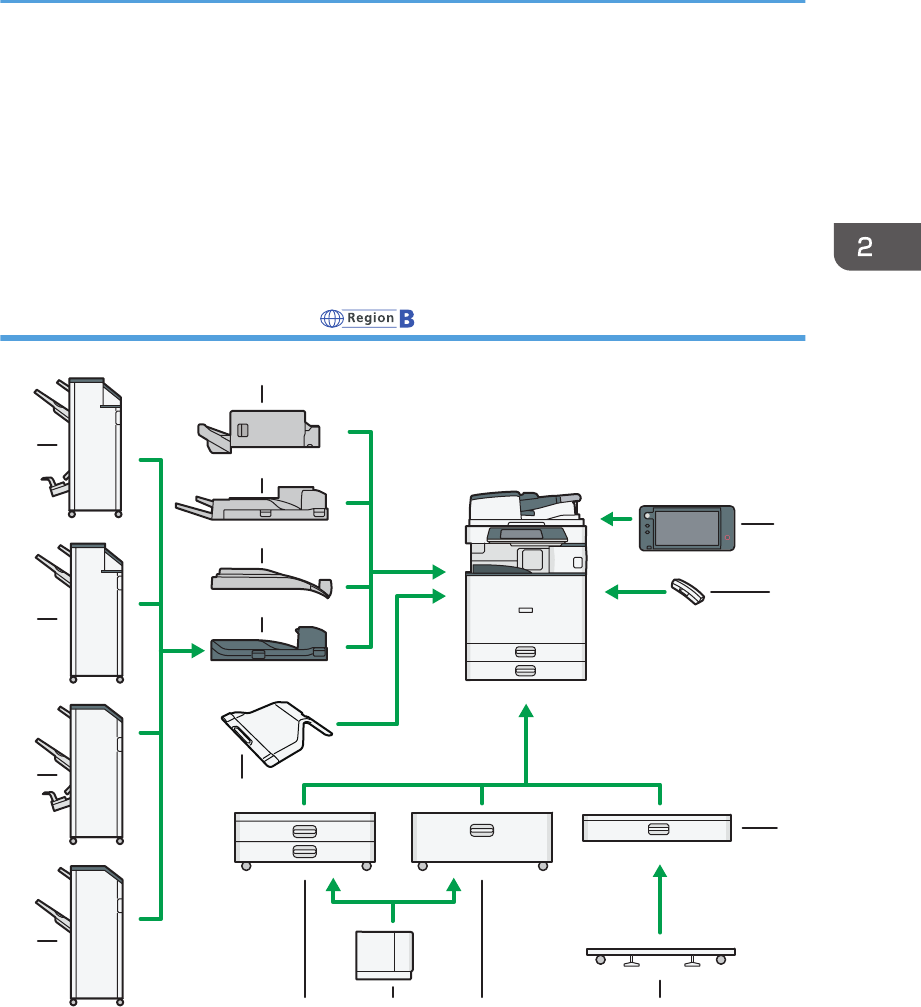
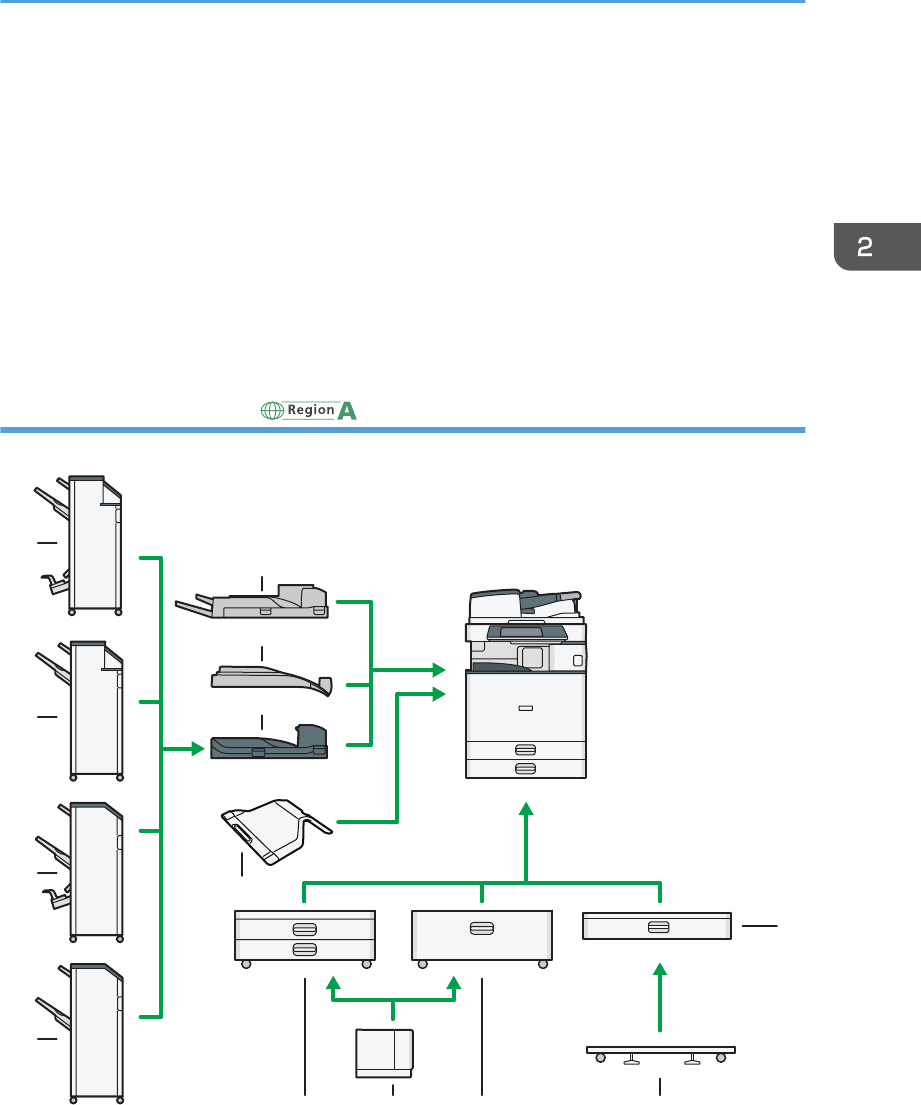
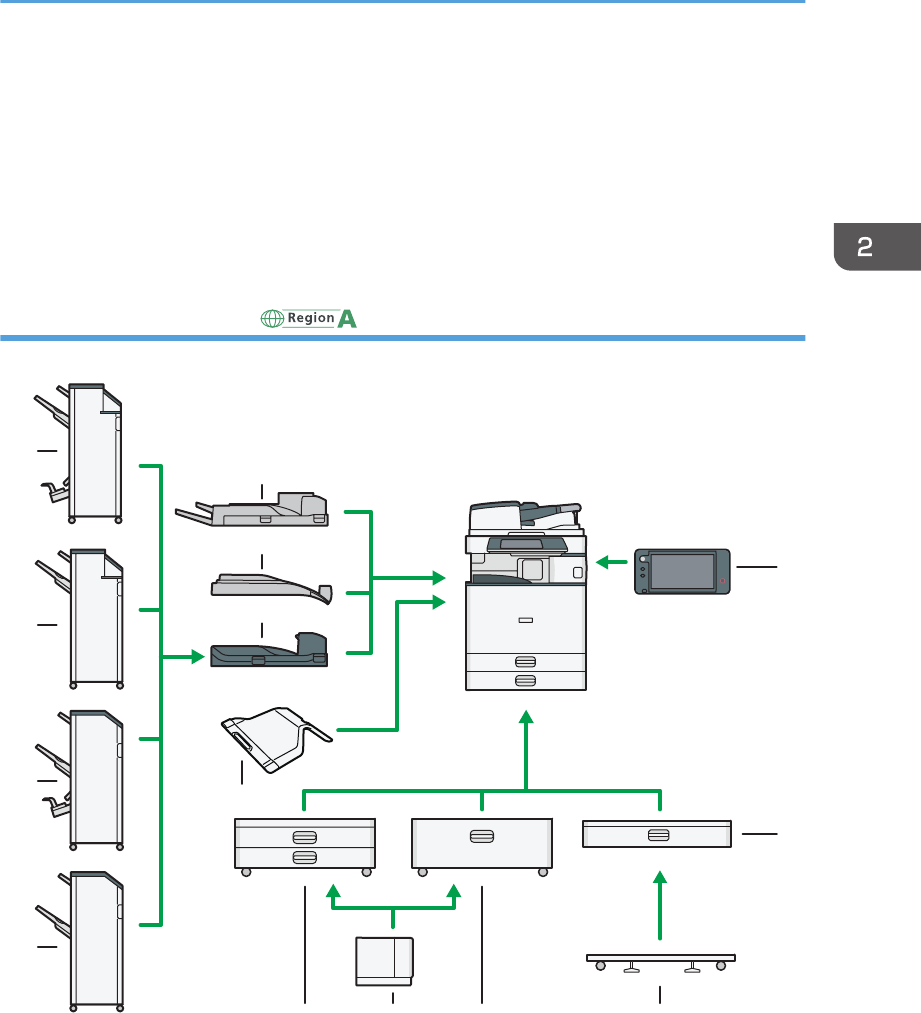
Names of Major Features..................................................................................................................................9
1. What You Can Do with This Machine
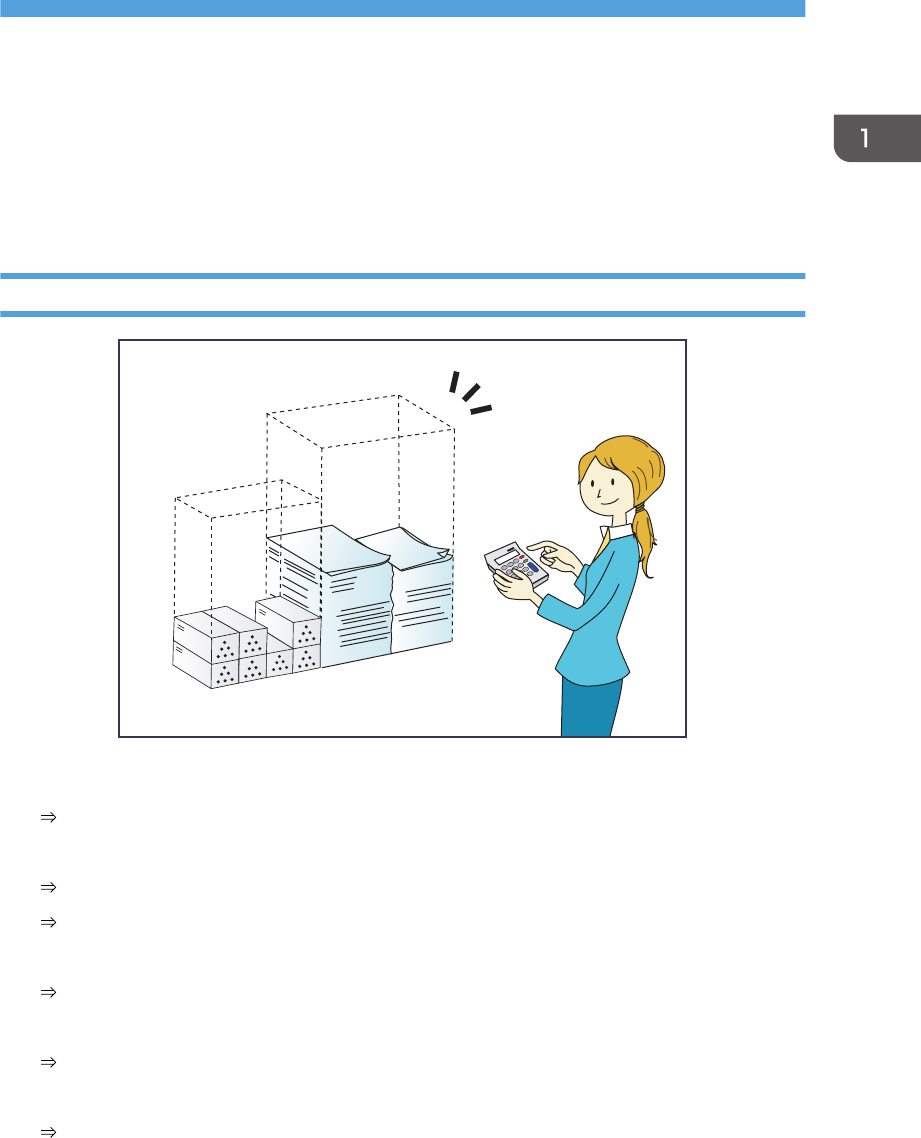
Searching by What You Want to Do.............................................................................................................11
Reducing my Costs.......................................................................................................................................11
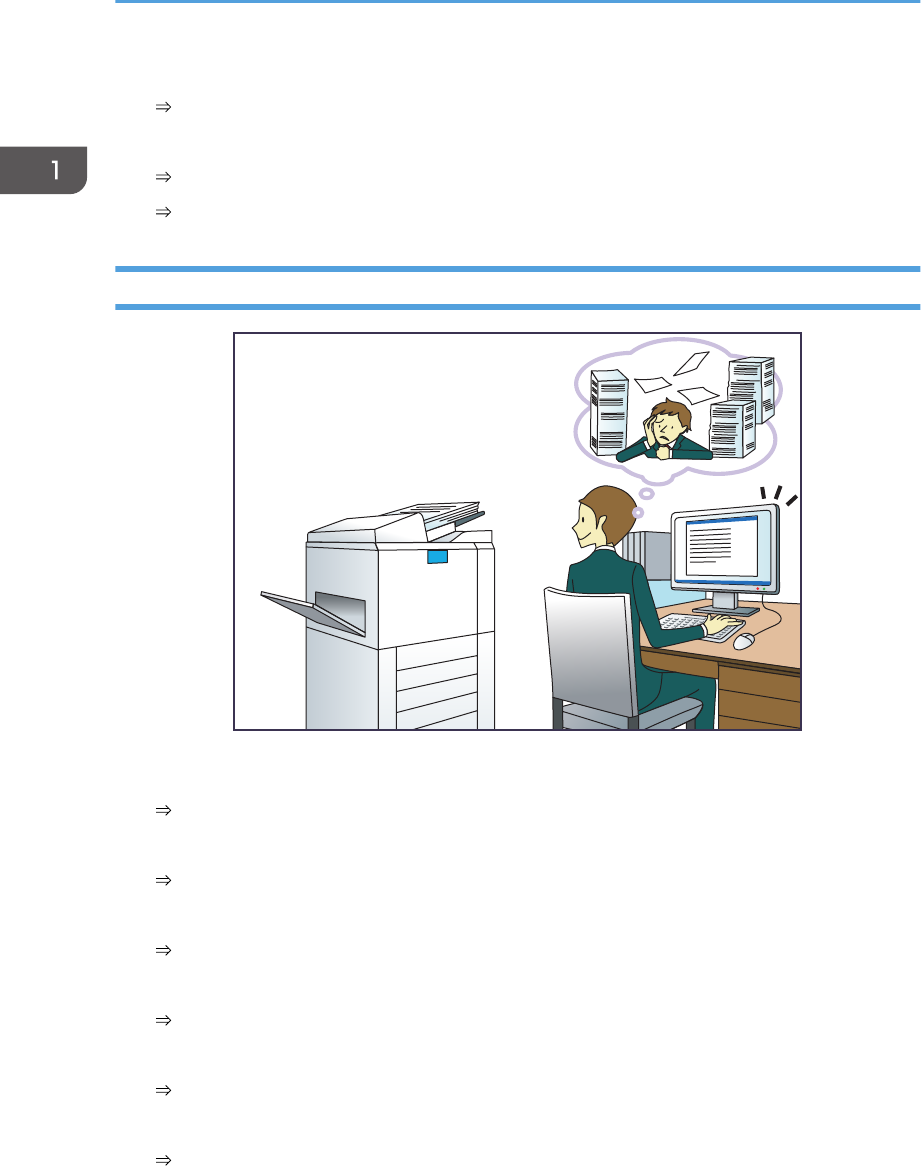
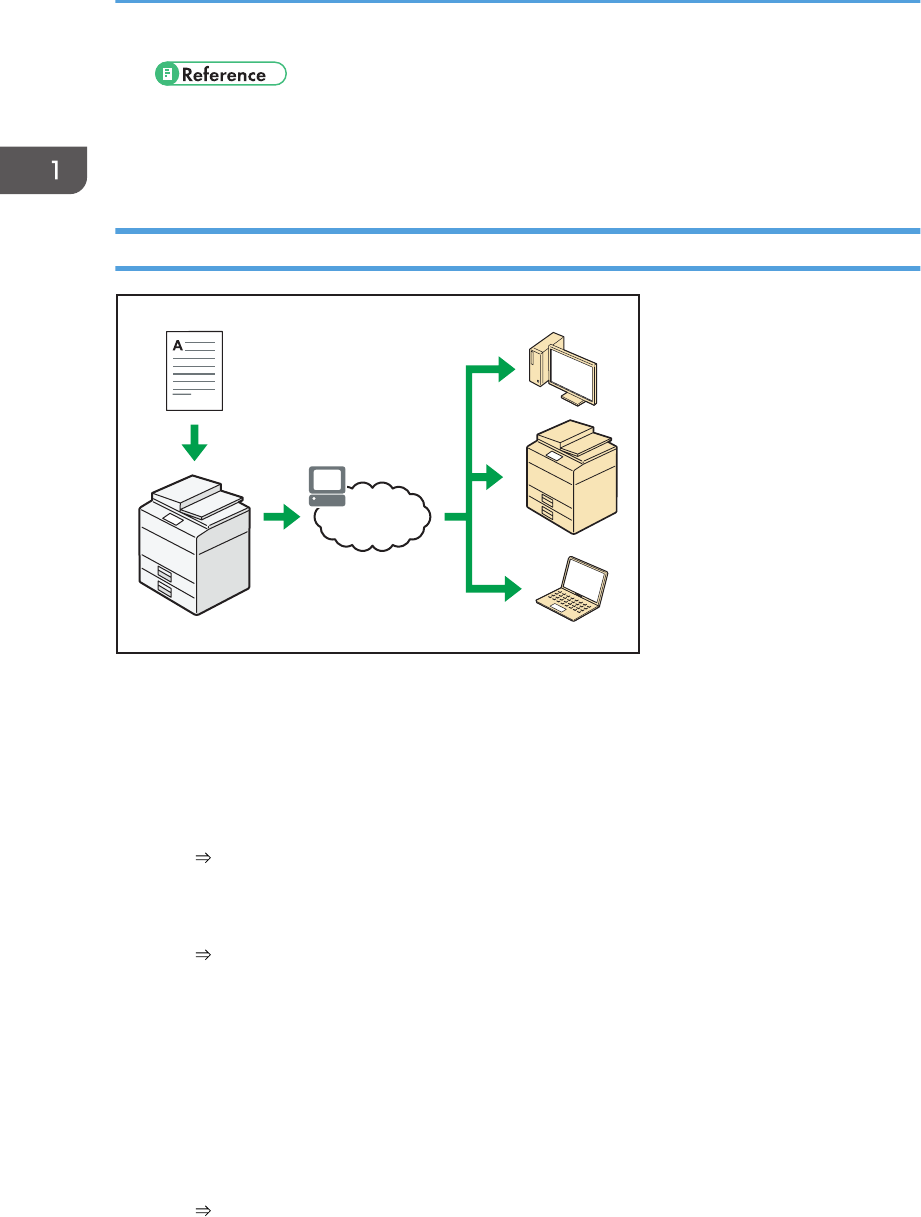
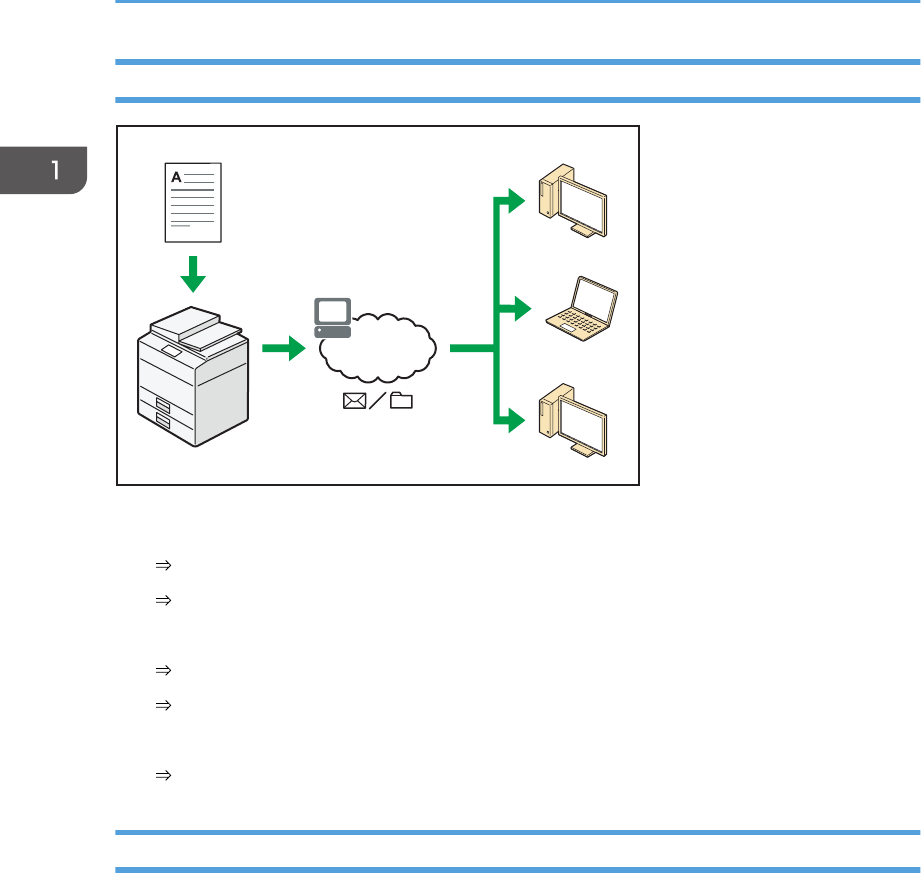
Using Scanned Files on the Computer.......................................................................................................12
Changing the Display Language....................................................................................................................61
Changing the Display Language (When Using the Smart Operation Panel).........................................61
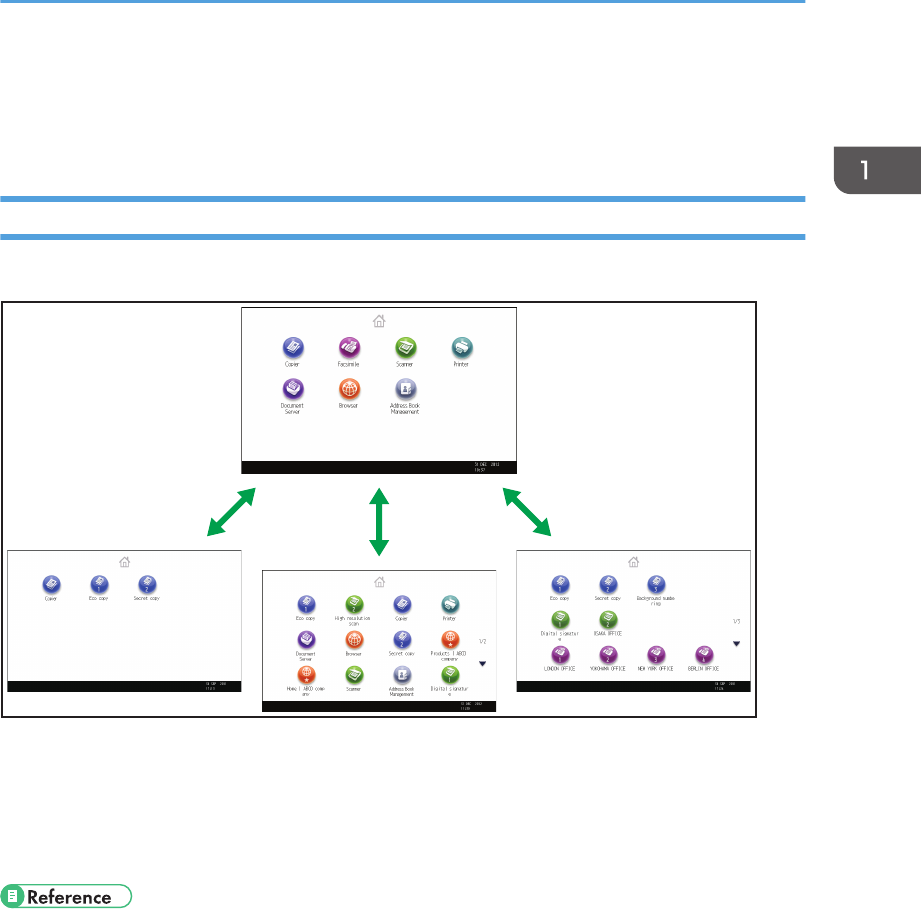
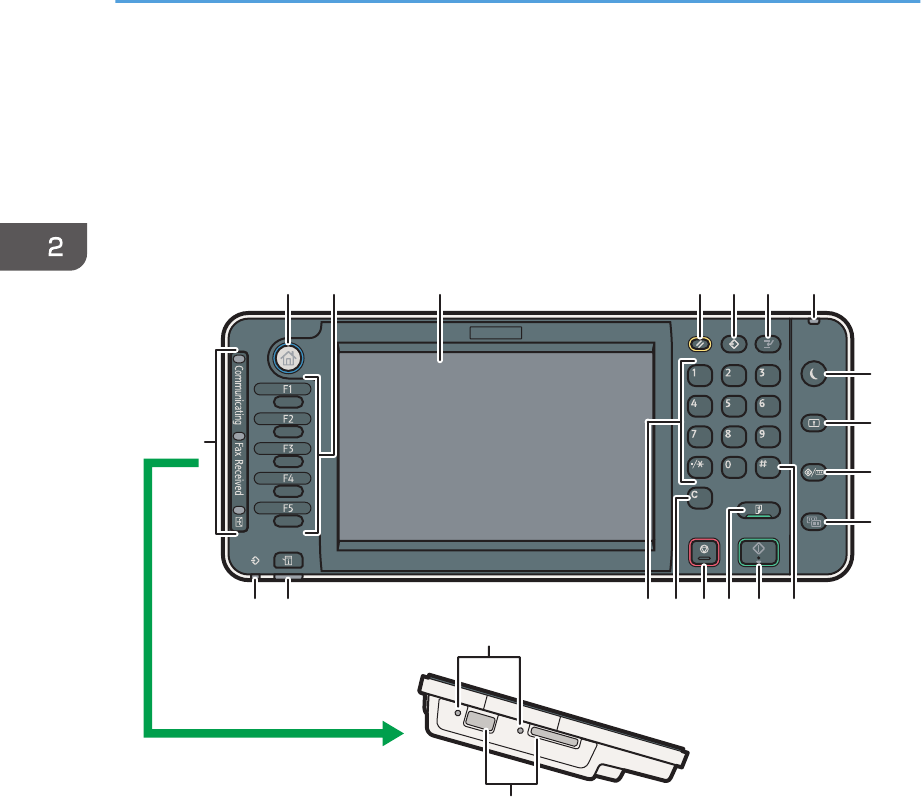
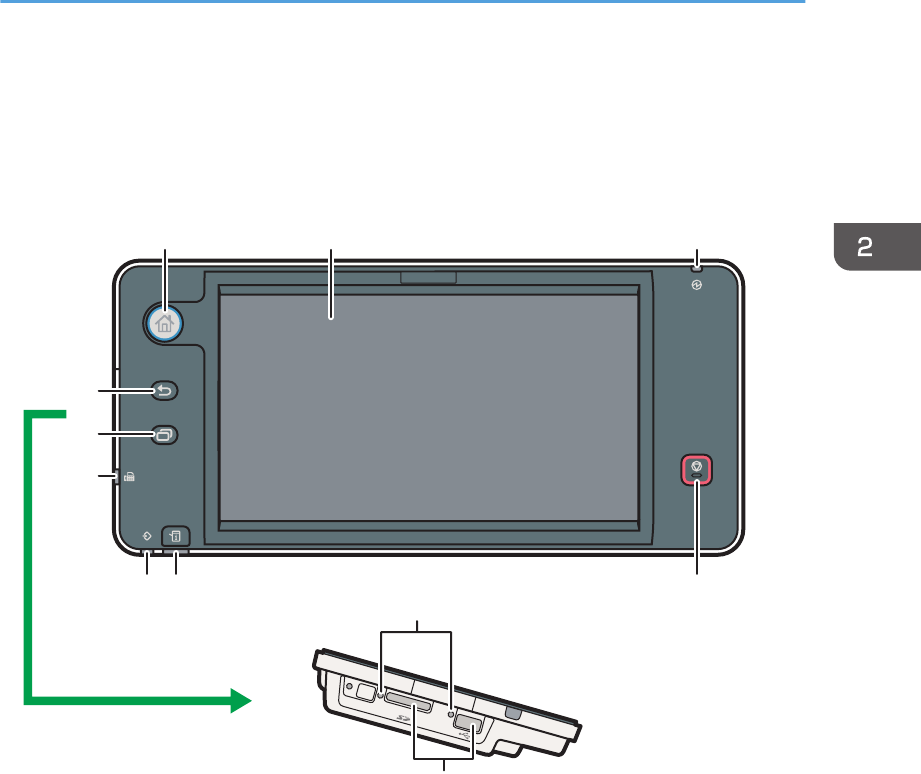
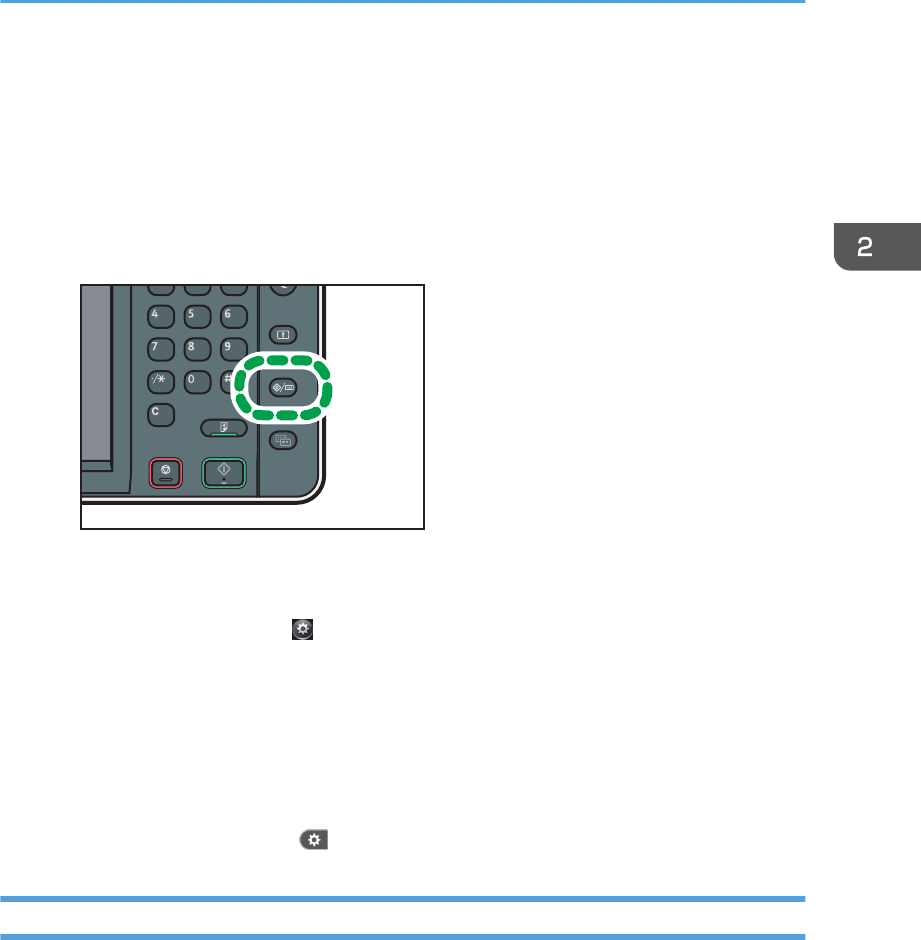
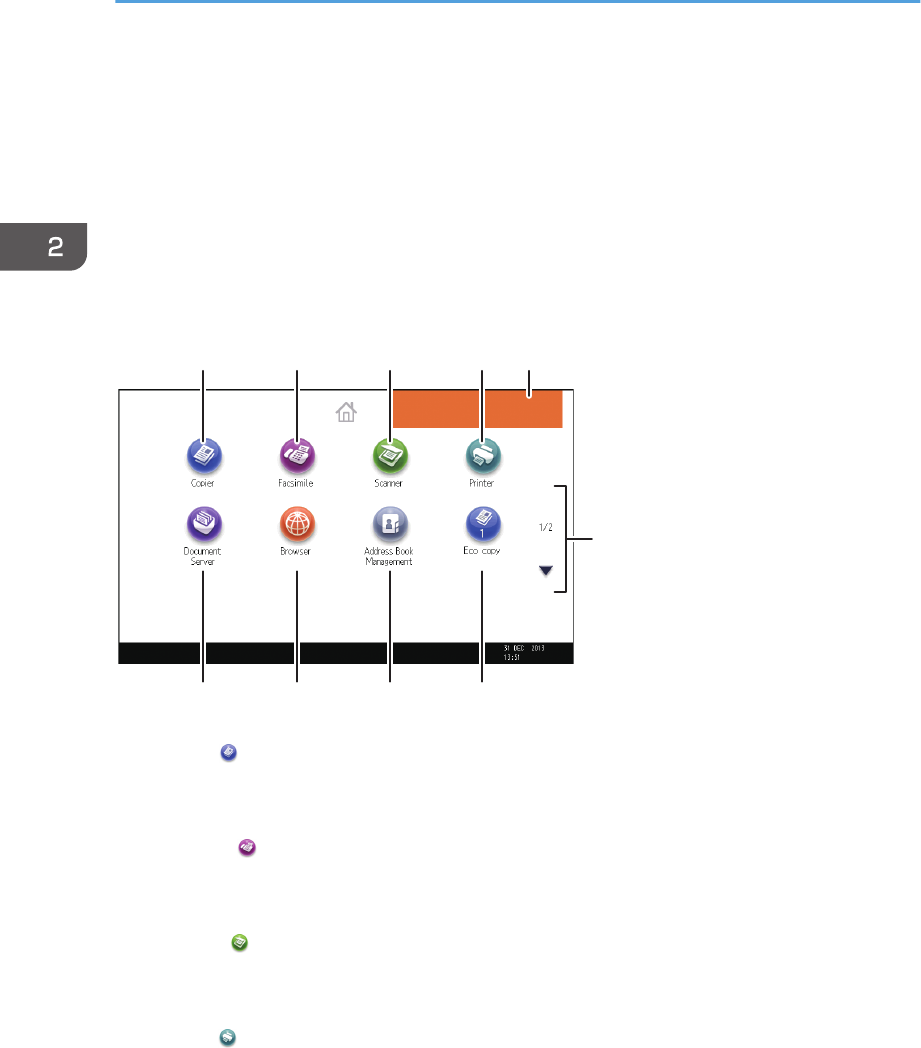
How to Use the [Home] Screen (When Using the Standard Operation Panel)......................................... 62
Adding Icons to the [Home] Screen (When Using the Standard Operation Panel)..............................63
How to Use the [Home] Screen (When Using the Smart Operation Panel)............................................... 68
Adding Icons to the [Home] Screen (When Using the Smart Operation Panel)....................................69
Registering Functions in a Program.................................................................................................................73
Example of Programs...................................................................................................................................76
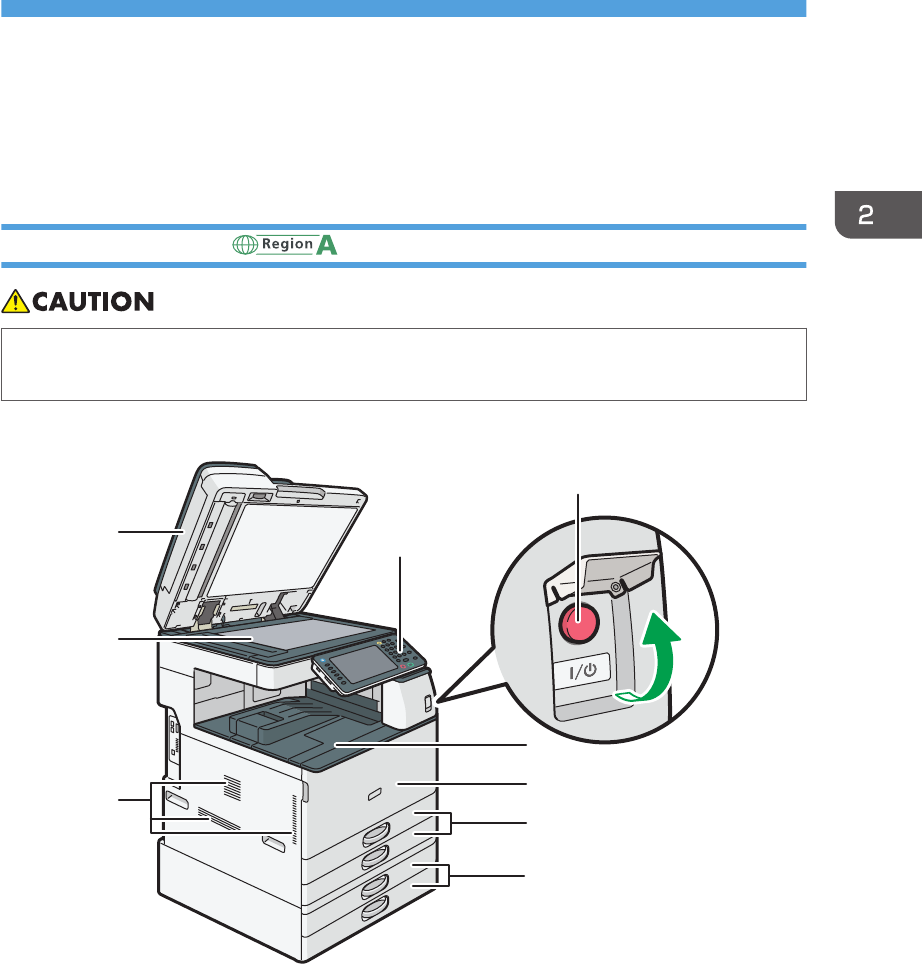
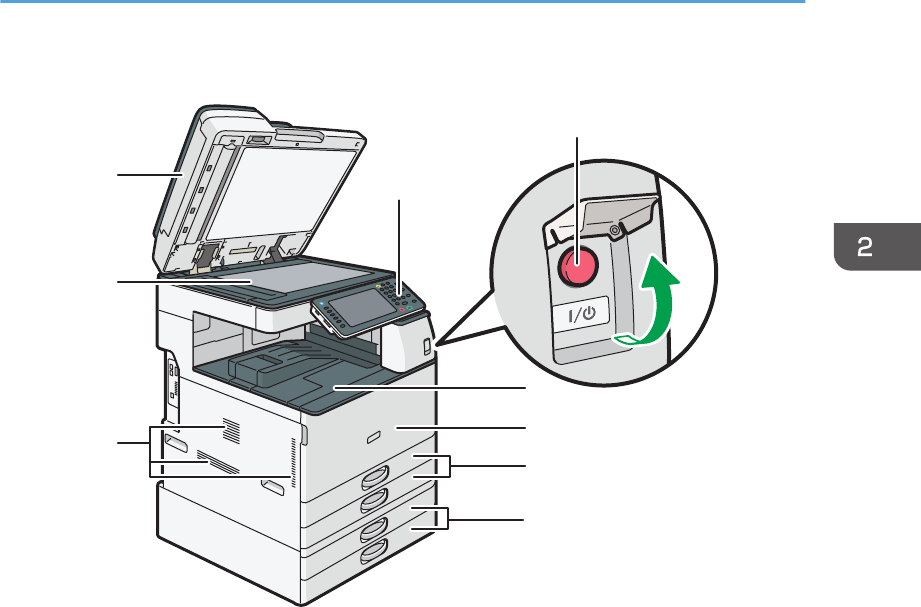
Turning On/Off the Power..............................................................................................................................79
Turning On the Main Power........................................................................................................................79
Turning Off the Main Power........................................................................................................................79
Logging In the Machine...................................................................................................................................80
When the Authentication Screen is Displayed..........................................................................................80
User Code Authentication Using the Control Panel..................................................................................80
Logging In Using the Control Panel (When Using the Standard Operation Panel)...............................80
Logging In Using the Control Panel (When Using the Smart Operation Panel).....................................81
Logging Out Using the Control Panel (When Using the Standard Operation Panel)............................82
Logging Out Using the Control Panel (When Using the Smart Operation Panel)..................................82
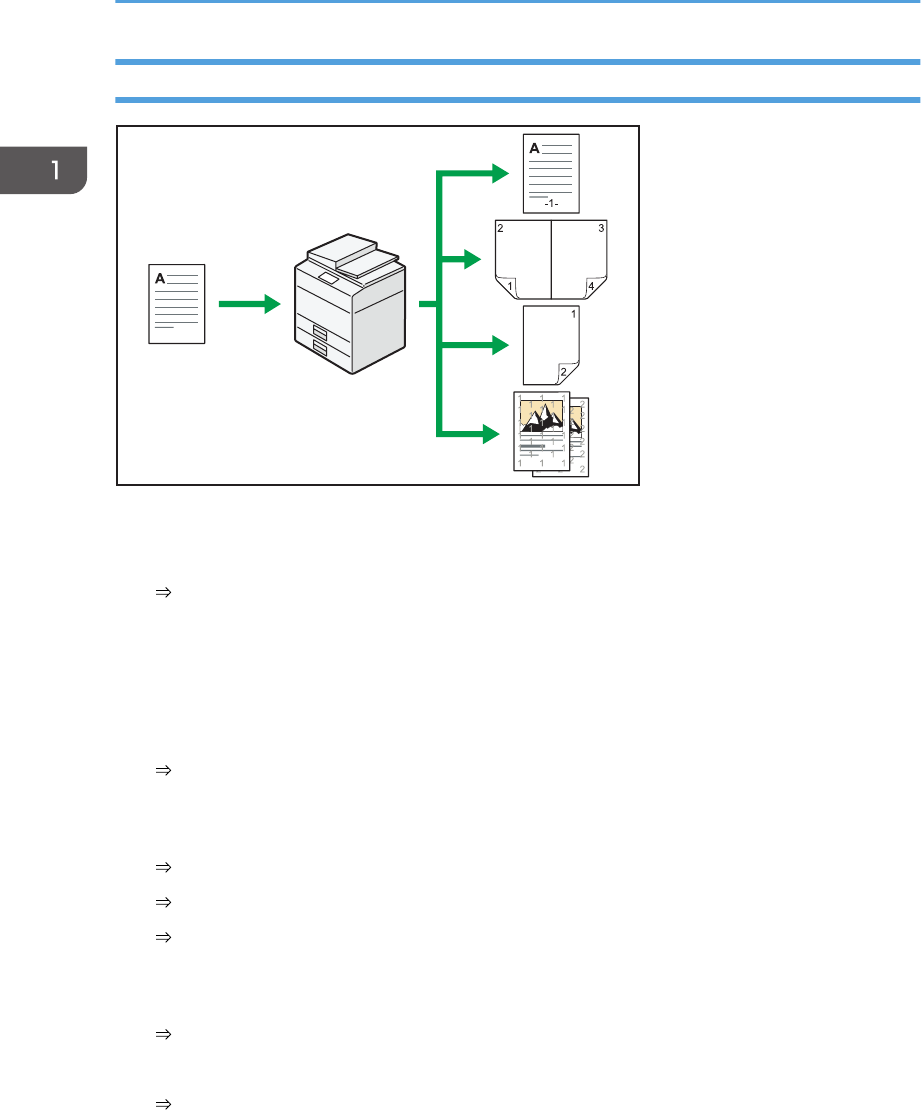
Auto Reduce / Enlarge....................................................................................................................................89
Changing the Number of Sets..................................................................................................................104
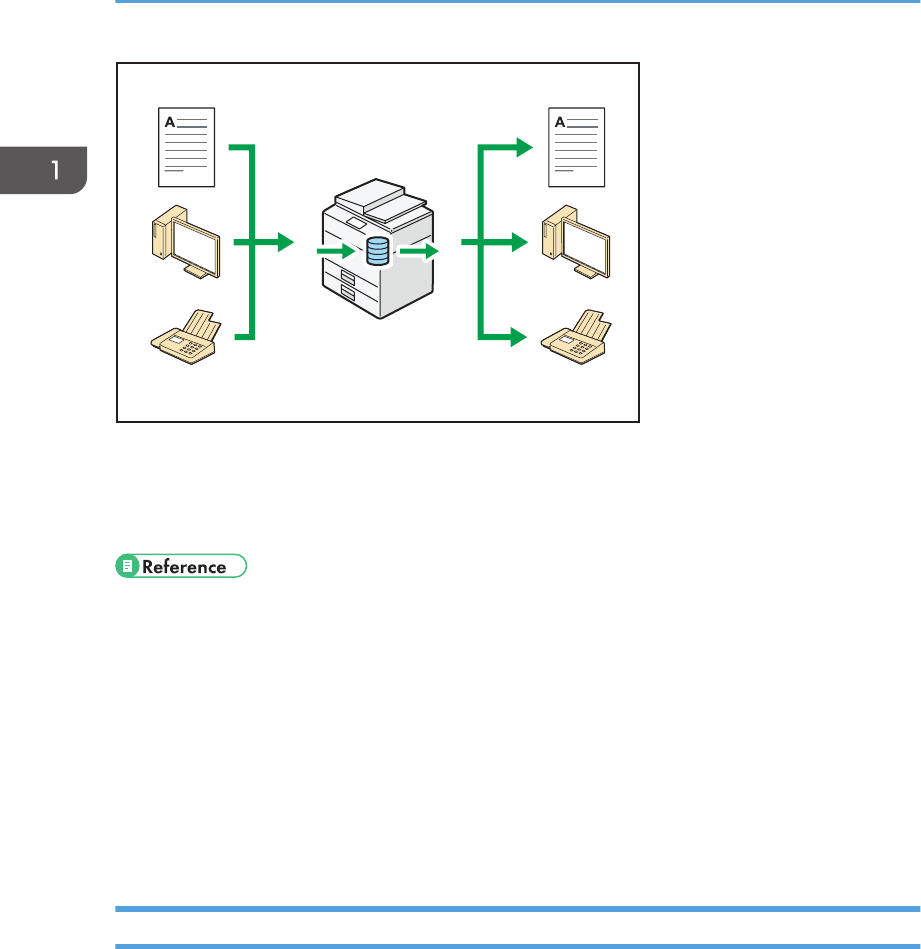
Storing Data in the Document Server...........................................................................................................106
4. Fax
Basic Procedure for Transmissions (Memory Transmission).......................................................................107
Sending Originals Using the Exposure Glass (Memory Transmission).................................................109
Registering a Fax Destination...................................................................................................................110
Deleting a Fax Destination........................................................................................................................111
Transmitting while Checking Connection to Destination (Immediate Transmission).................................113
Sending Originals Using the Exposure Glass (Immediate Transmission)............................................. 114
Canceling a Transmission............................................................................................................................. 116
Canceling a Transmission Before the Original Is Scanned....................................................................116
Canceling a Transmission While the Original Is Being Scanned..........................................................116
Canceling a Transmission After the Original Is Scanned.......................................................................117
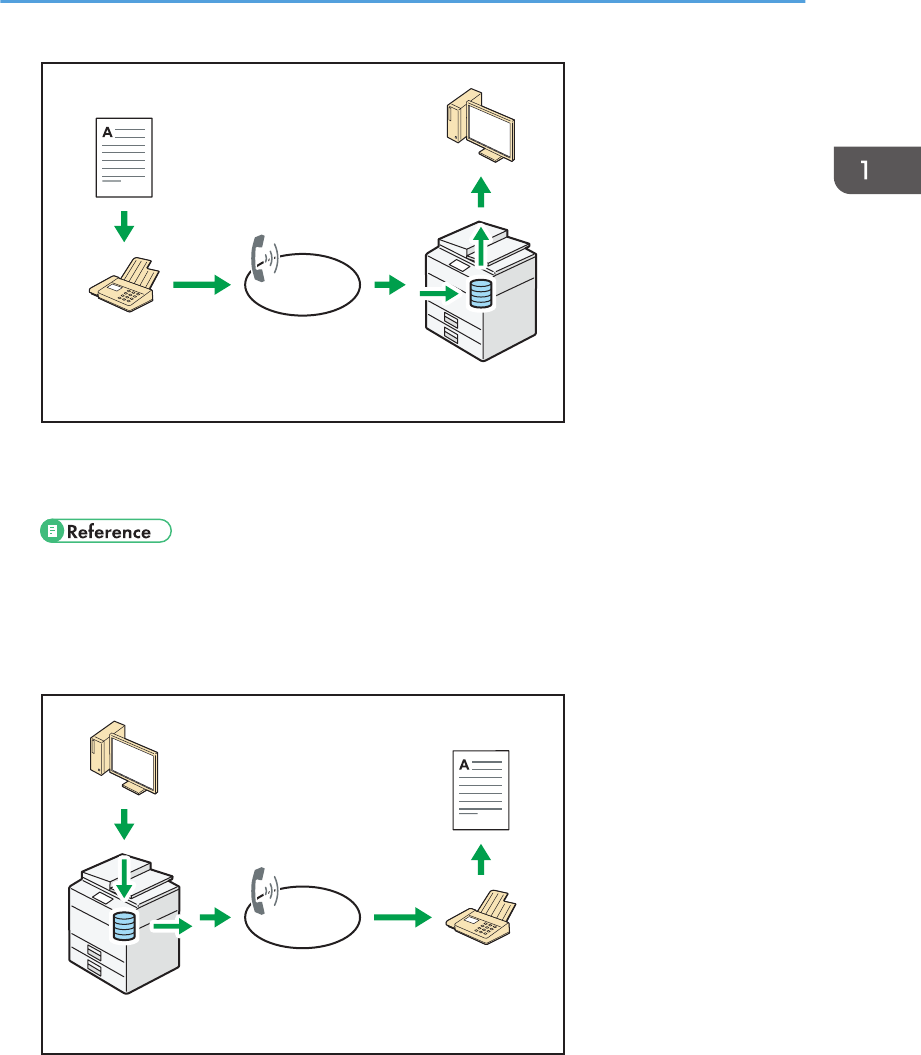
Storing a Document.......................................................................................................................................119
Printing the Journal Manually.......................................................................................................................122
Displaying the Printer Driver Properties........................................................................................................124
Standard Printing...........................................................................................................................................125
When Using the PCL 6 Printer Driver.......................................................................................................125
Printing on Both Sides of Sheets................................................................................................................... 126
When Using the PCL 6 Printer Driver.......................................................................................................126
Types of Two-sided Printing......................................................................................................................126
Combining Multiple Pages into Single Page...............................................................................................127
When Using the PCL 6 Printer Driver.......................................................................................................127
Types of Combine Printing........................................................................................................................127
Printing on Envelopes....................................................................................................................................129
3
Configuring Envelope Settings Using the Control Panel........................................................................129
Printing on Envelopes Using the Printer Driver........................................................................................130
Saving and Printing Using the Document Server.........................................................................................131
Storing Documents in Document Server..................................................................................................131
Managing Documents Stored in Document Server................................................................................132
6. Scan
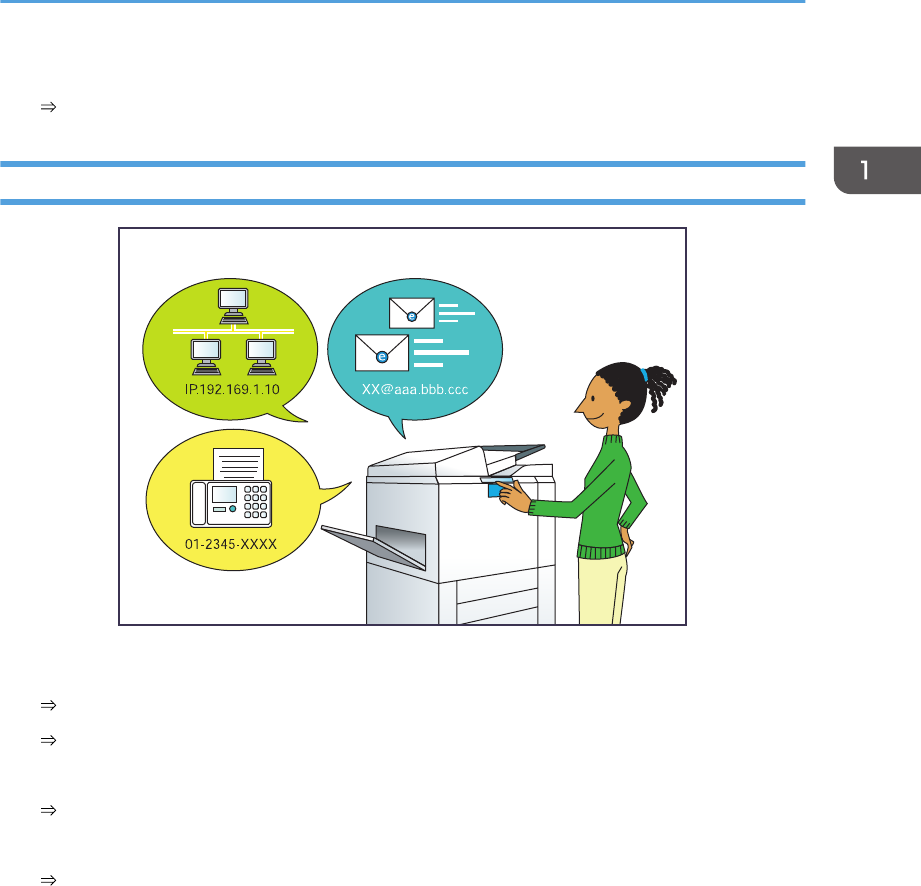
Basic Procedure When Using Scan to Folder.............................................................................................133
Creating a Shared Folder on a Computer Running Windows/Confirming a Computer's Information.....
Registering an SMB Folder.......................................................................................................................136
Deleting an SMB Registered Folder.........................................................................................................140
Entering the Path to the Destination Manually........................................................................................141
Basic Procedure for Sending Scan Files by E-mail......................................................................................142
Registering an E-mail Destination.............................................................................................................143
Deleting an E-mail Destination.................................................................................................................145
Entering an E-mail Address Manually.....................................................................................................146
Basic Procedure for Storing Scan Files........................................................................................................147
Checking a Stored File Selected from the List.........................................................................................148
Specifying the File Type................................................................................................................................150
Displaying Top Page.....................................................................................................................................157
Libble takes abuse of its services very seriously. We're committed to dealing with such abuse according to the laws in your country of residence. When you submit a report, we'll investigate it and take the appropriate action. We'll get back to you only if we require additional details or have more information to share.
Product:
Forumrules
To achieve meaningful questions, we apply the following rules:
First, read the manual;
Check if your question has been asked previously;
Try to ask your question as clearly as possible;
Did you already try to solve the problem? Please mention this;
Is your problem solved by a visitor then let him/her know in this forum;
To give a response to a question or answer, do not use this form but click on the button 'reply to this question';
Your question will be posted here and emailed to our subscribers. Therefore, avoid filling in personal details.
Register
Register getting emails for Ricoh MP 3054 series at:
new questions and answers
new manuals
You will receive an email to register for one or both of the options.
Get your user manual by e-mail
Enter your email address to receive the manual of Ricoh MP 3054 series in the language / languages: English as an attachment in your email.
The manual is 10,77 mb in size.
You will receive the manual in your email within minutes. If you have not received an email, then probably have entered the wrong email address or your mailbox is too full. In addition, it may be that your ISP may have a maximum size for emails to receive.
If you have not received an email with the manual within fifteen minutes, it may be that you have a entered a wrong email address or that your ISP has set a maximum size to receive email that is smaller than the size of the manual.
The email address you have provided is not correct.
Please check the email address and correct it.
Your question is posted on this page
Would you like to receive an email when new answers and questions are posted? Please enter your email address.