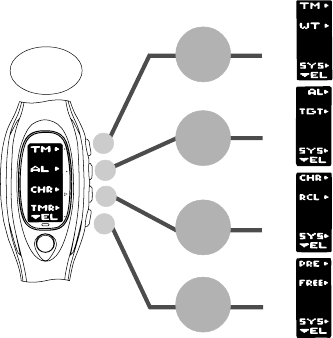
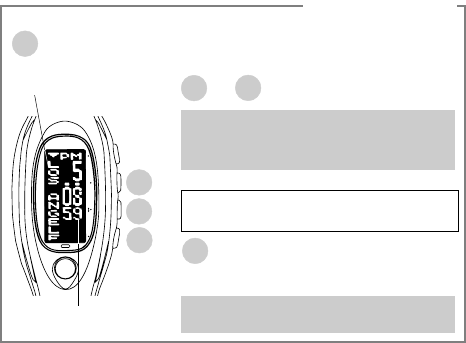
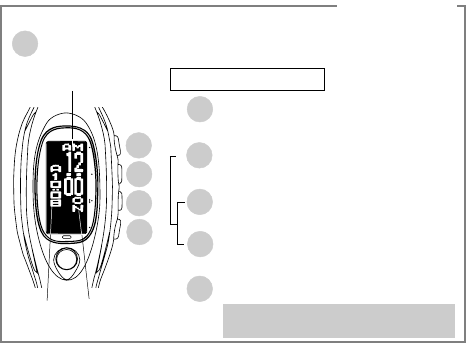
32
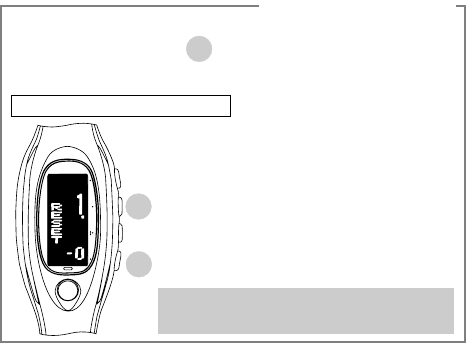
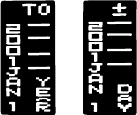
[TARGET DATE TIMER SETTING]
● The target date can be set in one day increments from January 1, 1999 up to December
31, 2048.
● The flashing digits move quickly if button C or D is kept pressed.
● If the watch is left untouched with the TARGET DATE TIMER SETTING function
activated, it will automatically return to the TARGET DATE TIMER display in 2 to 3
minutes.
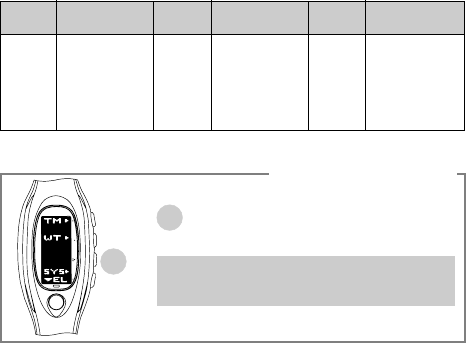
● The types of messages differ depending on the time of the day. They include greetings
and proverbs.
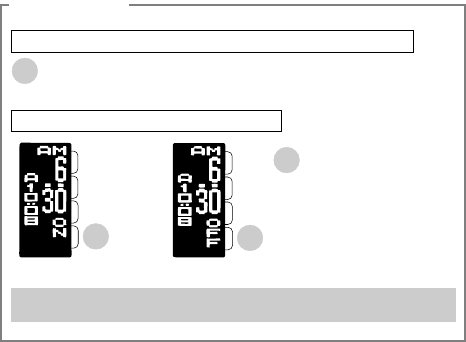
● On January 1 except in 2001 and on December 25, “A HAPPY NEW YEAR! JUST THE
DAY!” and “MERRY XMAS! JUST THE DAY!” are displayed.
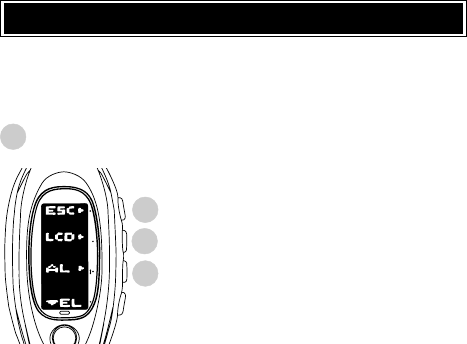
● If button A, B, C or D is pressed while the message is displayed, the message function
will be deactivated and the display will return to the TIME/CALENDAR.
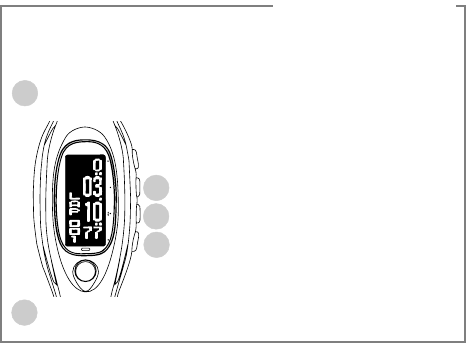
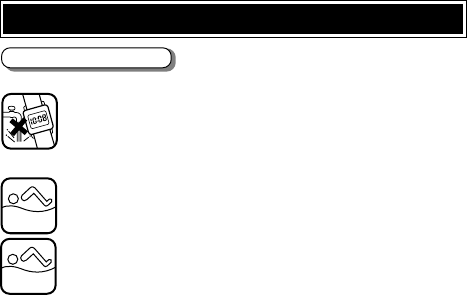
STOPWATCH MODE
[STOPWATCH DISPLAY]
● After 10 hours have been measured, the stopwatch continues measuring from “00”.
If it is left counting for more than 100 hours, it will automatically be stopped and reset
to “00”.
● Restart and stop of the stopwatch can be repeated by pressing button D.
● Measurement of the lap time and split time can be repeated by pressing button B.
● The lap number counts up to “999”. After “999”, the number is displayed in three digits
such as “000” for 1000, “001” for 1001, and so on.
● When button B is pressed to measure a lap/split time, the lap/split number scrolls and
then the lap/split time measured remain displayed for 10 seconds. After that, the display