4
En
Contents
01 Before you start
What’s in the box . . . . . . . . . . . . . . . . . . . . . . . . . . . . 5
Putting the batteries in the remote control . . . . . . . . . . . . . 5
Software Update . . . . . . . . . . . . . . . . . . . . . . . . . . . . . . . . . . . 6
About operation of this player from a
iPhone, iPad etc.) . . . . . . . . . . . . . . . . . . . . . . . . . . . . . . . . . . 6
Types of discs/files that can be played . . . . . . . . . . . . . . . . . . 7
Playable discs . . . . . . . . . . . . . . . . . . . . . . . 7
Playable files . . . . . . . . . . . . . . . . . . . . . . . . . . . . . . 10
Part Names and Functions 13
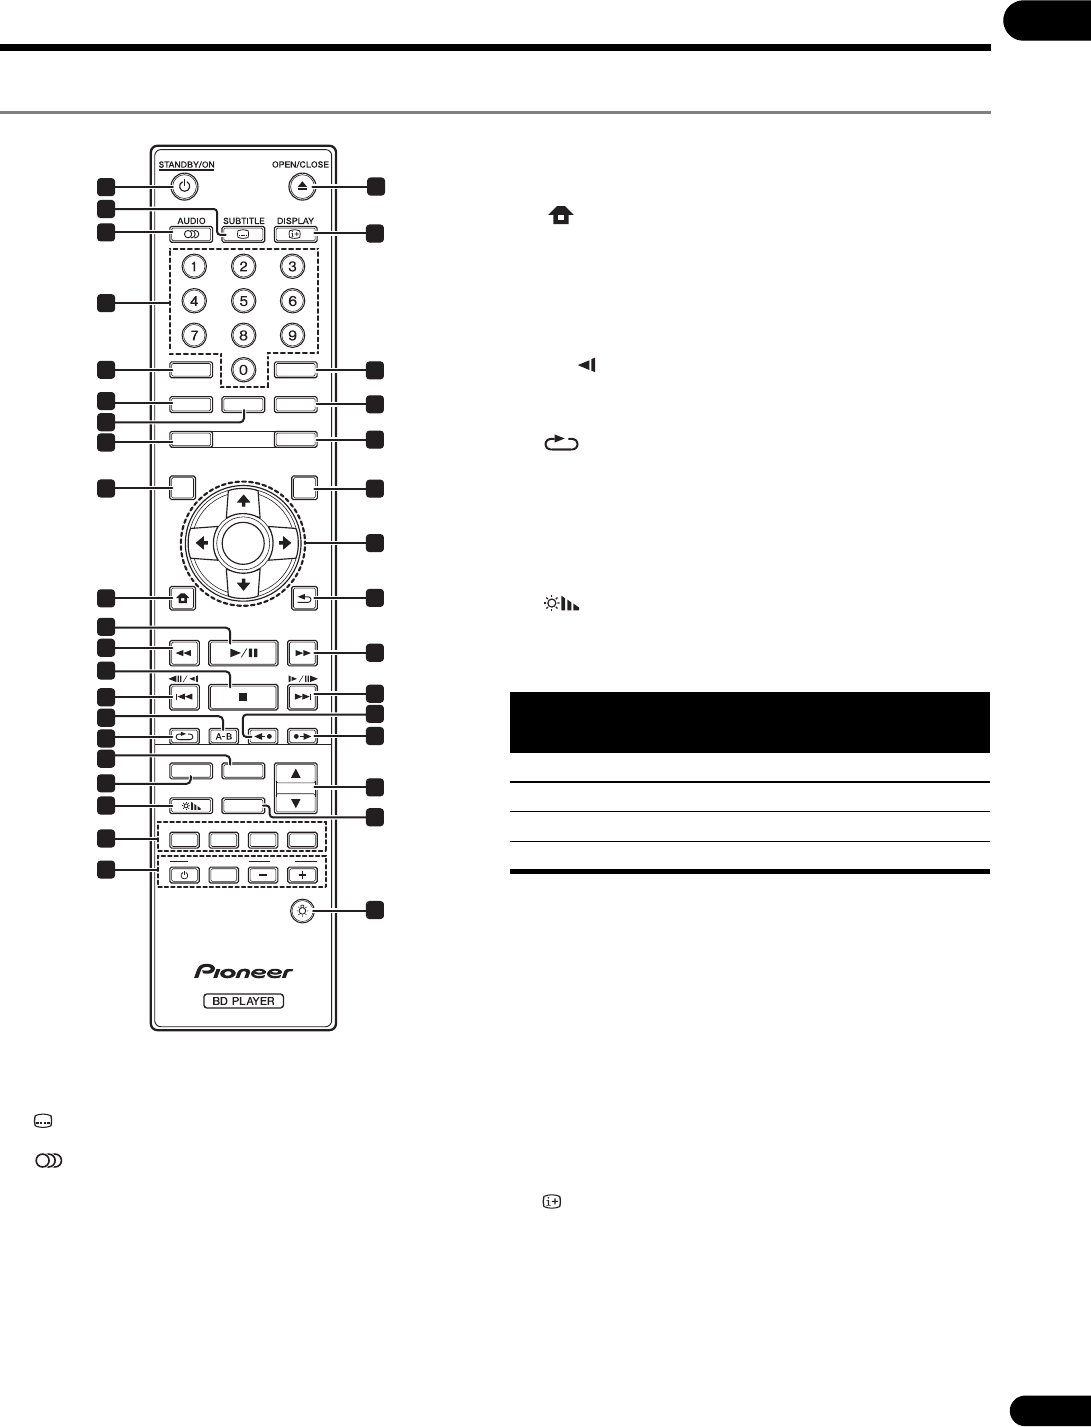
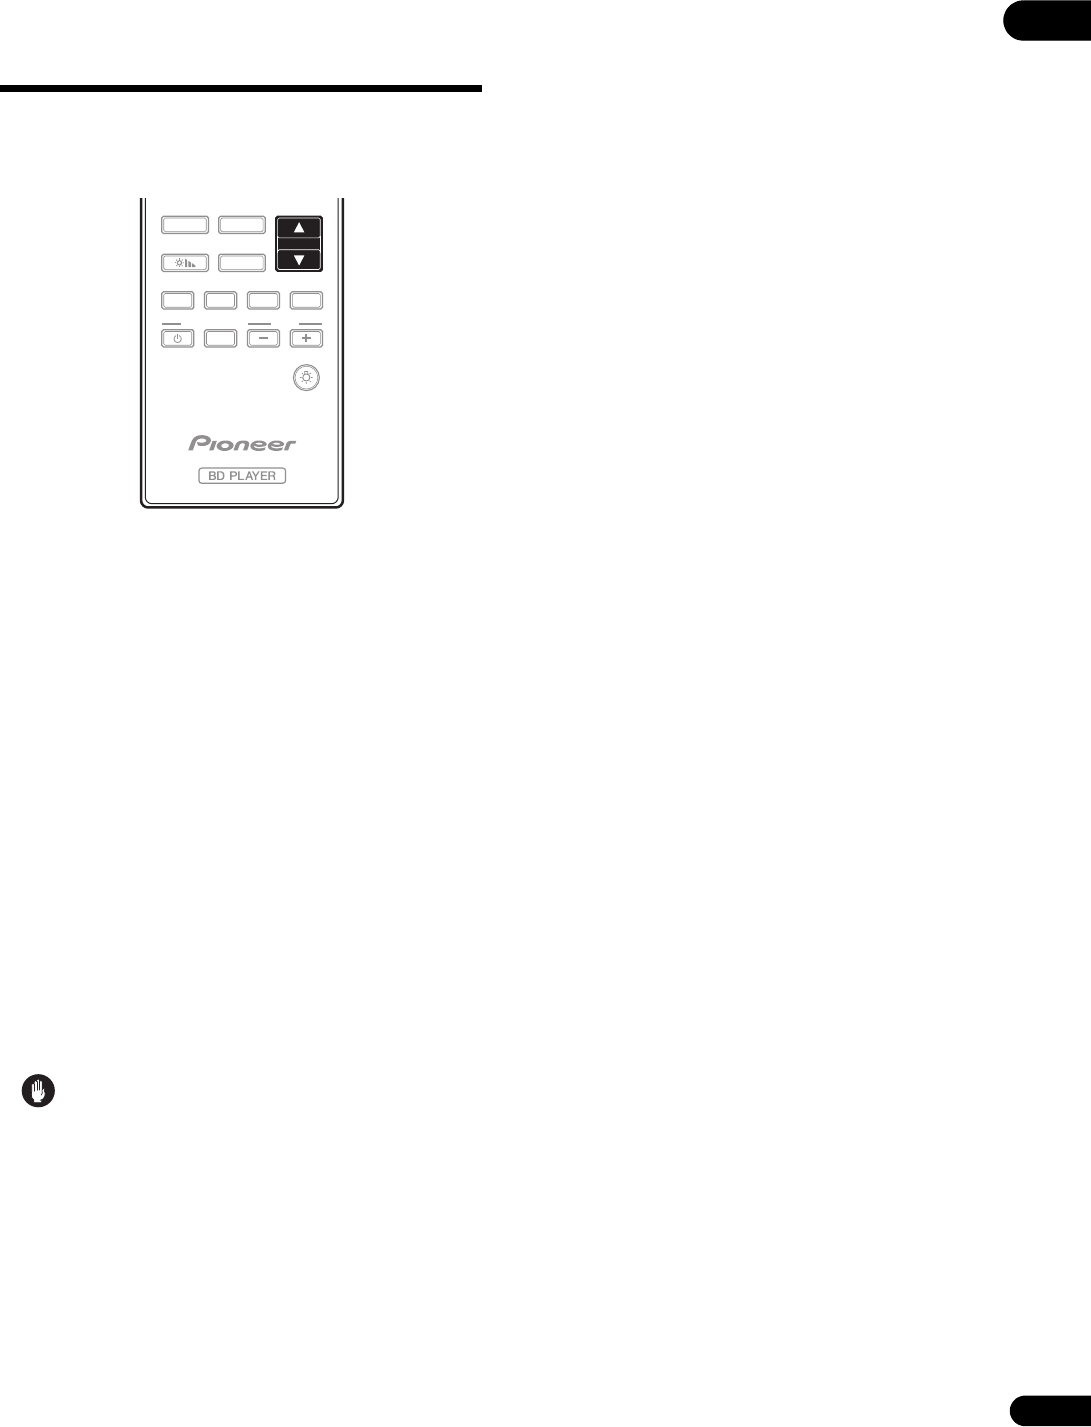
Remote Control . . . . . . . . . . . . . . . . . . . . . . 13
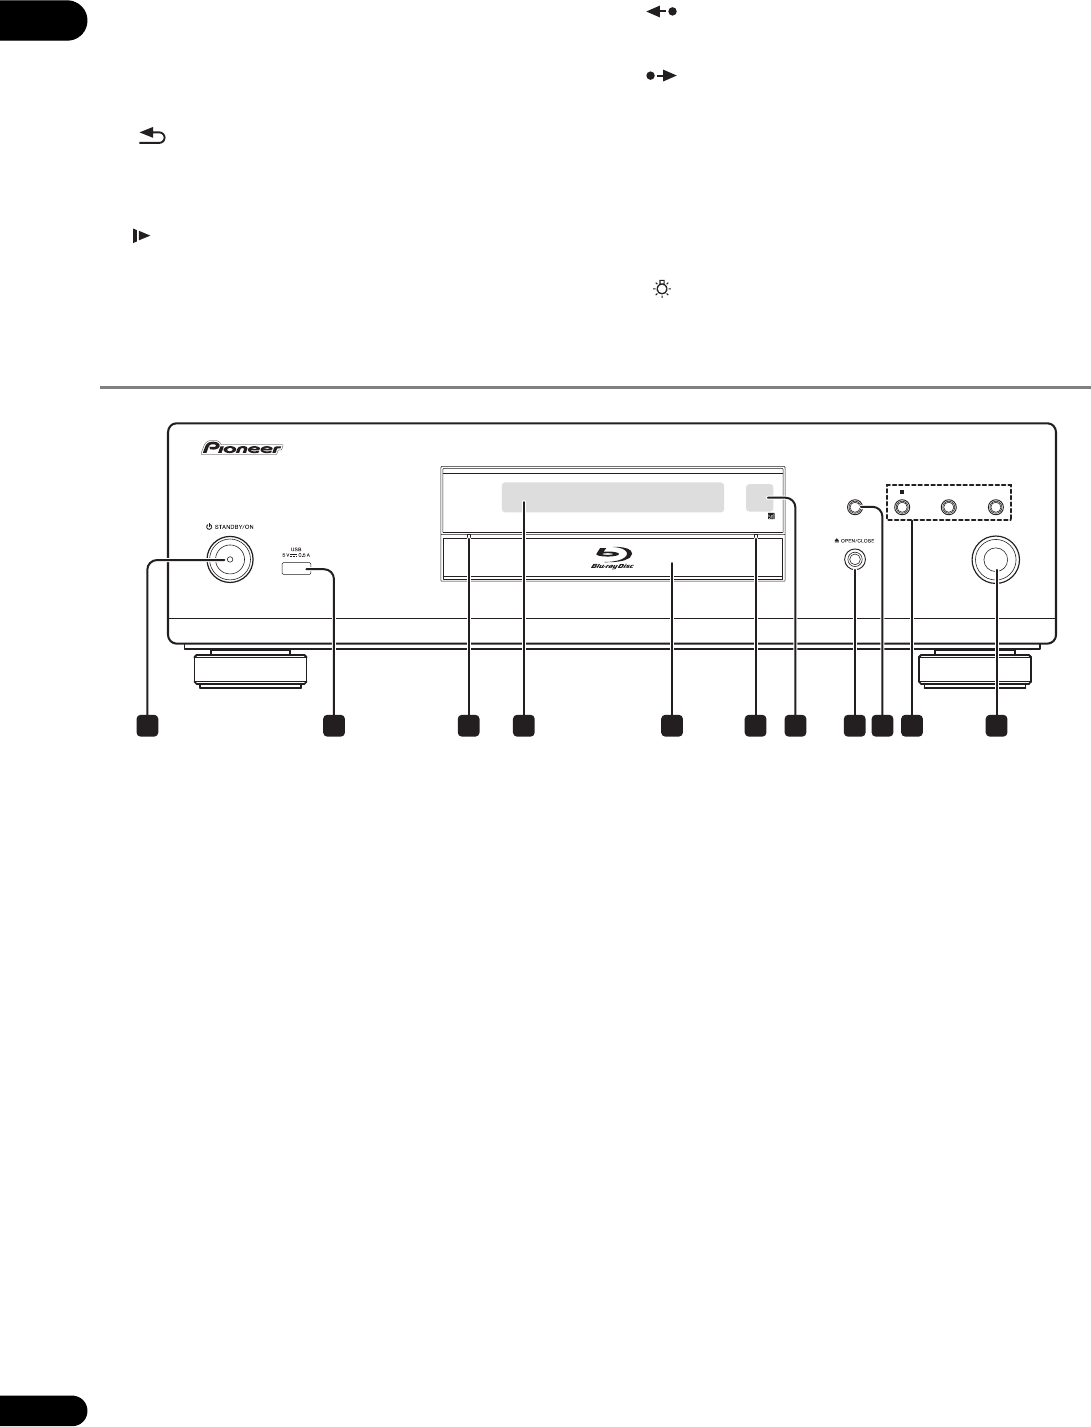
Front Panel . . . . . . . . . . . . . . . . . . . . . . . . . . 14
Rear Panel . 15
02 Connecting up
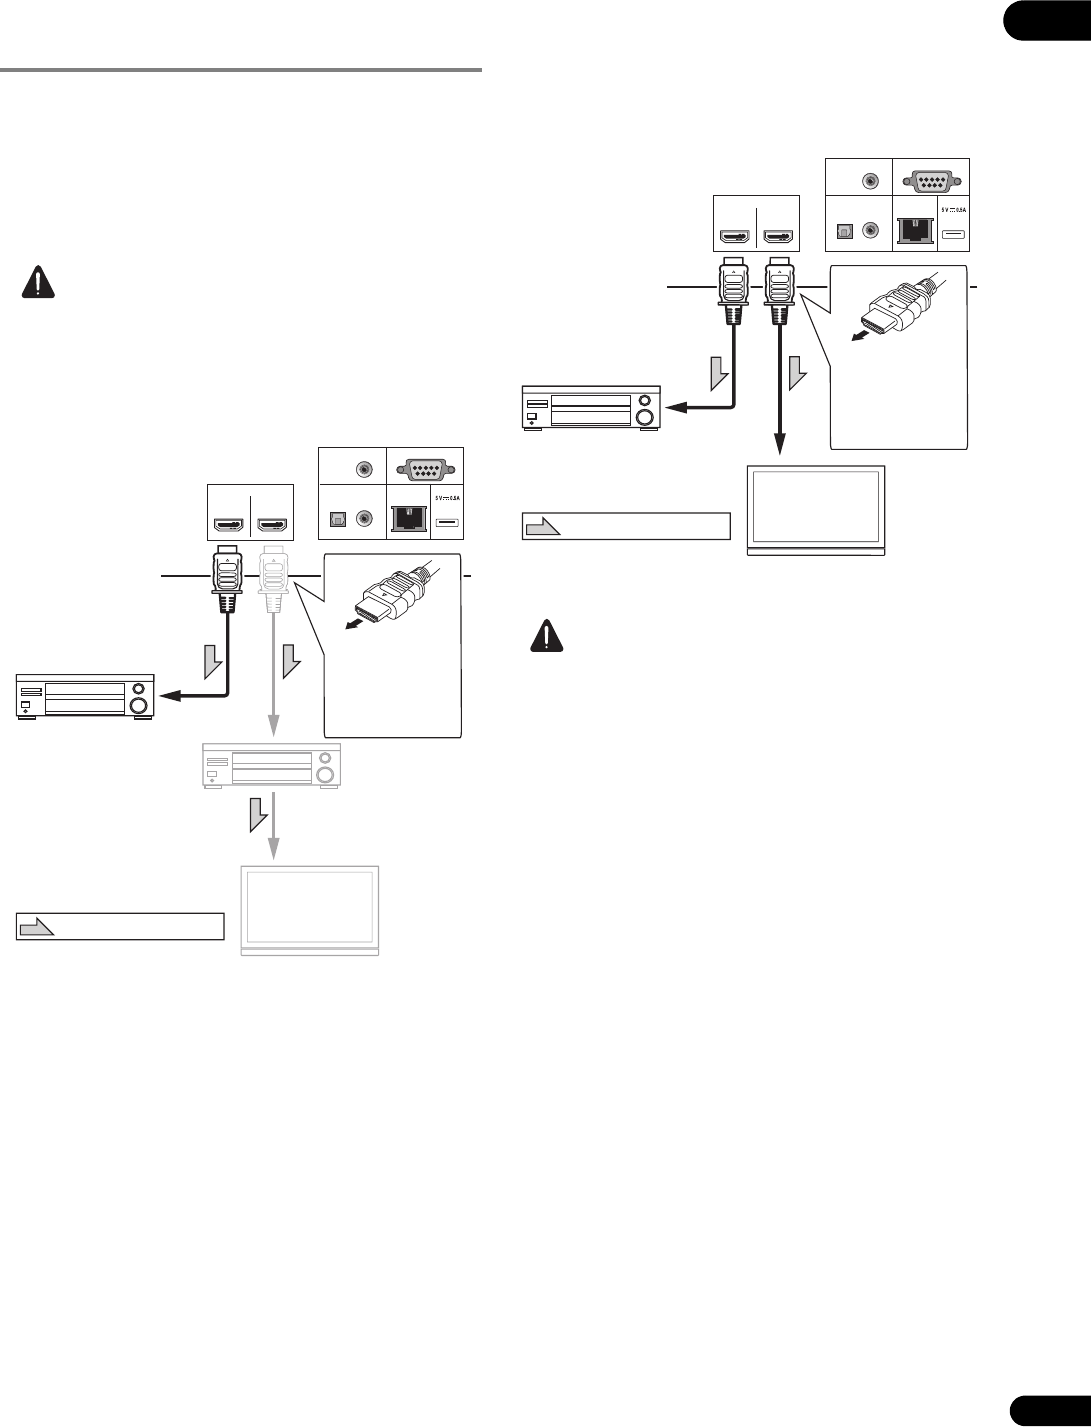
Connecting using an HDMI cable 16
About HDMI . . . . . . . . . . . . . . . . . . . . . . . . . . . . . . . . . . . . . 16
About Control Function with HDMI 17
Connecting a TV 18
Connecting an AV receiver or am 19
Connecting audio cables . . . . . . . . . . . . . . . . . . . . . . . . . . . . 20
Connecting an AV receive
coaxial digi . 20
Connecting an AV receive
optical digital audio cable (BDP-LX88 only) . . . . . . . . . . . 20
Connecting the Pre-main am
cable (BDP-LX88 only) . . . . . . . . . . . . . . . . . . . . . . . 20
Input device is connected with the ZERO SIGNAL
terminal. . . . . . . . . . . . . . . . . . . . . . . . . . . . . . . . . . . . . . . . . . 21
Connecting components to the USB port . . . . . . . . . . . . . . 21
About USB devices . . . . . . . . . . . . . . . . . . . . . . . . . 21
Connecting the USB device . . . . . . . . . . . . . . . . . . . . . . . . 21
Connecting to the network through LAN interface . . . . . . . 22
Connecting with a LAN cable (wired LAN) . . . . . . . . . . . . 22
Connecting the power cord . . . . . . . . . . . . . . . . . . . . 22
03 Getting Started
Making settings using the Setup Navigator menu . . . . . . . 23
Operating the TV with the player’s remote control . . . . . . . 24
TV Preset code list . . . . . . . . . . . . . . 24
Switching the output video . . . . . . . . . . . . . . . . . 25
04 Playback
Playing discs or files 26
Quick view (Quick view with audio) 26
Forward and reverse scanning . . . . 26
Playing specific chapters, tracks or files . . . . . . . . . . . . . . 27
Skipping content 27
To return to a position a short while ago . . 27
To advance to a position slightly ahead 27
Playing in slow motion . . . . . . . . . . . . . . . . 27
Step forward/Step reverse 27
Playing a specific sectio
repeatedly (A-B Repeat) . . . . . . . . . . . . . . . . . . . . . 27
Playing repeatedly
(Repeat Play) . . . . . . . . . . . . . . . . . . . . . . . . . . . . . . 27
Playing in the desired order (Programmed Play) 28
Making bookmarks . . . . . . . . . . . . . . . . . . . 28
Zoom . . . . . . . . . . . . . . . . . . . . . . . . . . . . . . . . . . . . . 28
Playing photos as slideshows 28
Switching the camera angles . . . . . 28
Switching the subtitles 29
Using the DIRECT function . . . . . . . 29
Moving subtitles 29
Switching the audio 29
Switching the CD/SACD playback area 29
Displaying the disc information . . . . . . . . . . . . . . . . . . . . . 30
Enjoying BONUSVIEW or
BD-LIVE 30
Playback functions . . . . . . . . . . . . . . . . . . . . . . . . . . . . . . . 31
Using the FUNCTION menu . . . . . . . . . . . . . . . . . . . . . . . . . 32
Playing from a specific time (Time Search) . . . . . . . . . . .
Playing a specific title, c
(Search)
Playing specified range o
(track/file) in random order . . . . . . . . . . . . . . . . . . .
Continuing playback from a specified position
(Continued Viewing Playback) . . . . . . . . . . . . . . . . . . . . . . .
05 Playback from Source function
About Source function.
About network playback . . . . . . . . . . . . . . . .
Playback file on the network . . . . . . . . . . . . . . . . . . . .
Disc/USB playback . . . . . . . . . . . . . . . . . . . . . . . . . . . . . . . .
Playing back image files . . . . . . . . . . . . . . . . . . . . . . . . . . .
Playing in the desired order (Playlist)
Adding tracks/files . . . . . . . . . . . . . . . . . . . . . . . . . . . . . . .
Playing the Playlist . . . . . . . . . . . . . . . . . . . . . . . . . . . . . . .
Deleting tracks/files from the Playlist
06 Playing the web contents
Available web contents
Playing the items
07 Setting th
Changing the Audio options . . . . . . . . . . . . . . . . . . . . . . . . .
Operating the Audio Parameter screen . . . . . . . . . . . . . .
Changing the Video options . . . . . . . . . . . . . . . . . . . . . . . . .
Operating the Video Parameter screen . . . . . . . . . . . . . . .
08 Advanced settings
Changing the settings . . . . . . . . . . . . . . . . . . .
Operating the Initial Setup screen
Software updating . . . . . . . . . . . . . . . . . . . . . . . . . . . . . . . .
Restoring all the setti
settings
Setting the backlight mode . . . . . . . . . . . . . . . . . . . . . . . .
About how digital audio formats are output
Language Code Table and Country/Area Code Table . . . . .
Language Code Table
Country/Area Code Table
09 Additional informatio
Cautions on use . . . . . . . . . . . . . . . . . . . . . . . .
Moving the player . . . . . . . . . . . . . . . . . . . . . . . . . . . . . . . .
Place of installation
Turn the power off when not using the player . . . . . . . . .
Condensation
Cleaning the player . . . . . . . . . . . . . . . . . . . . . . . . . . . . . . .
Caution for when the unit is installed in a rack wi
glass door
Cleaning the pickup lens . . . . . . . . . . . . . . . . . . . . . . . . . .
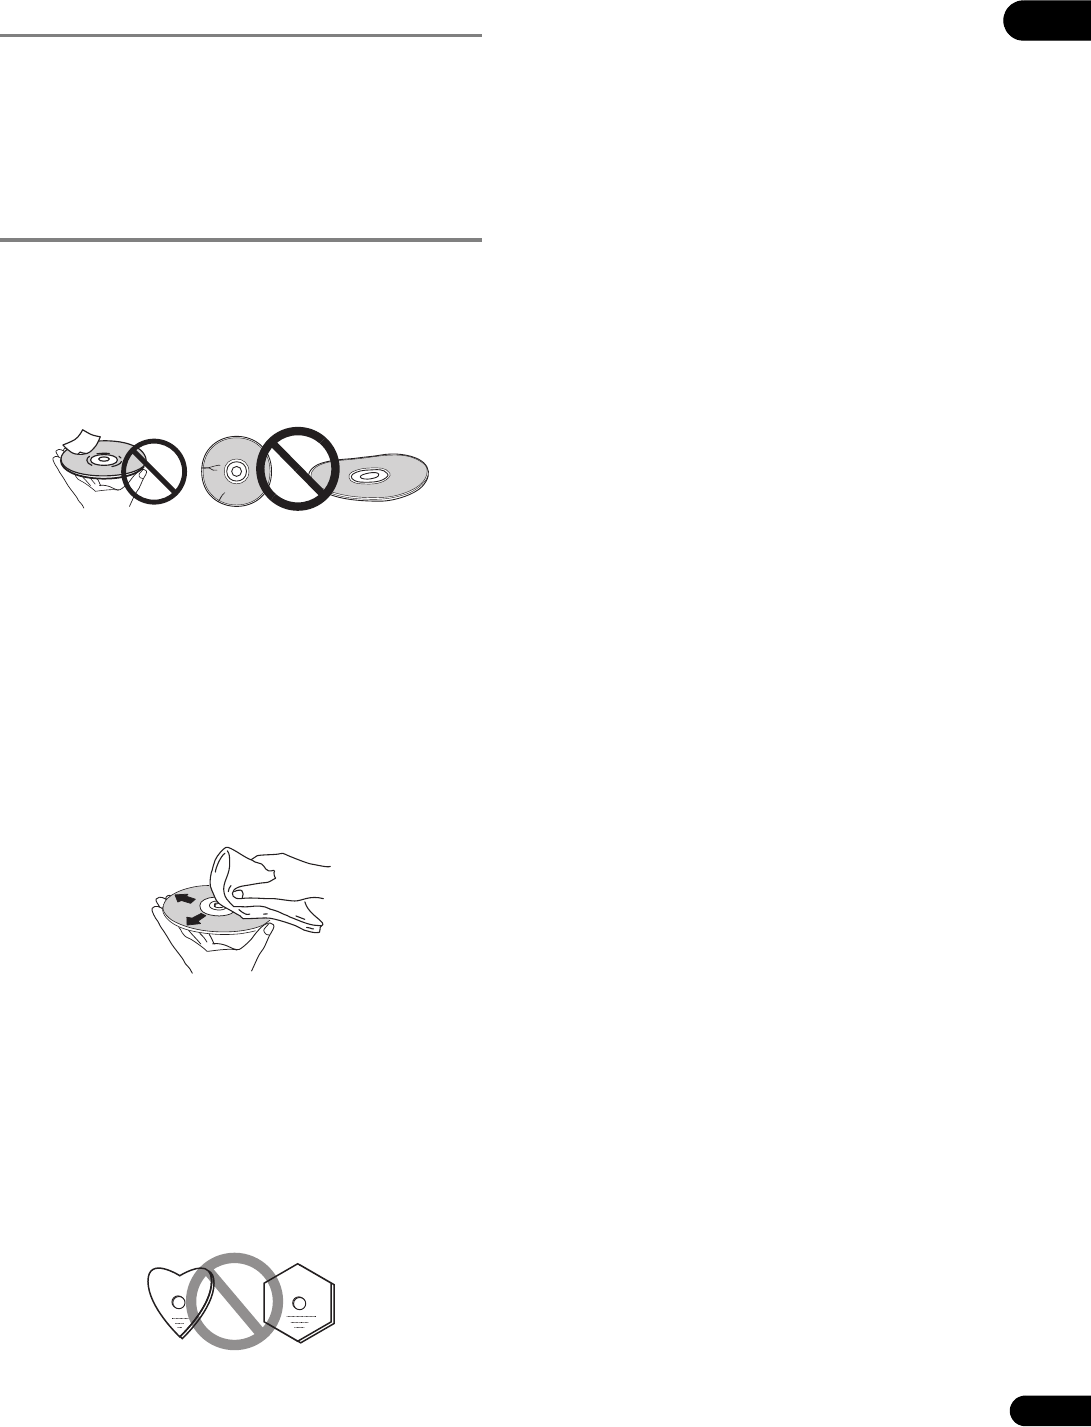
Handling discs
Troubleshooting . . . . . . . . . . . . . . . . . .
Playback . . . . . . . . . . .
Control function
Network . . . . . . . . . . . . . . . . . . . . . . .
Others
Glossary
Software license notice . . . . . . . . . . . . . . . . . . . . . . . . . . . . .
About Apple Lossless Audio Codec
About FLAC . .
Specifications . .
TOC.fm 4 ページ 2014年11月18日 火曜日 午後2時30分