Clock setting
It is possible to set the clock by using a time signal which
is broadcast with RDS stations. This only works if the RDS
station is sending this signal.
Automatic clock setting
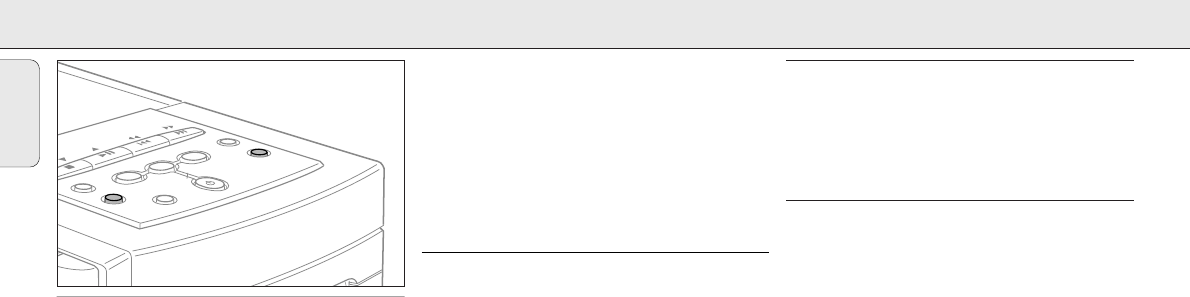
1 Tune to a RDS station (see ”RADIO“).
2 Press CLOCK on the set.
➞The clock digits 00:00 flashes.
3 Press RDS on the set.
➞READING RDS CLOCK and the clock time is
displayed.
4 Press CLOCK on the set to confirm the settings.
If NO RDS CLOCK is displayed there is no time signal
transmitted. In that case you have to set the clock manually.
Note: The time signal broadcasted from certain RDS
stations may not always be accurate. If you find there
is a discrepancy in clock time, set your clock manually
(and the time will then run accurately).
Manual clock setting
1 Press CLOCK on the set.
➞The clock digits 00:00 flashes.
2 Press 4 PRESET 3 on the set to set the hour.
3 Press 11 TUNING 22 on the set to set the minutes.
4 Press CLOCK on the set to confirm the settings.
Timer setting
The set can be used as an alarm clock, whereby the CD or
tuner is switched on at a set time.
1
Keep TIMER on the set depressed for more than 2 seconds.
➞\ flashes.
2 Press 4 PRESET 3 on the set to select the desired
sound source.
➞c or t is shown.
3 Press TIMER on the set.
➞The clock digits flash.
4 Press 4 PRESET 3 on the set to set the desired hour.
5 Press 11 TUNING 22 on the set to set the desired
minute.
6 Press TIMER on the set to confirm the settings.
Note: A power-saving feature is built into the timer. If no
key or control is adjusted during 30 minutes of timer
set playback, the unit will automatically switch to
standby mode.
Timer activation and deactivation
• Press TIMER during standby or playback.
➞\ is shown.
• Press TIMER anytime to deactivate the timer.
➞\ goes off.
Sleeptimer
The sleeptimer is a set period of time before the set
switches off. The clock time has to be set before the
sleeptimer can be used.
1 Press SLEEP on the remote control until the desired
sleeper time is displayed.
➞SLEEP, 60, 45, 30, 15, 10, OFF
2 As soon as the desired time is displayed, do not press
the key again.
➞After the chosen time has elapsed, the set switches
to standby.
• To deactivate the sleeptimer, press SLEEP on the remote
control until OFF is displayed.
English
CLOCK/TIMER
8