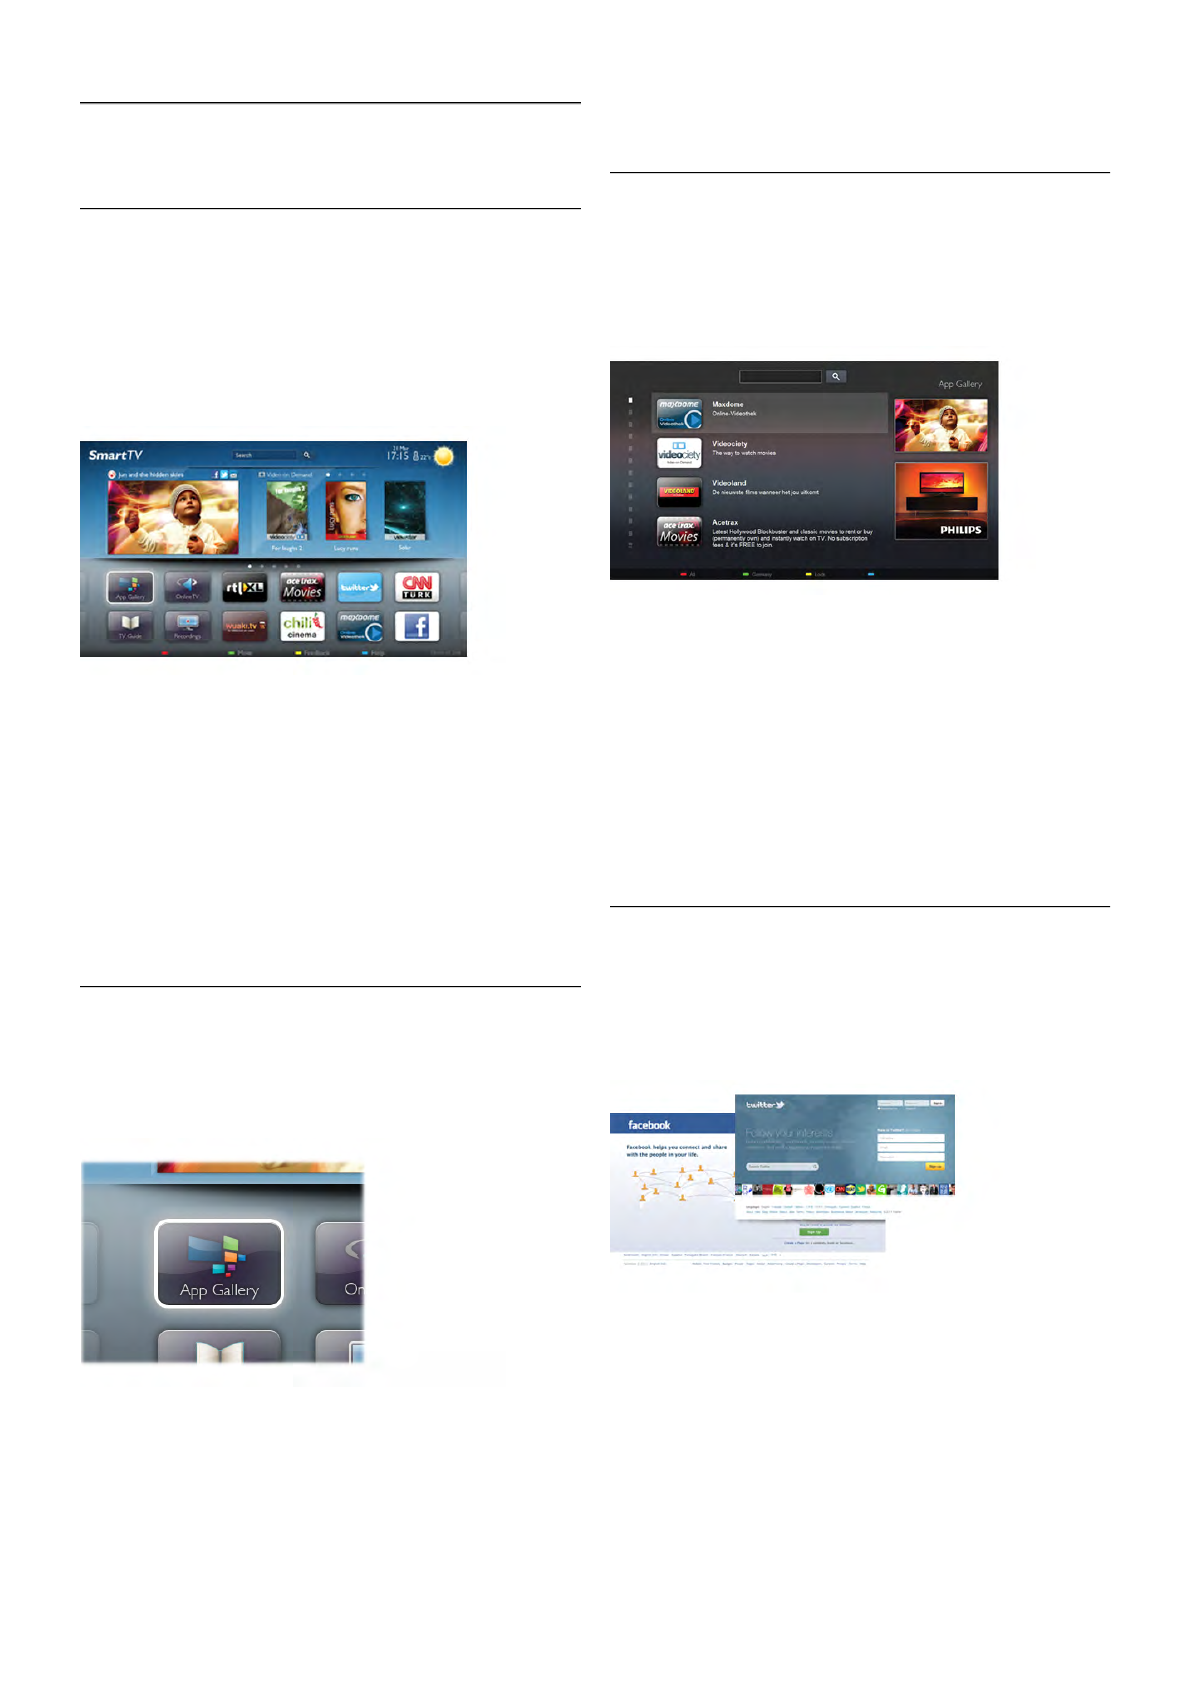
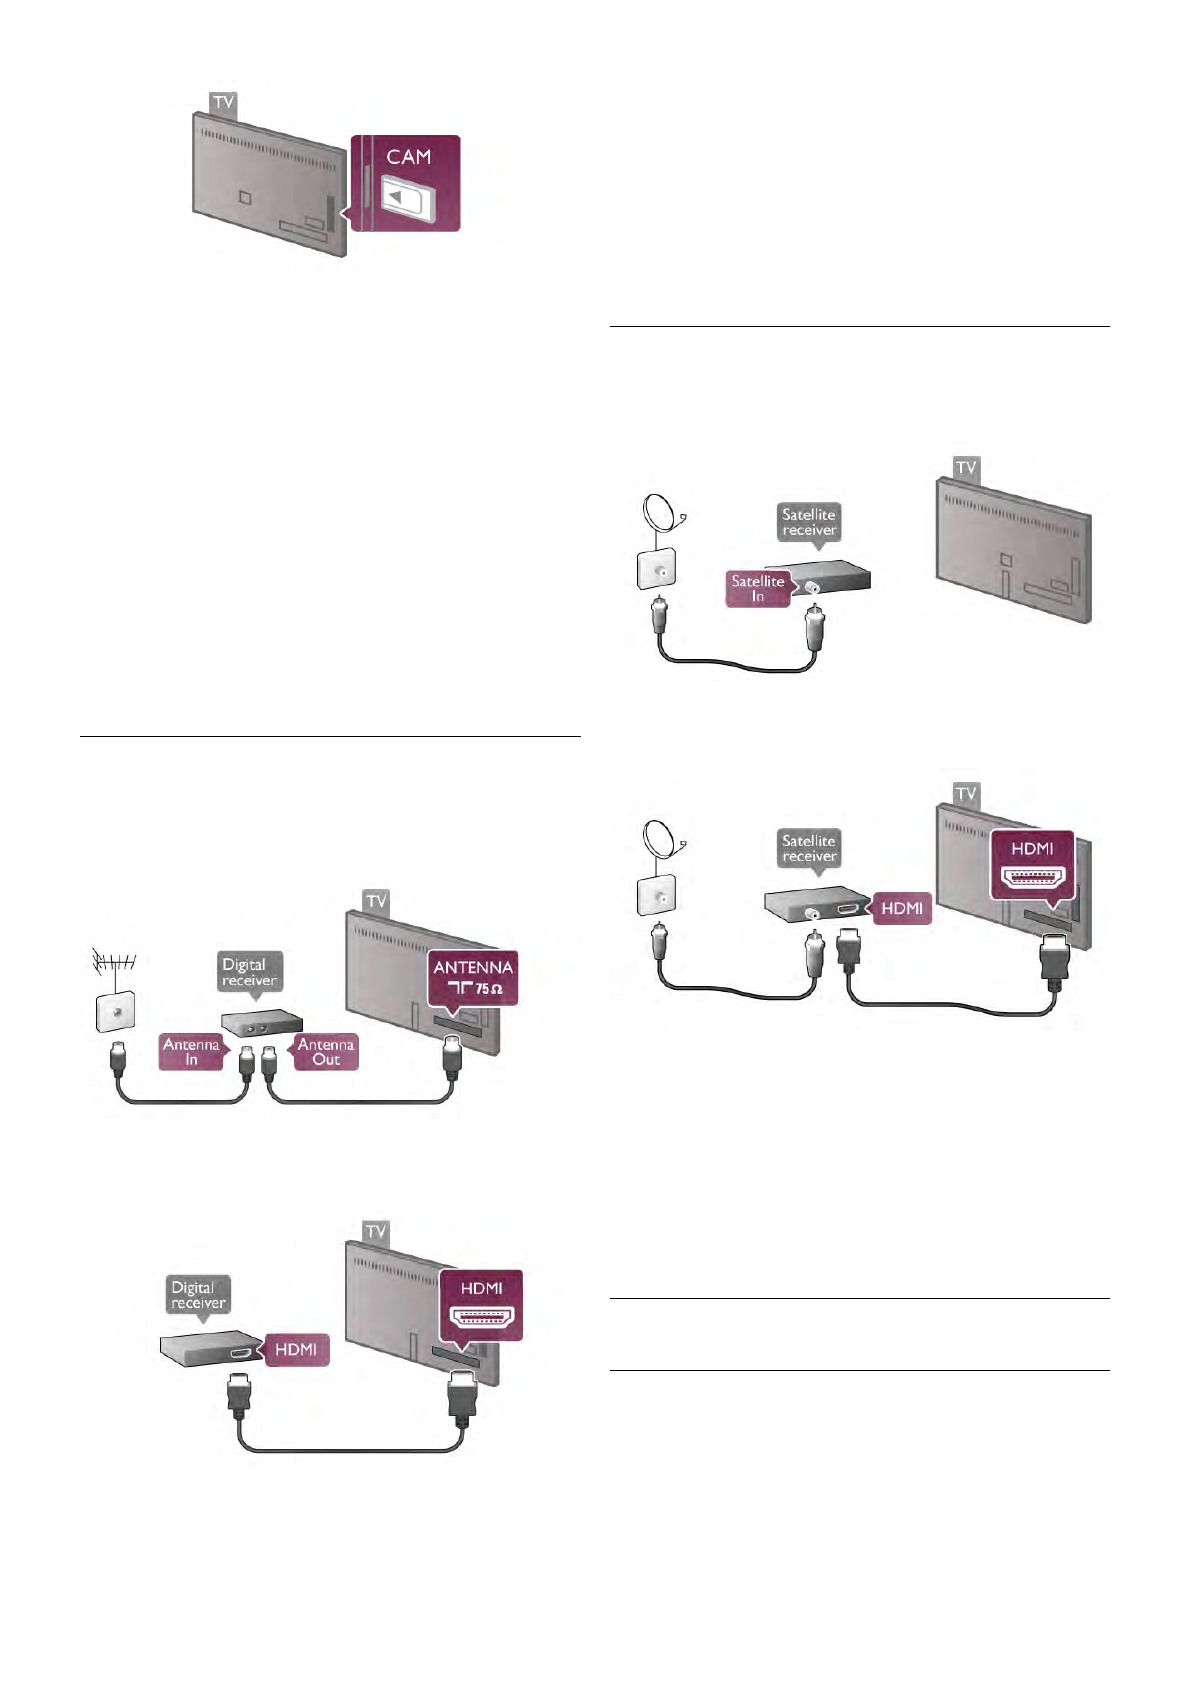
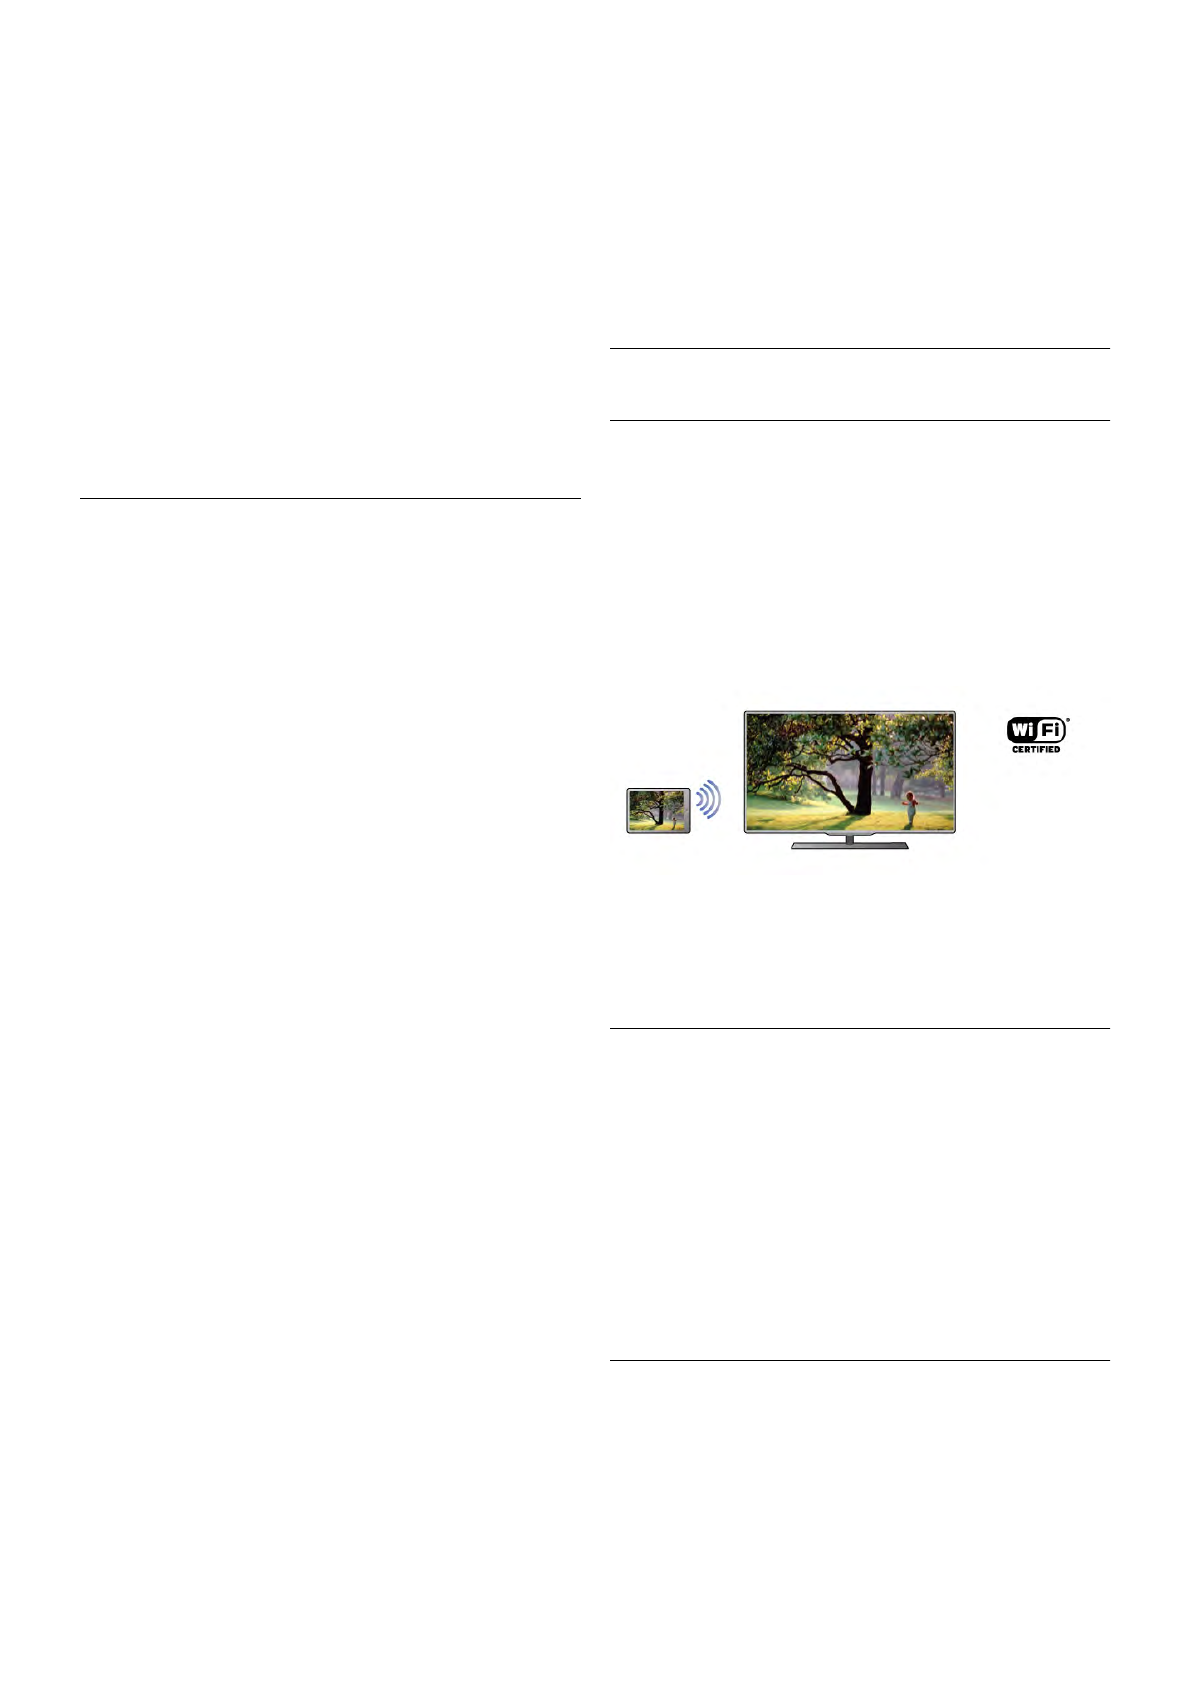
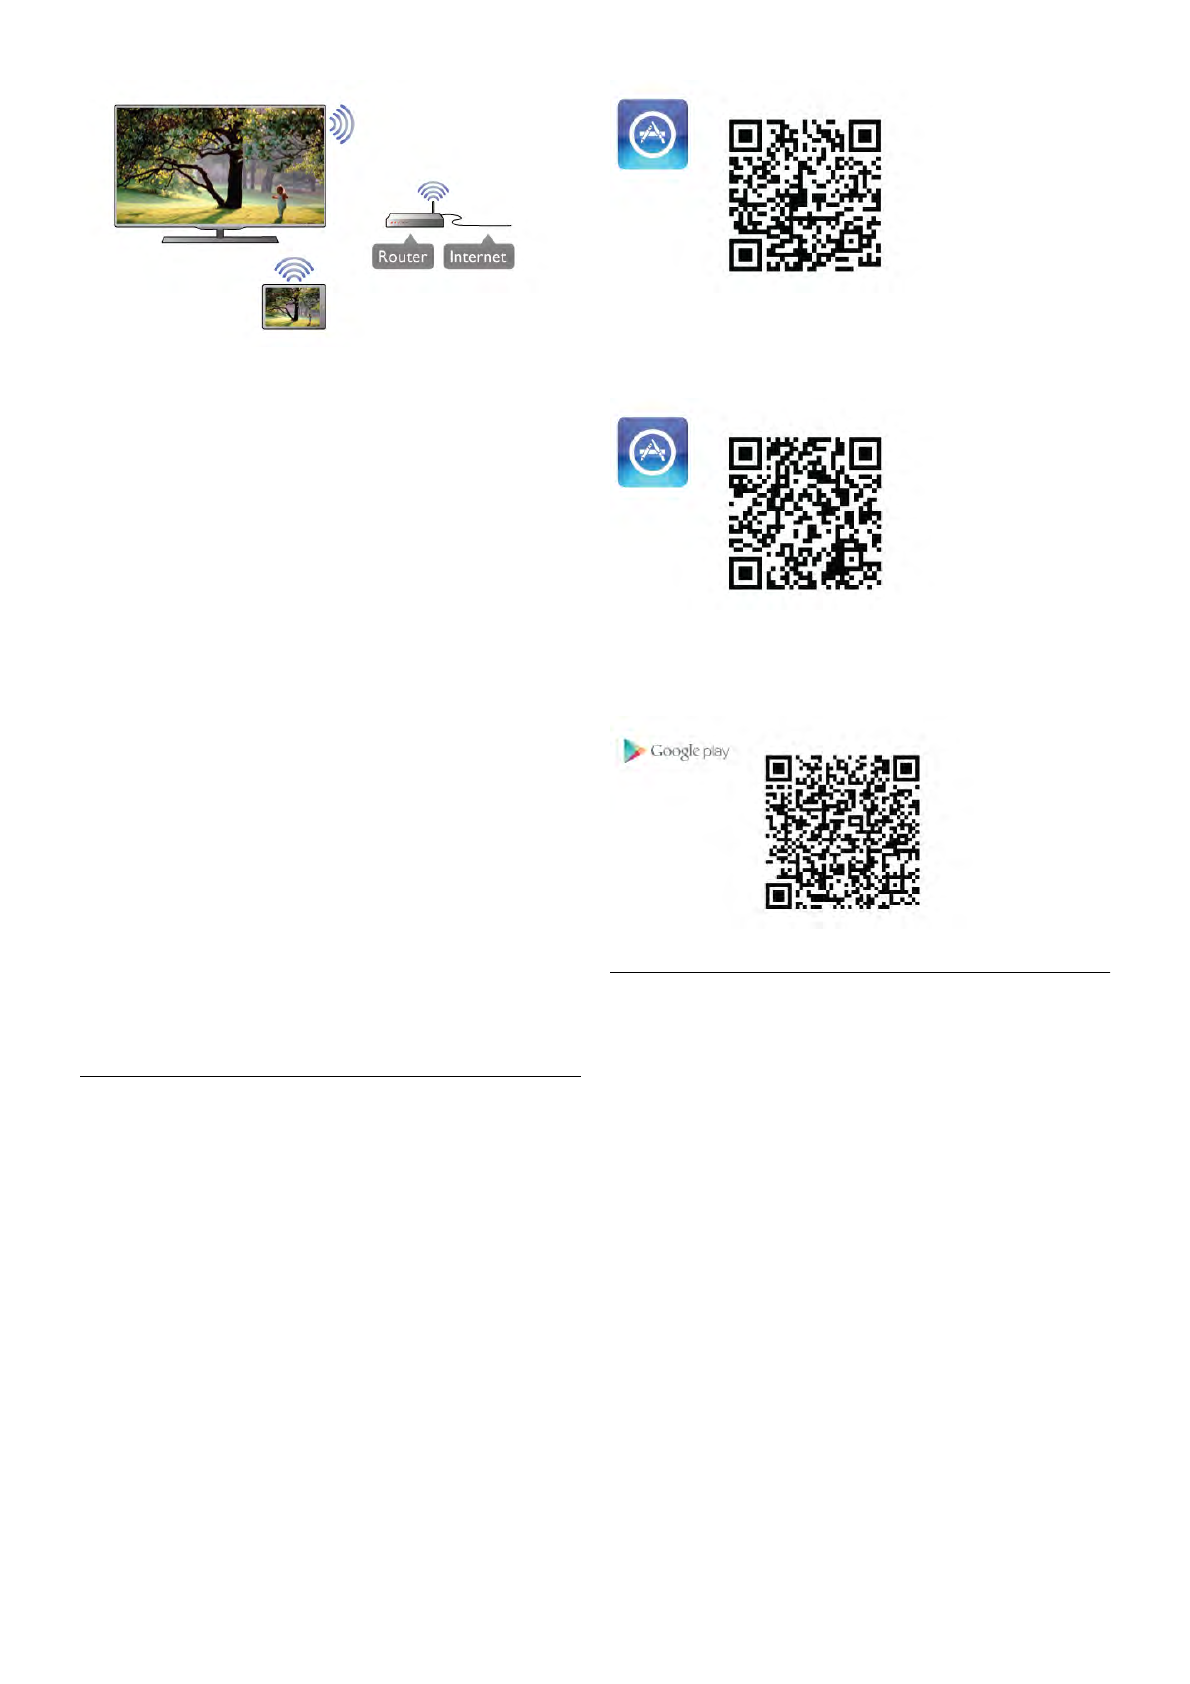
What you need
To watch TV on your smartphone or tablet with Wi-Fi smart
screen . . .
• you must have digital TV channels installed on your TV
• the TV must be switched on
• your home network must be a secured network. Secure your
network with WEP, WPA, WPA2 or set it up using WPS.
• you must have the setting Wi-Fi smart screen switched on.
Press h (home) > Setup > Network settings > Wi-Fi smart
screen.
How to buy
Tap Wi-Fi smart screen in the App menu to open the
function. If you did not purchase this function yet, you will be
asked to buy it online. After the purchase, Wi-Fi smart screen
opens automatically and you can start watching TV.
Parental rating
Some digital broadcasters have rated their programmes. When
the rating is equal or higher than the rating you have set for
your child's age, the programme will be locked. You will need a
PIN code to unlock and watch the programme.
To switch on Parental rating, tap the Setup button on the App
menu. Switch on Parental rating, set your PIN code and set an
age. The parental rating in the MyRemote App is set for
watching TV on your smartphone or tablet, not the TV.
If you have forgotten your PIN code, you need to reinstall the
MyRemote App from the App store. On the purchase page for
Wi-Fi smart screen, you can restore your purchase without
cost.
Watch a TV channel
To watch a TV channel with the Wi-Fi smart screen function,
tap Wi-Fi smart screen in the App menu. Wi-Fi smart screen
will show the TV channel currently on TV. If the TV is
switched to a connected device, you need to switch the TV
back to Watch TV or to Watch Satellite (if a built-in satellite
tuner is available).
Switch TV channels
To switch TV channels, swipe the touchscreen of your
smartphone or tablet. Swipe to the right to watch the previous
channel or swipe to the left to watch the next channel. The
sequence of channels follows the TV channel list.
You can also use the Channel bar to look for and switch to TV
channels.
Pause TV and Recording
If you pause the TV broadcast on TV or start recording a
broadcast with the TV (on a connected USB Hard Drive), the
Wi-Fi smart screen function will stop.
Sound
The sound that comes with the TV channel is mono sound.
Subtitles
Subtitles on Wi-Fi smart screen are not supported.
Channel bar
To switch to a channel further up or down the TV channel list,
you can call up the Channel bar.
To call up the Channel bar, tap the middle of your
touchscreen once. The Channel bar appears at the bottom of
the screen, together with the Tool bar at the top. You can
swipe the Channel bar and look for a TV channel.
To switch to a TV channel, tap the channel icon once.
To close the Channel bar and Tool bar, tap the middle of the
screen again.
TV guide info
If you have a tablet and you linked up the TV guide of your TV
with the MyRemote App, you can view TV guide information.
Above each TV channel icon the TV guide shows the current
and next programme for that channel.
Tool bar
In the Wi-Fi smart screen tool bar, you can select the picture
format, select the TV or Satellite channel list (if available on
TV), open the tool tips or switch the TV on standby.
To call up the Tool bar, tap the middle of your touchscreen
once. The Tool bar appears at the top of the screen, together
with the Channel bar.
To close the Tool bar and Channel bar, tap the middle of the
screen again.
App menu button
To go back to the MyRemote App menu, tap the App menu
button.
Scale
To scale the picture to just fit or completely fill the screen, tap
the Scale button to toggle between fill or fit.
TV or Satellite
If you have a built-in satellite tuner in your TV, you can select
the channel list of Watch TV or Watch satellite. The button
shows which channel list is currently selected.
To change the current channel list, tap the button and tap TV
or Satellite to select the channel list you want. If you do not
have a built-in satellite tuner, there is no selection button.
Tool tips I
To read some Tool tips, tap the I icon. The tool tips appear
on top of the available buttons.
To close the Tool tips, tap anywhere on the touchscreen.
TV A
With Wi-Fi smart screen you can switch the TV on standby.
But with the network connection lost, you cannot start Wi-Fi
smart screen again from a TV on standby.
If you activated Quick start and the TV is in a Quick start time
frame, you can still start Wi-Fi smart screen and watch TV. You
can stop and start Wi-Fi smart screen as long as the TV is
within the Quick start time frame.
If you stop Wi-Fi smart screen outside a Quick start time
frame, the TV stays in Quick start for 5 minutes to allow you
to start Wi-Fi smart screen again without having to switch on
the TV itself. In Help, press * List and look up Quick start
for more information on Quick start.