To watch a locked programme you must enter the child lock
code. The parental age rating is set for all channels.
Set an age rating
Press h and select S Setup and press OK.
Select Satellite settings > Child lock > Parental rating.
To select an age rating, you must first enter your 4-digit child
lock code. If no child lock code is set, you can set the code
now.
When the code is entered, you can select the age rating.
When the rating of a programme is equal or higher than the
rating you have set for your child's age, the programme will be
locked. The TV will ask for the code to unlock the programme.
For some operators, the TV only locks programmes with a
higher rating.
Change code
To change the current Child lock code, press h, select S
Setup and press OK.
Select Satellite settings > Child lock > Change code.
Enter the current code and then enter the new code twice.
The new code is set.
Forgotten your code?
To override and enter a new Child lock code in case you forget
it, enter 8888.
4.2
Satellite installation
What you need
Next to DVB-T and DVB-C reception, this TV has a built-in
satellite DVB-S/DVB-S2 receiver. If you connect a satellite dish
antenna, you can receive digital satellite channels. You do not
need an external satellite receiver.
LNB
An LNB (Low Noise Block-downconverter) captures the
signals from a satellite and is mounted at the end of the pole
on the dish antenna. The TV can receive signals from 4
different LNBs.
Satellite channel installation
With a properly set up and connected satellite dish antenna,
you can install satellite channels on the TV. Make sure your
satellite dish antenna is perfectly aligned.
You can install channels from 4 different satellites (4 LNBs).
To install the satellite channels, follow the steps 1 to 5.
1 - Install
To search for satellites and install satellite channels, press h,
select SSetup and press OK.
Select Search for satellite and press OK. If you have already
installed satellites, select Reinstall channels and press OK.
2 - Connection type
Select the number of satellites you want to install. The TV
sets the appropriate connection type automatically.
If necessary, you can still adjust the connection type in the
Settings later. In the Settings menu select Connection type
and select One LNB, if you have only one LNB on your
satellite dish. Select DiSEqC Mini, if you have 2 LNBs or select
DiSEqC 1.0 for 3 or 4 LNBs. Select Done to close the
settings.
3 - Search for satellites
To start the search, select Start and press OK. The TV
searches for all available satellites. This may take several
minutes. If no satellites are found, check the satellite dish
connections and the position of the dish antenna.
The signal quality shown is not always representative of the
signal quality of all channels on that satellite.
To repeat the search for satellites, select Search and press
OK. If you are satisfied with the satellites found, you can install
all their channels.
4 - Install channels
To install all channels for the satellites you found, press Install.
The installation may take several minutes or half an hour per
satellite.
5 - Sorting channels
At the end of the installation, depending on the installed
satellite, you can choose between different sorting lists for your
satellite channels. When the installation is finished, you can
find all satellite channels in the All satellite channels list. The
channels are also sorted by type in separate lists.
More settings
For most satellites, you do not need to change the LNB
related settings but, if you are searching for a specific satellite
on C-band, you need to set the LNB you use for this satellite
to C-Band LNB. Or, if you are an expert user, you might need
a Custom setting for the LNBs you use.
To speed up searching for satellites and channels, set the
Frequency scan rate to 10MHz. To do a thorough scan, set the
rate to 2MHz (recommended for Turkish satellites).
Reset
You might have lost track of the settings you set up.
To reset the satellite installation settings to factory settings,
select Reset in Settings and press OK.
Manual installation
The automatic channel install might have missed a specific
channel or channels from a transponder. You can add a
transponder manually. Look up and read Manual installation
with LList.
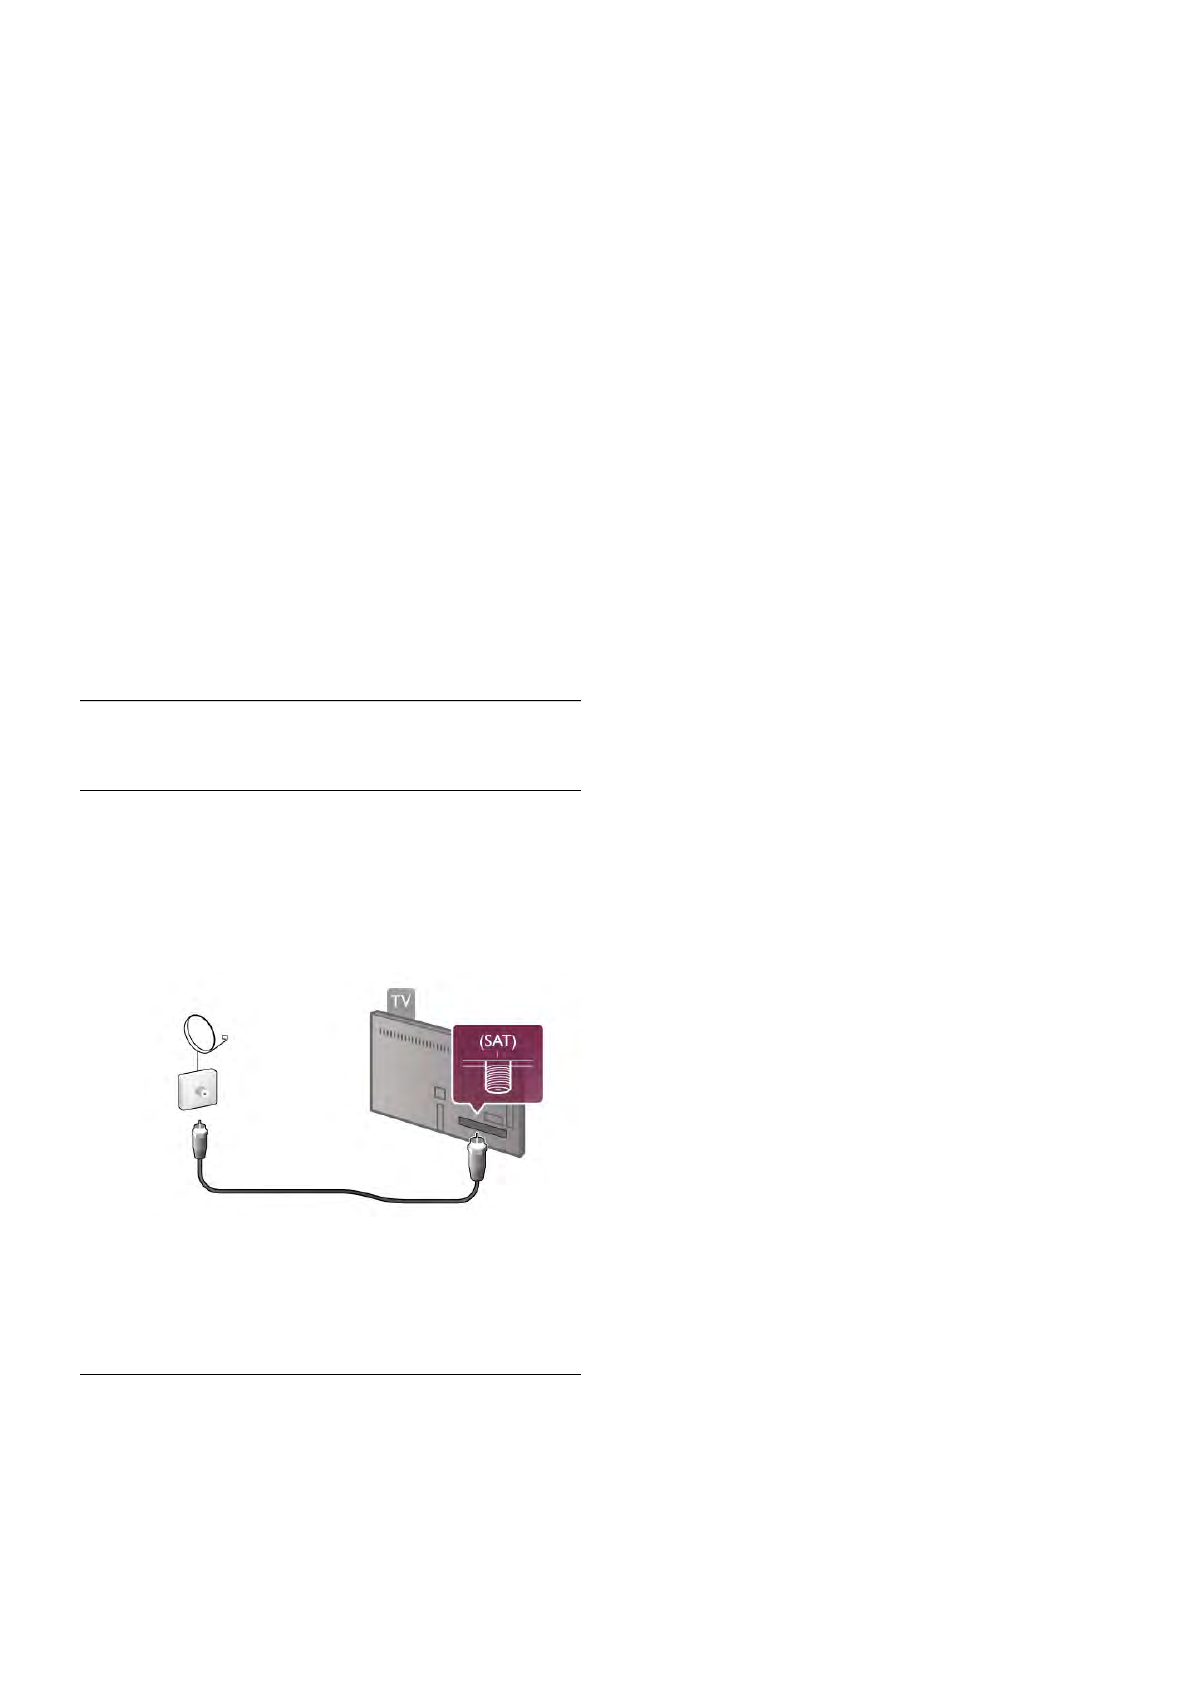
Dish antenna connection
Look up and read about the Dish cable with L List.