3938
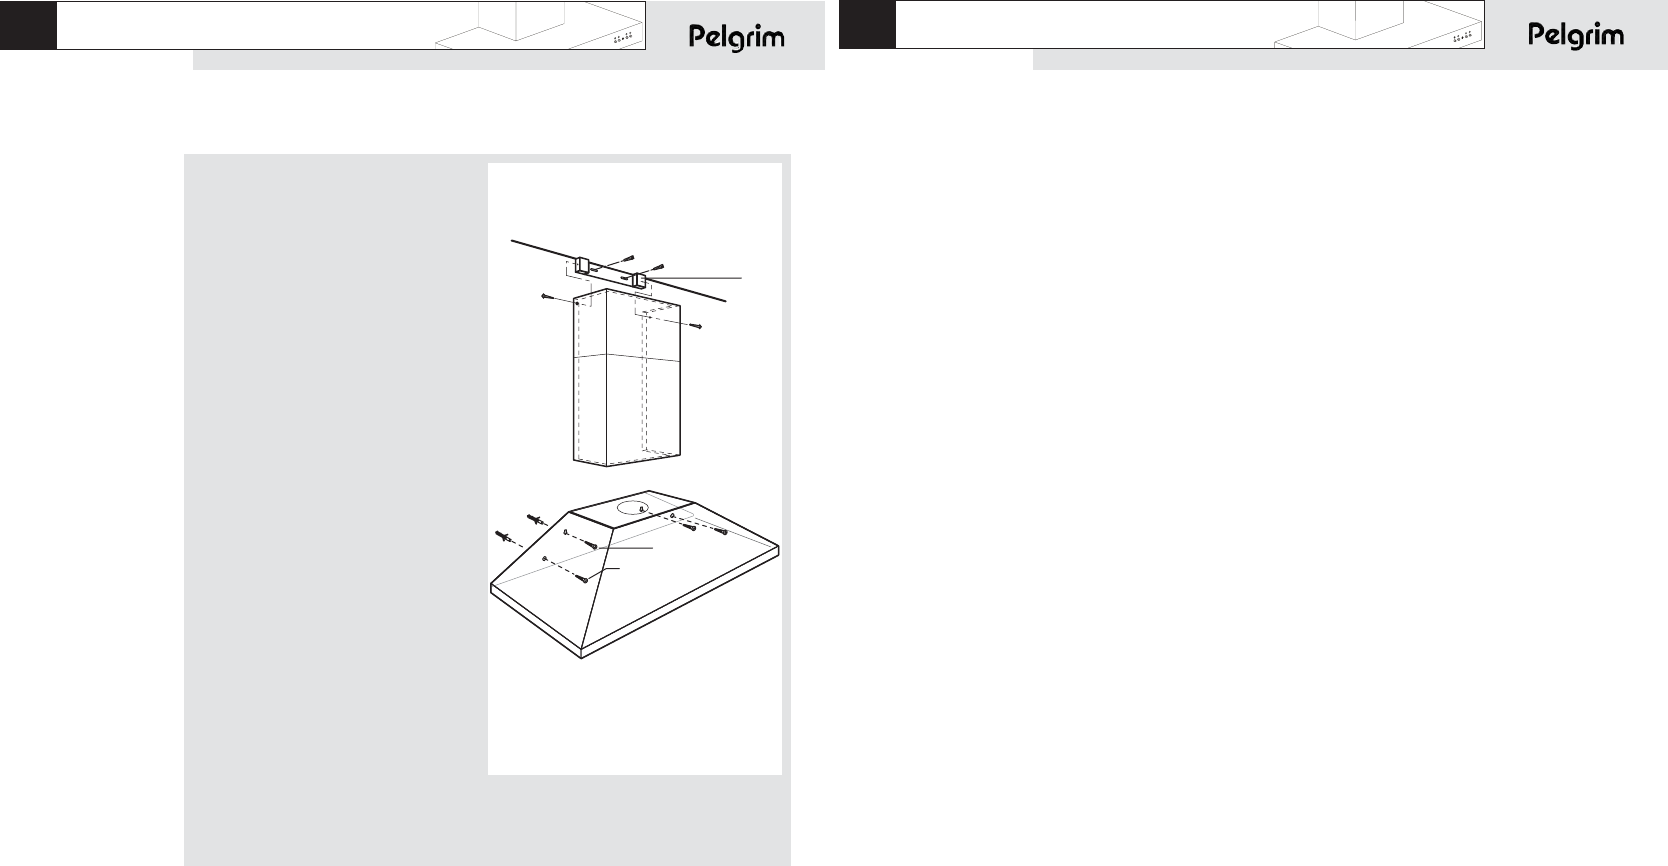
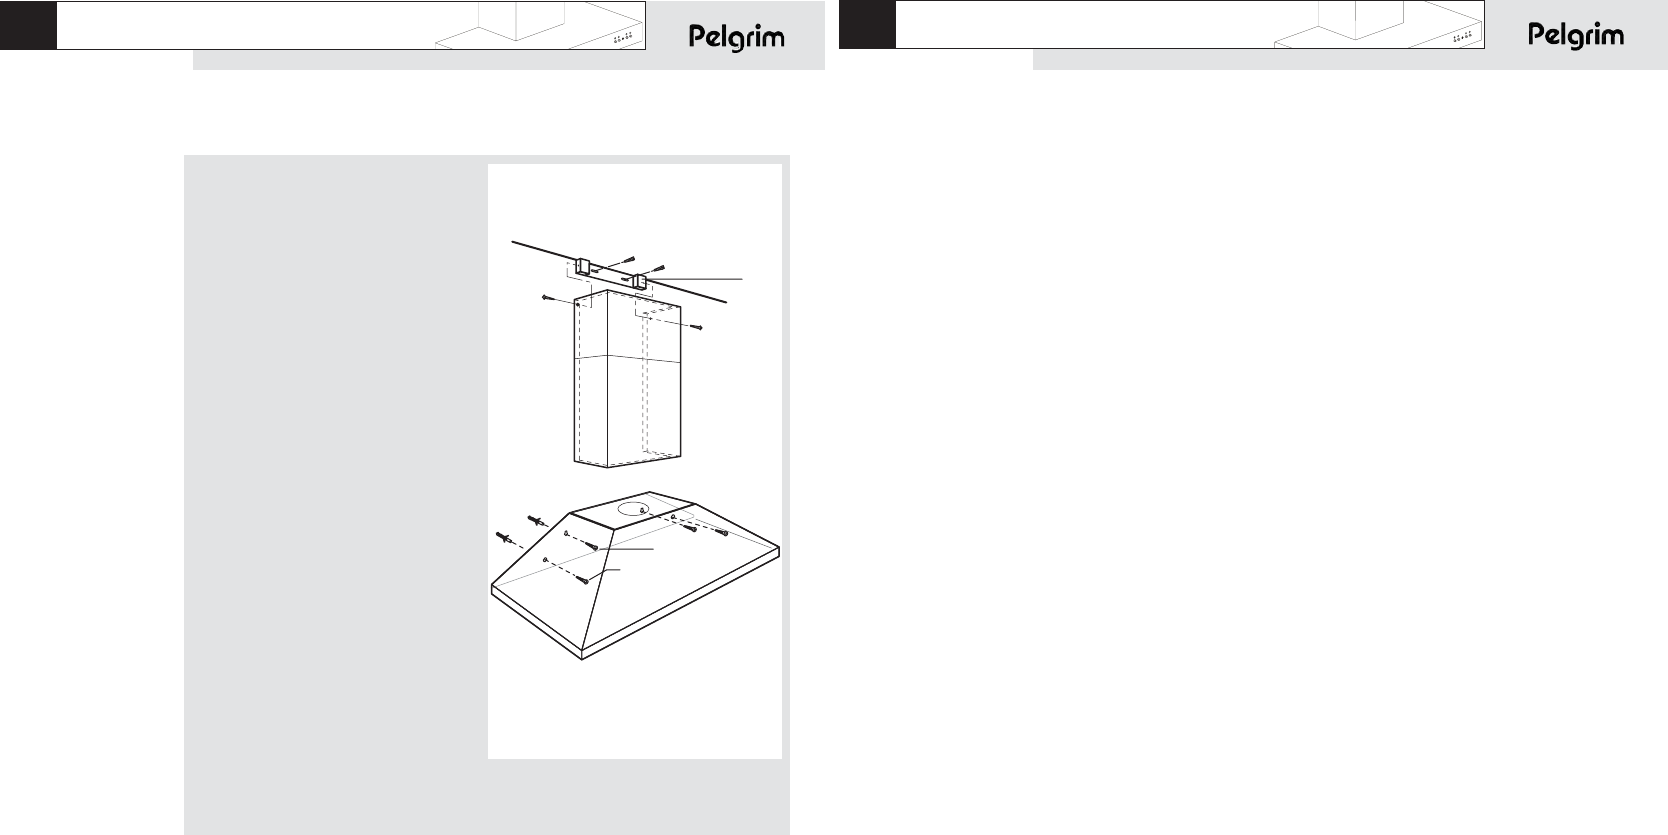
installation
Généralités
Le raccordement électrique de cet appareil doit être effectué par un installateur
agréé, qui connaît et applique les normes de sécurité en vigueur. Cet appareil
est conformément aux directives Européens CEE 89/336 EMC et CEE 73/23 ;
93/68 LVD.
Important:
■ Lorsque vous montez la hotte, toujours laisser une distance d'au moins
650 mm entre la table de cuisson et la hotte.
■ Si la hotte est raccordée à un conduit d'évacuation existant, aucun autre
appareil électroménager ne doit être raccordé au même conduit (exemples :
chauffe-eau, poêle).
■ Ne pas oublier les règlements locaux en vigueur concernant l'aération des
appareils à gaz.
■ Un conduit d'évacuation court et un nombre limité de coudes assurent un
meilleur fonctionnement de la hotte.
■ Avant de commencer à percer, assurez vous qu'il ne passe pas de conduites à
l'endroit choisi.
■ Le tuyau de connexion a un diamètre de 150 mm (RSK975/RSK986/RSK981)
ou de 125 mm (RSK595). Il est conseillé d'utiliser aussi ces diamètres pour le
tube de connexion.
entretien
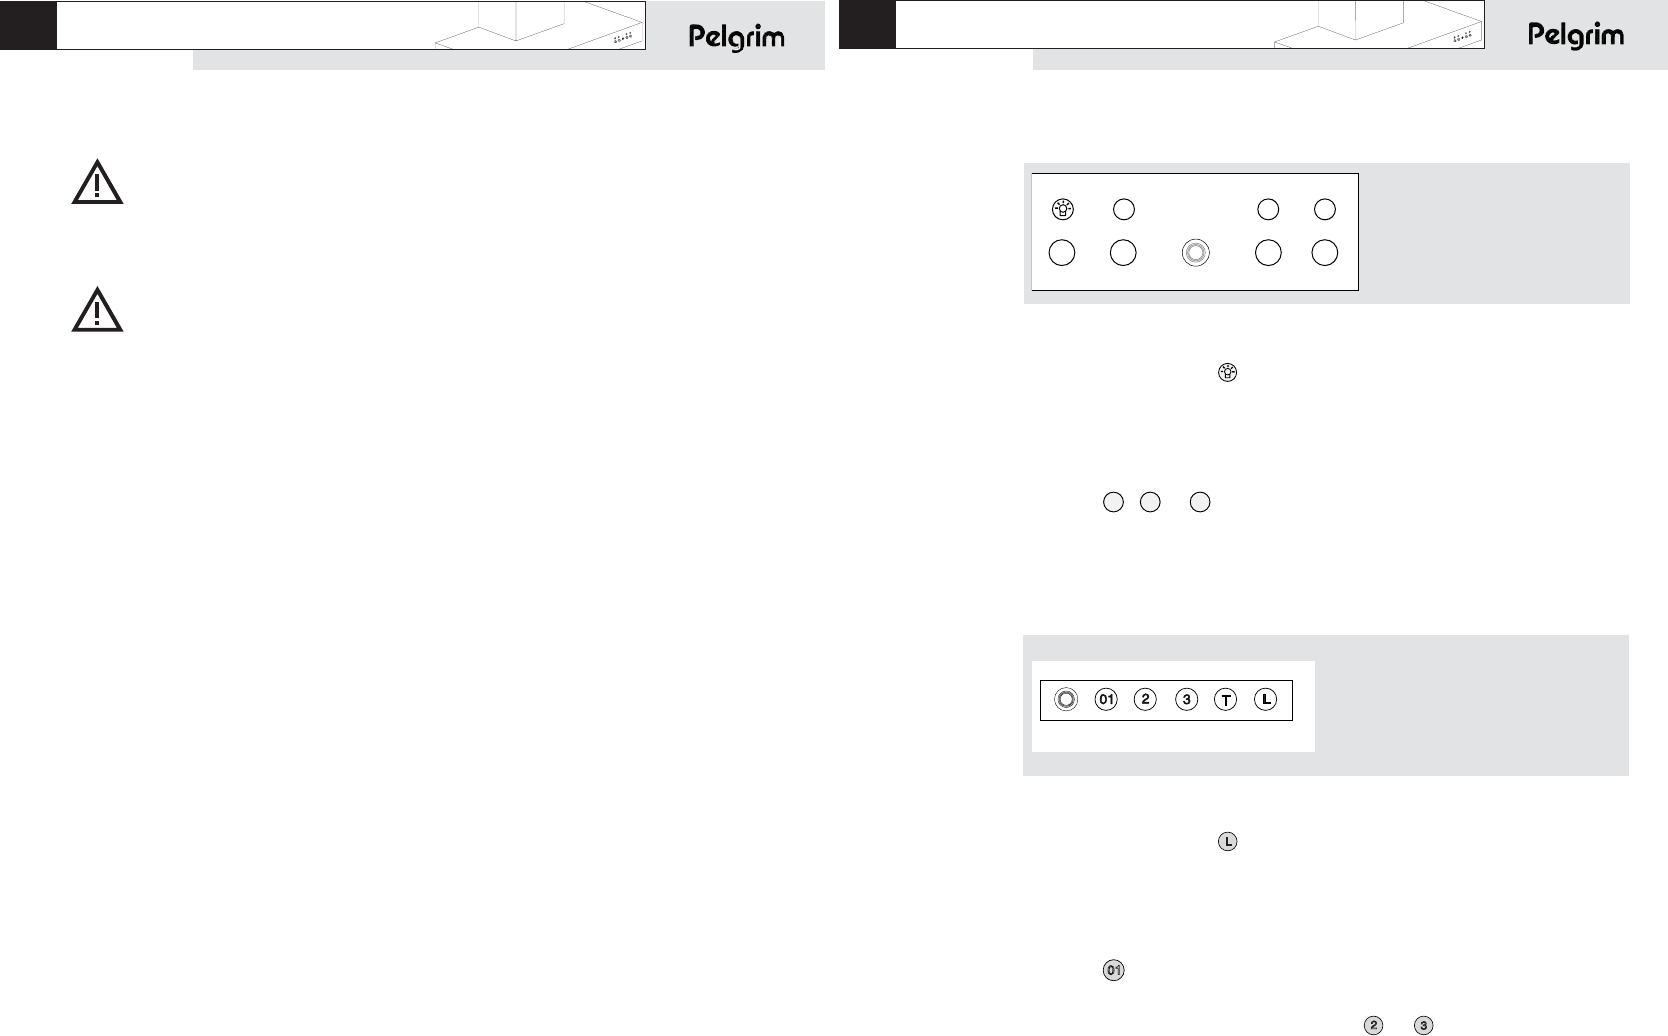
Changement d'ampoules
RSK595
Enlever des panneaux et la grille du filtre. Remplacer l’ampoule.
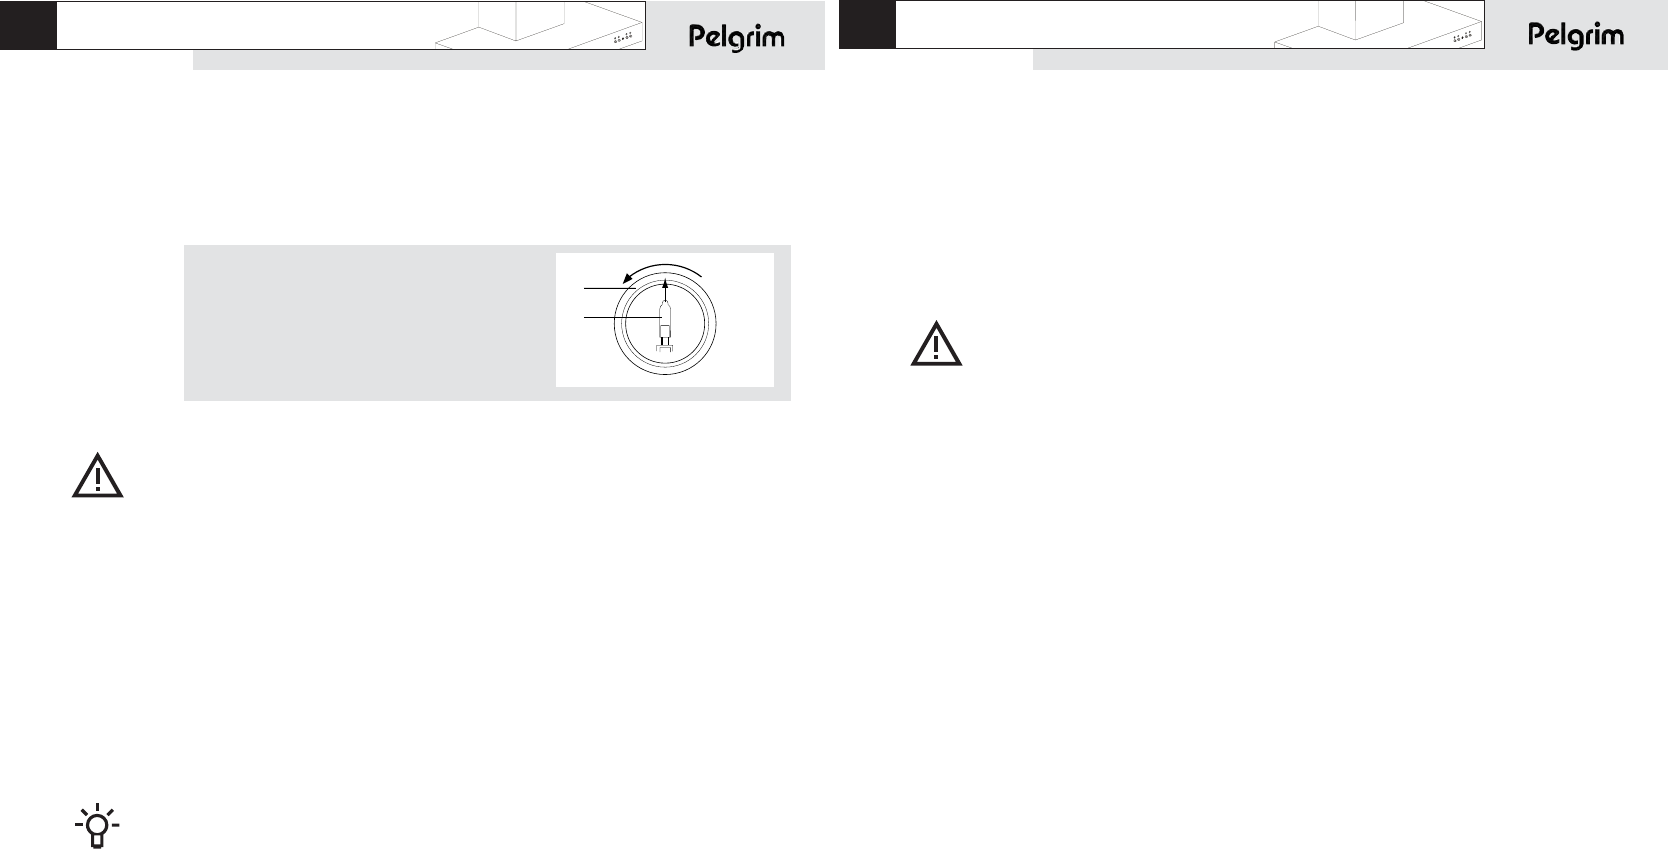
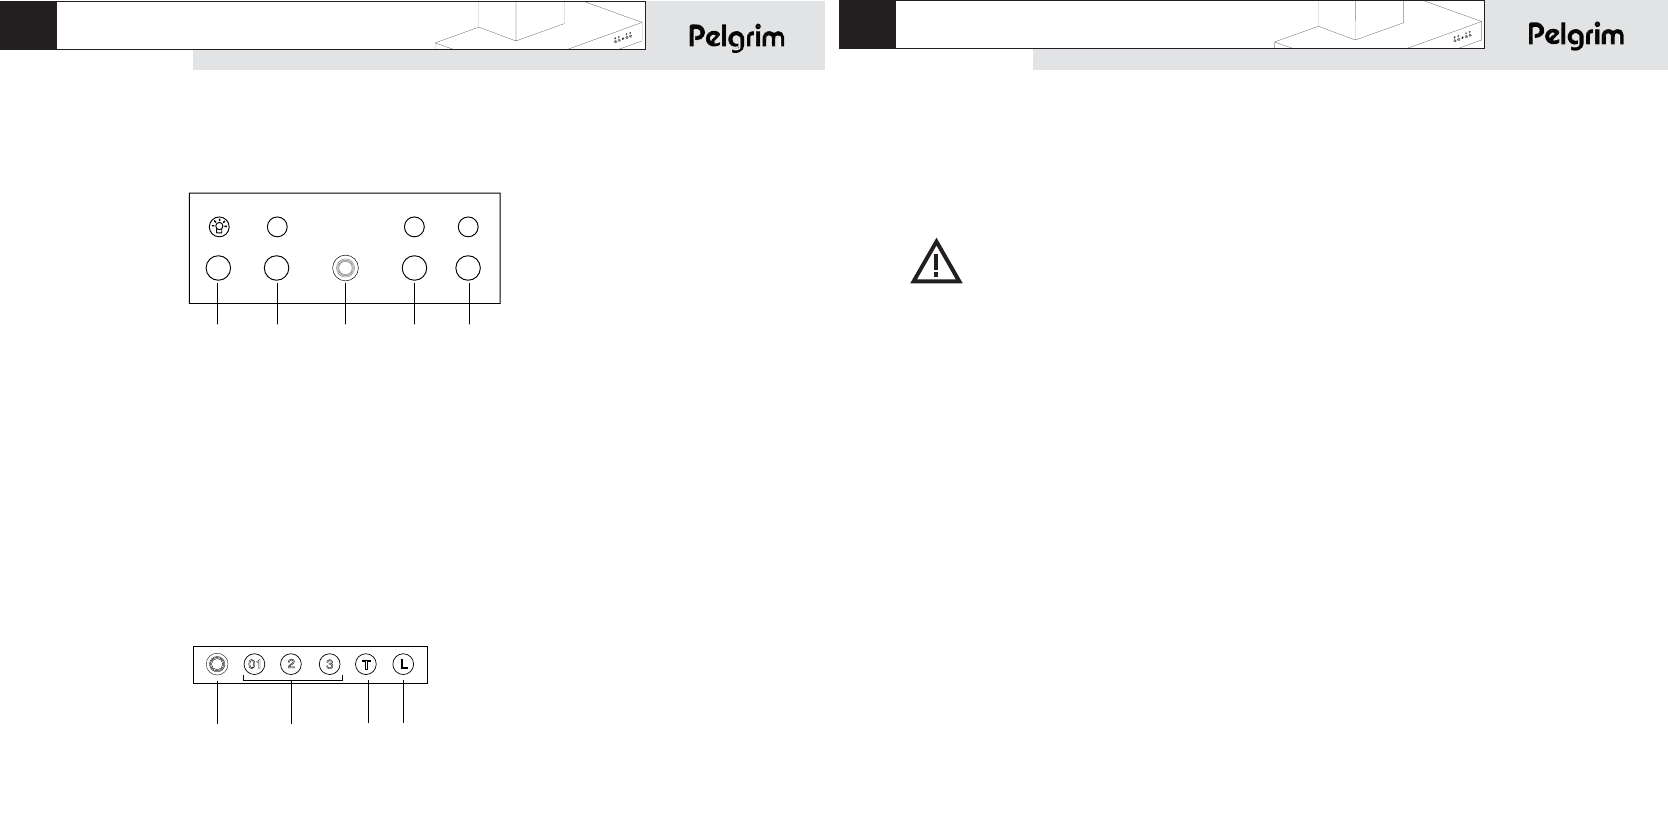
RSK986 / RSK975 / RSK981
Tournez le dispositif de verrouillage vers la
gauche (1) avant de l'enlever. Sortir la lampe (2)
de son support en la tirant dans la direction de
la flèche et placer la nouvelle lampe.
Si vous devez remplacer l’ampoule, ne la touchez pas avec les mains car le
contact direct de la peau peut la faire griller.
Nettoyage
Hotte
Vous pouvez nettoyer la hotte à l'eau savonneuse et une serviette douce, puis
rincer à l'eau claire. Ne pas utiliser de produits d'entretien abrasifs. Frotter la
peinture laquée de votre hotte avec de la cire pour qu'elle conserve sa beauté.
Hottes à cheminée en acier inoxydable
Ne pas nettoyer la cheminée avec une éponge à récurer ou avec des produits
abrasifs. Frotter la cheminée en acier inoxydable avec du Stahlfix.
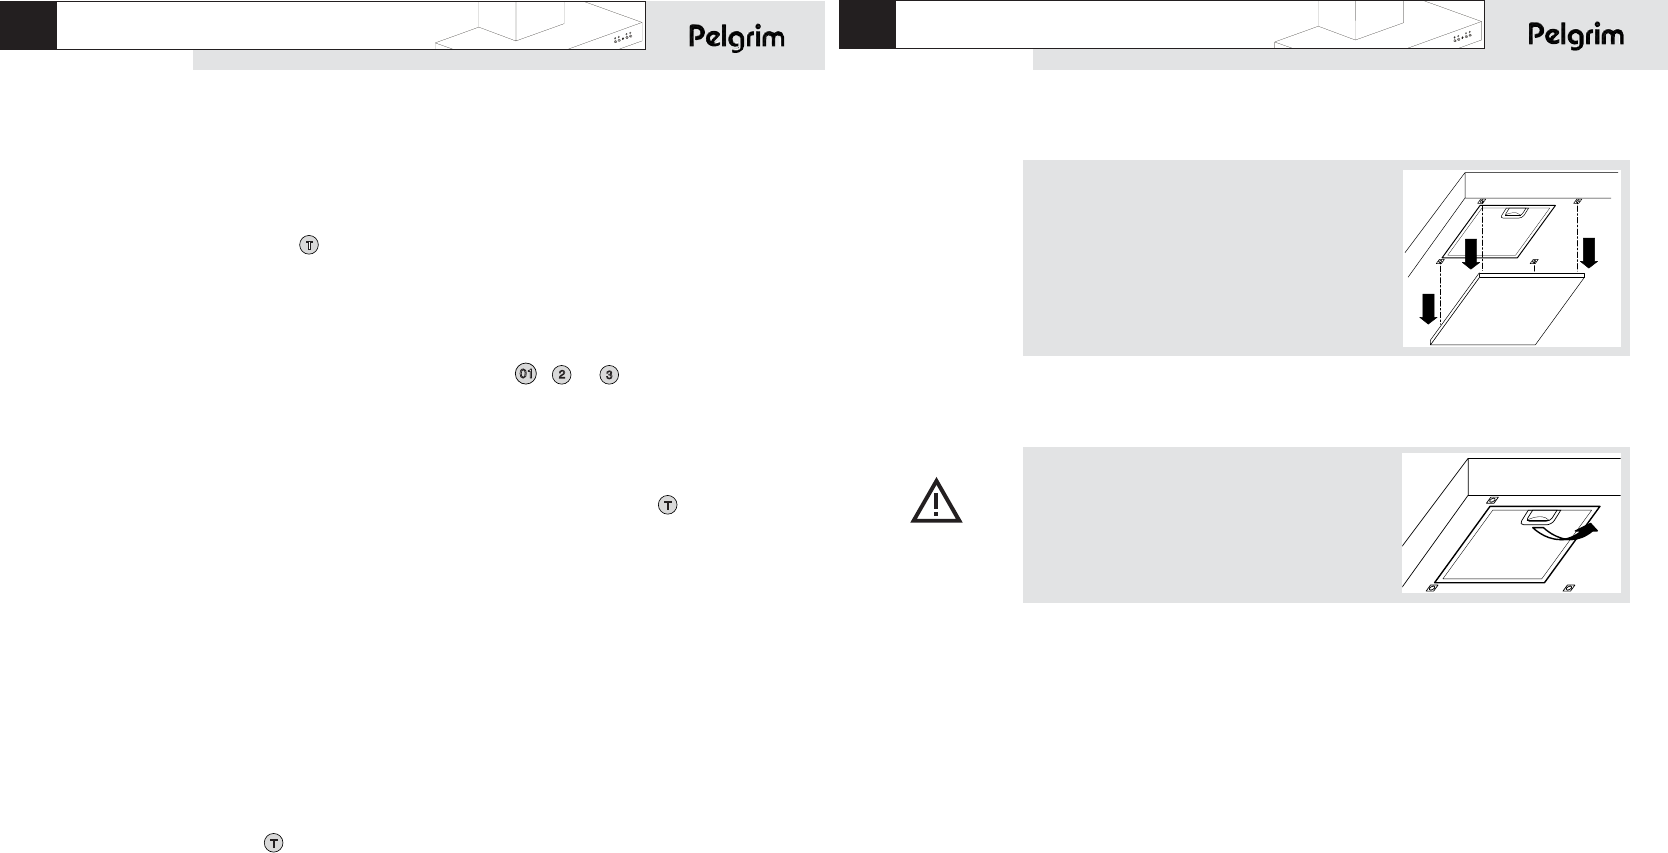
Panneaux
Il est possible de laver les panneaux dans le lave-vaisselle. Placez les panneaux
en mettant les ouvertures vers le bas dans le lave-vaisselle pour permettre à
l'eau de s'écouler.
Filters
Nettoyer les filtres en aluminium chaque semaine à l'eau savonneuse. Les produits
d'entretien donnent aux filtres en aluminium une couleur terne. Cela est tout à fait
normal.