Index
Angle . . . . . . . . . . 35
Audio
attribute 35
languag 35
playba 30
AV-in NR . . . . . . . . . . . . . . 36
Center Focu . . . . . . . . . . 48
Change Thumb 39
Channel
audio 35
setting . . . . . . . . . . 18, 53
Chapter . . . . . . . . . 31, 38
Chasing playb 25
Child Lock 46
Cleaning
disc . . . . . . . . . . 64
lens . . . . . . . . . . 64
this un . . . . . . . . . . 64
Clock settings 55
Close First Lay . . . . . . . . . . 45
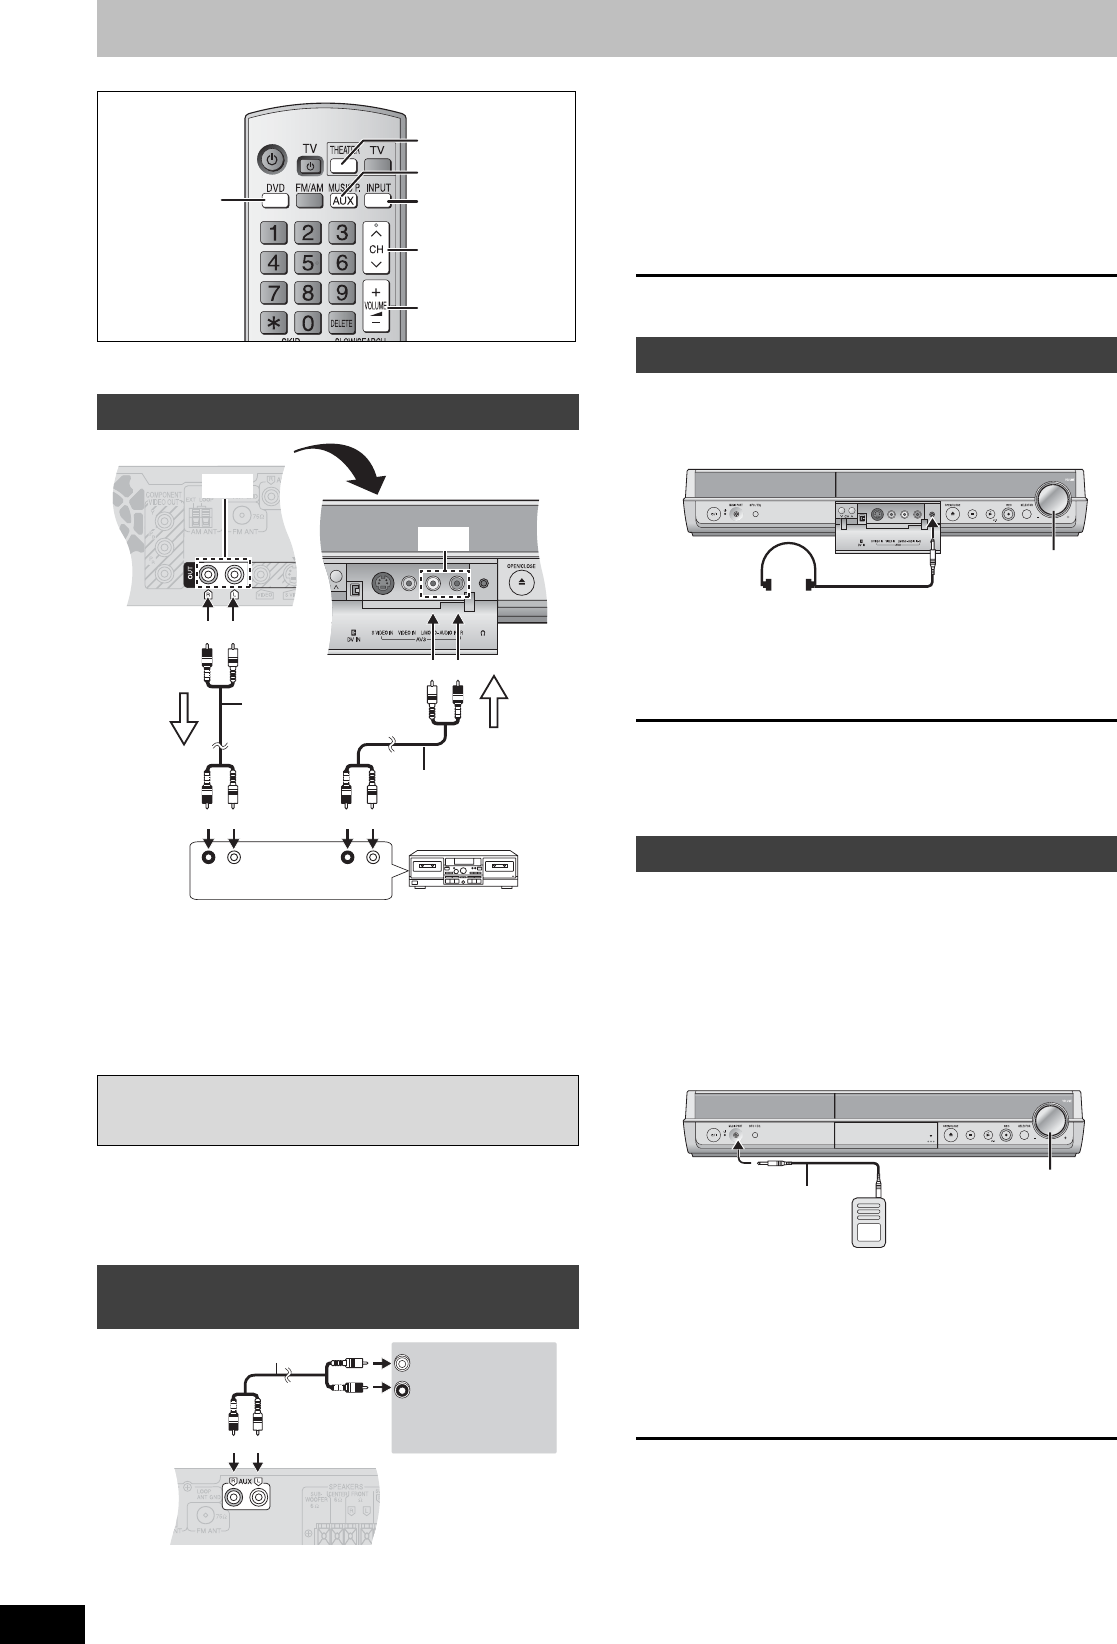
Connection
aerial 12–14
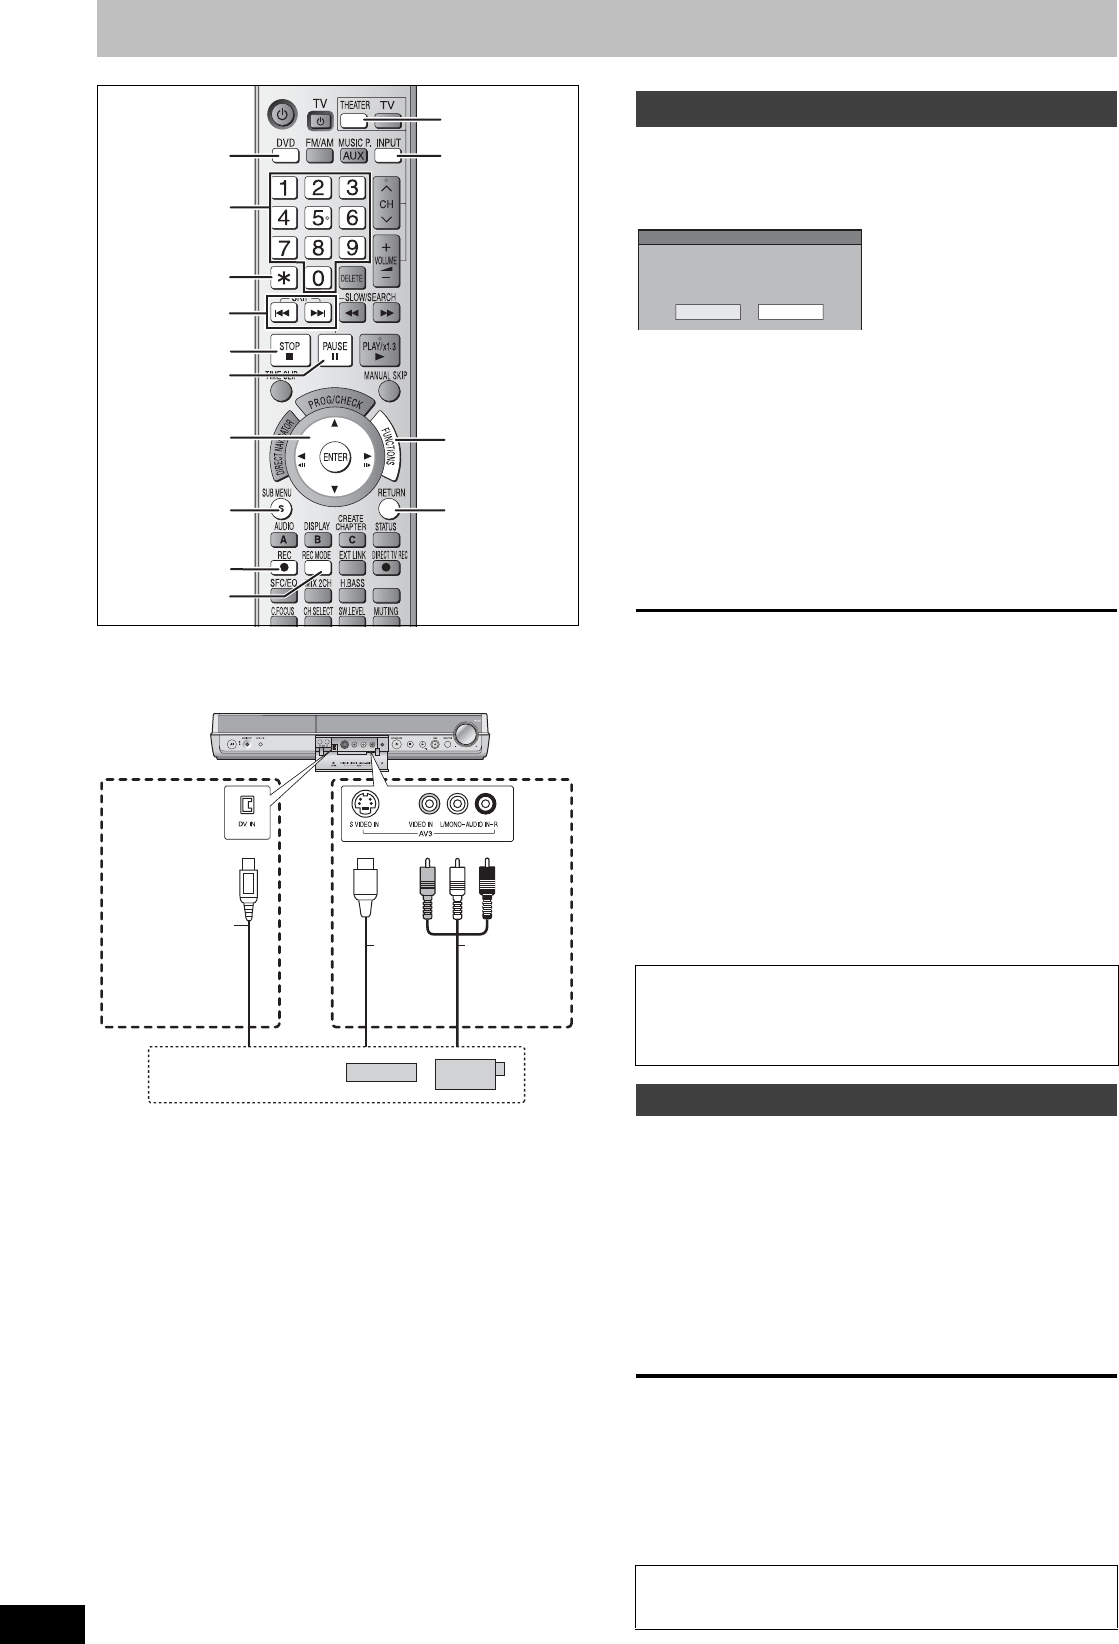
AV3 input . . . . . . . 42
DV IN termin . . . . . . . . . . 42
radio 16
satelli
. . 13
televisio 12–15
video c . . . . 14, 42
Copying
DV automa . . . . . . . . 42
from a v . . 42
Manual 42
Copy (playlist . . . . . . 41
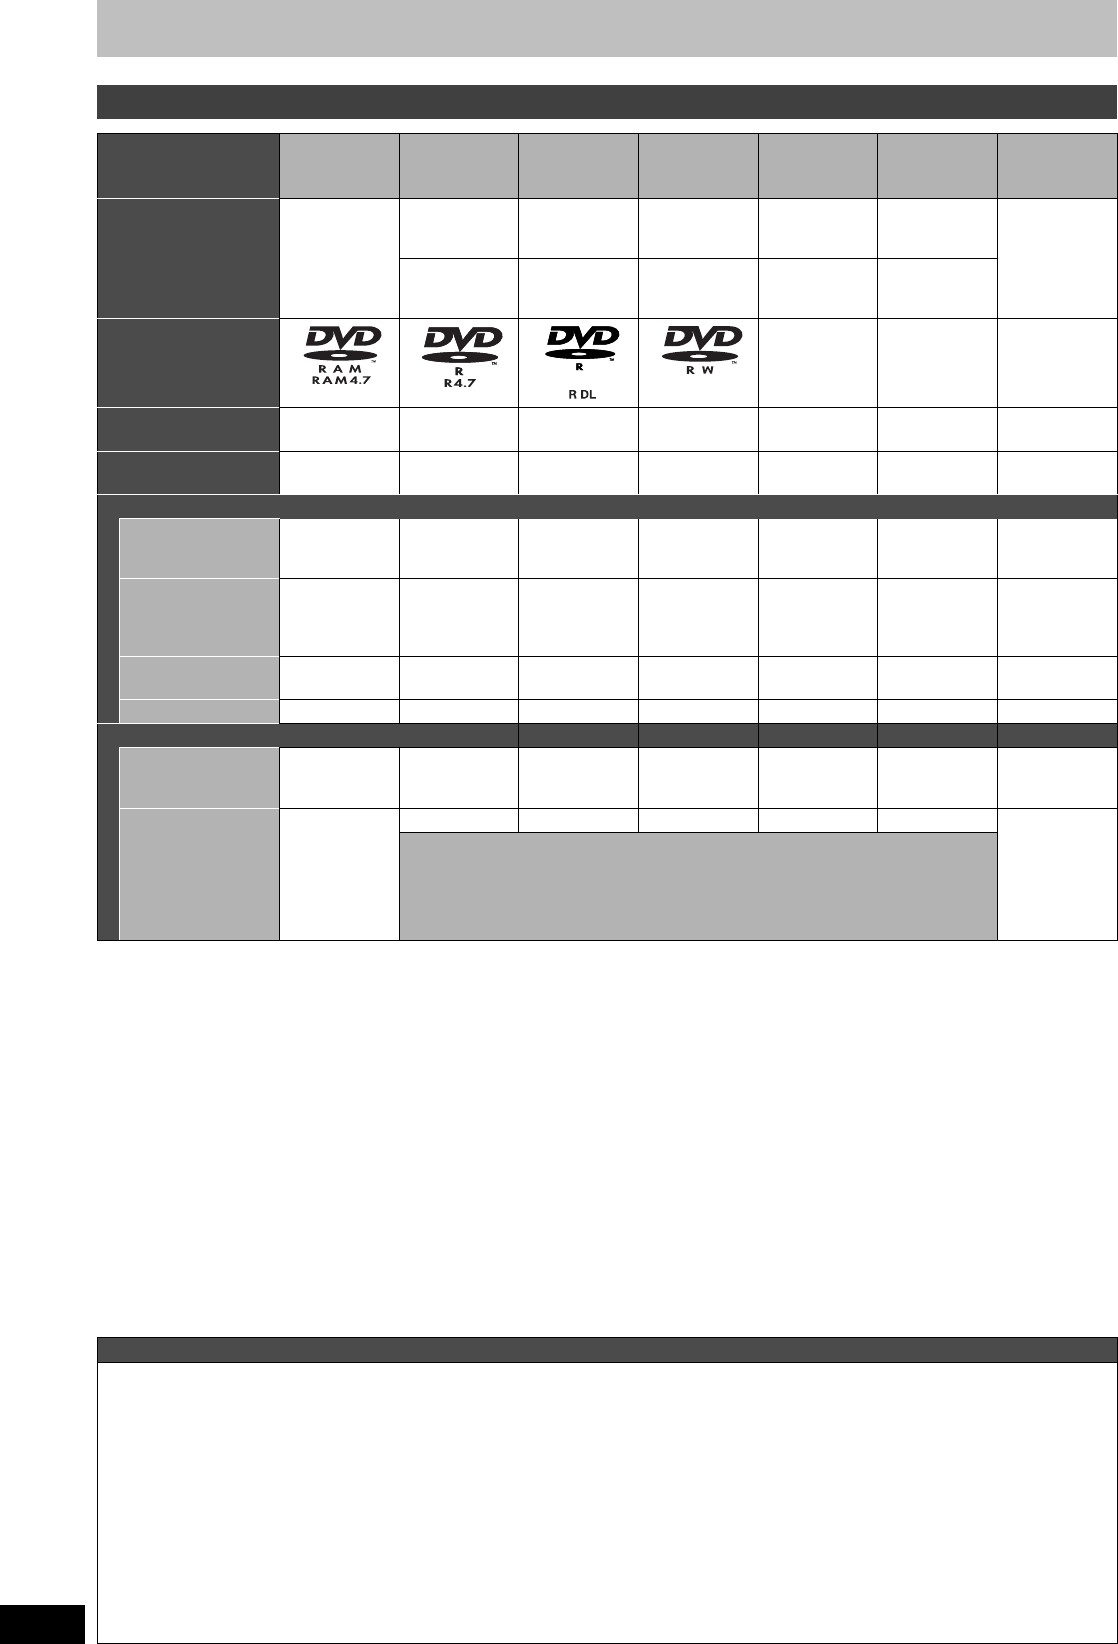
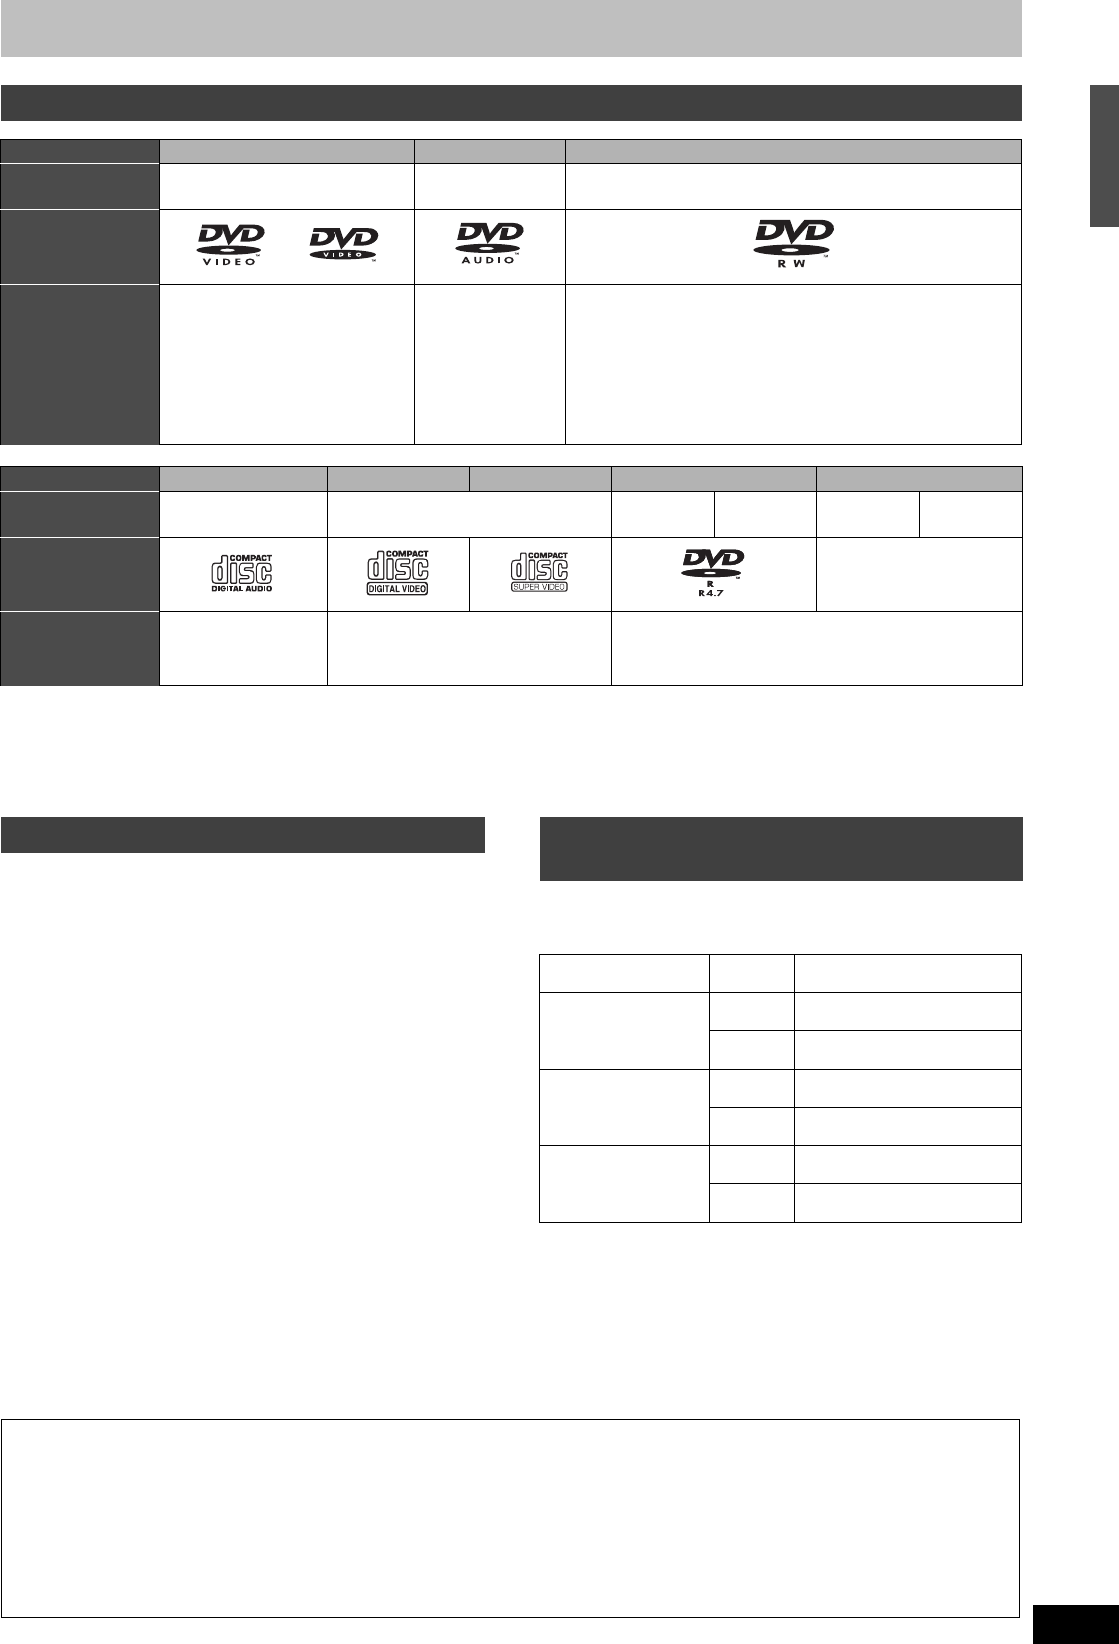
CPRM . . . . . . . . . . . . . 65
Create Chapter . . . . . . . . . 31, 39, 41
Create playlis 40
Create Top Me . . . . . . . . . . 45
Default Settings 52
Delete
All title . . . . . . . . . . 44
Chapter 39, 41
Playlis . . . . . . . . . . 41
Title 37, 39
Delete Navigat 37
Dialog Enhance 36
Direct Navigator . . . . . . . 30
Direct TV Recording 57
Divide Title 39
Dolby Digital . . . . . . . . 49, 65
DTS . . . . . . . 49, 65
DV automatic rec 42
DVD-RAM, DVD-R, DVD-R DL,
DVD-RW, +R, +R DL, +RW
Enter name
disc
enter text . . . . . . . . . . .
playlist . . . . . . . . . .
title
Equalizer (EQ) . . . . . . . . . . . . .
Ext Link
Finalize
Flexible Re
Format Disc . . . . . . . . . .
FR (Flexib
. . 23, 25
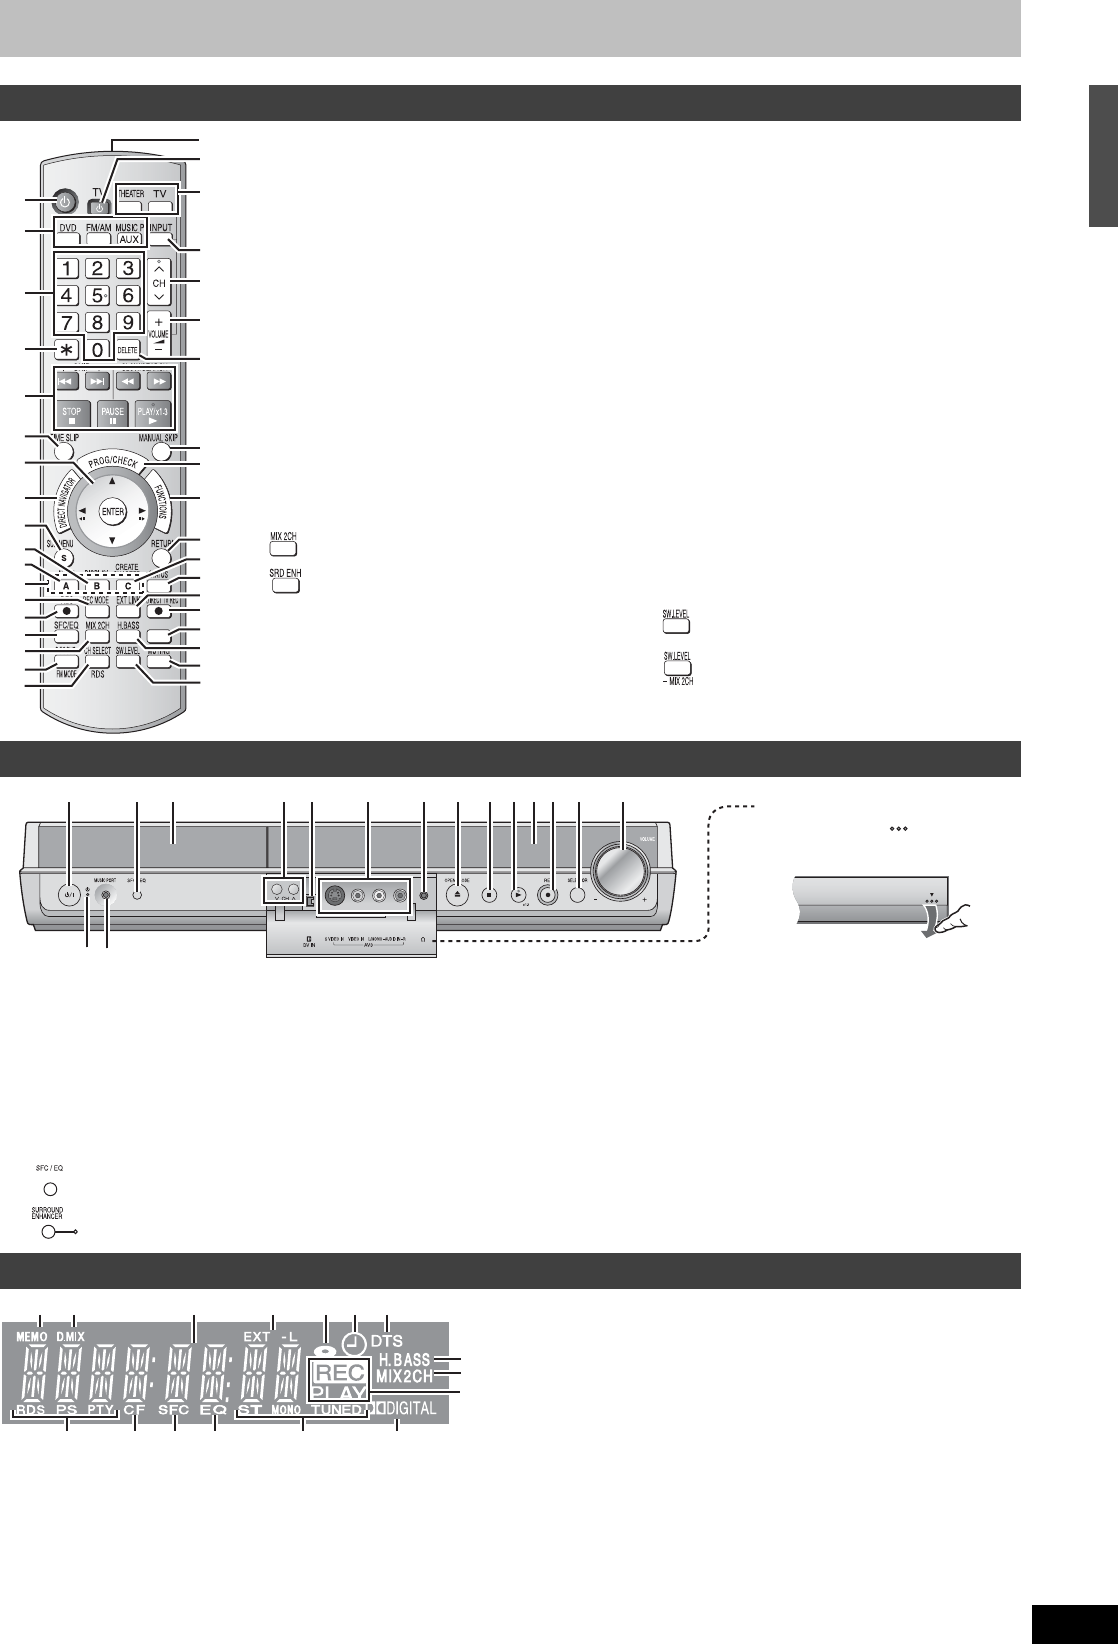
FUNCTIONS window
Headphones . . . . . . . . . .
H.Bass
JPEG . . . . . .
Language
Code list . . . . . . . . . . .
Soundtrack . . . . . . . . .
Subtitle . . . . . . . . .
Manual Sk
Menu
JPEG
MP3
On-scree
Setup
Mode
Recording
Still Mode
MP3 . .
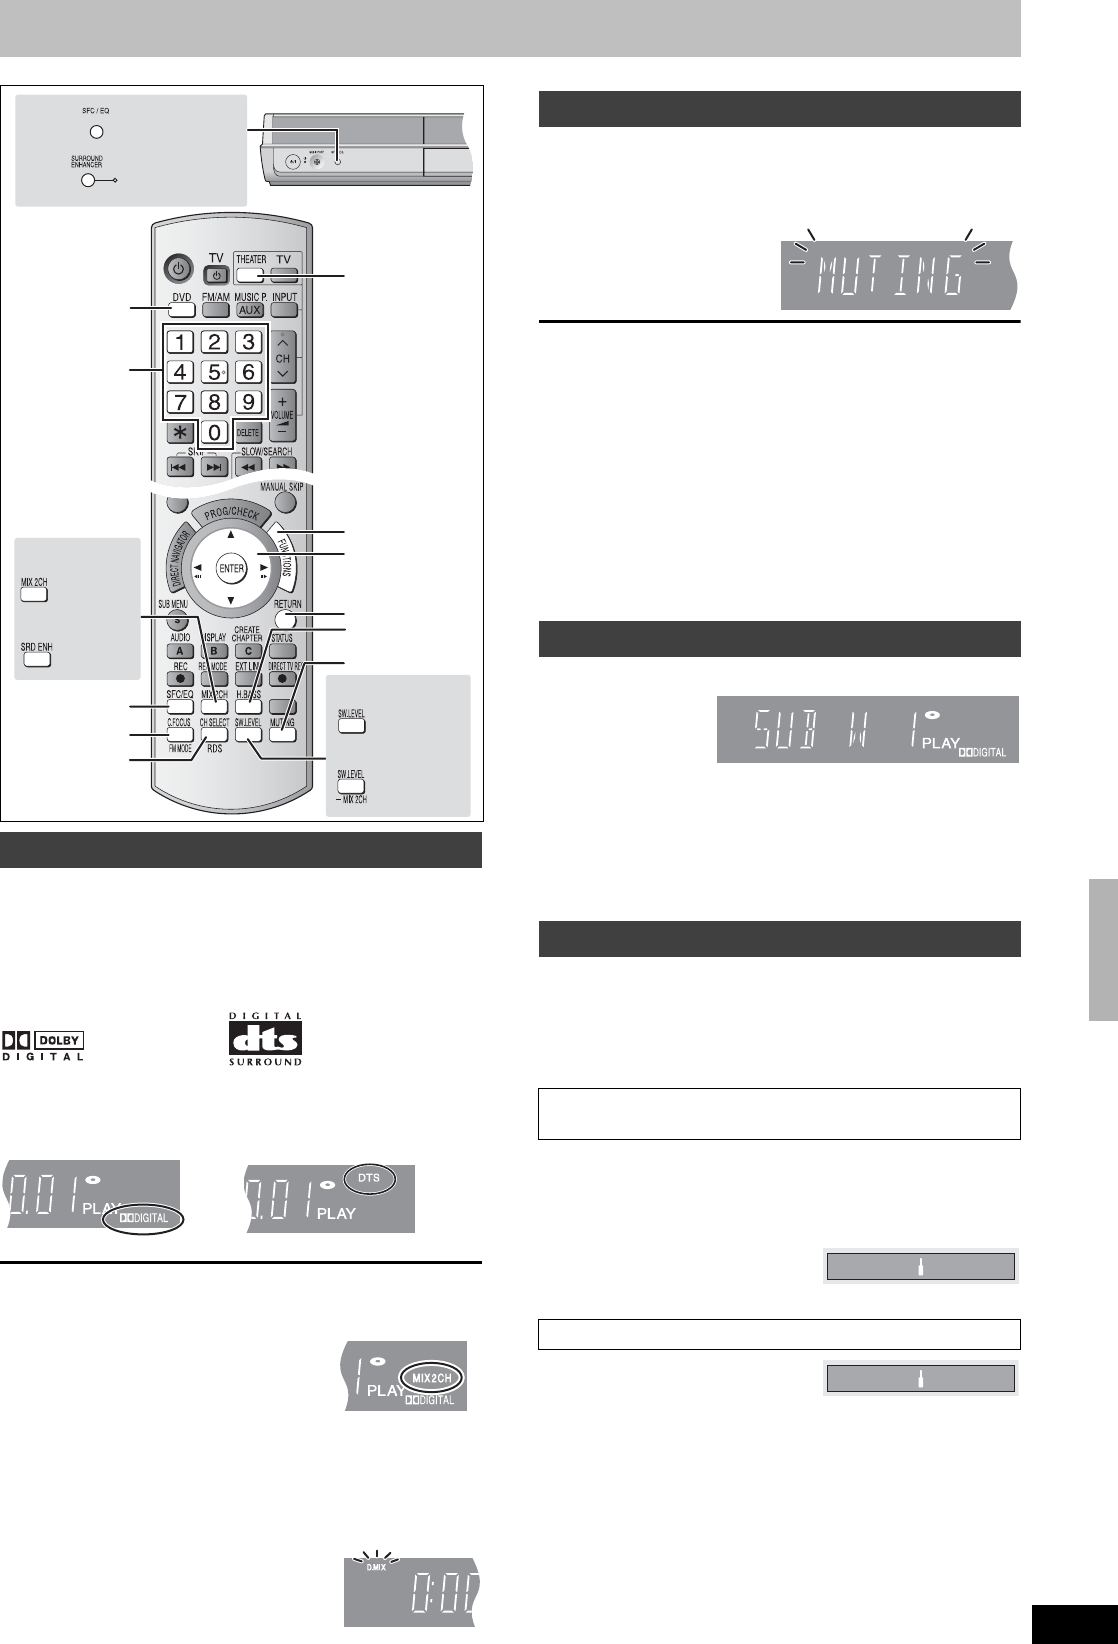
Muting .
Noise reduction (NR)
AV-in NR . . . . . . .
Playback
On-screen
Menus .
Status messa
Owner ID . . . . . . . . . ., 52
Partial Delete . . . . . . . . . . . .
Picture settin
Playback NR . . . . . . . . .
Playlist . . . . . . . .
Progressive . . . . . . . . . 20, 36, 51, 65
Properties
Playlist
Still pict
Title . . .
Protecti
Cartridge . . . . . . . .
Disc . . . . . . .
Title . . . . . . .
Q Link . . . . . . .
Quick St . . . . . . . .
Quick Vi . . . . . .
Radio
Connectio
Optional FM
. . . .
RDS . . . . . . . . . .
Ratings lev . . . . .
RDS
Recording
Direct TV Rec
DV automati . . . . . . .
External L . . . . .
Flexibl . . . . . . .
Mode . . . . . .
Timer
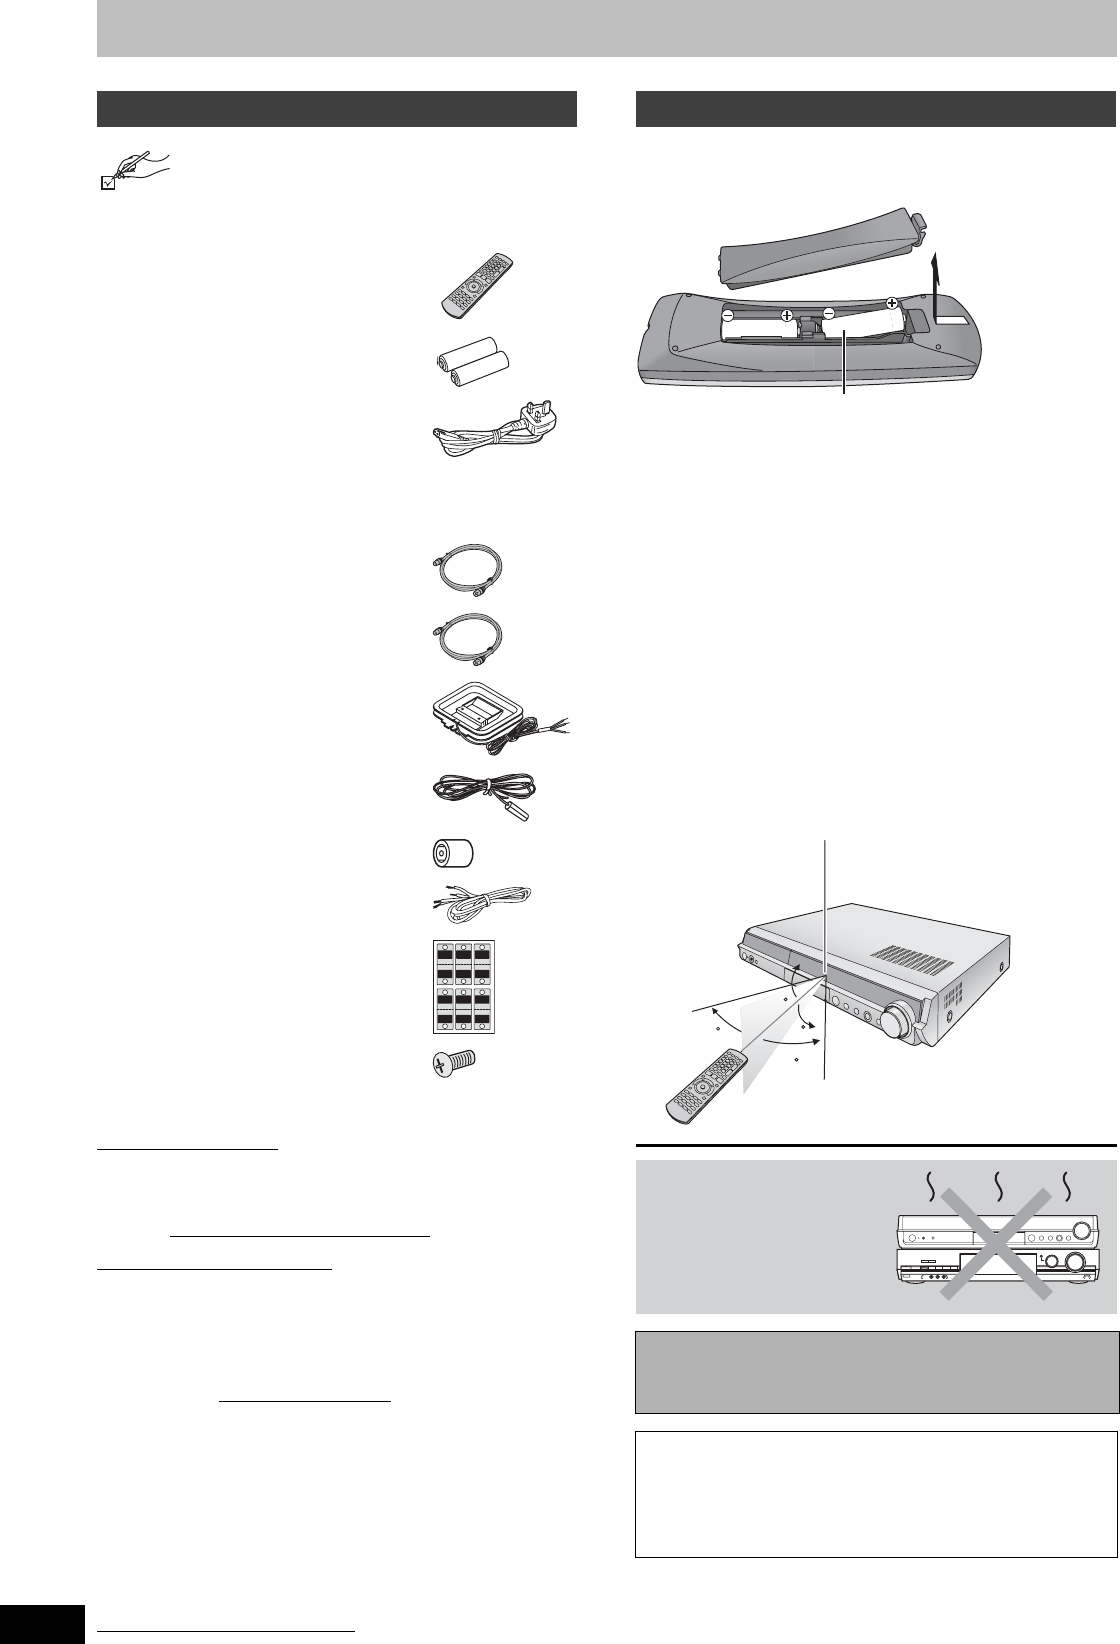
Remote co
Repeat Play . . . . . . . . . . .
Resetting c
Resume pl . . . . .
RGB. . . . . . .
Setup men . . . . . . . .
Shipping Con . . . . . . . . . .
Simult
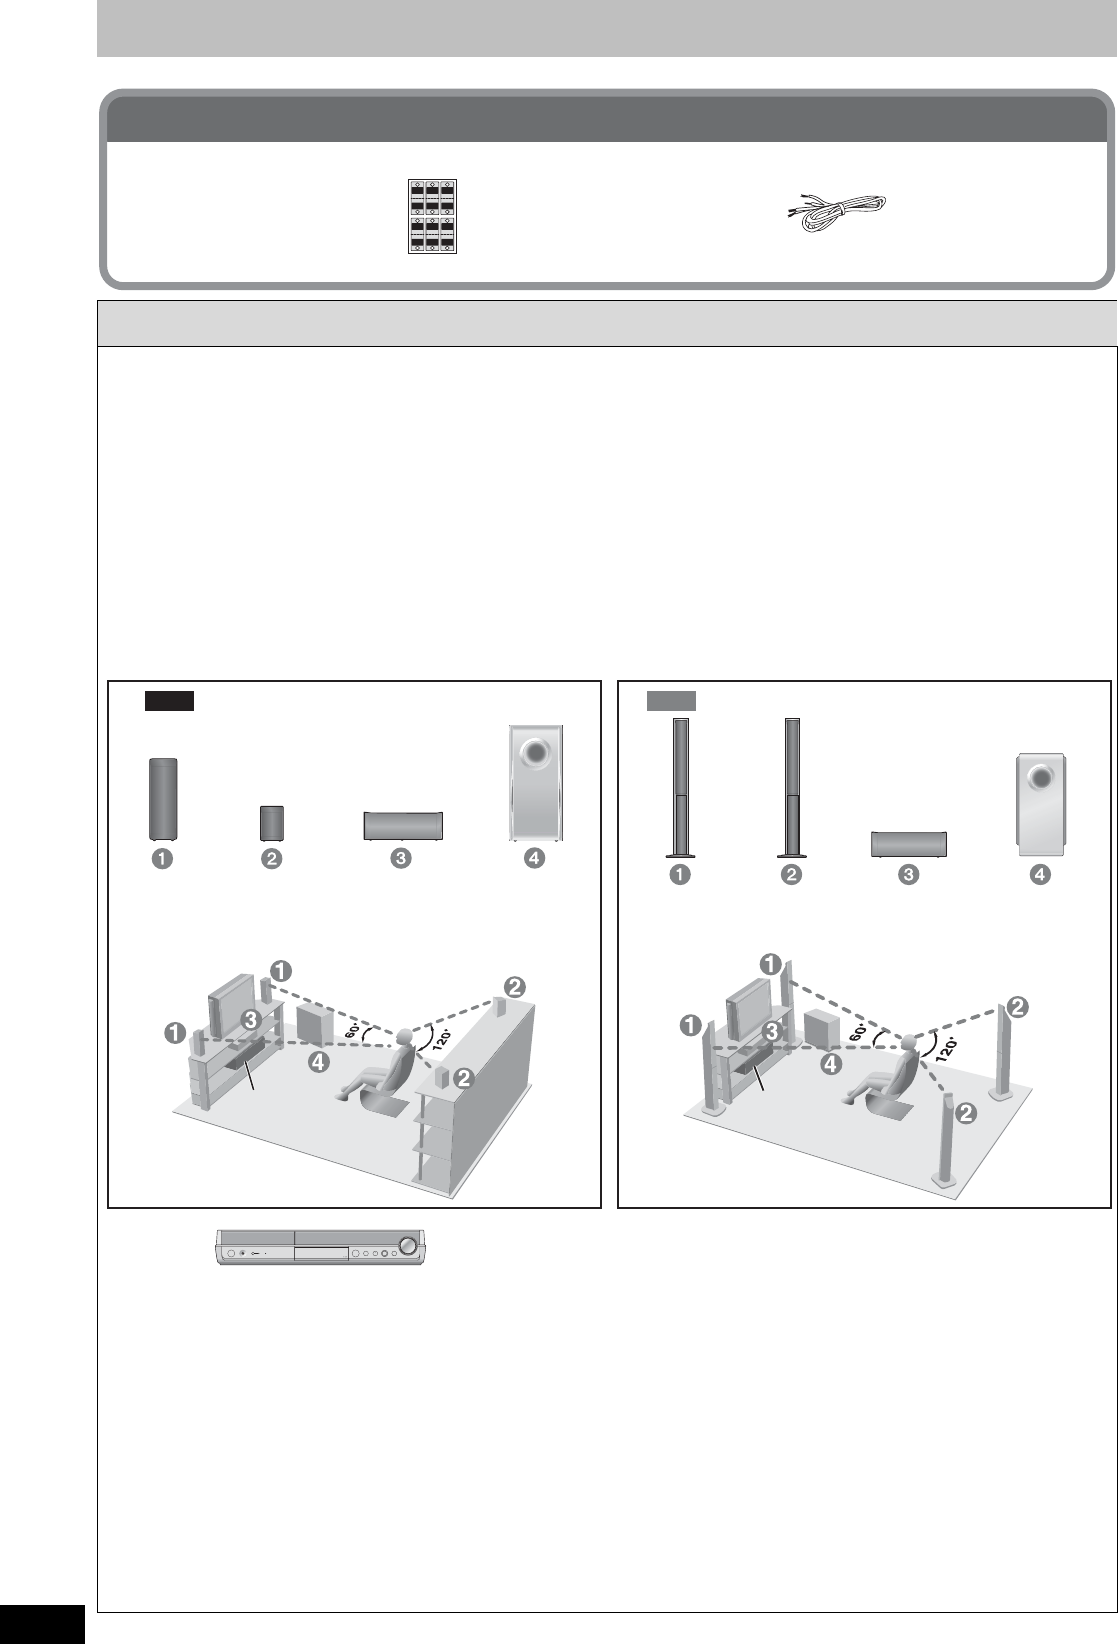
Sound Fiel
Soundtrack
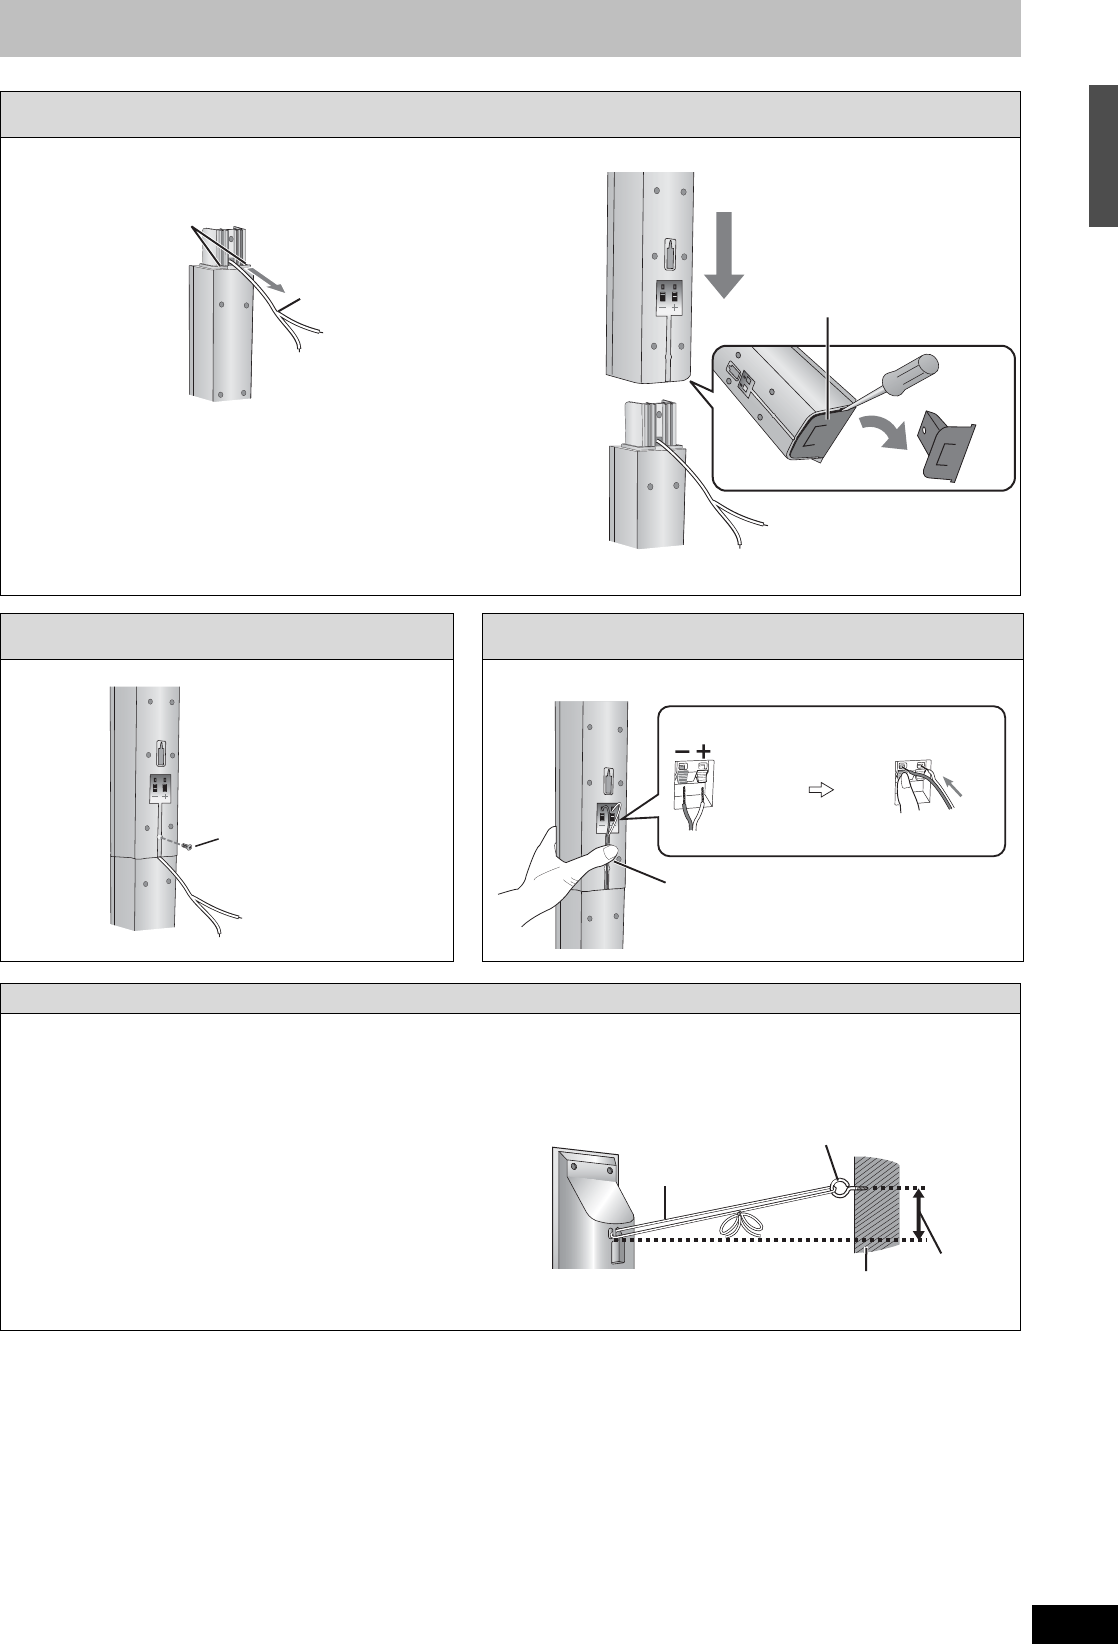
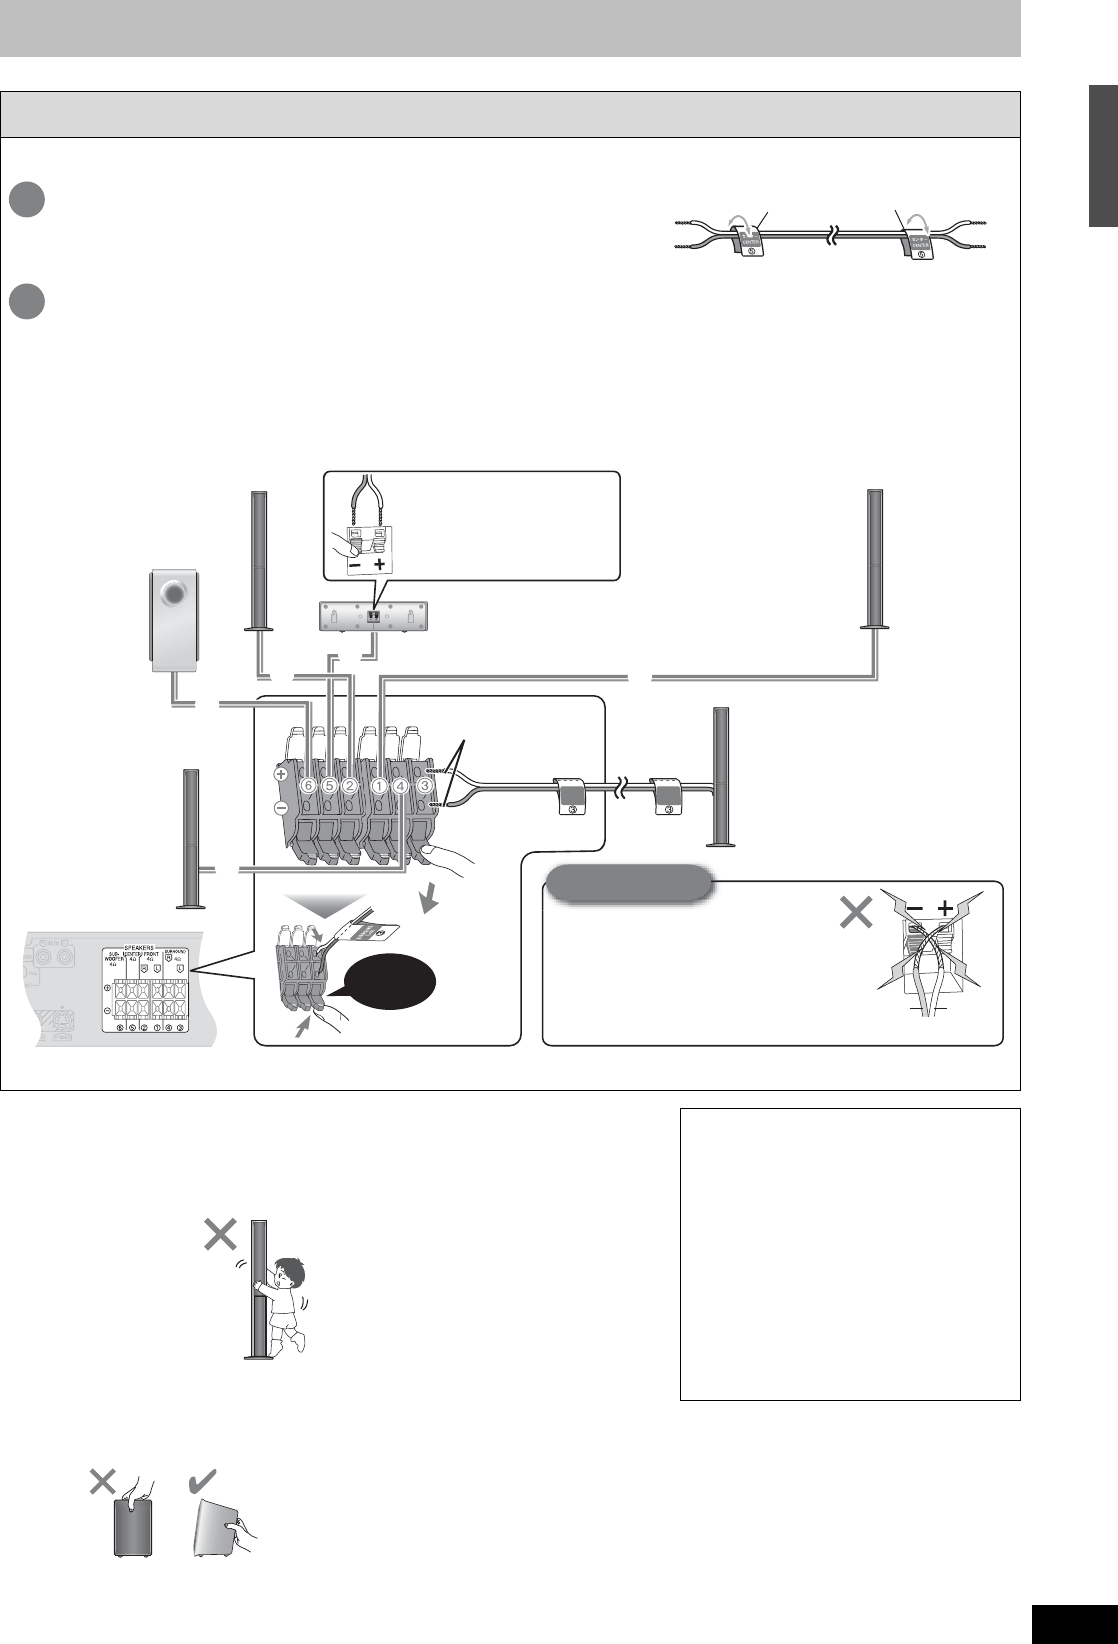
Speaker de . . . . . . . . . . . .
Speaker . . .
Status mes . . .
Subtitle . . . . . . . . .
Subw . . . . . . . .
Surr . .
Teletext
Thumbnai . . . . . . .
TIFF
Time Slip . . . . .
Timer . . . .
Transf . . . . . . . . . . .
Tuning
Manual . . . . .
Settings
TV aspec, 51
TV System
VIDEO Plusr
Unit care . . . . . .
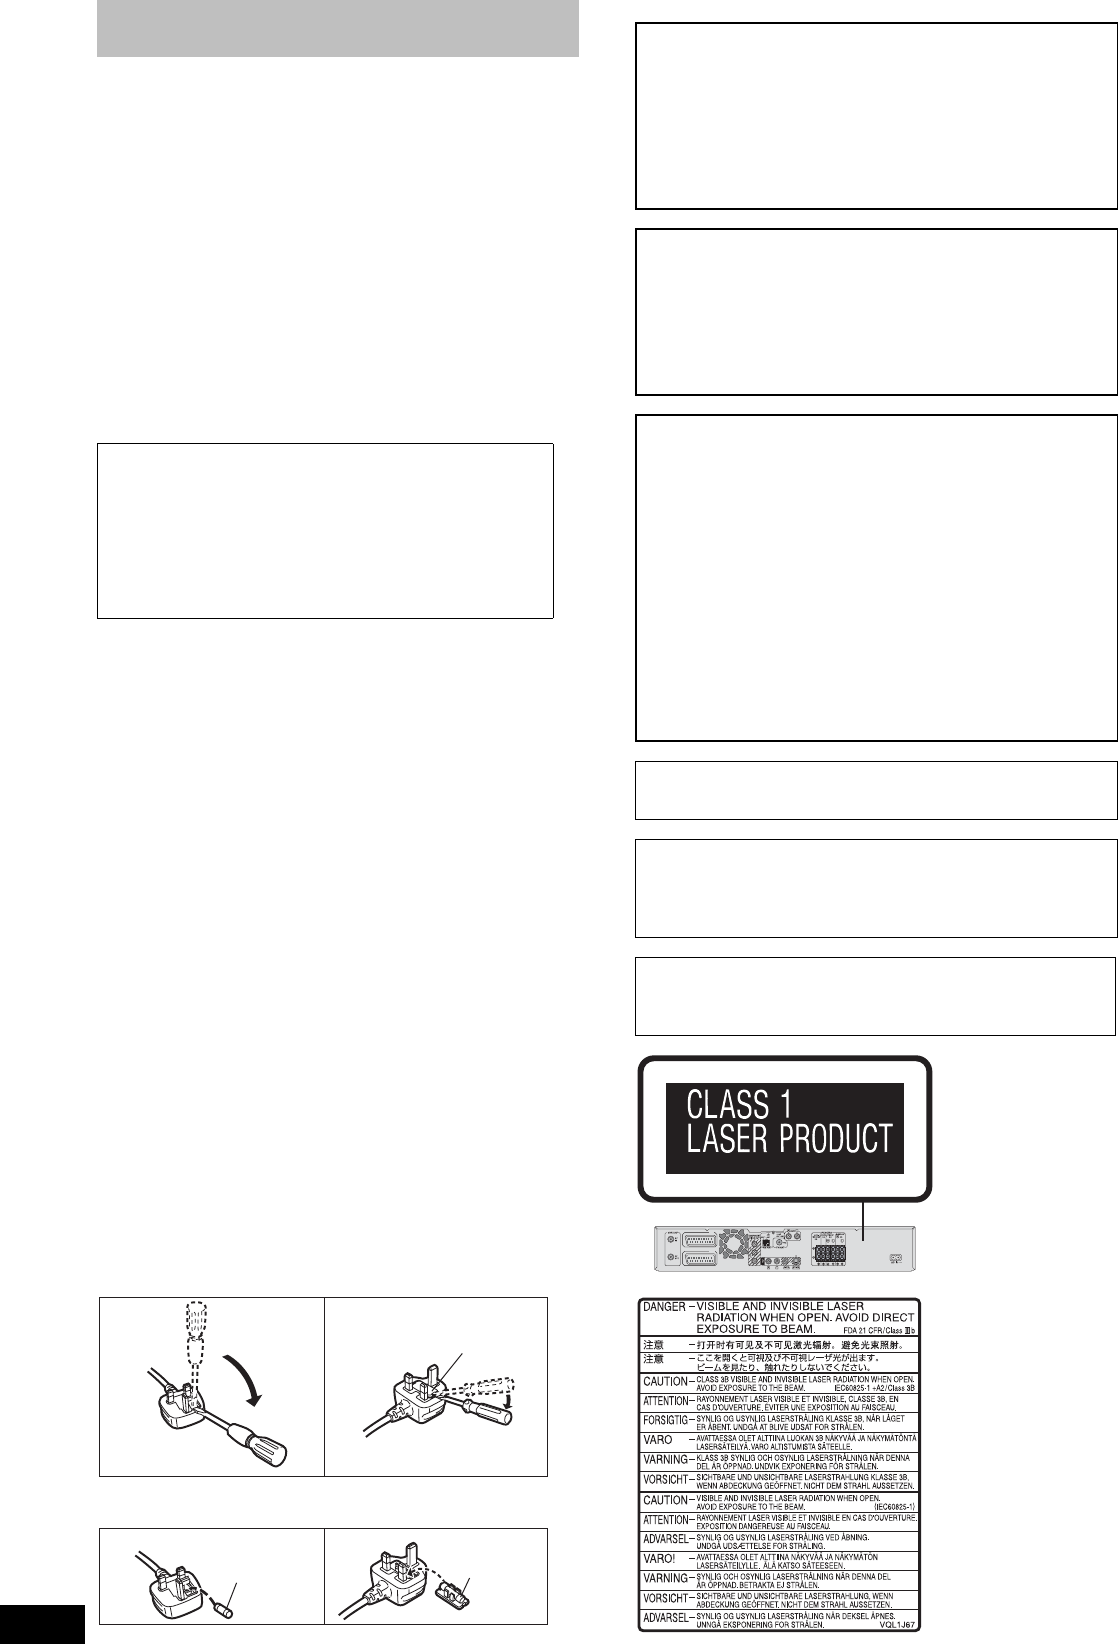
-If yo
Inf
This s
produ
F
where
return you
Disp
eff
handling
P
For bus
If yo
Inf
This symbo
If yo.
Matsushita Electric Industrial Co., Ltd.
We http://www
p
RQT867
F0306YU
RT70-30.book Page 68