11
12
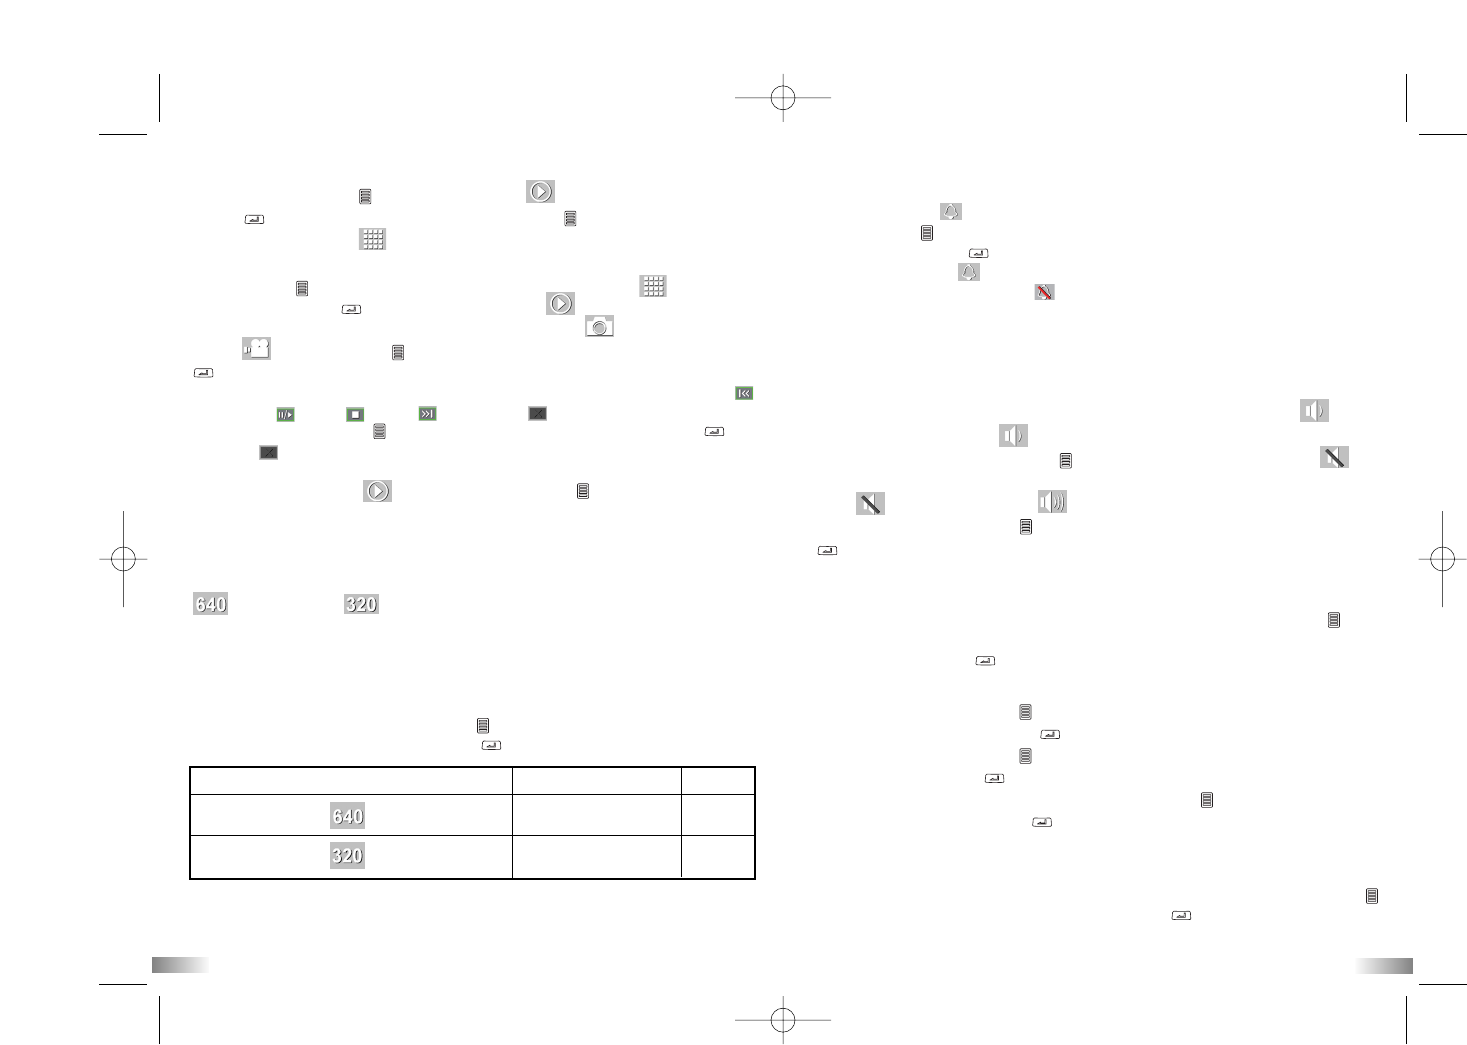
Resolution
640 x 480, 320 x 240 pixels resolution
This camera allows you to choose from two video resolutions:
640 x 480 and 320 x 240. These will be shown as 640 - high
resolution and 320 - low resolution. High resolution video footage has better
quality because it has more pixels. Lower resolution has fewer pixels but
enables the user to record for a longer period of time.
The duration of video footage your camera can take depends on the
resolution you choose. To switch between high resolution, 640, and medium
resolution, 320, press the Menu button until the LCD screen shows the
correct icon. Press the 'Confirm' button to confirm your selection.
320 X 240 pixel
VGA
Item Picture size fps
QVGA
640 X 480 pixel
30
30
Sound Recording
Once you have entered this mode the icon will be highlighted and
will be shown on screen. means sound is being recorded during filming
but at a low volume. Press Menu (one beeping sound) to switch to ,
which means no sound will be recorded.
After , it will loop back to - which means sound is being recorded at
high volume - when 'Menu' is pressed again. Press the “Confirm” button
(one beeping sound) to confirm the setting and to go to the next function
icon.
Setting Date/Time (Clock Set)
Shift to the Date icon in the Menu mode by pressing the Menu button
repeatedly until the icon is reached. When the Date icon is highlighted, press
the “Confirm” button to change the date and time.
Setting the Year
1. Press the “Menu button” to adjust the last digit of the year (00-09).
Press the “Confirm” button to verify the last digit.
2. Press the “Menu button” to adjust the 3rd digit of the year (0X-9X).
Pressing “Confirm” will then move the cursor to allow you to adjust
the 3rd digit of the year. Press the “Menu” button to select the number
and the “Confirm” button to verify, after which you will be able to
adjust the month.
Setting the Month
When adjusting the month, “MM” will be shown. Press the “Menu button”
to adjust the month. Press the “Confirm” button to verify, after which
you would be able to proceed to setting the date.
Privacy Mode
This mode allows the user to disable the sound features.
The privacy icon will be highlighted.
Press “Menu” to go onto the next menu mode – Sound Recording.
Or, press “Confirm” to enter the privacy mode.
Whilst on this icon , pressing confirm will turn button sounds and LED
lights ON. Selecting this icon will turn all button sounds and LED lights
OFF but still record audio.
When in privacy mode option, pressing “Menu” will change between ON
and OFF. This will be looping. You must confirm one of the choices to move
onto the next menu mode.
Playback on LCD
Press the Menu button , the first icon is the icon. Press the “Confirm”
button to enter this menu mode or press Menu again to move onto the
next mode, Resolution .
This mode allows the user to review files stored in the memory.
Press "Menu" to go onto the next menu mode - Resolution .
Or, press "Confirm" to enter Playback Mode .
There are 2 options in Playback Mode, review photos and review
videos . Press "Menu" to switch between the two and press "Confirm"
to select your option.
Once in either of these modes the playback options are the same: Previous ,
Pause/Play , Stop , Next and Delete . To move along the icons
press the "Menu" button , once on the desired icon press "Confirm" .
If Delete is selected only the file you are currently reviewing will be
deleted. To delete all please see the Delete section in this manual.
To exit Playback Mode hold the "Menu" button for 2 seconds
this will bring you back to the viewfinder ready to record.