---------------------------------------------------------------------------------------------------------------------------------------------------------------------------------------------------------------------------
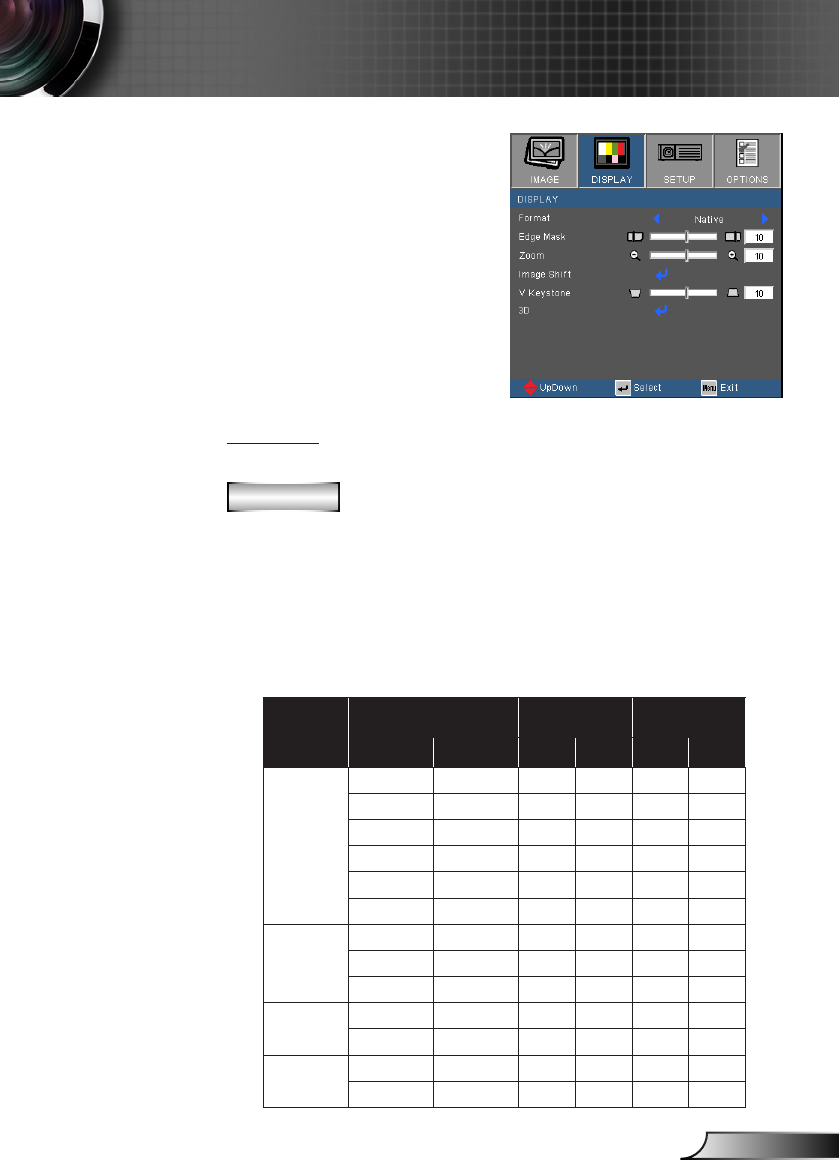
~XX60 1 7E 30 30 36 30 20 31 0D Format 4:3
~XX60 2 7E 30 30 36 30 20 32 0D 16:9
~XX60 3 7E 30 30 36 30 20 33 0D 16:10 (W2005)
~XX60 5 7E 30 30 36 30 20 35 0D LBX
~XX60 6 7E 30 30 36 30 20 36 0D Native
~XX60 7 7E 30 30 36 30 20 37 0D Auto
---------------------------------------------------------------------------------------------------------------------------------------------------------------------------------------------------------------------------
~XX61 n 7E 30 30 36 31 20 a 0D Edge mask n = 0 (a=30) ~ 10 (a=31 30)
~XX62 n 7E 30 30 36 32 20 a 0D Zoom n = -5 (a=2D 35) ~ 25 (a=32 35)
~XX63 n 7E 30 30 36 33 20 a 0D H Image Shift n = -100 (a=2D 31 30 30) ~ 100 (a=31 30 30)
~XX64 n 7E 30 30 36 34 20 a 0D V Image Shift n = -100 (a=2D 31 30 30) ~ 100 (a=31 30 30)
~XX66 n 7E 30 30 36 36 20 a 0D V Keystone n = -40 (a=2D 34 30) ~ 40 (a=34 30)
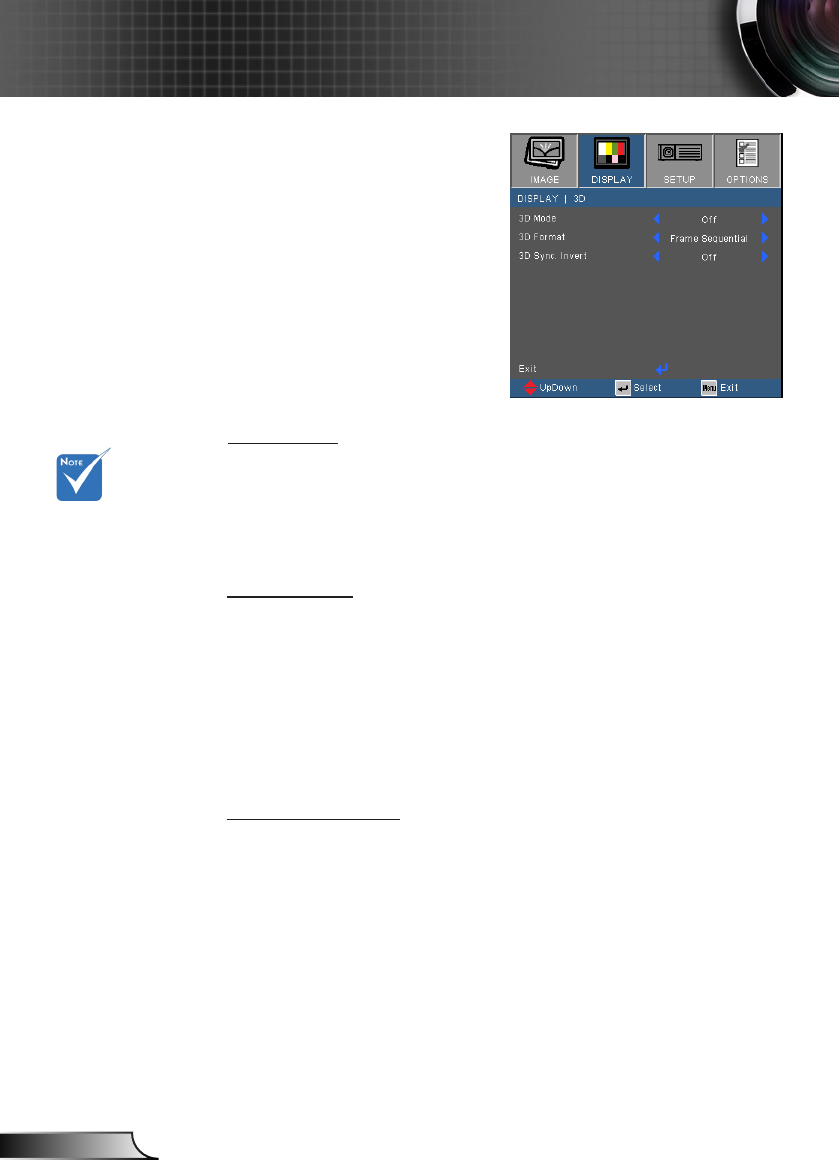
~XX230 3 7E 30 30 32 33 30 20 31 0D 3D Mode Off
~XX230 1 7E 30 30 32 33 30 20 31 0D DLP-Link
~XX405 0 7E 30 30 34 30 35 20 30 0D 3D format Off
~XX405 1 7E 30 30 34 30 35 20 31 0D SBS
~XX405 2 7E 30 30 34 30 35 20 32 0D Top and Bottom
~XX405 3 7E 30 30 34 30 35 20 33 0D Frame Sequential
~XX231 1 7E 30 30 32 33 31 20 31 0D 3D Sync Invert On
~XX231 0 7E 30 30 32 33 31 20 30 0D Off (0/2 for backward compatible)
---------------------------------------------------------------------------------------------------------------------------------------------------------------------------------------------------------------------------
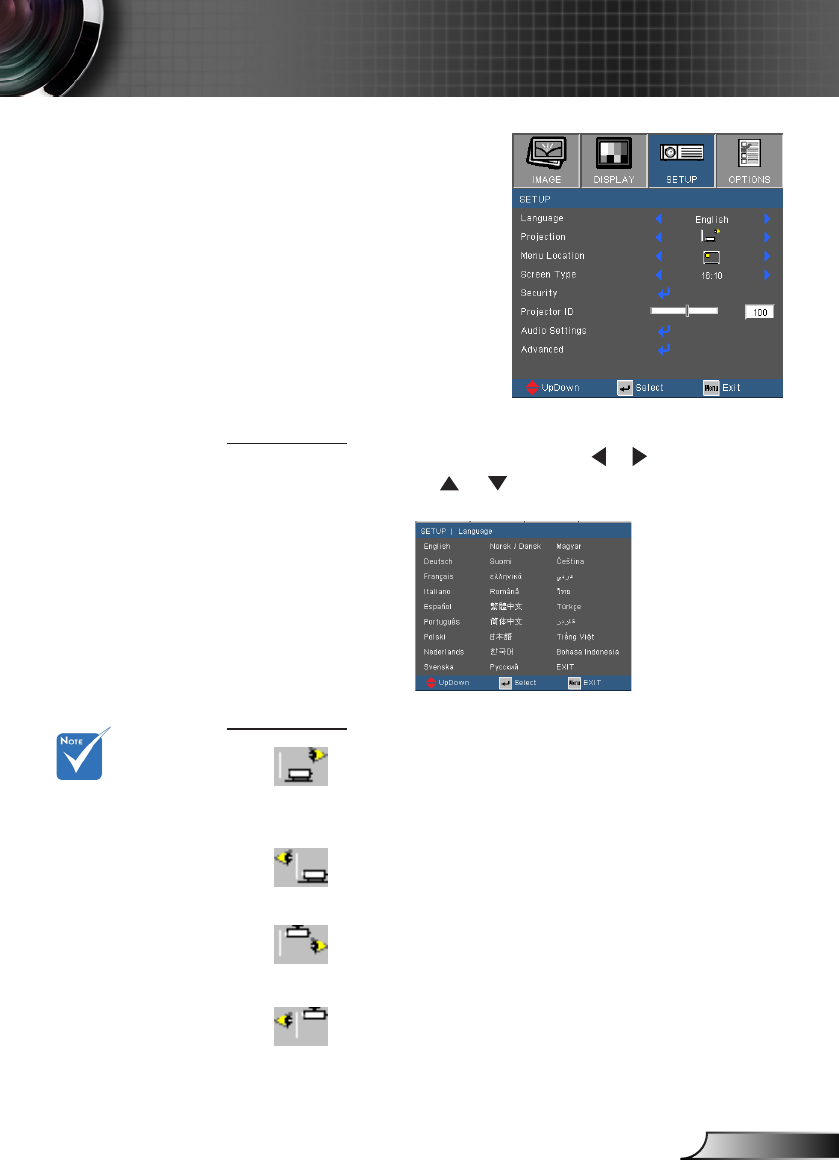
~XX70 1 7E 30 30 37 30 20 31 0D Language English
~XX70 2 7E 30 30 37 30 20 32 0D German
~XX70 3 7E 30 30 37 30 20 33 0D French
~XX70 4 7E 30 30 37 30 20 34 0D Italian
~XX70 5 7E 30 30 37 30 20 35 0D Spanish
~XX70 6 7E 30 30 37 30 20 36 0D Portuguese
~XX70 7 7E 30 30 37 30 20 37 0D Polish
~XX70 8 7E 30 30 37 30 20 38 0D Dutch
~XX70 9 7E 30 30 37 30 20 39 0D Swedish
~XX70 10 7E 30 30 37 30 20 31 30 0D Norwegian/Danish
~XX70 11 7E 30 30 37 30 20 31 31 0D Finnish
~XX70 12 7E 30 30 37 30 20 31 32 0D Greek
~XX70 13 7E 30 30 37 30 20 31 33 0D Traditional Chinese
~XX70 14 7E 30 30 37 30 20 31 34 0D Simplified Chinese
~XX70 15 7E 30 30 37 30 20 31 35 0D Japanese
~XX70 16 7E 30 30 37 30 20 31 36 0D Korean
~XX70 17 7E 30 30 37 30 20 31 37 0D Russian
~XX70 18 7E 30 30 37 30 20 31 38 0D Hungarian
~XX70 19 7E 30 30 37 30 20 31 39 0D Czechoslovak
~XX70 20 7E 30 30 37 30 20 32 30 0D Arabic
~XX70 21 7E 30 30 37 30 20 32 31 0D Thai
~XX70 22 7E 30 30 37 30 20 32 32 0D Turkish
~XX70 23 7E 30 30 37 30 20 32 33 0D Farsi
~XX70 25 7E 30 30 37 30 20 32 33 0D Vietnamese
~XX70 26 7E 30 30 37 30 20 32 33 0D Indonesian
~XX70 27 7E 30 30 37 30 20 32 33 0D Romanian
---------------------------------------------------------------------------------------------------------------------------------------------------------------------------------------------------------------------------
~XX71 1 7E 30 30 37 31 20 31 0D Projection Front-Desktop
~XX71 2 7E 30 30 37 31 20 32 0D Rear-Desktop
~XX71 3 7E 30 30 37 31 20 33 0D Front-Ceiling
~XX71 4 7E 30 30 37 31 20 34 0D Rear-Ceiling
---------------------------------------------------------------------------------------------------------------------------------------------------------------------------------------------------------------------------
~XX72 1 7E 30 30 37 32 20 31 0D Menu Location Top Left
~XX72 2 7E 30 30 37 32 20 32 0D Top Right
~XX72 3 7E 30 30 37 32 20 33 0D Centre
~XX72 4 7E 30 30 37 32 20 34 0D Bottom Left
~XX72 5 7E 30 30 37 32 20 35 0D Bottom Right
---------------------------------------------------------------------------------------------------------------------------------------------------------------------------------------------------------------------------
(W2005 only)
~XX90 1 7E 30 30 39 31 20 31 0D Screen Type 16:10
~XX90 0 7E 30 30 39 31 20 30 0D 16:9
---------------------------------------------------------------------------------------------------------------------------------------------------------------------------------------------------------------------------
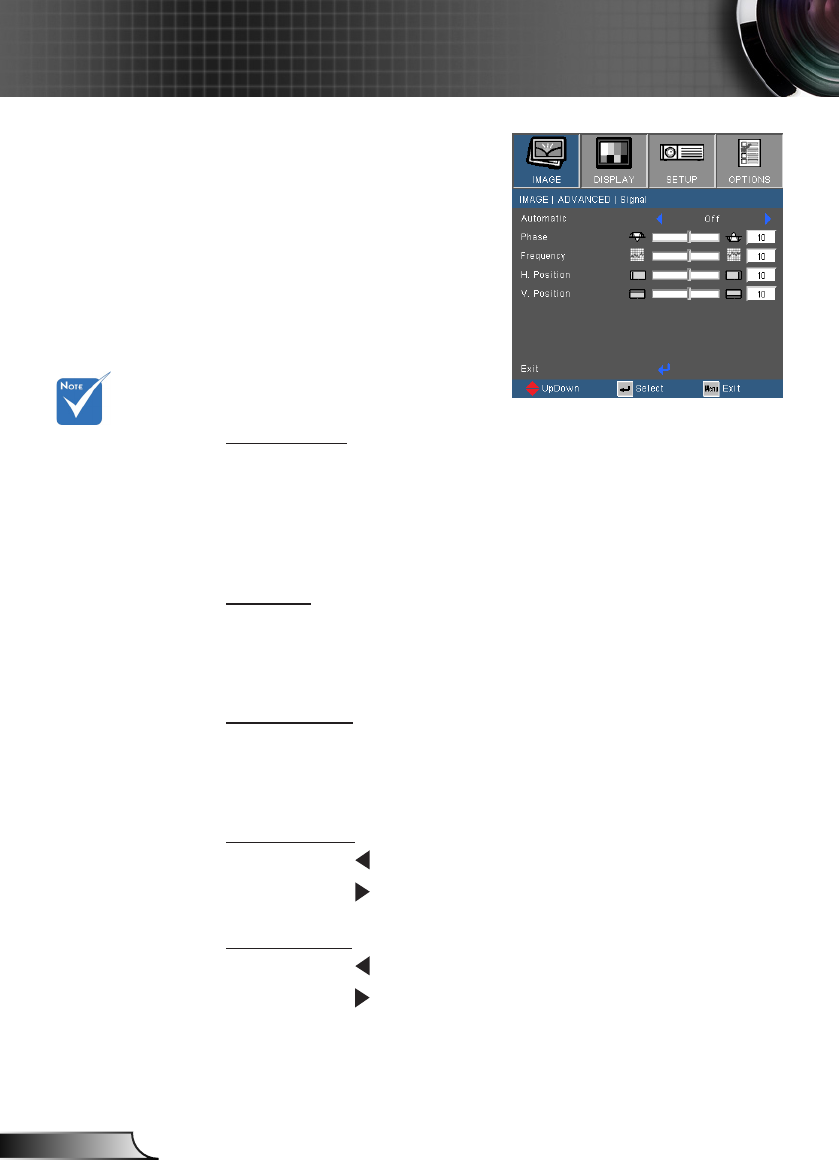
~XX73 n 7E 30 30 37 33 20 a 0D Signal Frequency n = -5 (a=2D 35) ~ 5 (a=35) By signal
~XX91 n 7E 30 30 39 31 20 a 0D Automatic n = 0 disable; n = 1 enable
~XX74 n 7E 30 30 37 34 20 a 0D Phase n = 0 (a=30) ~ 31 (a=33 31) By signal
~XX75 n 7E 30 30 37 35 20 a 0D H. Position n = -5 (a=2D 35) ~ 5 (a=35) By timing
~XX76 n 7E 30 30 37 36 20 a 0D V. Position n = -5 (a=2D 35) ~ 5 (a=35) By timing
---------------------------------------------------------------------------------------------------------------------------------------------------------------------------------------------------------------------------
~XX77 n 7E 30 30 37 37 20 aabbcc 0D Security Security Timer Month/Day/Hour n = mm/dd/hh
mm = 00 (aa=30 30) ~ 12 (aa=31 32)
dd = 00 (bb=30 30) ~ 30 (bb=33 30)
hh = 00 (cc=30 30) ~ 24 (cc=32 34)
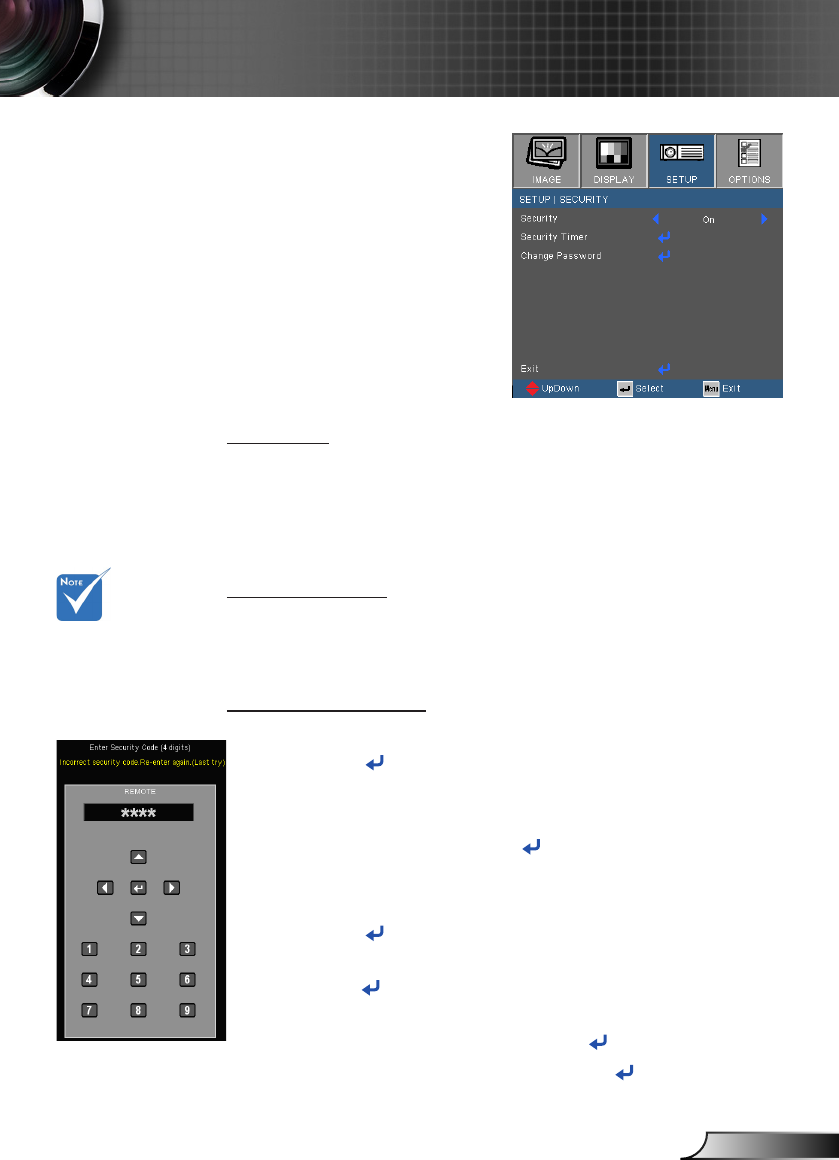
~XX78 1 7E 30 30 37 38 20 31 0D Security Settings Enable
~XX78 0 7E 30 30 37 38 20 32 0D Disable(0/2 for backward compatible)
---------------------------------------------------------------------------------------------------------------------------------------------------------------------------------------------------------------------------
~XX79 n 7E 30 30 37 39 20 a 0D Projector ID n = 00 (a=30 30) ~ 99 (a=39 39)
---------------------------------------------------------------------------------------------------------------------------------------------------------------------------------------------------------------------------
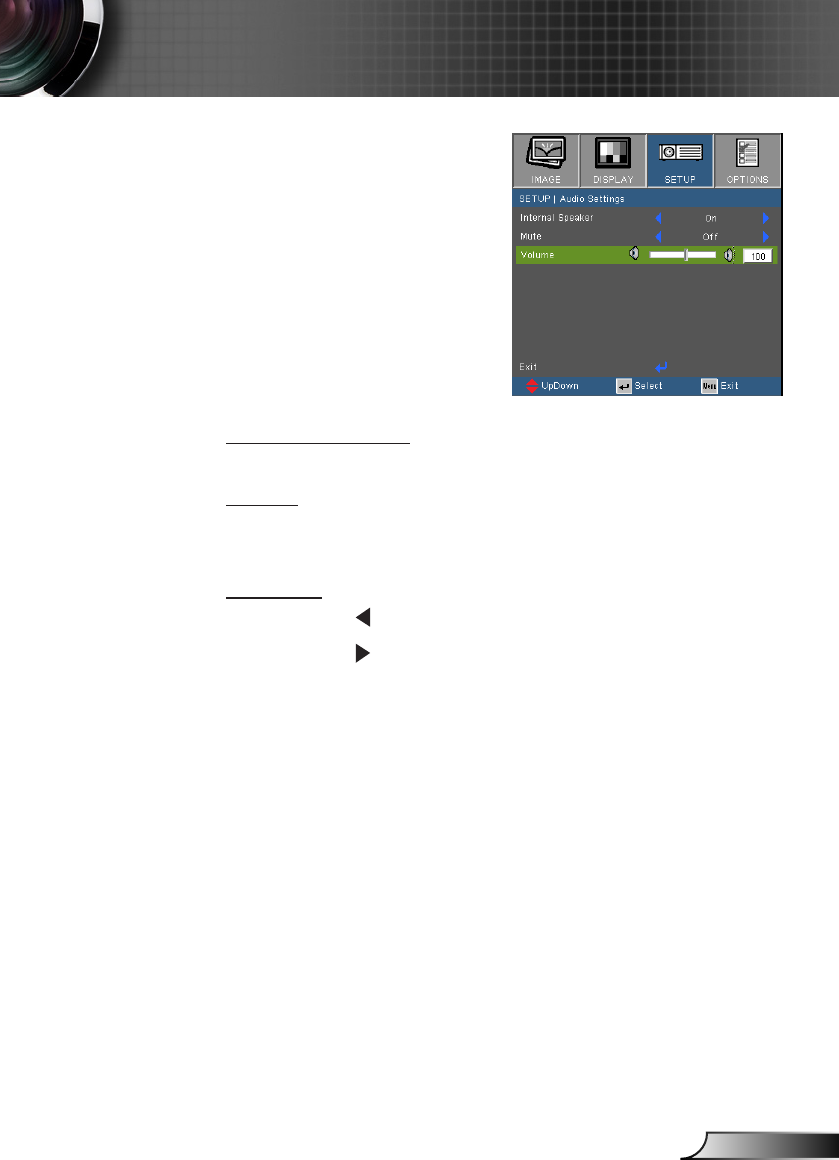
~XX80 1 7E 30 30 38 30 20 31 0D Mute On
~XX80 0 7E 30 30 38 30 20 30 0D Off (0/2 for backward compatible)
~XX81 n 7E 30 30 38 31 20 a 0D Volume n = 0 (a=30) ~ 10 (a=31 30)
---------------------------------------------------------------------------------------------------------------------------------------------------------------------------------------------------------------------------
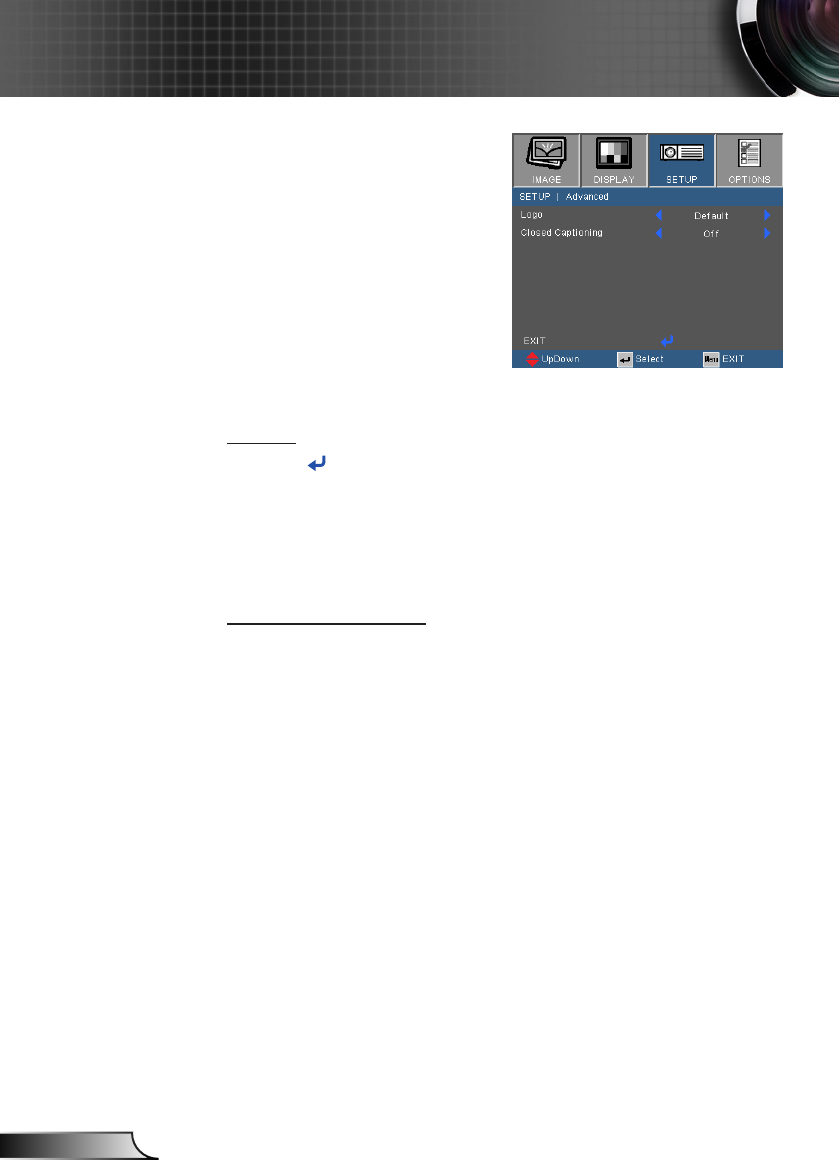
~XX82 1 7E 30 30 38 32 20 31 0D Logo Default
~XX82 3 7E 30 30 38 32 20 32 0D Neutral
~XX88 0 7E 30 30 38 38 20 30 0D Closed Captioning Off
~XX88 1 7E 30 30 38 38 20 31 0D cc1
---------------------------------------------------------------------------------------------------------------------------------------------------------------------------------------------------------------------------
2