If the delivery pressures are too high, a delivery
pressure limiter (e.g. supplementary air device in the
chimney) must be fitted. It is purposeful to re-
determine the delivery pressure when starting up the
stove. The measurement should be taken when the
chimney is warm.
Combustion air supply
Ensure an adequate combustion air supply.
Important: The combustion air inlet and convection
air openings may not be closed or covered!
Note: Extractor hoods or ventilation systems operat-
ed together with the fireplace in the same air com-
partment space can cause problems. Permissibility of
the joint operation must be clarified before the instal-
lation takes place.
External combustion air connection
In order to feed the combustion air to the stove ex-
ternally via a pipe instead of from the room in which it
is installed, it is possible to screw a
∅
125 mm com-
bustion air pipe to the back of the stove, at the bot-
tom. If the combustion air pipe installed is longer than
3m, calculations will have to be carried out to verify
an adequate supply of combustion air. Use the Ols-
berg – combustion air pipes with sealing lip.
Installing the stove
The floor on which the stove is installed must be
even and horizontal. The stove may only be installed
on an adequate load-bearing floor. The stove can be
stood on a metal floor sheet or glass sheet to protect
the flooring. If the flooring or carpet is inflammable, a
stable, heatproof base must be used. This must ex-
tend 50 cm to the front and 30 cm to each side be-
yond the edge of the combustion chamber opening.
Assembly sequence
•
Decide where the stove is to be installed. There
must be no objects made of combustible materi-
als within a distance of 80 cm of the stove’s ra-
diation area, measured from the combustion
chamber’s inspection glass, nor may any be
placed within this area subsequently.
Minimum distance from combustible or load-
bearing walls: Lateral 15 cm and rear: 10 cm
•
Install the pipe lining (provided on site) in the
chimney.The connection height can be individual-
ly specified for a top stovepipe connection, how-
ever should not exceed 1.5 m from the connector
sleeve. No combustible material is permitted
within a radius of 20cm around the stove pipe.
•
Place the stovepipe (provided on site) on the
Ø160/Ø150mm transition piece of the stove.
•
Push the stove onto its planned position and
orient it so that the stovepipe fits into the pipe lin-
ing.
The stovepipe connections must be airtight. The
stovepipe must not protrude into the chimney.
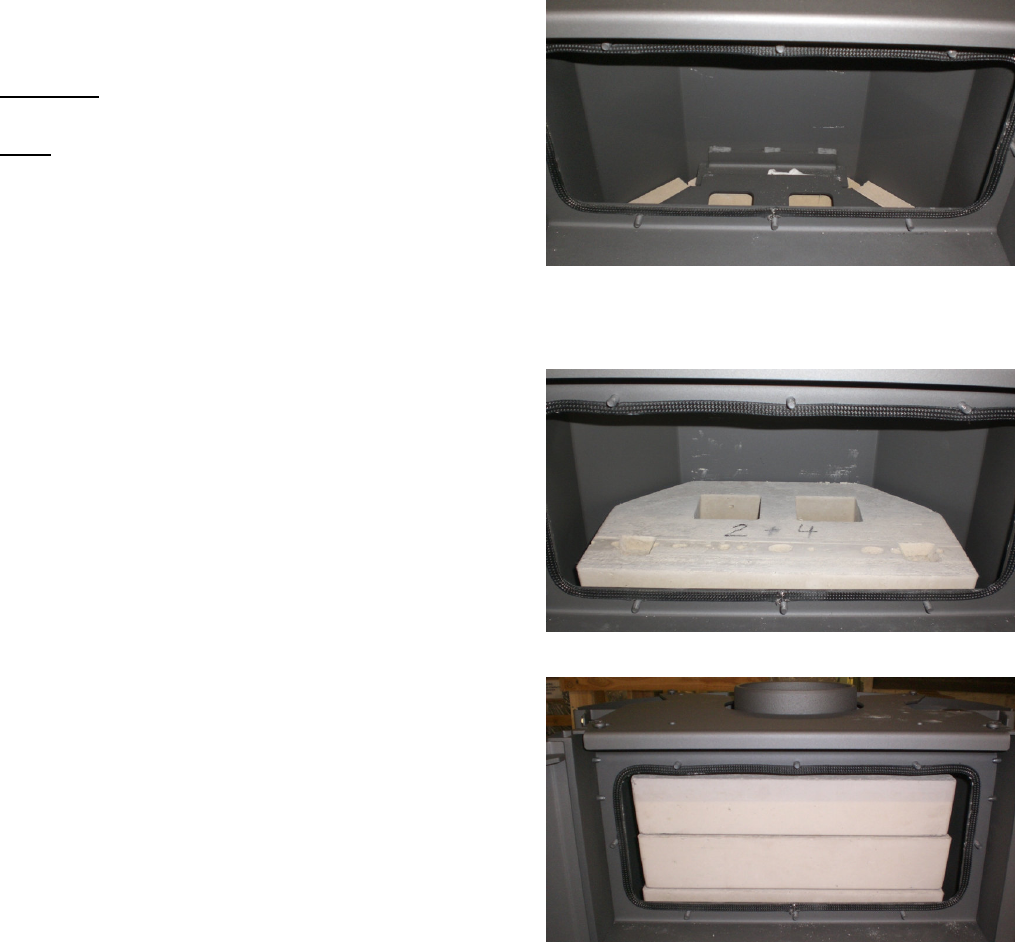
Installing the PowerBloc
•
Open the installation opening above the fire-
box.
•
Insert the heating gas draught control bricks
in the order 1-2-3-4.
•
Close the installation opening again.