Index > 146
Modifying the details of a
Group Address
....................74
Copy Mode .............................66
Density ...............................67
Edge erase..........................67
Margin shift - bottom..........68
Margin shift - right..............67
N-up....................................67
Setting up ...........................66
Fax Mode................................80
Automatic Fax receive. .......83
Entering a Fax no. using the
Ten keys
.............................82
Fax Receiving......................83
Loading Document(s) for
copying
.................................58
Phone book
Adding a new Group Dial.
...86
Adding a new Speed Dial....84
Deleting a Group Dial. ........87
Deleting a Speed Dial. ........85
Modifying the details of a
Group Dial.
.........................87
Modifying the details of a
Speed Dial.
.........................85
Placing Document(s) in the
ADF
.......................................59
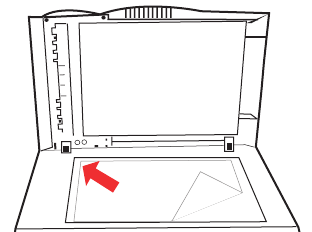
Placing Document(s) on the
Glass
.....................................60
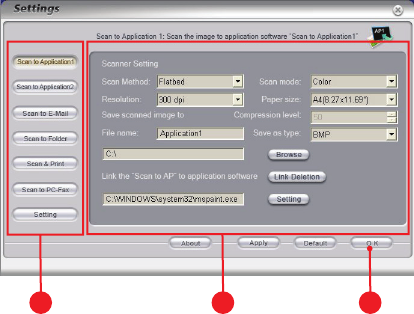
Scan Mode..............................69
scan mode
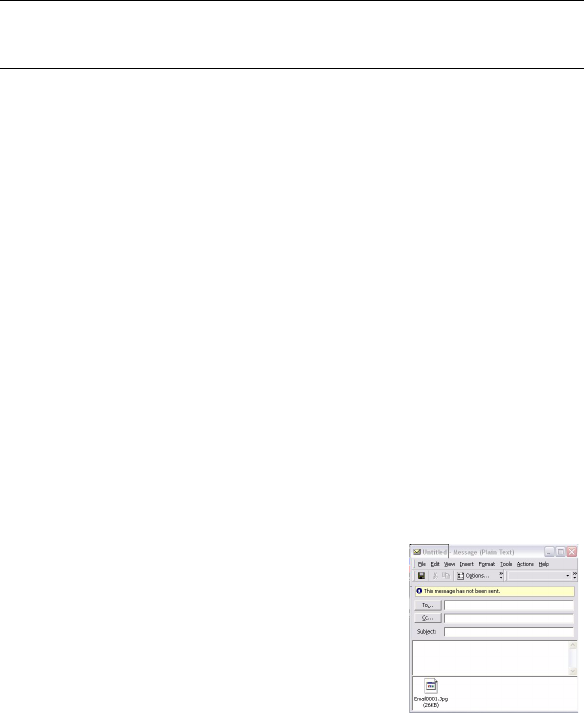
Scan to E-mail option
.........69
Scan to PC (server) option. ...75
Using the ADF ........................58
P
Paper
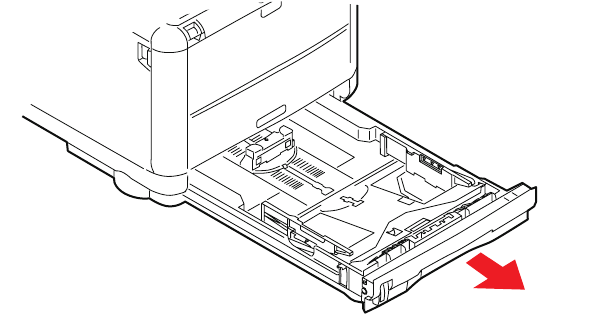
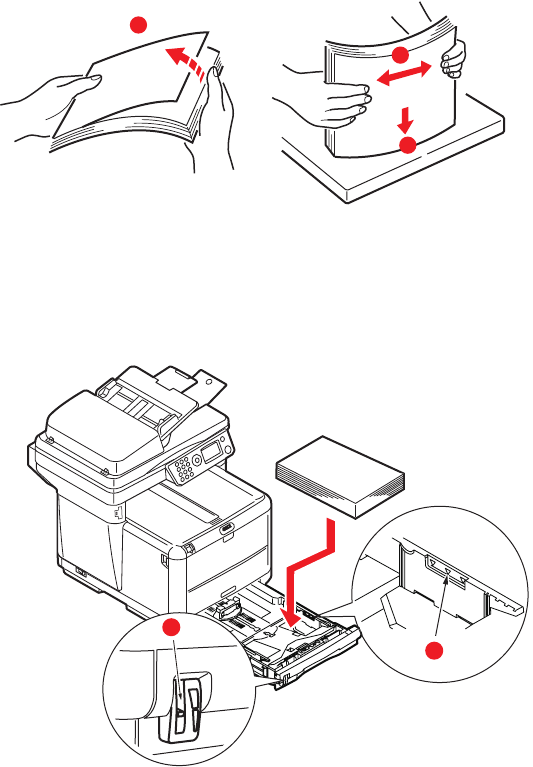
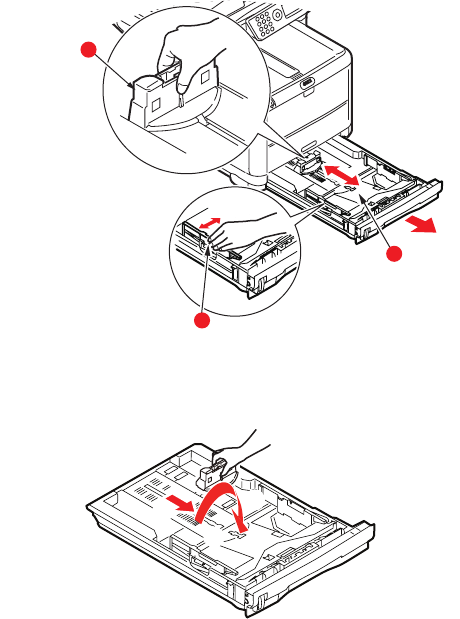
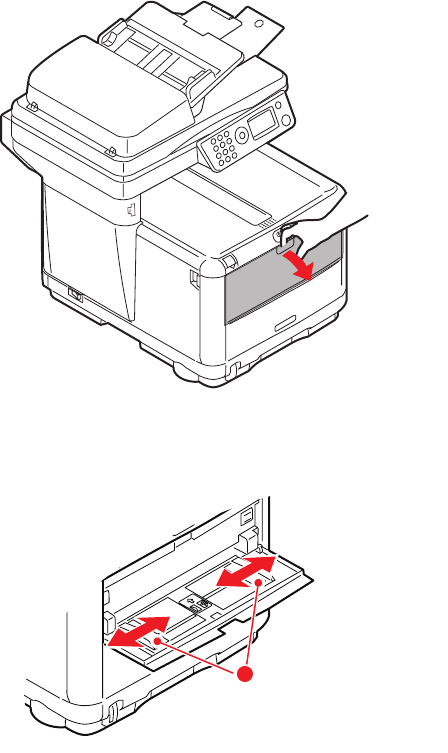
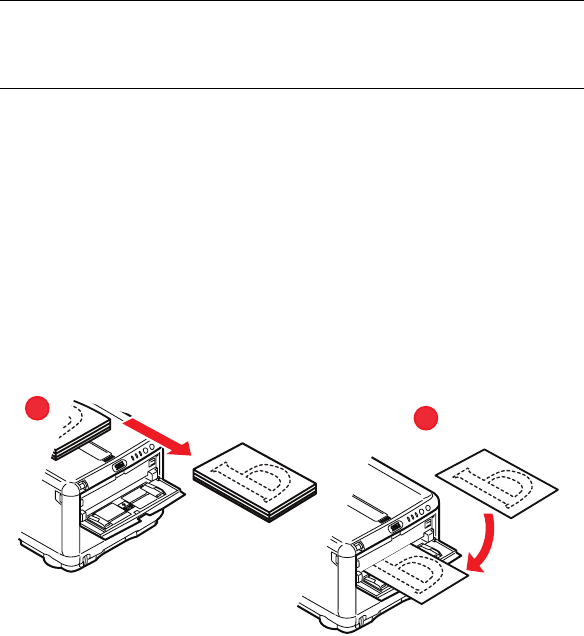
loading cassette tray
..............29
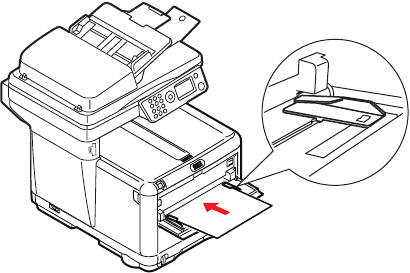
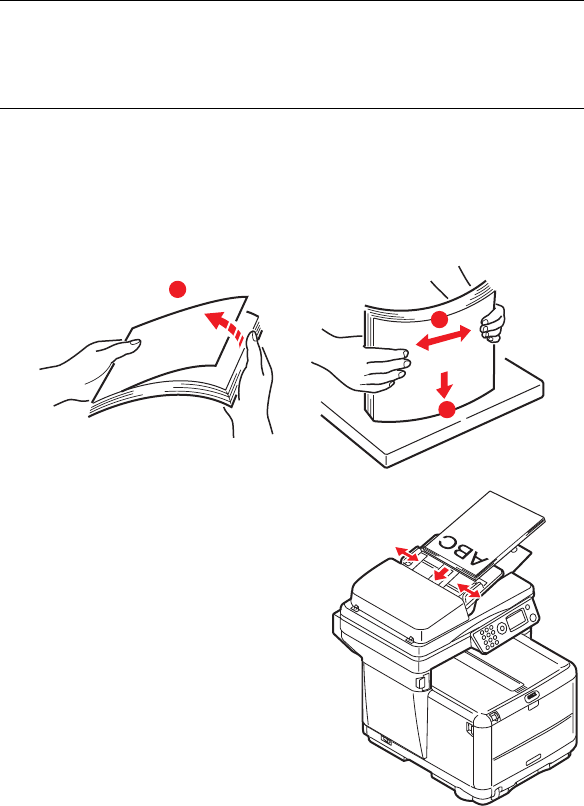
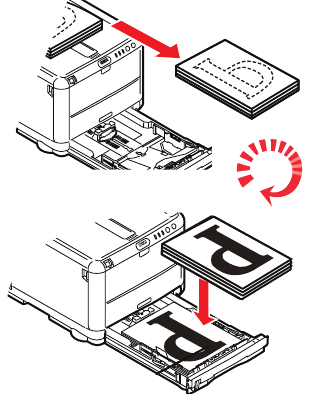
loading letterhead ..................30
recommended types ..............26
supported sheet sizes ............27
Paper recommendations
Business cards
.......................26
Envelopes...............................26
Labels.....................................26
Pre-printed stationery ............26
Pre-Installation Information
DHCP Enable
..........................42
DNS server.............................43
Gateway IP.............................43
IP Address..............................42
POP3 Port...............................43
POP3 Server...........................43
SMTP Port...............................43
SMTP Server...........................43
Subnet Mask ..........................42
Print order
face down stacker
..................32
face up stacker.......................33
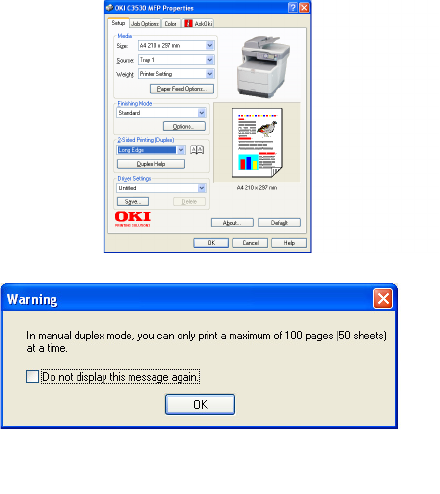
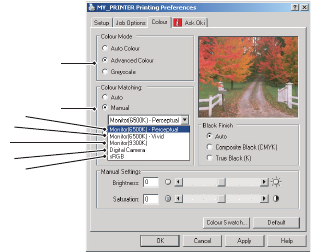
Printing
cancelling print jobs
...............66
colour to black and white.......65
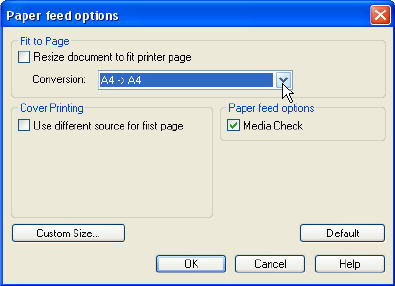
different media.......................64
fit to page ..............................65
other print options .................65
S
Specifications ..........................139
ADF ......................................142
Copy............................ 140, 141
Copy Features ......................141
E-mail...................................143
General ................................139
Printing.................................140
Scan to e-mail......................142
Scan to Fax ..........................143
Scan to Network...................142
Scanning ..............................141
T
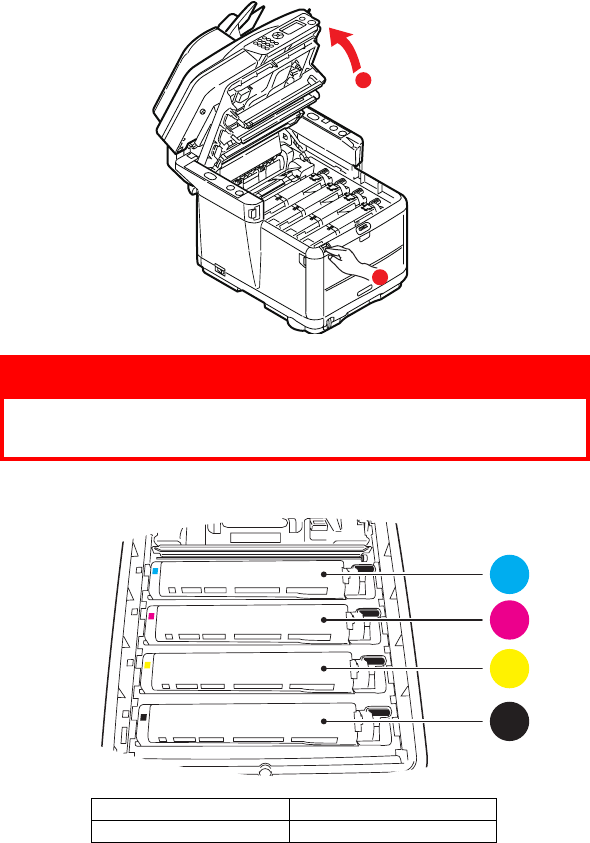
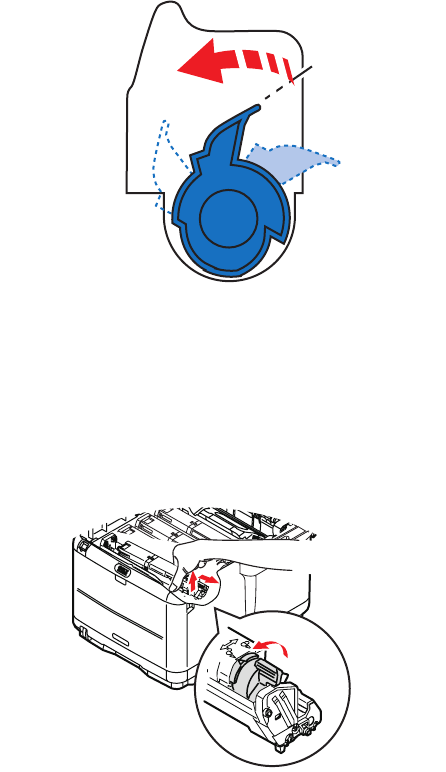
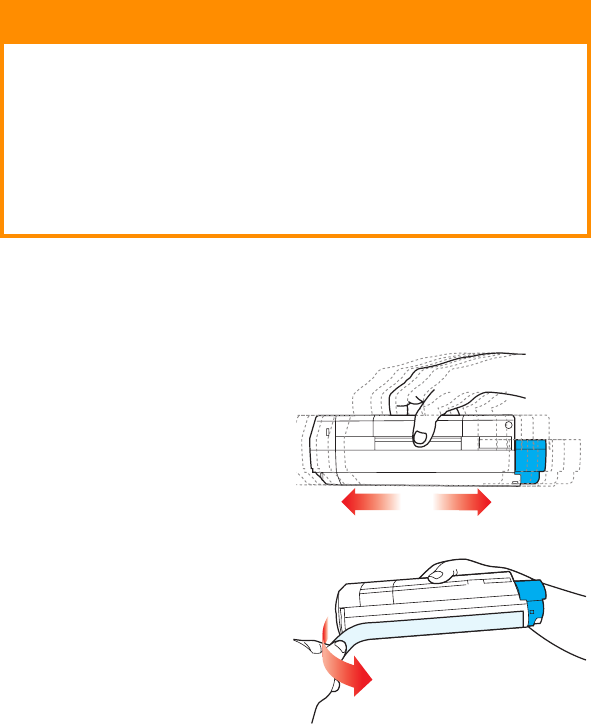
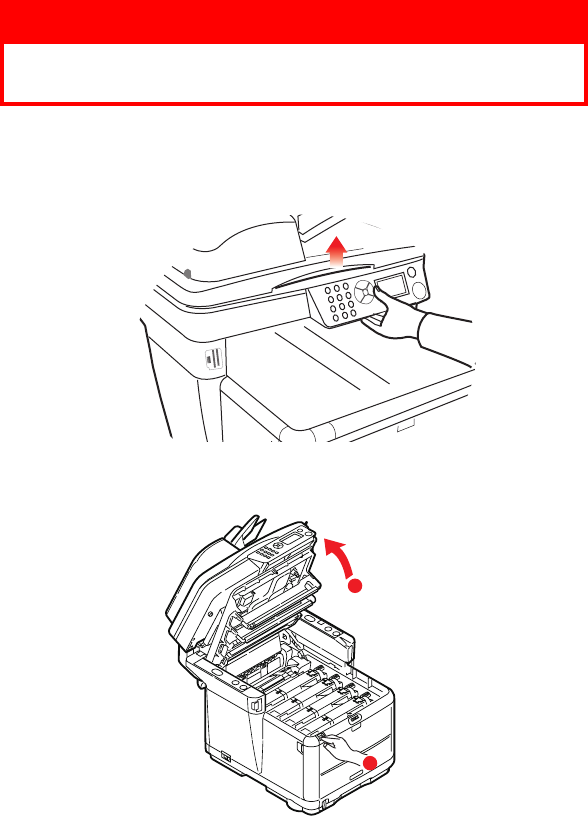
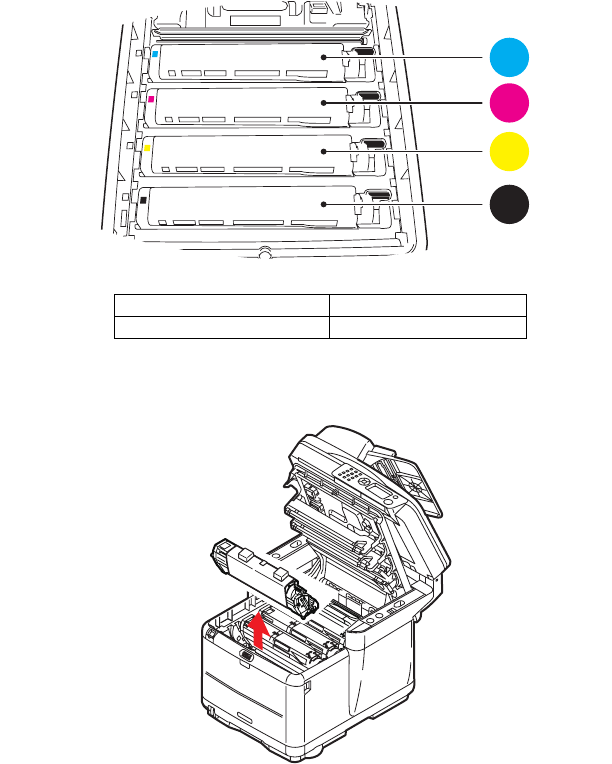
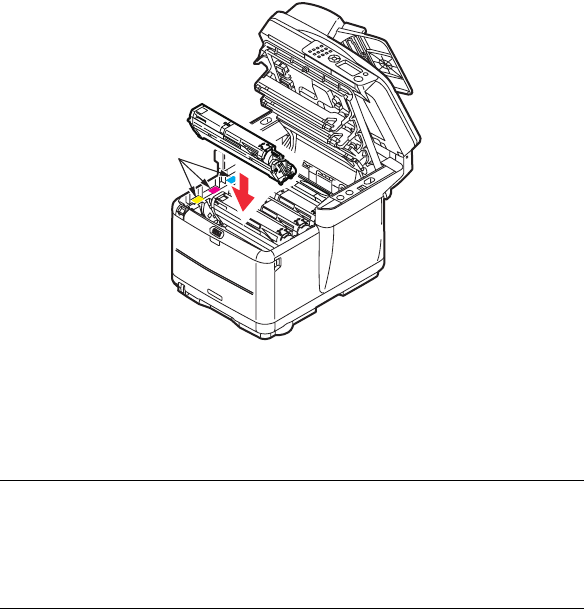
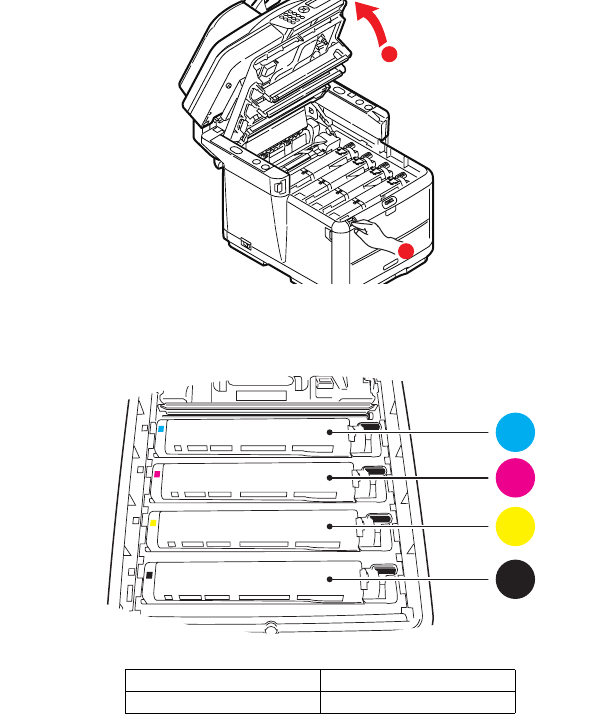
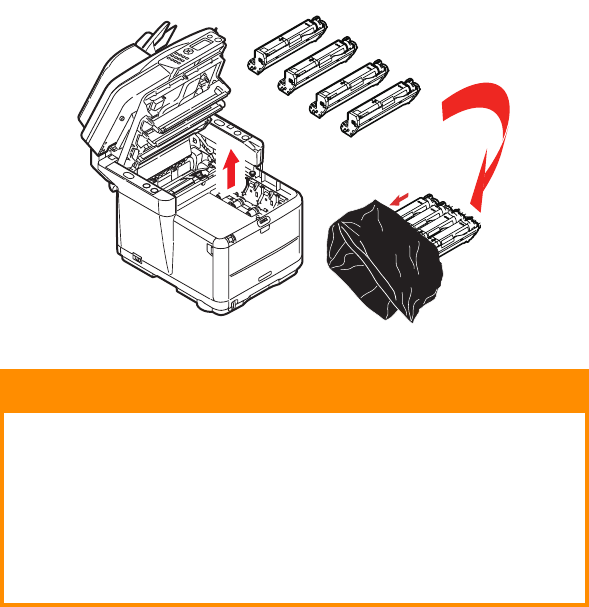
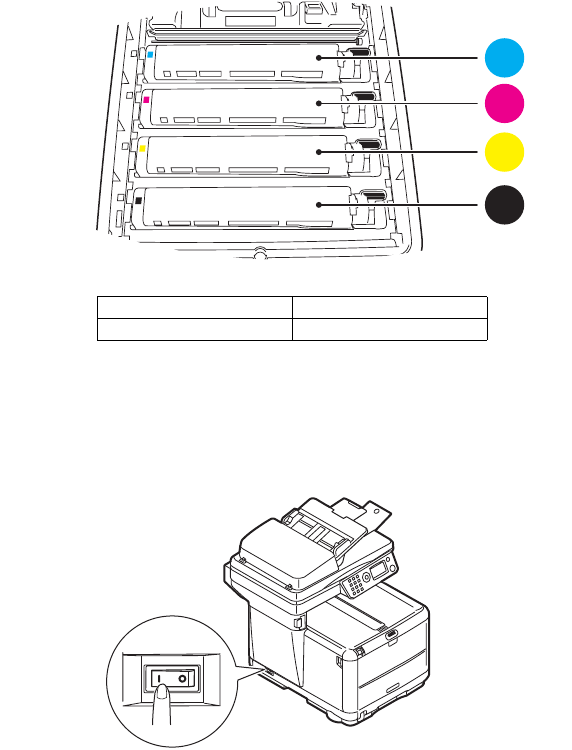
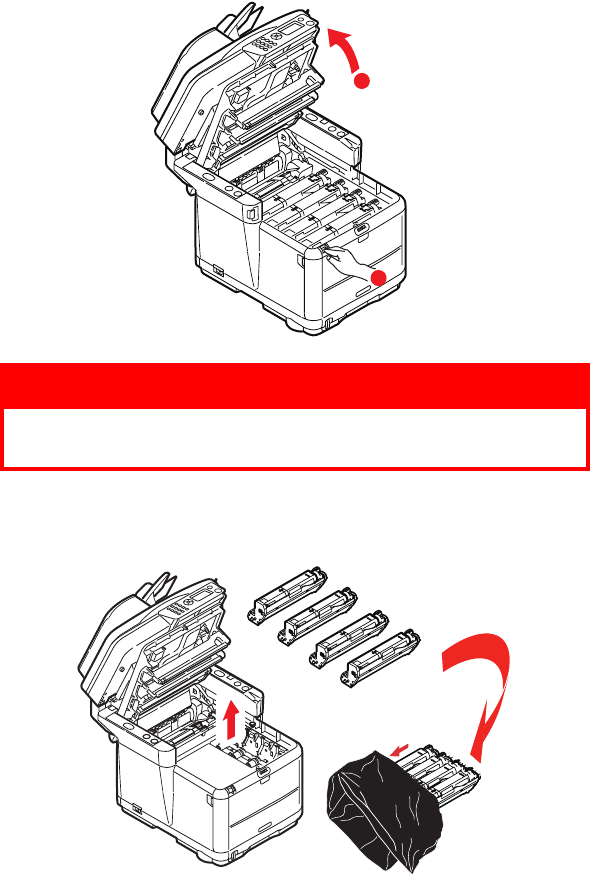
Toner
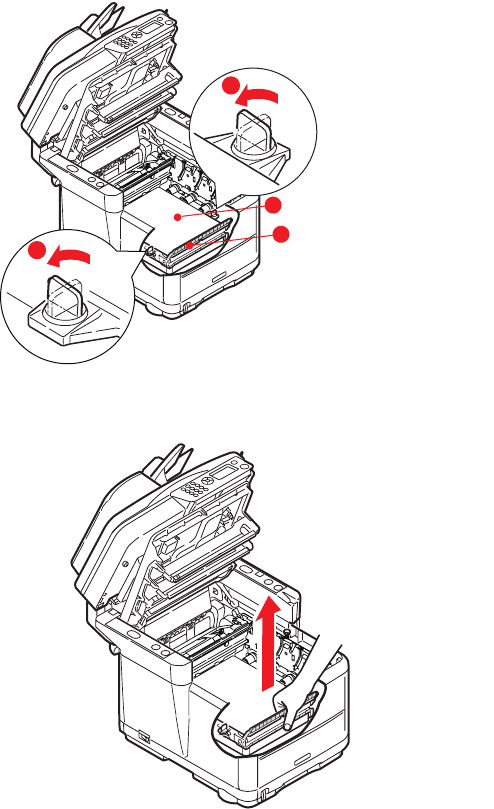
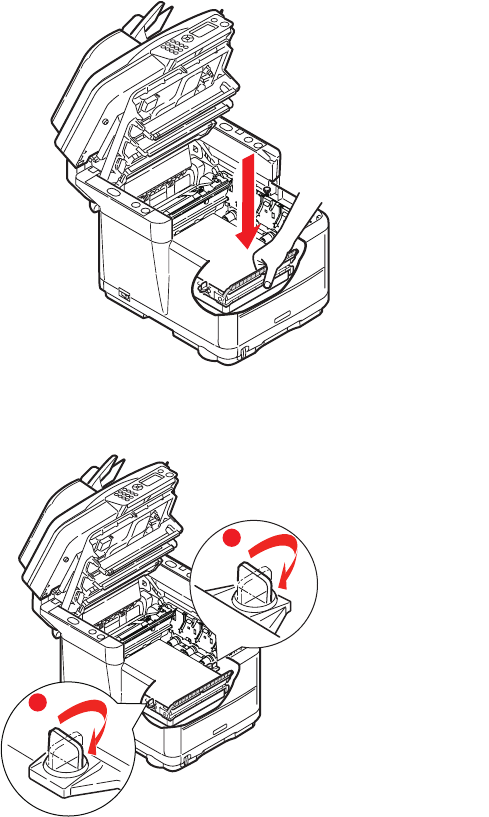
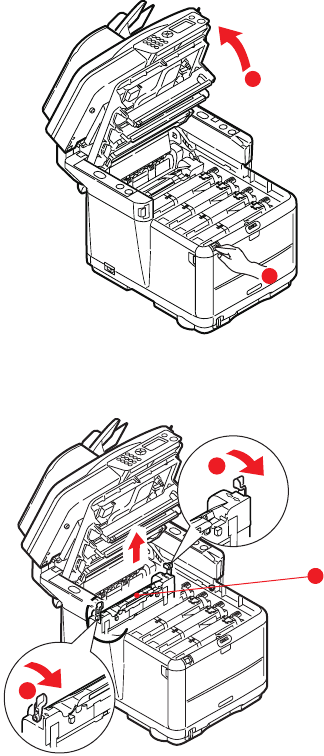
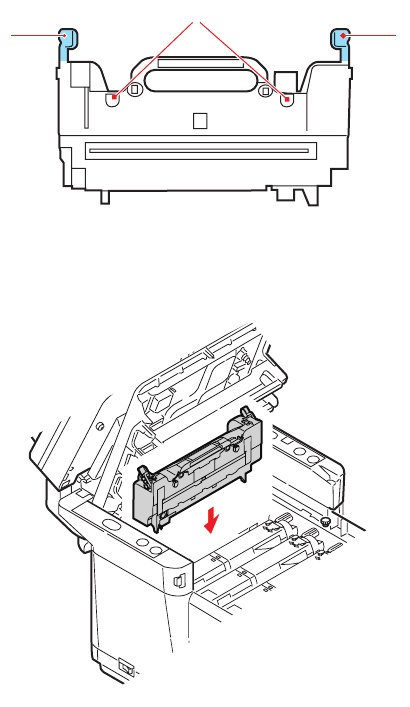
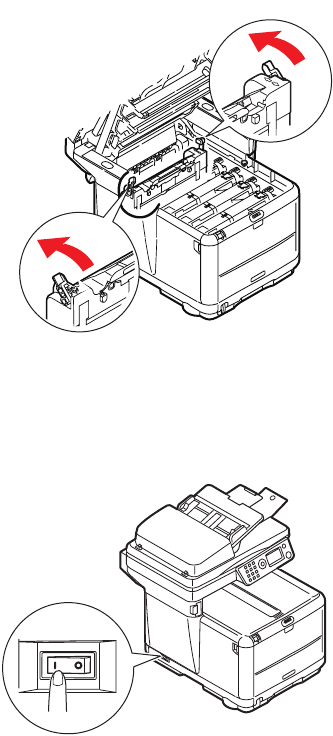
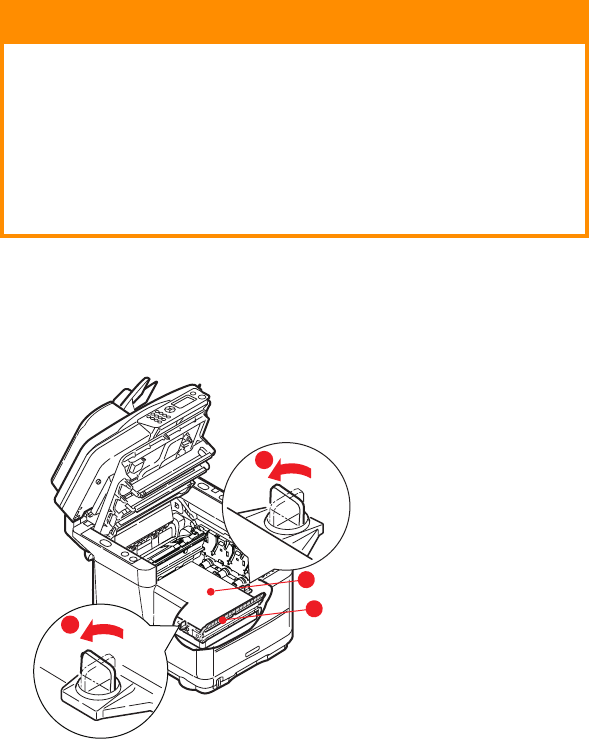
how to replace
.......................91
life expectancy .......................89
Transmission Reports ................88