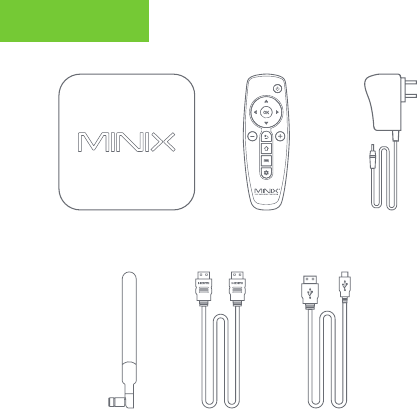
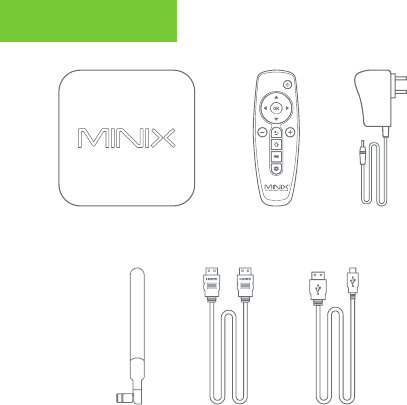
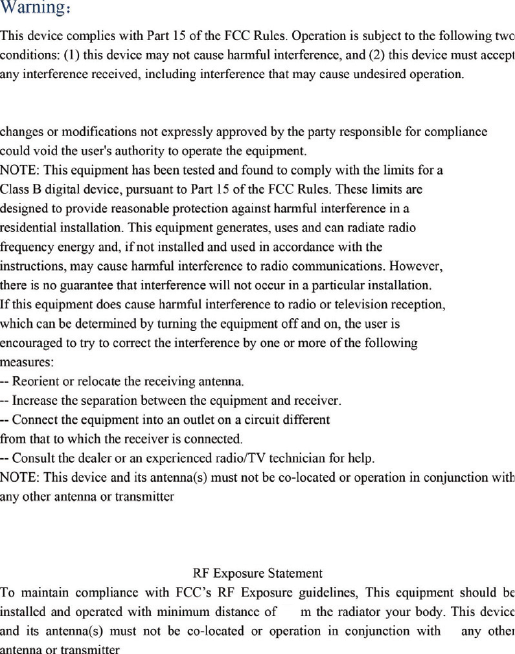
NEO X39 an den Fernseher oder Computer Monitor
anschließen (via HDMI oder USB-C).
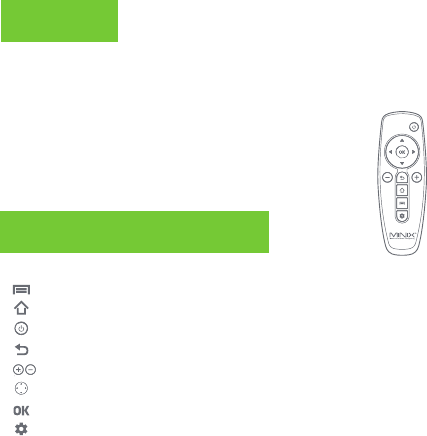
Schritt 1: Schließen Sie das Kabel an [HDMI/USB-C]
Ein Ende des Kabels an den Eingang des Fernseher
oder Monitor und das andere Ende in den Anschluss
an der NEO X39.
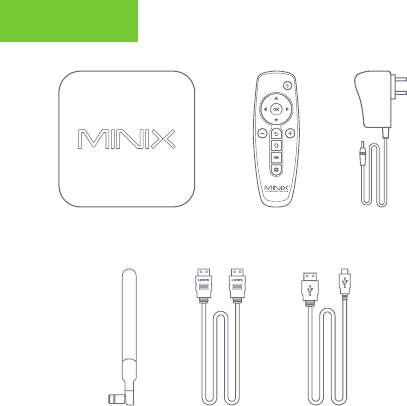
Schritt 2: Strom anschließen
Schließen Sie das mitgelieferte 12V Netzteil an der NEO X39
an und drücken Sie den Startknopf für 2-3 Sekunden. Die
LED leuchtet dann blau.
Schritt 3: Schalten Sie den Fernseher / Monitor an
Schalten Sie das Anzeigegerät an und wählen Sie den
entsprechenden Port aus, an dem Sie die NEO X39
angeschlossen haben.
Erklärung zur Frequenzstörung (Interference Statement) der amerikanischen
Bundesbehörde Federal Communication Commission (FCC) Dieses Gerät
wurde getestet und hält gemäß Teil 15 der FCC-Richtlinien die Grenzwerte
eines Digitalgeräts der Klasse B ein. Diese Grenzwerte wurden entwickelt,
um den Anwendern einen ausreichenden Schutz vor schädlichen
Störungen in Wohnräumen zu bieten. Dieses Gerät erzeugt, verwendet und
strahlt Hochfrequenzenergie aus und kann den Funkverkehr stören, wenn
es nicht gemäß den Anweisungen installiert und verwendet wird. Es kann
nicht garantiert werden, dass bei einer bestimmten Installation keine
Interferenzen auftreten. Wenn dieses Gerät Funkstörungen im Radio - oder
Fernsehempfang verursacht, was durch das Ein- und Ausschalten des
Geräts festgestellt werden kann, sollte der Benutzer die Interferenzen durch
eine der folgenden Maßnahmen beheben:
– Stellen Sie die Empfangsantenne um oder richten Sie sie anders aus.
– Erhöhen Sie den Abstand zwischen dem Gerät und dem Empfänger.
– Schließen Sie das Gerät an einen anderen Stromkreis an,an dem der
Empfänger nicht angeschlossen ist.
– Wenden Sie sich an den Händler oder einen erfahrenen Radio -/
Fernsehtechniker, um Hilfe zu erhalten.
Sämtliche vom Benutzer vorgeno
mmenen Änderungen und
Modifikationen, denen die für die Einhaltung der Richtlinien
verantwortliche Partei nicht ausdrücklich zugestimmt hat, können
zum Entzug der Betriebserlaubnis für das Gerät führen.