Advice for installation
5 ADVICE FOR INSTALLATION
WARNING! Installation of this device must be performed by
qualified persons who are equipped with the proper tools. The
information provided below are designed solely as a comple-
ment to the experience held by the technician, who should as-
sume full responsibility for the installation. Incorrectly instal-
ling the transceiver may seriously damage the device or cause
damage to people or property. Follow all of the instructions
found in this chapter and in Chapt. 2.
Installation must be in conformity with the regulations of the
vehicle manufacturer. For questions or doubts regarding this
conformity (e.g., holes, the drawing of power, cable passages,
etc.), contact your vehicle manufacturer’s service centre.
As with all electrical devices, this radio requires a periodic la-
boratory check-up, otherwise its performance cannot be gua-
ranteed. For further details, contact the administrator of your
radio network or the CTE International technical office.
5.1 Location/mounting of radio parts
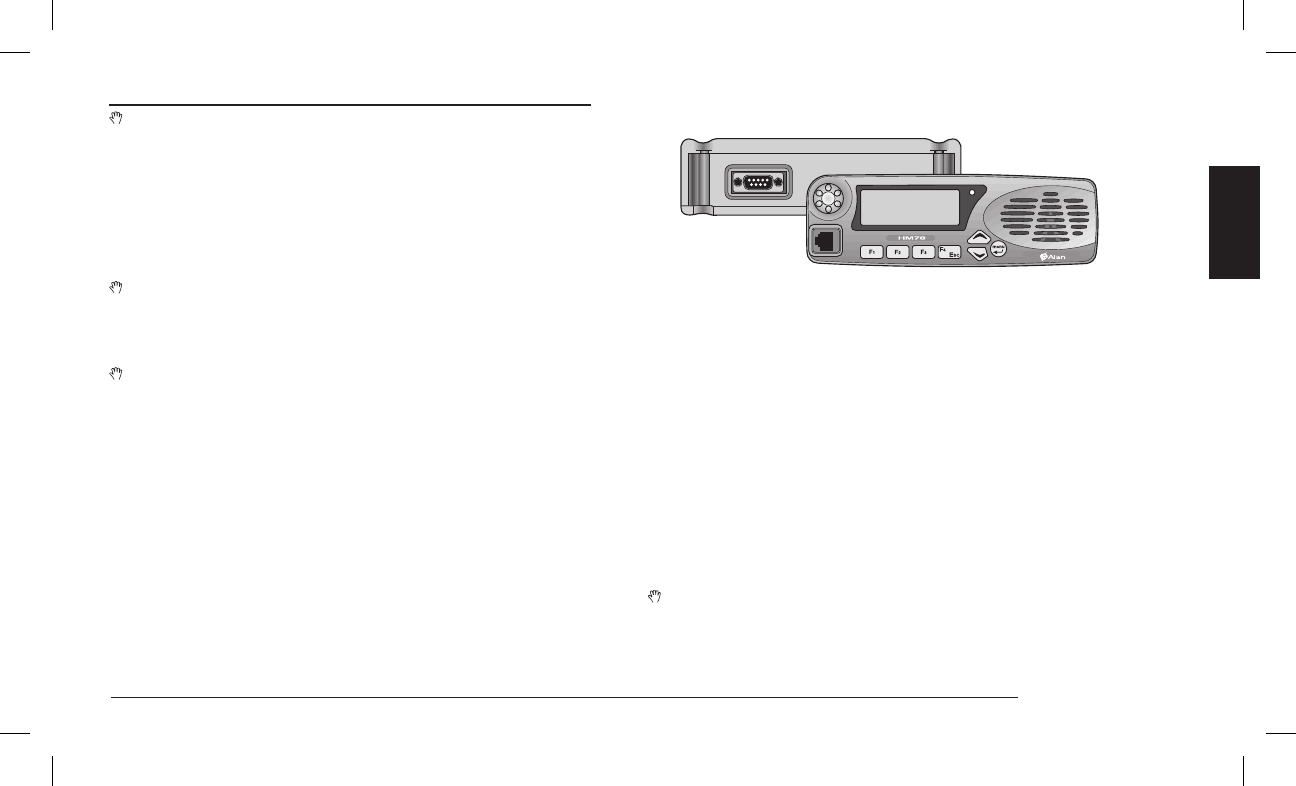
5.1.a Transceiver
Select a location for the radio that is easily accessible to the operator,
keeping in mind the security conditions outlined in Chapt. 2. Use the
bracket and screws included in the package to mount the radio.
5.1.b Detachable front panel
In order to reduce obstruction in the driver/passenger area, the deta-
chable front panel can be installed on the dashboard, using the proper
optional kit.
For separation and mounting of the front panel, refer to the instruc-
tions found in the kit.
5.1.c Hand-held microphone mount
The mount provided (mod. R14053) is to be used as a storage place
for the microphone when the radio is inactive.
An option available to the user is the monitor function (hang-up),
which is automatically activated when the microphone is removed
from its mount.
For further details regarding the monitor function, refer to par. 6.6.
Microphone installation:
1) Fix the bracket in a position close to the front panel of the radio
and near to the radio operator.
2) If you wish to activate the monitor function when removing the mi-
crophone from its bracket (hang-up), connect this to the negative
(ground) of the vehicle.
Place the bracket in a location which makes the microphone
cable not taut and avoid that possible rocking of the micro-
phone could cause it hitting the vehicle’s parts or surrounding
objects and get damaged. As well, avoid placing the micro-