54
l
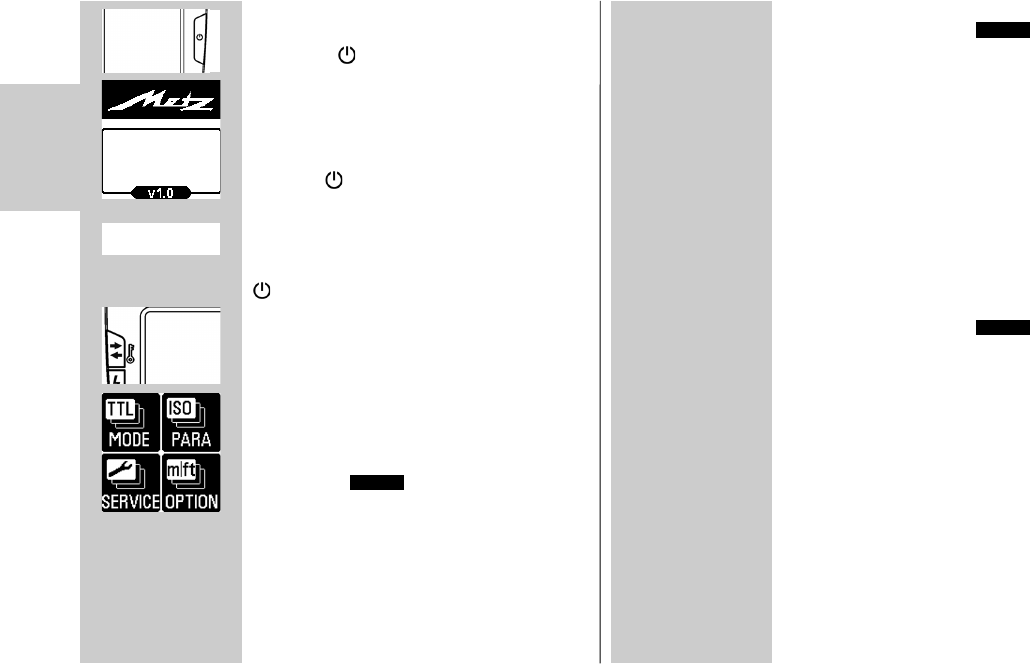
3.3 Mise en marche et coupure du flash
• Mettre le flash en service en appuyant sur
la touche
ባ
.
L’écran d‘accueil apparaît.
Le flash passe ensuite toujours au dernier
mode utilisé (p. ex. mode flash manuel M).
En mode veille, la touche ቨ clignote en
rouge. Pour mettre hors service, appuyer sur
la touche
ባ
jusqu’à ce que tous les
affichages disparaissent.
Si le flash reste inutilisé pendant une péri-
ode prolongée, nous recommandons de
mettre le flash hors service avec la touche
ባ et retirer les sources d’alimentation
(piles, accus).
3.4 Le menu de sélection
• Appuyer autant de fois sur la touche ቨ
jusqu’à ce que le menu de sélection
s‘affiche.
Le menu de sélection est divisé en 4 touches:
les modes peuvent être réglés en appuyant
sur la touche .
i-TTL, voir 7.1
i-TTL BL*, voir 7.2
M, voir 7.3
GN, voir 7.5
MASTER, voir 10.1
SLAVE, voir 10.2
SERVO, voir 10.4
*) seulement après échange de données avec un appareil photo
D
D
MODE
Les paramètres du flash peuvent être réglés
en appuyant sur la touche .
EV (correction d’exposition),
voir 10.1.21, 10.1.3.1
Zoom (réglage du réflecteur), voir 9.1
F (diaphragme)
ISO (sensibilité lumineuse),
P (puissance partielle),
voir 7.3, 10.1.3.1 et 10.4.3
RATIO
2)
(luminosité), voir 10.1.4
CHANNEL
3)
(canal), voir 10.2.2
MASTER
3)
(Master marche/arrêt), voir 10.1.1
GROUP
3)
(groupe esclave), réglage voir 10.2.3.
2) possible uniquement en mode maître
3) possible uniquement en mode esclave
En appuyant sur la touche , il est
possible de paramétrer l'écran tactile ou de
réinitialiser le flash à l’état de livraison.
CONTRAST (contrast), voir 14.1
BRIGHTNESS (luminosité), voir 14.2
ROTATION (faire pivoter l’affichage), voir 14.3
RESET, voir 15.3.
PARA
SERVICE
+
52AF-1
NIK