EspañolDeutsch Página 63
Suspensión de la carcasa del operador:
• Fijar una chapa de anclaje (A) encima de la carcasa del operador (véase las figuras 10 y 11).
• Doblarla según las condiciones existentes en la obra.
Suspensión del carril de guía:
• Deslizar una chapa de anclaje (A) por la garra de suspesión (B) y doblar los salientes (véase
figura 10).
• El puesto en posición de la suspesión del carril de guía se efectua conforme a la figura 11.
O
10
Condiciones existentes en la obra:
• Descolgar la carcasa del operador con el carril de guía de manera que, en el punto más
alto del recorrido de apertura, el borde superior de puerta se encuentre aprox. 10 mm por
debajo del borde inferior horizontal del carril de guía (véase puntos 7,8, y 9).
• Realizar el anclaje en el techo según las condiciones existentes en la obra.
Observar indicaciónes de medidas para el taladro y tacos.
O
11
Incorporación de la bombilla:
Atención:
Antes del cambio de la bombilla es absolutamente necesario de qui-
tar el enchufe de la red.
• Inserte la bombilla E 14 (40 Watt máx.).
• Enclave la pantalla de lámpara.
• Atornillar el tornillo de seguridad.
Tras la emisión del impulso, la bombilla se enciende durante aprox. 3 minutos.
Las bombillas quedan excluidas de la garantía.
O
12
O
13
Desbloqueo rápido:
Atención:
En estado desbloqueado, la puerta debe moverse sólo a una
velocidad moderada.
Para evitar el choque de la guía con la carcasa del operador en caso
de apertura manual de la puerta, se tiene que limitar la vía enderezante de
marcha de puerta de ambas partes por parte del cliente.
• Separar la puerta del operador
Tirar el cable tractor (A) hacia abajo hasta el remate para separar la puerta del operador
(véase figura 13).
Seite 30
Prüfanleitungen - nur für Fachpersonal -
Fehlerbehebung (Fortsetzung):
Prüfanleitungen (Fortsetzung)
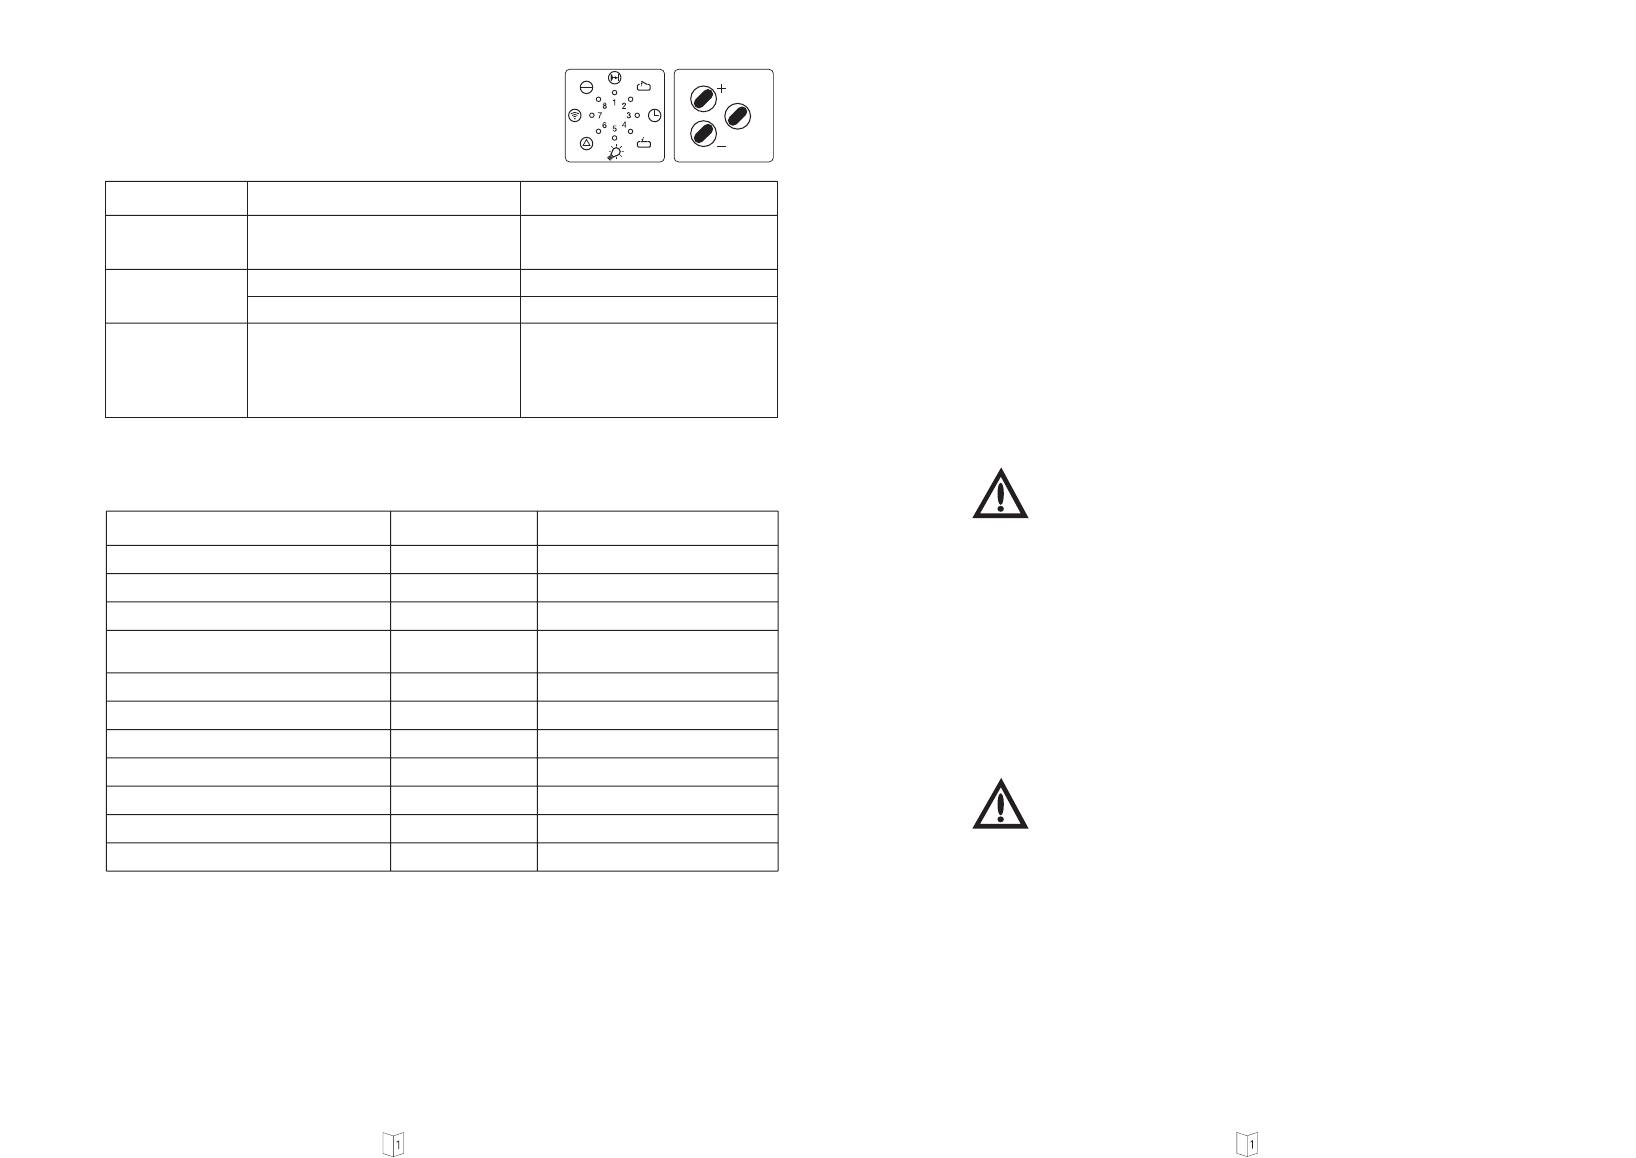
Die Störungsmeldung wird bei kurzem Druck auf Programmtaste P angezeigt.
Inbetriebnahme
Im Gewerbebereich müssen kraftbetätigte Fenster, Türen und Tore nach der Installation und
dann jährlich mindestens einmal von einem Sachkundigen geprüft werden.
O
24
Antrieb überprüfen lassen.
Tor überprüfen.
Neue 12 V A 23 Batterie einsetzen.
Blinkende LED im Handsender zeigt
Batterieladung an.
Drehzahlsensor defekt.
Tor zu schwergängig.
Batterieladung unzureichend.
Zu geringe Reichweite
der Fernbedienung
(weniger als 5 m).
LED 6 blinkt.
Störungsmeldung 9.
Empfänger spricht nicht
an, Tor läßt sich jedoch
über Drucktaster bewe-
gen (LED 8 leuchtet,
LED 7 blinkt).
Urlaubssperre ist aktiv.
Urlaubssperre am Wandtaster oder
durch Betätigung der Taste P am Antrieb
deaktivieren.
Störung
(Fortsetzung)
Ursache
(Fortsetzung)
Behebung
(Fortsetzung)
Störungsmeldung
6
7
8
9
10
11
15
16
28
27
36
Störung LED blinkt unregelmäßig
Lichtschranke hat angesprochen LED 6
Programmierung abgebrochen LED 7
Referenzpunktschalter defekt LED 8
Defekter Drehzahlsensor
Blockierschutz ist aktiviert
LED 8 + 1
Kraftbegrenzung LED 8 + 2
Laufzeitbegrenzung LED 8 + 3
Selbstprüfung der Durchfahrts-Lichtschranke defekt
LED 8 + 7
Abschaltautomatik Selbstprüfung LED 8 + 7 + 1
gelernte Kraftbegrenzung angesprochen LED 8 + 7 + 6 + 5 + 2
Ansprechempfindlichkeit Kraftbegrenzung LED 8 + 7 + 6 + 5 + 1
Ruhestromkreis unterbrochen LED 1 - 8