03
Input setting CH3/CH4
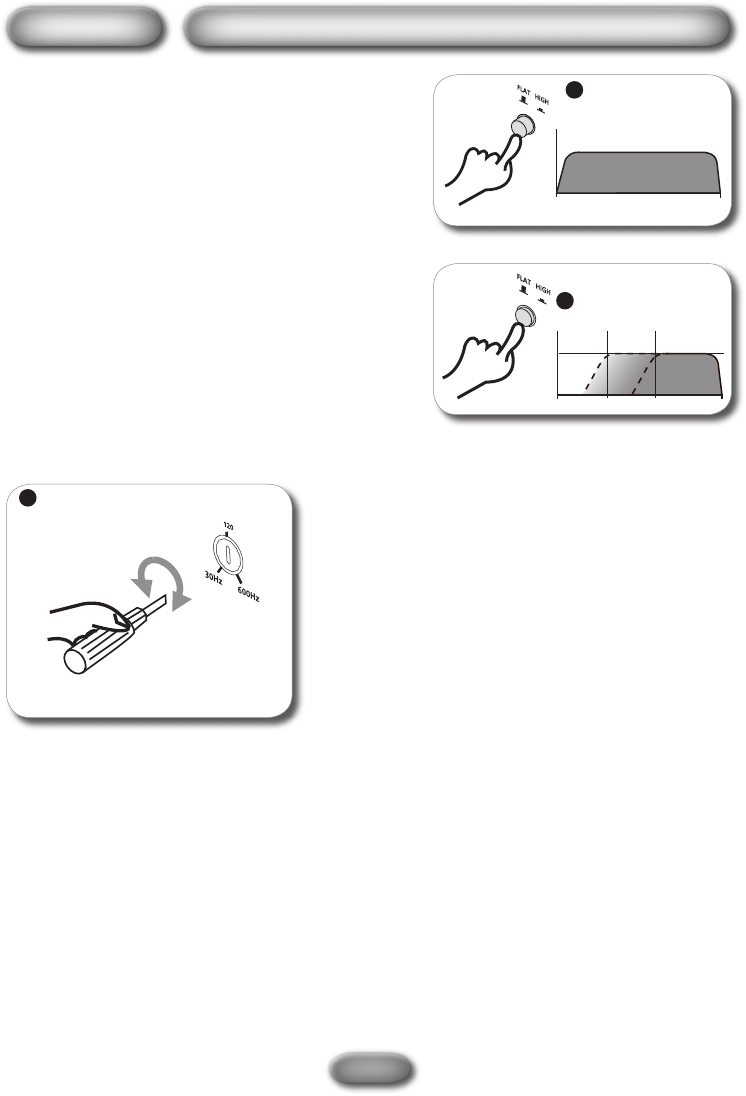
Low Level Input
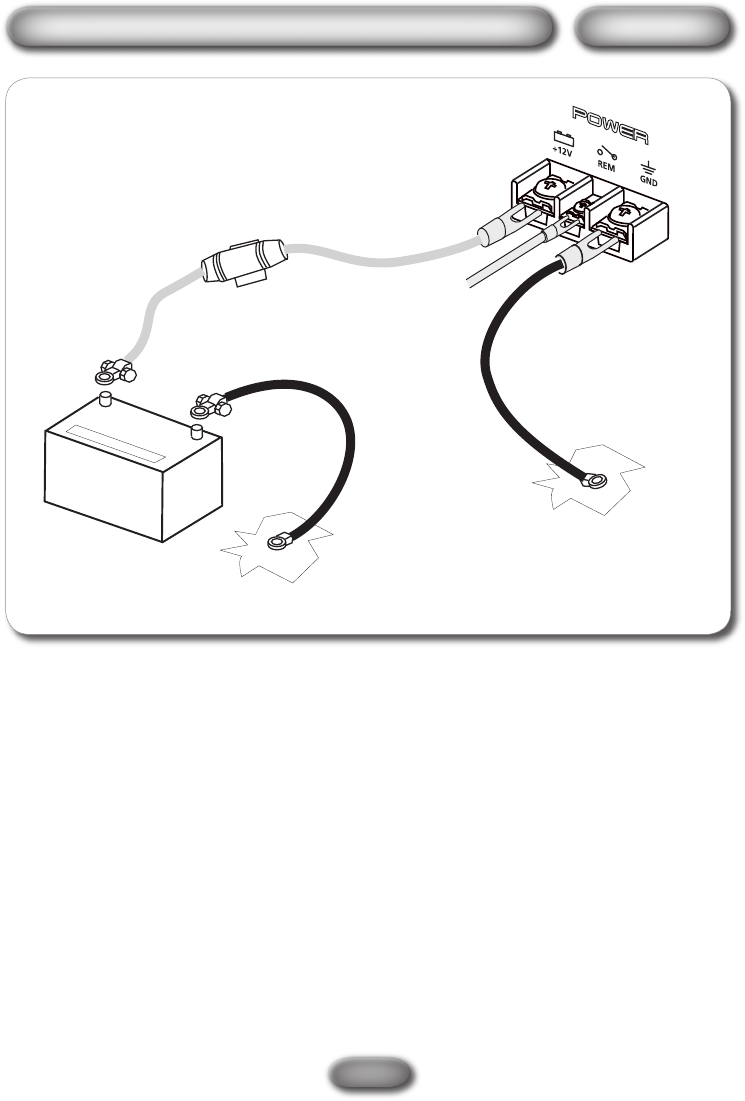
(Eng) Connect the output Audio coming from the car radio, in to the Low level input of the amplifier.
(FR) Relier par un câble RCA de bonne qualité les sorties RCA de l’autoradio aux entrées “Input” RCA
de l’amplificateur.
(IT) Collegare l’uscita Audio proveniente dall’autoradio, all’ingresso Low level dell’amplificatore.
(D) Verbinden Sie den Audioausgang (RCA) des Autoradios mit dem RCA Eingang des Verstärkers.
(SP) Para conectar venir audio de la salida de la radio de coche, entrar el nivel bajo del amplificador.
(Eng) Connect the Loudspeakers output coming from the
car radio, in to the High level input of the amplifier.
(FR) Relier les sorties haut-parleur de votre autoradio aux
entrées haut niveau de l’amplificateur.
(IT) Collegare l’uscita Altoparlanti provenienti
dall’autoradio, all’ingresso Alto livello dell’amplificatore.
(D) Verbinden Sie den Audioausgang (HI-Level) des Auto-
radios mit dem HI-Level Eingang des Verstärkers.
(SP) Conecte venir hecho salir los altavoces de la radio
de coche, adentro con la entrada del alto nivel del am
-
plificador
(Eng) Adjust the gain control, according to the Audio level output.
(FR) Ajuster le niveau d’entrée “Gain” de l’amplificateur.
(IT) Regolare il controllo di guadagno, in funzione del segnale Audio in uscita.
(D) Passen Sie mit dem Gainregler die Eing.empfindlichkeit an.
(SP) Ajuste el control del aumento, según la salida llana audio.
(Eng) Low level OR High level - (FR) Avec des RCA ou avec des câbles haut-parleur -
(IT) Basso livello O Alto livello -
(D) Niedriges Niveau ODER hohes Niveau - (SP) Nivel bajo O alto nivel
Gain Control
High Level Input