803306
22
Zoom out
Zoom in
Previous page
1/77
Next page
22
De tijd en datum instellen
De klok wordt gesynchroniseerd met de RDS/DAB-klok zodra het RDS/DAB-signaal is ontvangen als de klok
niet van tevoren was ingesteld.
Volg de onderstaande stappen om de tijd en datum handmatig in te stellen.
1. Zet het apparaat aan door op de aan-/uittoets (3.) te drukken en druk vervolgens op de modustoets (7.)
om de FM- of DAB-modus te selecteren.
2. Druk op de toets Menu (2.) en druk op de toets Afstemmen + / - (4) om <System (Systeem)> te selecteren,
druk op de toets Enter (8.) om te bevestigen.
3. Het display toont <Time (Tijd)>, druk op de toets Enter (8.) om te openen.
4. Het display toont <Set time/Date (Tijd/datum instellen)>, druk op de toets Enter (8.) om te openen.
5. Stel de uren en minuten in door op de toets Afstemmen + / - (4) te drukken en druk op de toets Enter (8.)
om te bevestigen.
6. Het display verandert in “Set date 1-1-2020 (Datum instellen 1-1-2020)”. Stel vervolgens de
dag/maand/jaar in door op de toets Afstemmen + / - (4) te drukken en druk op de toets Enter (8.) om te
bevestigen.
7. Het display toont <Time saved (Tijd opgeslagen)>, wat betekent dat de tijd en datum met succes zijn
opgeslagen.
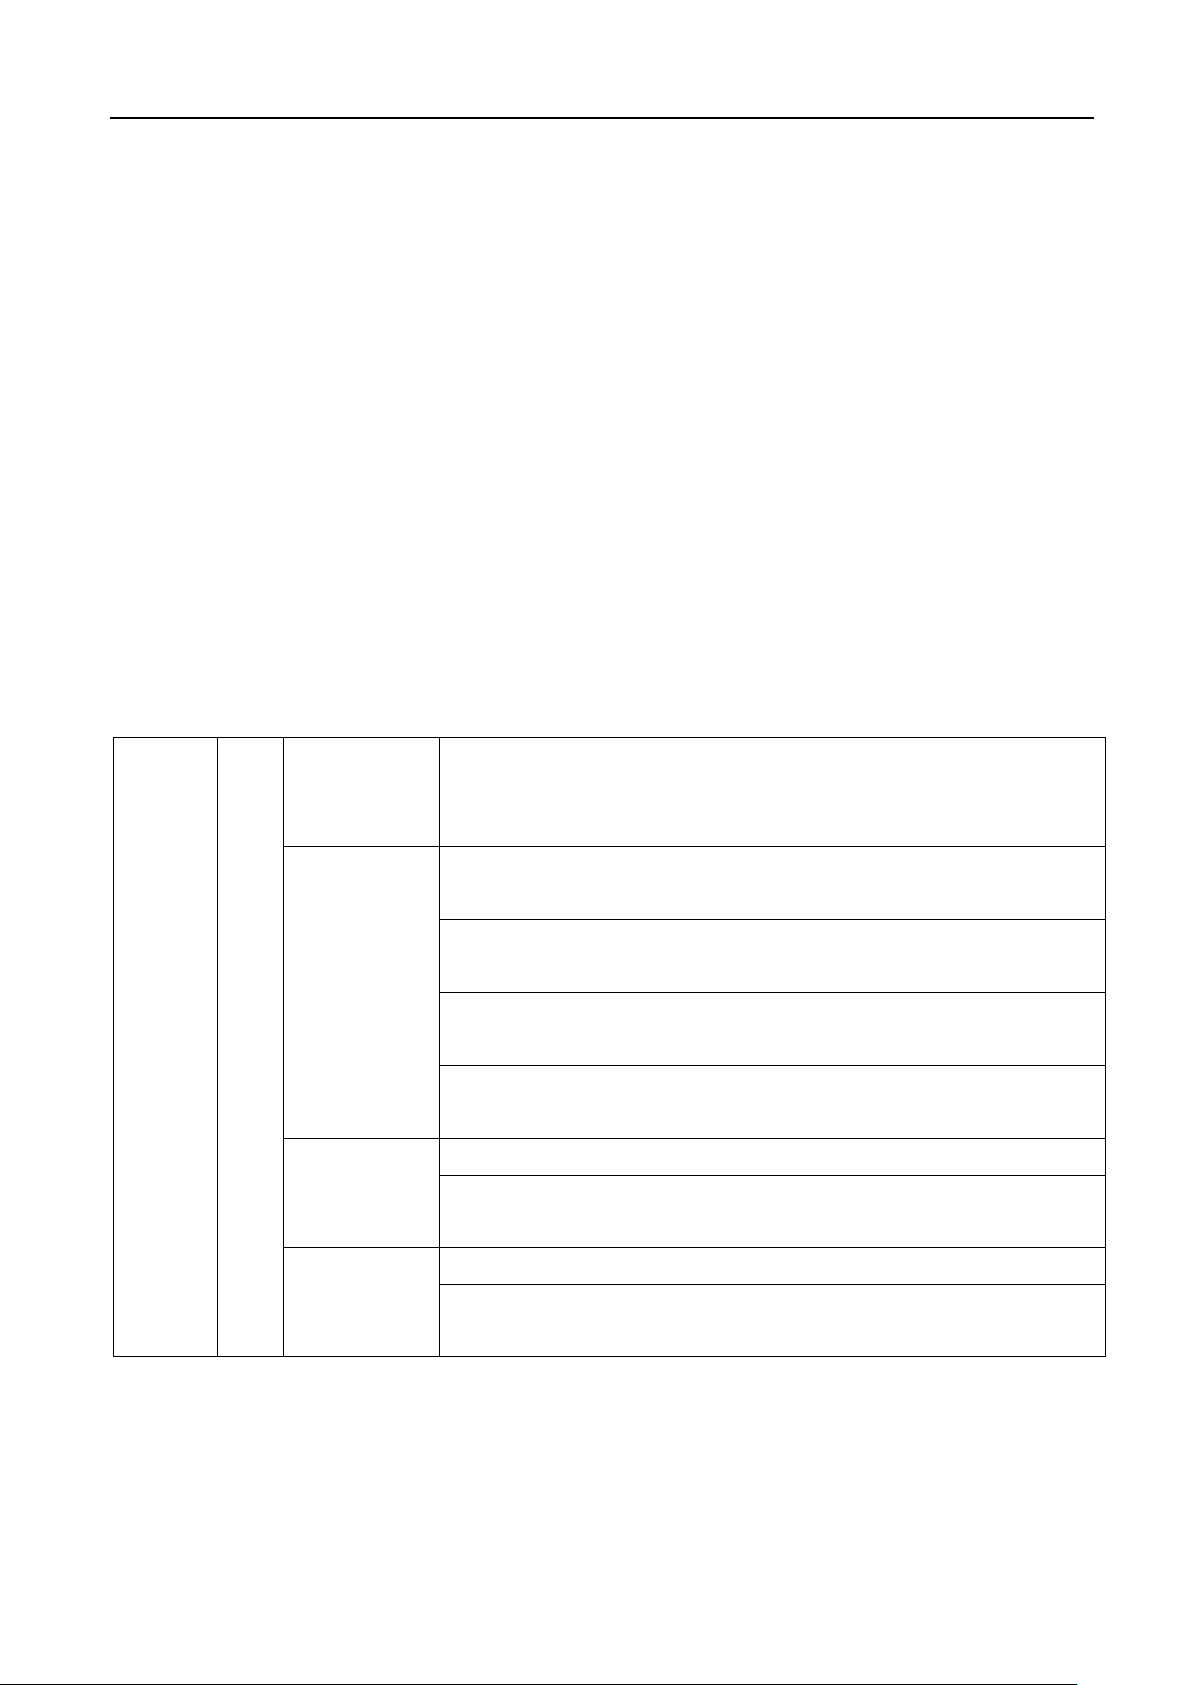
8. Onder de instelling <System (Systeem)> <Time (Tijd)> kunt u ook het formaat uur/datum instellen.
Volg de onderstaande indeling van het menu voor de bediening.
Druk op de toets Afstemmen + / - (4) om te selecteren en druk op de toets Enter (8.) om te
openen/bevestigen.
Druk nogmaals op de toets Menu (2.) om de instelling te beëindigen.
<System
(Systeem)>
<Time
(Tijd)>
<Set time/Date
(Tijd/datum
instellen)>
Volg de instructie "De tijd en datum instellen"
<Auto update
(Automatisch
bijwerken)>
Update from Any (Bijwerken vanaf elke) (het systeem werkt de tijd en
datum automatisch bij zodra het RDS/DAB-signaal is ontvangen)
Update from DAB (Bijwerken vanaf DAB) (het systeem werkt de tijd en
datum automatisch bij zodra het DAB-signaal is ontvangen)
Update from FM (Bijwerken vanaf FM) (het systeem werkt de tijd en
datum automatisch bij zodra het FM-signaal is ontvangen)
No update (Niet bijwerken) (Als u de tijd en datum liever handmatig
instelt, selecteert u deze instelling)
<Set 12/24 hour
(12/24 uur
instellen)>
24 uur instellen
12 uur instellen
<Set date format
(Datumformaat
instellen)>
DD-MM-JJJJ
MM-DD-JJJJ
De ingestelde tijd wordt volledig gereset als de netvoeding wordt losgekoppeld. Voor handig gebruik
wordt aanbevolen om het systeem in de stand-bymodus te zetten.
22


Need help? Post your question in this forum.

Forumrules


Report abuse

Libble takes abuse of its services very seriously. We're committed to dealing with such abuse according to the laws in your country of residence. When you submit a report, we'll investigate it and take the appropriate action. We'll get back to you only if we require additional details or have more information to share.

Product:

For example, Anti-Semitic content, racist content, or material that could result in a violent physical act.

For example, a credit card number, a personal identification number, or an unlisted home address. Note that email addresses and full names are not considered private information.

Forumrules

To achieve meaningful questions, we apply the following rules:

Register

Register getting emails for Lenco PDR-065 at:


You will receive an email to register for one or both of the options.


Get your user manual by e-mail

Enter your email address to receive the manual of Lenco PDR-065 in the language / languages: English, German, Dutch, French, Spanish as an attachment in your email.

The manual is 1.43 mb in size.


You will receive the manual in your email within minutes. If you have not received an email, then probably have entered the wrong email address or your mailbox is too full. In addition, it may be that your ISP may have a maximum size for emails to receive.

The manual is sent by email. Check your email

If you have not received an email with the manual within fifteen minutes, it may be that you have a entered a wrong email address or that your ISP has set a maximum size to receive email that is smaller than the size of the manual.

The email address you have provided is not correct.

Please check the email address and correct it.

Your question is posted on this page

Would you like to receive an email when new answers and questions are posted? Please enter your email address.


Info