77
INSTALACIÓN DE LAS PILAS PARA EL RESPALDO DEL RELOJ
El reloj se mantendrá durante un fallo de corriente instalando 2 pilas AAA / LR03 (no incluidas). Una vez que se restaure la
alimentación, compruebe el reloj para asegurarse de que está bien y vuélvalo a configurar si es necesario.
INSTALACIÓN DE LAS PILAS
1. Abra el compartimento de las pilas situado en la parte inferior de la unidad presionando el cierre y retirando la cubierta.
2. Inserte 2 pilas AAA/LR03 (no incluidas), preferentemente pilas alcalinas, en el compartimento de las pilas siguiendo la polaridad,
tal y como se muestra en el diagrama situado en el interior del compartimento.
3. Vuelva a colocar la cubierta del compartimento de las pilas.
CONEXIÓN A LA CORRIENTE ELÉCTRICA
Conecte el cable de alimentación CA en la toma de corriente CA.
OPERACIONES BÁSICAS
Pulse el botón STANDBY para encender la unidad. Para apagarlo, vuelva mantener pulsado el botón STANDBY .
De forma alternativa, pulse el botón STANDBY en el mando a distancia para encender o apagar la unidad.
DAB+ / FM / BT
Cuando la unidad esté encendida, pulse el botón SOURCE para cambiar entre el modo DAB+, FM y Bluetooth.
Control de volumen
Pulse los botones VOLUME +/- para cambiar el volumen.
Ajuste de la antena
El cable de la antena situado en el panel posterior esté completamente extendido para asegurar una buena recepción DAB+/FM.
Cambie la posición de la antena para conseguir la mejor recepción.
FUNCIONAMIENTO DE DAB+
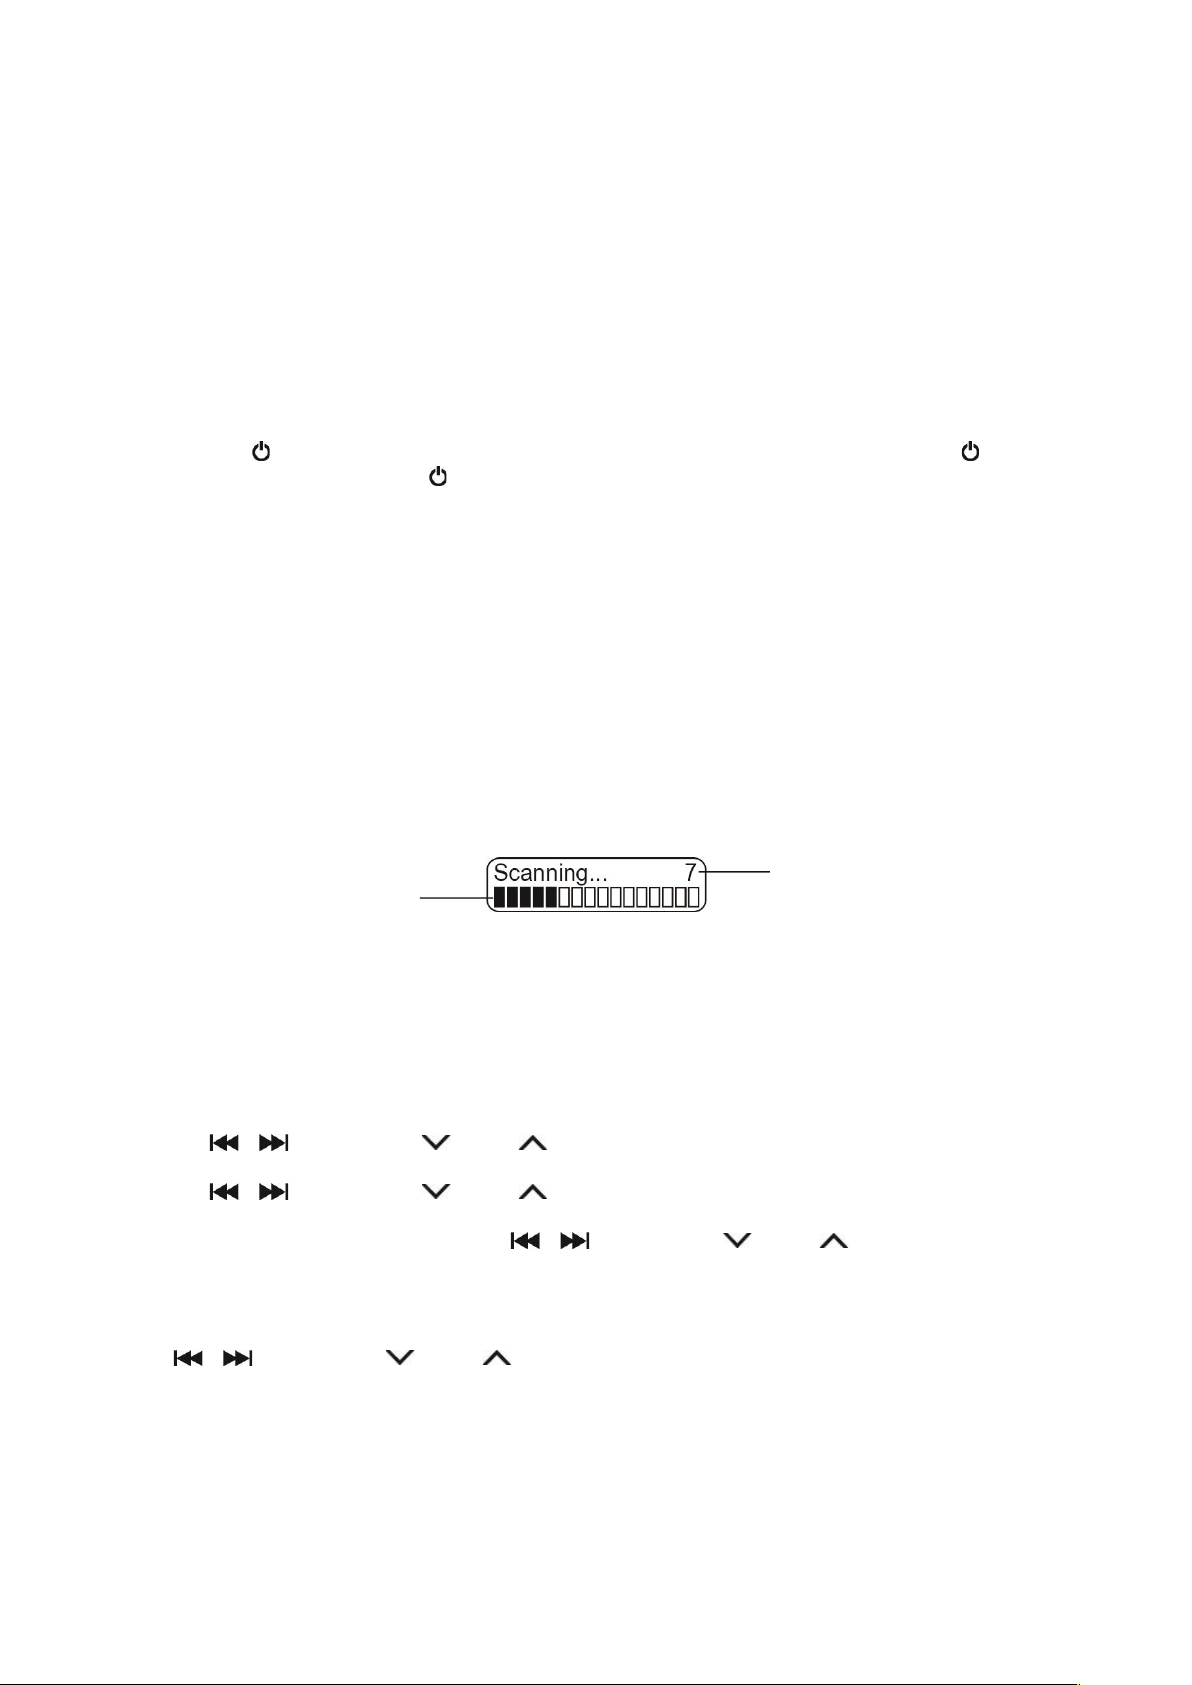
La primera vez que se seleccione el modo DAB+, buscará automáticamente las emisoras DAB+ disponibles. Espere hasta que la
búsqueda haya terminado. La pantalla mostrará el progreso de la búsqueda. Tras la búsqueda, sintonizará la primera emisora.
Búsqueda automática
1. Encienda la unidad en modo DAB+.
2. Pulse el botón SCAN para iniciar la búsqueda automática de las emisoras disponibles.
Búsqueda manual
1. Encienda la unidad en modo DAB+.
2. Mantenga pulsado el botón INFO / MENU en la unidad (o pulse el botón MENU en el mando a distancia) para acceder al control
de menú.
3. Pulse el botón o (el botón TUNE / TUNE en el mando a distancia) hasta que se muestre “Manual tune
(Sintonización manual)” y posteriormente pulse el botón ENTER.
4. Pulse el botón o (el botón TUNE / TUNE en el mando a distancia) para seleccionar el canal que desee (5A-13F).
5. Pulse el botón ENTER para confirmar.
6. Para seleccionar otro canal (5A-13F), pulse el botón o (el botón TUNE / TUNE en el mando a distancia) y
posteriormente pulse el botón ENTER para confirmarlo.
7. Para abandonar la búsqueda manual, pulse el botón MENU.
Sintonización
Pulse el botón o (el botón TUNE / TUNE en el mando a distancia) para mostrar la información de la siguiente
emisora. A continuación, pulse el botón ENTER para sintonizar esta emisora en unos pocos segundos.