468016
8
Zoom out
Zoom in
Previous page
1/17
Next page
8
3.6 Einstellung Mahlwerk
Sie haben die Möglichkeit, das Mahlwerk dem Röstgrad Ihres
Kaffees anzupassen. Wir empfehlen Ihnen für;
eine helle Röstung eine feinere Einstellung
eine dunkle Röstung eine gröbere Einstellung
Öffnen Sie die Abdeckung des Bohnenbehälters (11).
Zum Einstellen des Mahlgrades verstellen Sie den Drehknopf in
die gewünschte Position (Fig. 1).
Zum einstellen des gewünschten Mahlgrades haben Sie folgende
Möglichkeiten:
je kleiner die Punkte, desto feiner die Mahlung
je grösser die Punkte, desto gröber die Mahlung
Der Mahlgrad darf nur bei laufendem Mahlwerk verstellt
werden.
3.7 Einstellung Wasserhärte
In dem Gerät wird Wasser erhitzt. Das führt zu einer gebrauchsbe-
dingten Verkalkung, die automatisch angezeigt wird.
Das Gerät muss vor der ersten Inbetriebnahme auf die Härte des
verwendeten Wassers eingestellt werden. Verwenden Sie dazu die
beigelegten Teststäbchen.
1° deutscher Härte entspricht 1,79° französischer Härte.
Das Gerät verfügt über 5 Härtestufen, die eingestellt werden kön-
nen. Im Symbolfeld wird die eingestellte Stufe angezeigt.
Stufe 0 = Einstellung für Claris-Filterpatronen
Die Kontrolllampe blinkt.
Die automatische Verkalkungsanzeige ist ausgeschaltet.
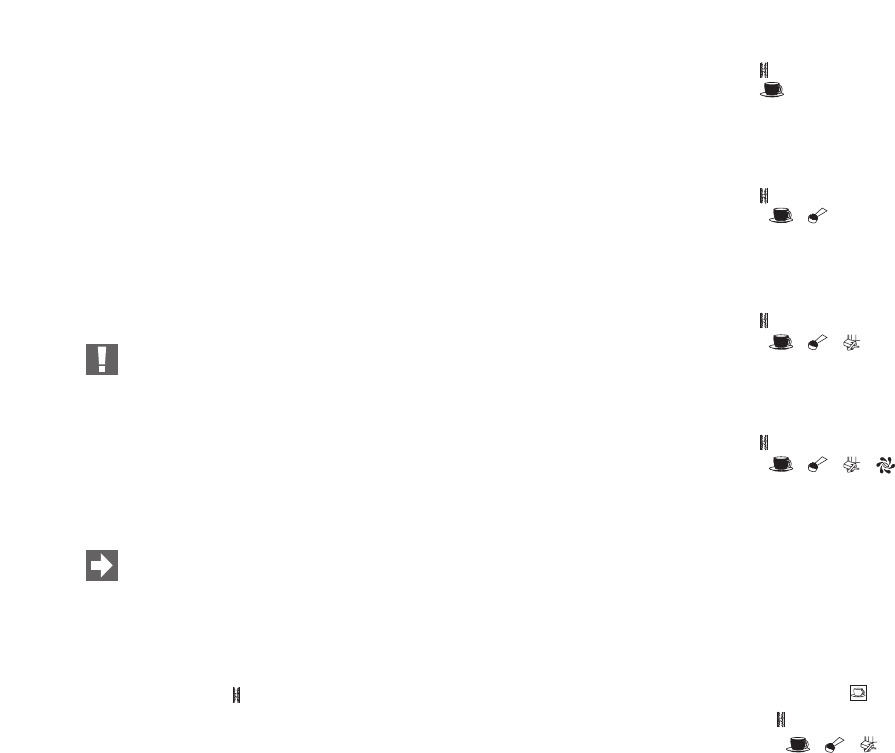
Stufe 1
Die Kontrolllampe blinkt.
Die Kontrolllampe leuchtet.
deutscher Wasserhärtegrad 1 – 7°
franz. Wasserhärtegrad 1,79 – 12,53°
Stufe 2
Die Kontrolllampe blinkt.
Die Kontrolllampen , leuchten.
deutscher Wasserhärtegrad 8 – 15°
franz. Wasserhärtegrad 14,32 – 26,85°
Stufe 3
Die Kontrolllampe blinkt.
Die Kontrolllampen ,
,
leuchten.
deutscher Wasserhärtegrad 16 – 23°
franz. Wasserhärtegrad 28,64 – 41,14°
Stufe 4
Die Kontrolllampe blinkt.
Die Kontrolllampen ,
,
, leuchten.
deutscher Wasserhärtegrad 24 – 30°
franz. Wasserhärtegrad 42,96 – 53,7°
Das Gerät ist vom Werk aus auf Stufe 3 eingestellt. Diese Einstel-
lung können Sie verändern. Gehen Sie dabei wie folgt vor:
Ziehen Sie den Netzstecker mit der Zuleitung aus der Kabelbox
an der Rückseite des Gerätes.
Stecken Sie den Netzstecker ein.
Schalten Sie das Gerät nicht ein.
Drücken Sie die Bezugstaste für ca. 3 Sekunden.
Die Kontrolllampe blinkt.
Die Kontrolllampen
, ,
leuchten.
8


Need help? Post your question in this forum.

Forumrules


Report abuse

Libble takes abuse of its services very seriously. We're committed to dealing with such abuse according to the laws in your country of residence. When you submit a report, we'll investigate it and take the appropriate action. We'll get back to you only if we require additional details or have more information to share.

Product:

For example, Anti-Semitic content, racist content, or material that could result in a violent physical act.

For example, a credit card number, a personal identification number, or an unlisted home address. Note that email addresses and full names are not considered private information.

Forumrules

To achieve meaningful questions, we apply the following rules:

Register

Register getting emails for Jura IMPRESSA Scala Vario at:


You will receive an email to register for one or both of the options.


Get your user manual by e-mail

Enter your email address to receive the manual of Jura IMPRESSA Scala Vario in the language / languages: German as an attachment in your email.

The manual is 0,47 mb in size.


You will receive the manual in your email within minutes. If you have not received an email, then probably have entered the wrong email address or your mailbox is too full. In addition, it may be that your ISP may have a maximum size for emails to receive.

Others manual(s) of Jura IMPRESSA Scala Vario

Jura IMPRESSA Scala Vario User Manual - English - 17 pages

Jura IMPRESSA Scala Vario User Manual - Dutch - 17 pages

Jura IMPRESSA Scala Vario User Manual - French - 17 pages


The manual is sent by email. Check your email

If you have not received an email with the manual within fifteen minutes, it may be that you have a entered a wrong email address or that your ISP has set a maximum size to receive email that is smaller than the size of the manual.

The email address you have provided is not correct.

Please check the email address and correct it.

Your question is posted on this page

Would you like to receive an email when new answers and questions are posted? Please enter your email address.


Info