9
3.5 Instellen koffiemolen
U kunt de instelling van uw koffiemolen afstemmen op het soort
gebruikte koffiebonen. Wij adviseren u voor;
licht gebrande koffie Ǟ een fijnere instelling
donker gebrande koffie Ǟ een grovere instelling
Ⅲ Open het deksel van het bonenreservoir (12).
Ⅲ Voor het instellen van de malingsgraad zet u de knop (afb.1) op
de gewenste stand.
Ⅲ U beschikt over de volgende mogelijkheden:
hoe kleiner het stipje, des te fijner wordt het maalsel
hoe groter het stipje, des te grover wordt het maalsel
De malingsgraad mag alleen tijdens het malen veranderd
worden.
3.6 Instellen waterhardheid
In het apparaat wordt water verwarmd. Dit leidt tot verkalking, die
automatisch in de display wordt aangegeven .
Voordat het apparaat voor de eerste keer wordt gebruikt, moet de
hardheid van het gebruikte water worden ingesteld. Hiervoor kunt
u gebruik maken van het meegeleverde teststaafje.
1° Duitse hardheid komt overeen met 1,79° Franse hardheid.
Het apparaat heeft 5 standen voor de waterhardheid die ingesteld
kunnen worden. Tijdens de instelling van de waterhardheid wordt
de keuze in de display getoond.
Stand 0 = Instelling voor Display-
melding Claris-filterpatronen
De automatische verkalkingsmelding
is uitgeschakeld.
Stand 1
Duitse waterhardheidsgraad 1 – 7°
Franse waterhardheidsgraad
1,79 – 12,53°
Stand 2
Duitse waterhardheidsgraad 8 – 15°
Franse waterhardheidsgraad
14,32 – 26,85°
Stand 3
Duitse waterhardheidsgraad 16 – 23°
Franse waterhardheidsgraad
28,64 – 41,14°
Stand 4
Duitse waterhardheidsgraad 24 – 30°
Franse waterhardheidsgraad
42,96 – 53,7°
Het apparaat is door de fabriek afgesteld op stand 3. Deze instel-
ling kunt u veranderen. Ga daarbij als volgt te werk:
Ⅲ Verwijder de stekker van het elektrisch snoer uit de kabelingang
aan de achterkant van het apparaat.
Ⅲ Steek de stekker er weer in.
Ⅲ Schakel het apparaat niet aan.
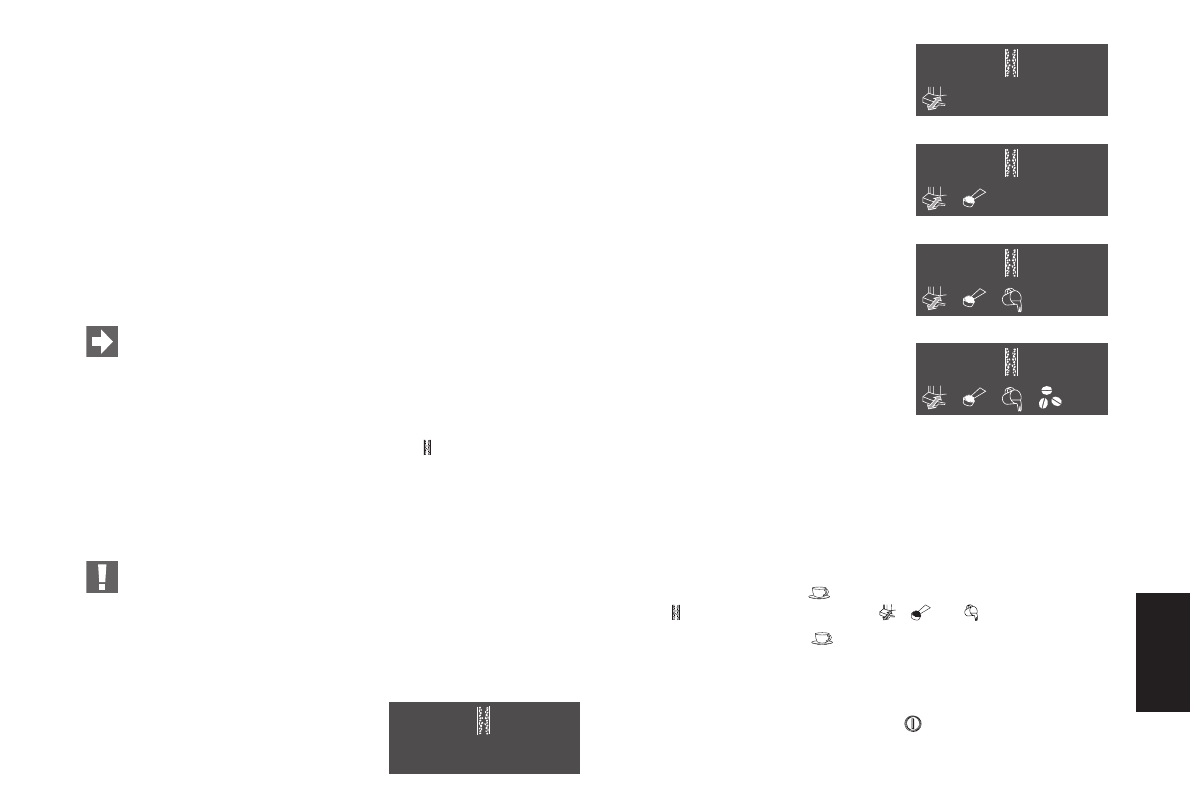
Ⅲ Druk op de keuzeknop gedurende ca. 3 seconden. Het sym-
bool knippert en de symbolen , en verschijnen.
Ⅲ Door op de keuzeknop te drukken, kunt u de verschillende
standen kiezen.
Ⅲ Voor het instellen van de gewenste hardheidsgraad, kiest u de
dienovereenkomstige stand en om deze stand in het geheugen op
te slaan drukt u op de (AAN/UIT) schakelaar. De display-
melding verdwijnt.
NL