RADIO
Press the • FUNCTION button (36) until TUNER appears on the LCD display (3). The appliance is set to radio
operation.
Press the • BAND button (35) to switch between FM and AM bands.
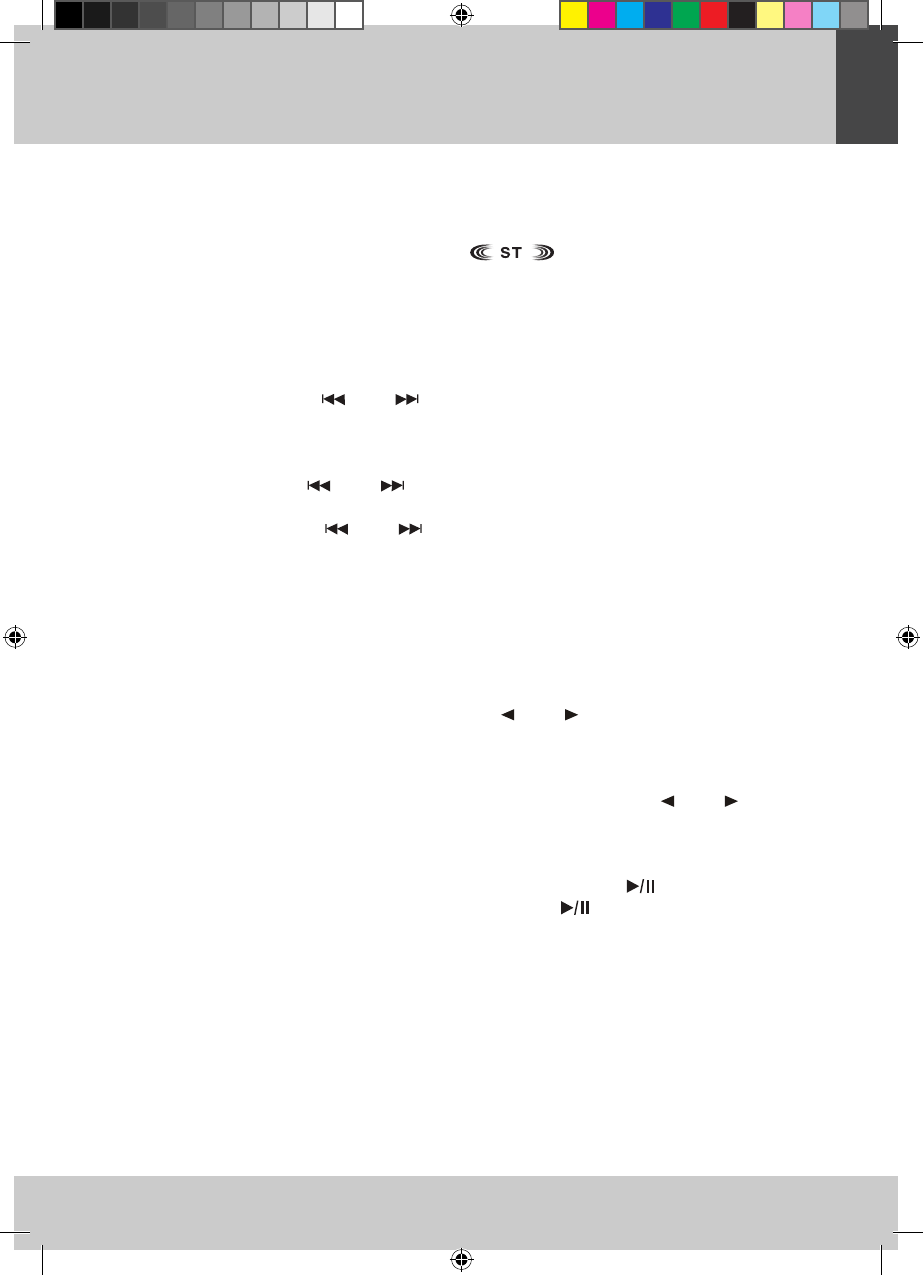
Switch between Mono and Stereo reception by pressing the • ID3/MO./ST. button (33). Only FM stations are
broadcasted in Stereo. The display shows a symbol to indicate an FM stereo signal.
If the FM Stereo reception is noisy or weak switch to Mono reception to increase the quality of the radio •
reception.
Tuning
Manual tuning •
Repeatedly press the buttons (39) or (40) until the display shows the exact frequency of the desired
station. Use the manual tuning method to tune to weak or distant stations that are not strong enough to be
recognized by the automatic tuning system.
Automatic tuning•
Press and hold the buttons (39) or (40) until the display begins to move. Then release the buttons.
The tuner will search for the next strong station signal. Repeat this procedure until the tuner stops at your
desired station. Press buttons (39) or (40) again to end the automatic tuning.
Saving stations
Save up to 40 stations into the memory. There are 30 memory stations for the FM band and 10 memory •
stations for the AM band available.
Choose a station by using either the manual tuning or automatic tuning method. •
Press the • MEM/C-ADJ. button (52). The storage place number flashes. Moreover the word MEMORY is
displayed.
Select the desired storage place number with the buttons • (41) or (42).
Press the • MEM/C-ADJ. button again to confirm the storage place number and the station. The station is
stored if the number stops flashing.
Store other stations in the same way.•
After you have stored several stations you can select them by pressing the buttons • (41) or (42)
repeatedly.
To erase one memory station, simply store another station into the memory on the same storage place •
number. The previously stored station will be deleted.
You can delete all stored stations. In standby mode press and hold the button • (38). The LCD display and
the STANDBY indicator (7) will flash once. Then release the button .
Note:
The stored stations will not be deleted if you switch off the appliance with the power switch (25) or if you pull •
the power plug.
If no button is pressed within 10 seconds, the station saving function ends.•