20 Hz ~ 20 KHz
(L)15 mW + (R)15 mW (16 Ohm) max. Volume
90 dB(MP3)
87.5 MHz ~ 108 MHz
60 dB
Headphone/Earphone-Cord Antenna
MPEG 1/2/2.5 Layer 3, WMA, OGG, ASF
8 Kbps ~ 320 Kbps
ID3 VI, ID3 V2.2.0, ID3 V2.3.0, ID 3 V2.4.0
Approx. 53 hours (128 kbps, MP3, Vol 20,
LCD off, EQ Normal, Alkaline
AA 2400mAh)
256 MB 512 MB 1 GB
Approx. 18 hours Approx. 36 hours Approx. 72 hours
65,000 color 1.01 inch CSTN
40 languages
85.8 (W) x 40.8 (D) x 29.4 (H) mm
49 g (Battery included)
AA Type Alkaline battery 1EA
-5
~ 40
64
Customer Support
Specifications
63
Customer Support
Memory Capacity
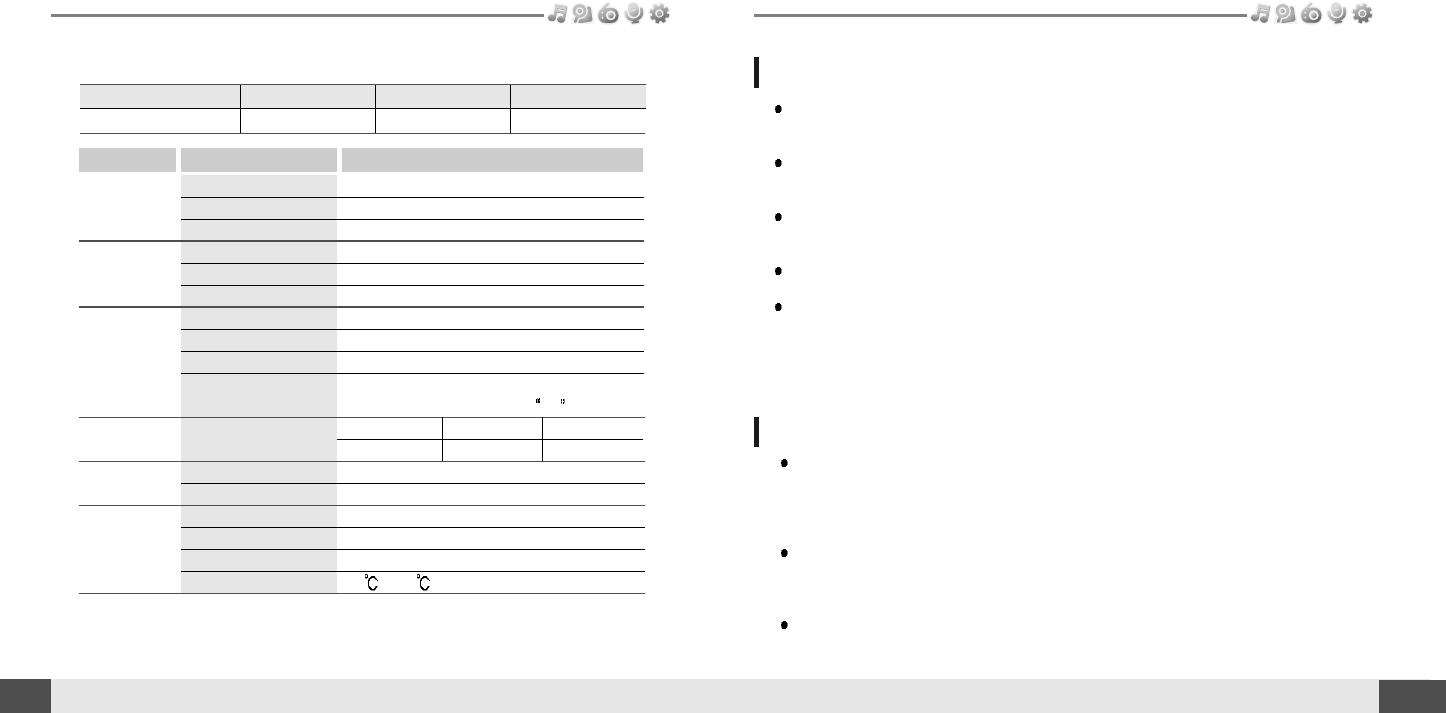
Model No.
256 MB*
T10 256MB
512 MB*
T10 512MB
1 GB*
T10 1GB
* 1 MB = 1,000,000 Bytes / 1 GB = 1,000 MB = 1,000,000,000 Bytes
Not all memory available for storage. Memory is not expandable.
** Only for models including FM Radio function
Audio
**FM Tuner
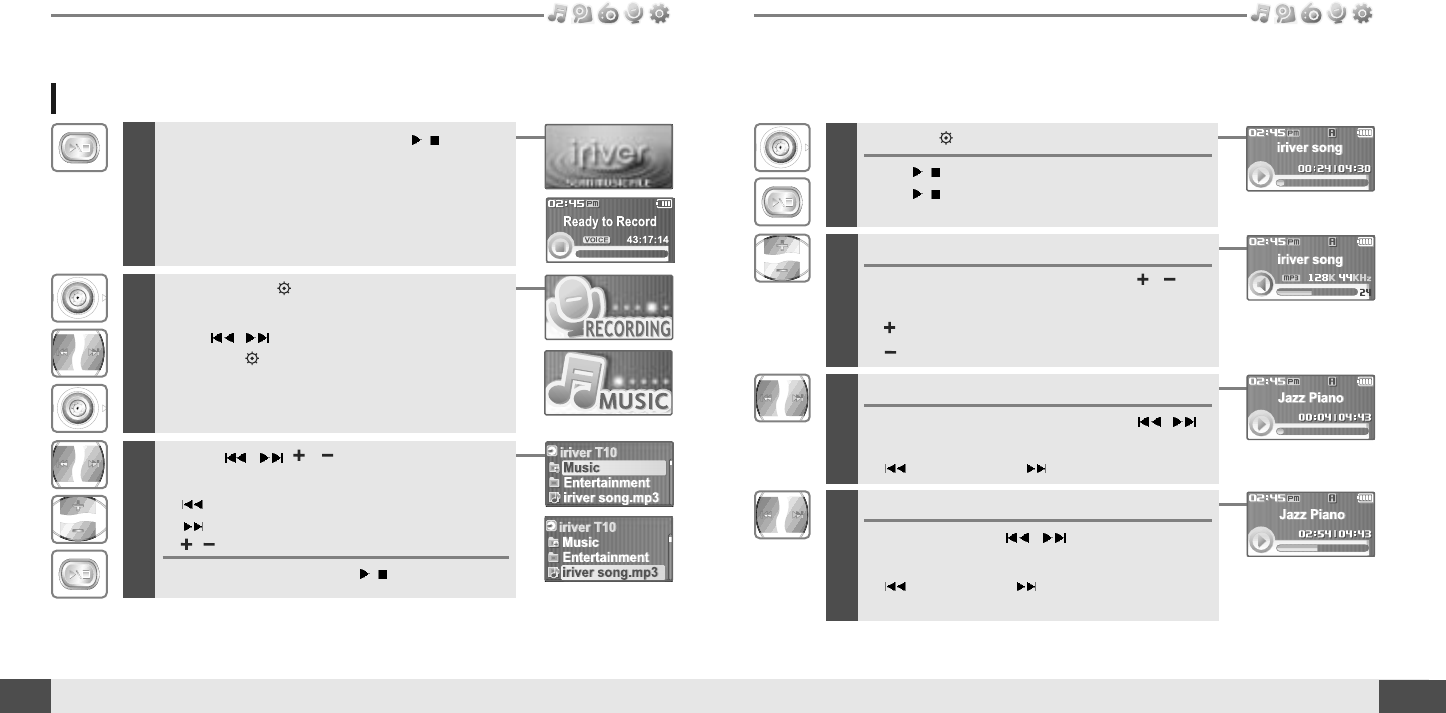
File Playback
Recording
Display
General
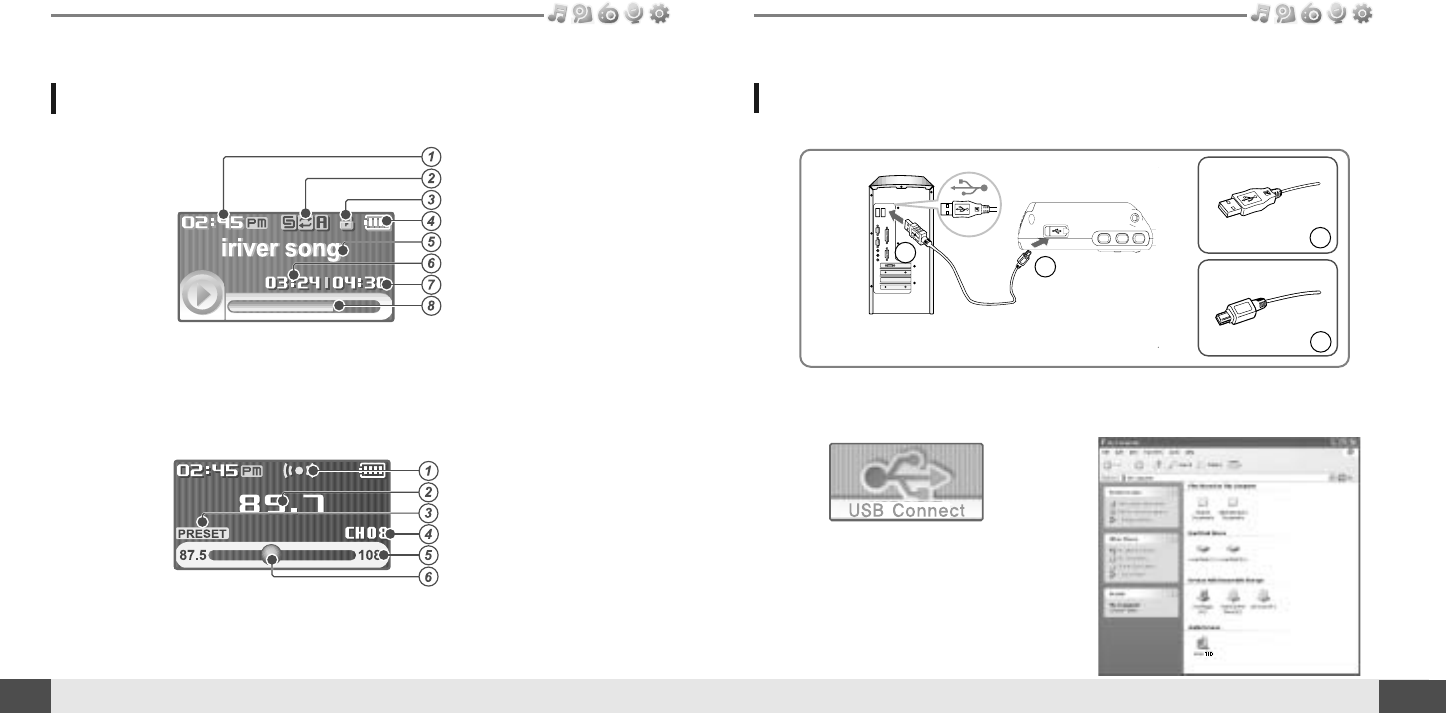
Frequency range
Headphone Output
S/N ratio
FM Frequency range
S/N ratio
Antenna
File Type
Bit Rate
Tag Info
Max. Playtime
Max. Recording time
(@32kbps)
LCD
Language
Dimension
Weight
Battery
Operational Temperature
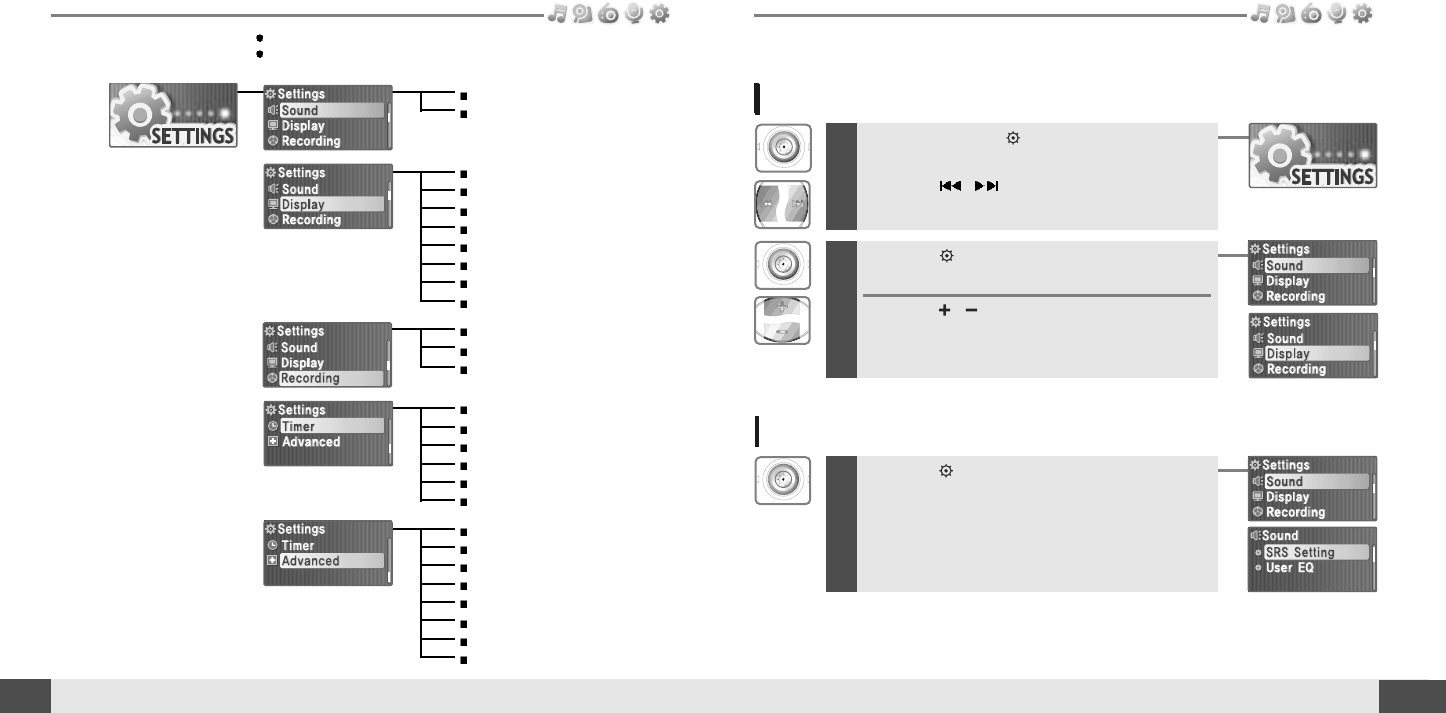
Specifications
ItemCategory
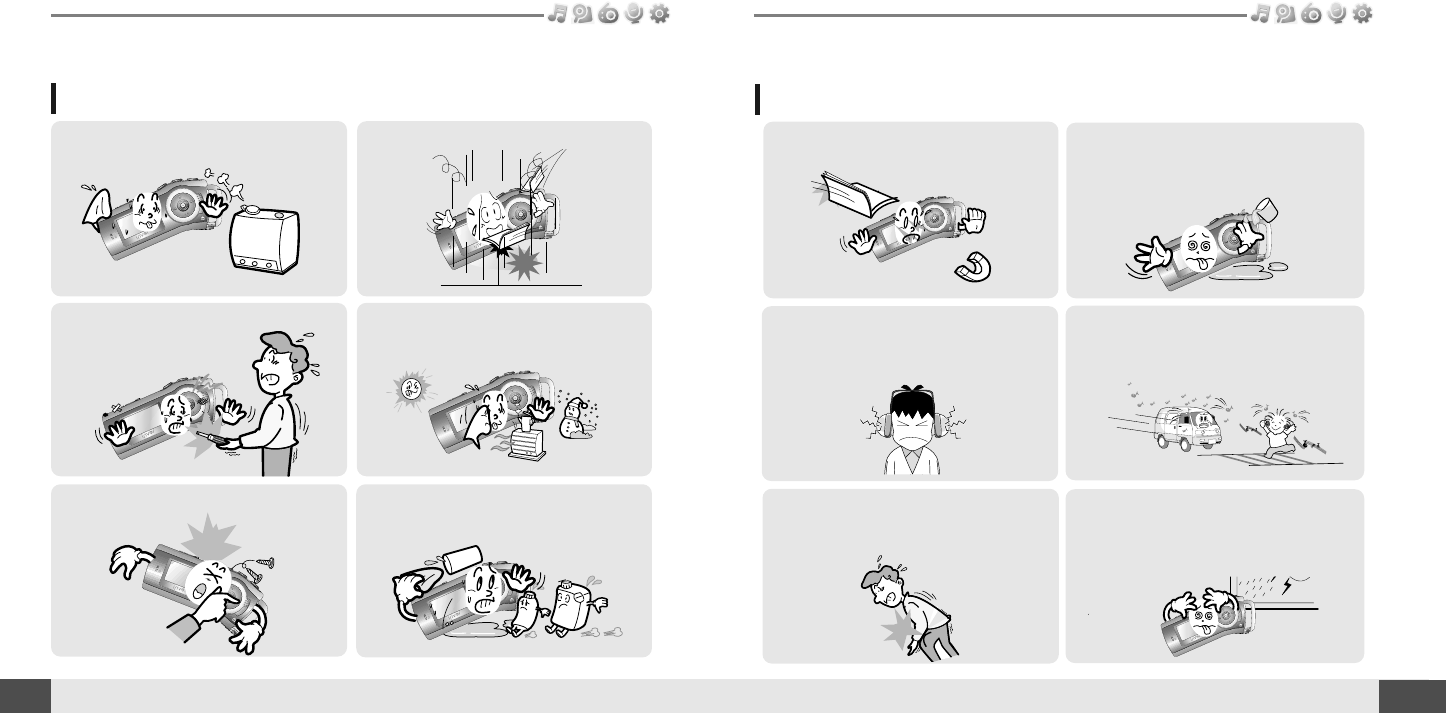
For Safety
On headphones and earphones
Avoid dropping or impacting the player.
The player is designed to operate while walking or running, but dropping or excessively
impacting the player may be cause damage.
Avoid contacting the player with water.
Damage to the internal parts of the player may occur if the player comes into contact with
water. If your player gets wet, dry the outside with a soft cloth as soon as possible.
Do not leave the player in a location near heat sources, or in a place subject to direct
sunlight, excessive dust or sand, moisture, rain, mechanical shock, unleveled surface, or in a
car with its windows closed.
Remove the battery if player is unused for long periods of time.
Battery left in the player for a long time can corrode and damage the device.
All data stored on this device may be erased by a excessive impact, a thunder or an
electricity failure, etc. on the device.
The manufacturer does not warrant and will not be held responsible in any way for damages or
loss of data, including loss of data stored on this device, resulting from a excessive impact, a
thunder or an electricity failure, You will be responsible for safe-guarding all data stored on this
device.
Road Safety
Do not use headphones/earphones while driving, cycling, or operating any motorized vehicle.
It may create a traffic hazard and is illegal in some areas. It can also be potentially dangerous
to play your headset at high volume while walking, especially at pedestrian crossings. You
should exercise extreme caution or discontinue use in potentially hazardous situations.
Preventing hearing damage
Avoid using headphones/earphones at high volume. Hearing experts advise against
continuously loud and extended play. If you experience a ringing in your ears, reduce volume
or discontinue use.
Consideration for others
Keep the volume at a moderate level. This will allow you to hear outside sound and to be
considerate of the people around you.
Safety Information