Using Focus Lock
Use Focus Lock to focus on a subject that is not in the center of the picture, to capture
action shots more quickly by pre-focusing in the area where the action will occur, or to
focus in low light or low contrast situations.
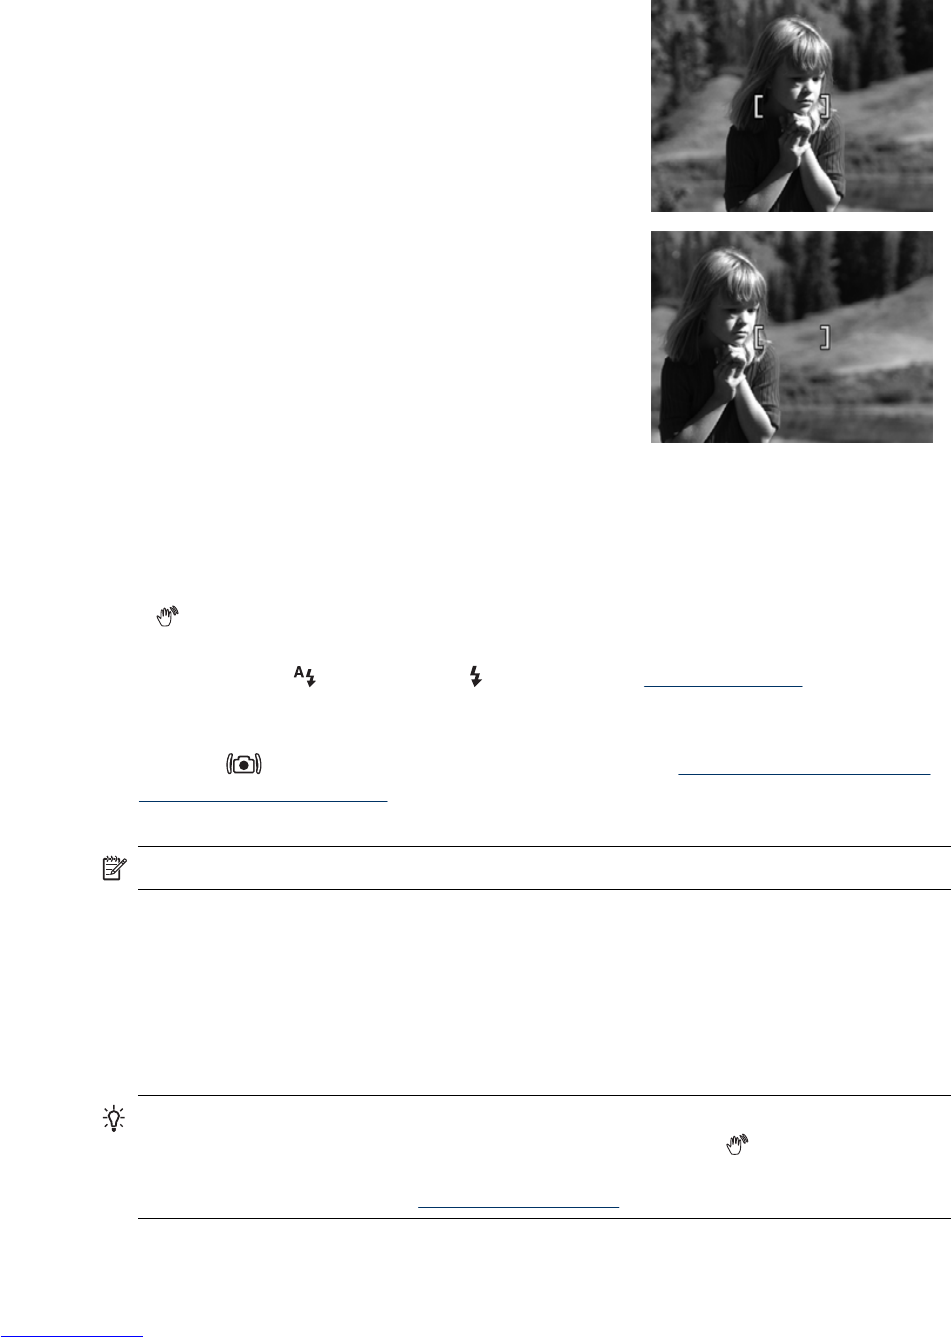
1. Frame the subject for your picture within the focus
brackets. In low light or low contrast situations,
frame a brighter or higher contrast object.
2. Press the Shutter button halfway down.
3. Hold the Shutter button halfway down and re-
frame.
4. Press the Shutter button all the way down to take
the picture.
Optimizing exposure
When you are taking a picture and press the Shutter button halfway down, the camera
also measures the light level to set the proper exposure.
If the camera determines the scene will require a very long exposure, a shaking hand
icon (
) appears. The camera will take the picture, but it may be blurry because it is
difficult to hold the camera still for the length of time required. Try one of the following:
• Set the flash to
Auto Flash or Flash On (see “Setting the flash” on page 14).
• Set the camera on a tripod or stable surface.
• If the subject is out of the flash range or you do not have a tripod, set the shooting
mode to
Steady Photo (see Steady Photo under “Using the Picture Capture
and Video Record menus” on page 15).
• Turn on more light.
NOTE: When you are recording a video, the camera continuously updates exposure.
Using zoom
Your camera has both optical and digital zoom. Optical zoom physically extends the lens
to make the subject of your picture appear closer. After you have extended the lens fully
using optical zoom, the camera employs digital zoom. Digital zoom uses no moving lens
parts.
TIP: The more you zoom in on the subject of your picture, the more small movements
of the camera are magnified (this is called camera shake). If
appears when you
press the Shutter button halfway down, the picture may be blurry. To reduce potential
blur, see the suggestions in “
Optimizing exposure” on page 12.
Chapter 2
12 Taking pictures and recording video clips