20
e. GLIDACRO FLP 1 and GLID FLP 2
In the GLID and GLIDACRO model modes the SW # 3 programming screen will show-up here. This option will allow you to
program the amount of movement both in a down position (flaps) or up position (spoilerons) the flaperon function will
accommodate when using the SW # 3 switch. Additionally in the GLID mode you can use the throttle stick to allow proportional
use of the flaperons. To access this screen you must be in either the GLIDACRO or GLID model modes, then
MODE FUNCTION SWITCH & POSITION
ACRO and GLIDACRO MODE Elevator SW # 1 full UP
Aileron SW # 4 full UP
GLID MODE Elevator and Ailerons SW # 4 full UP
Special Note for Flash 4 System X Owners: Because the programming routines are identical between the Flash 4 System X and Flash 5 System X,
the Dual Rate function will appear in the MAIN EDIT MODE menu of the Flash 4 System X radio. However, since there are no dual rate switches on
the Flash 4 System X, this programming function will act as Adjustable Traveling Volume for Aileron and Elevator channels. Simply program in the
percentage of total servo movement using the same procedure as above. One note of caution should be mentioned. It is possible to program 0%
servo travel while in this program. To maintain a suitable safety margin, it is advisable that you not program anything less than 30% total servo
travels.
d. Servo Reversing
Servo reversing is an important function of your System X radio. It allows you to place your servos into the aircraft without regard
to the normal direction of rotation. In other words, if you find that you have installed your elevator servo in such a manner that UP
elevator command results in DOWN elevator instead, you may easily correct this using the Servo Reversing function.
To access the Servo Reversing function from the Operational Mode, follow the procedure below:
1. Depress both the UP and DN/TIMER keys simultaneously.
2. The LCD display should change to the MAIN EDIT MODE menu.
3. Press the UP key to scroll to the Servo Reversing function screen.
4. Use the Channel 4 trim key to select the desired channel.
5. Use the CUT/SAVE key to REVERSE the selected channel.
6. To exit this menu at any time, depress both the UP and DN/TIMER keys simultaneously once again.
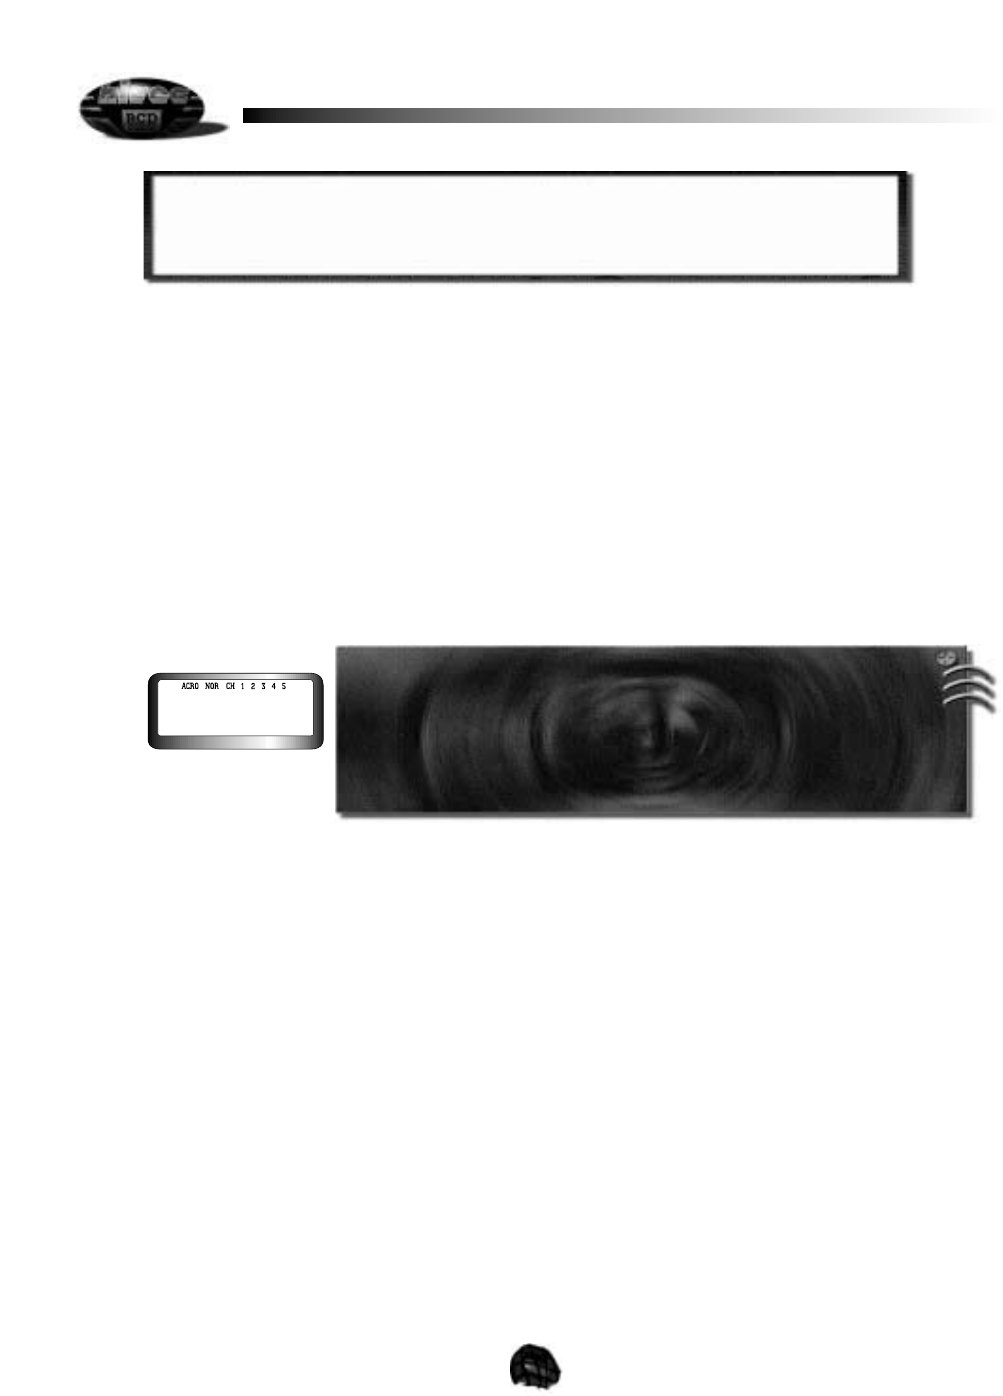
The LCD screen will show you the aircraft mode you are in, (ACRO, GLID, Etc), followed by the NOR message, and then by the
channels you may reverse through this function. All 5 channels may be reversed, as you need for each model, independently.
Channel 1 should be flashing on the screen at this time, indicating it is ready for reversing.
To select a channel to affect with servo reversing, use the channel 4 trim key to change channels. The selected channel will flash
continuously for you. To change the direction of the servo, use the CUT/SAVE key to make the change. The LCD screen will
change from NOR to REV, on the right side of the screen, indicating the change has been made. As you may perform this
function with the receiver and servos turned ON, it is possible to watch the change occur immediately on the aircraft. Once you
have programmed all servos to operate in the correct direction, simply depress both the UP and DN/TIMER keys simultaneously
to exit from this function and return to the Operational Mode.
(Note: Many experienced pilots will perform a flight control check prior to each flight they make with every aircraft. Such a flight
check ensures that all flight control surfaces move in the proper direction and the proper amount. This is a good habit to get into
and could help spot a problem on the ground before it becomes a bigger problem in the air!)
programming this feature. By toggling back and forth you can see the results of your programming on the servo movement.