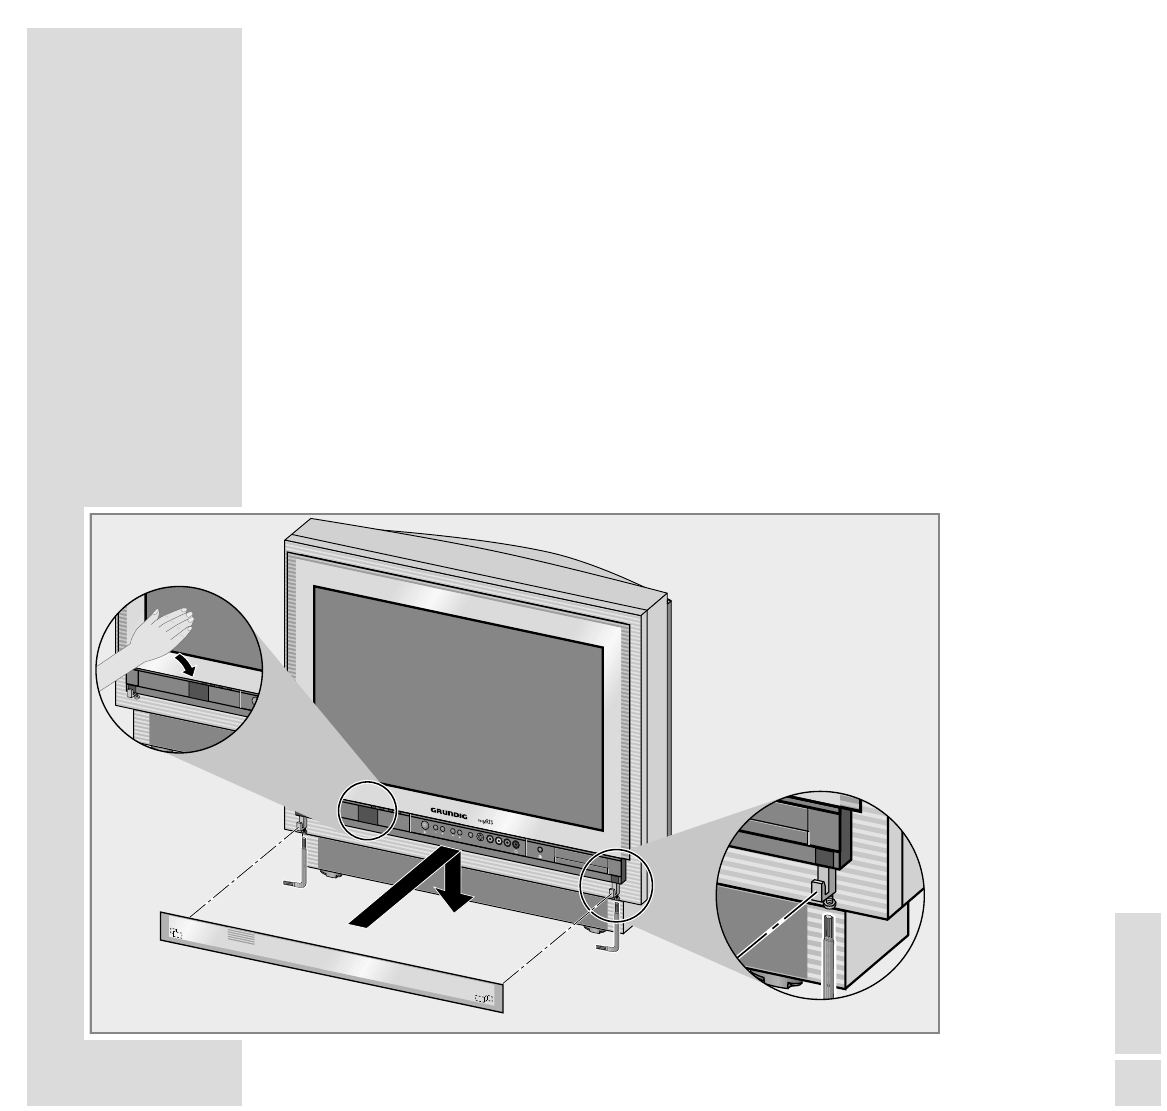
36
INFORMATION
__________________________________________________________________________
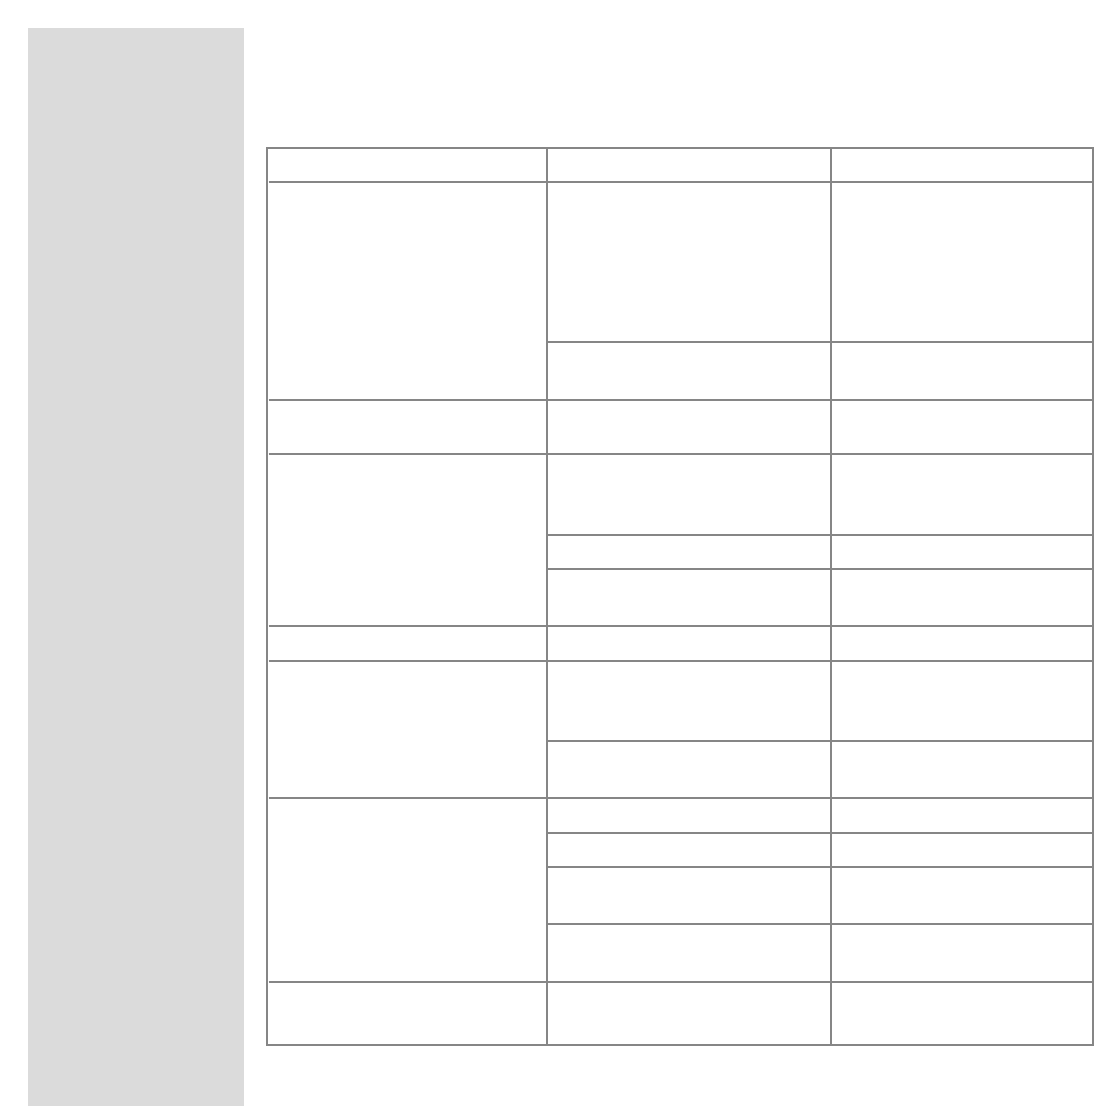
Problem Possible cause Remedy
colors wrong, color spots strong magnetic field from increase distance of speaker
speakers (or other) to TV set
with permanent color spots,
switch off the TV set with the
mains switch and switch back
on after after 10 minutes
problem with terrestrial change appliance position
magnetic field
picture is there, no sound volume at minimum or increase/switch on volume
speakers switched off
volume regulation activated select sound output
via audio cinch socket via speaker
(if this possibility is available)
problem is with the broadcaster test another channel
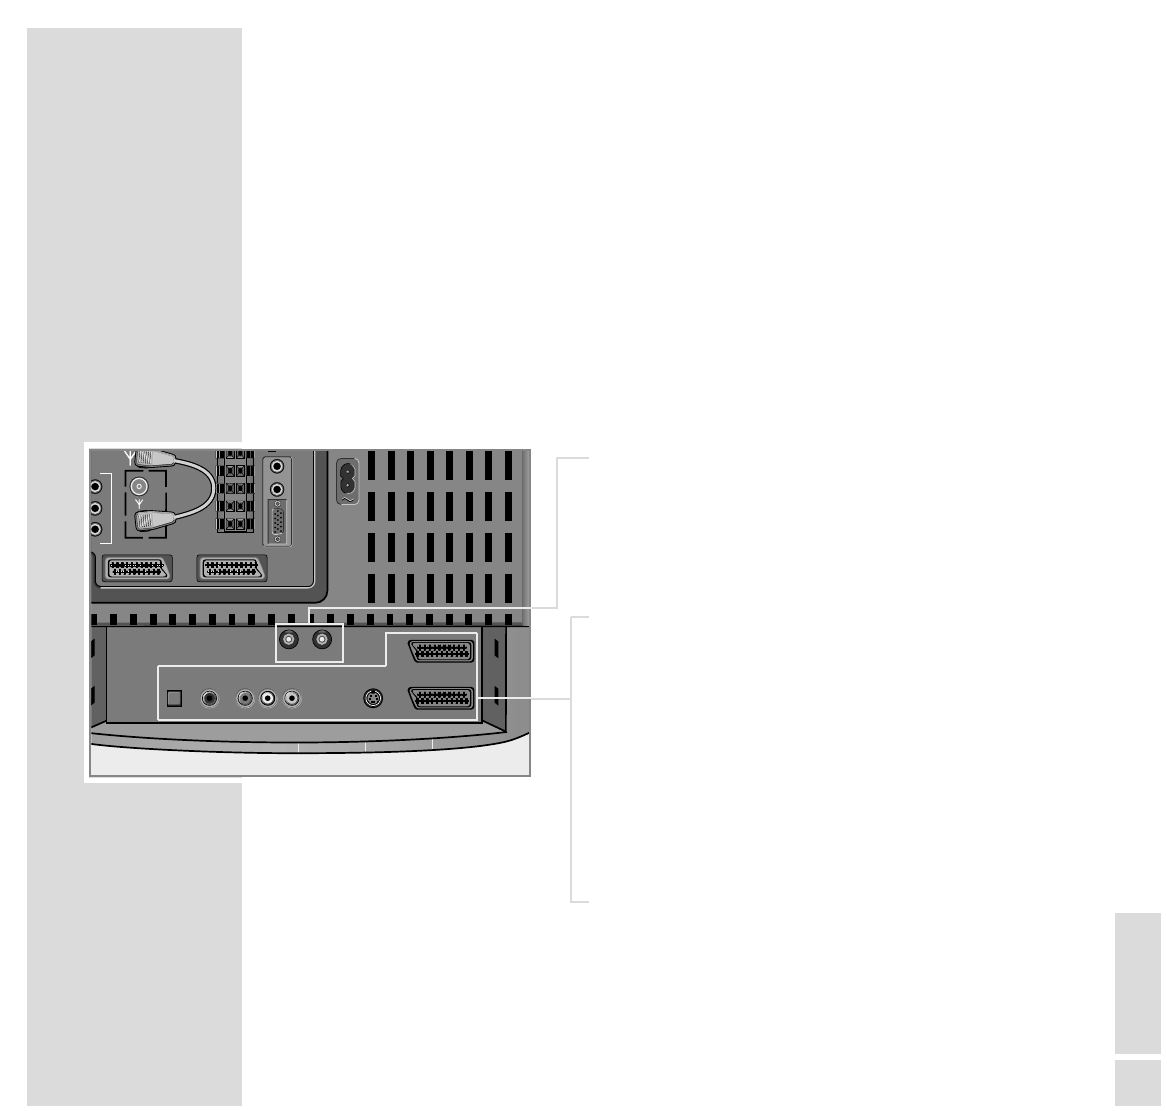
SAT mode check AV cable between
TV set and receiver
sound unclear sound setting correct sound setting
poor or no Teletext TV channel (has no Teletext) check with another channel,
or check aerial system possibly double image or
reflection or fine tuning
transmission signal too weak check aerial system
(picture grainy)
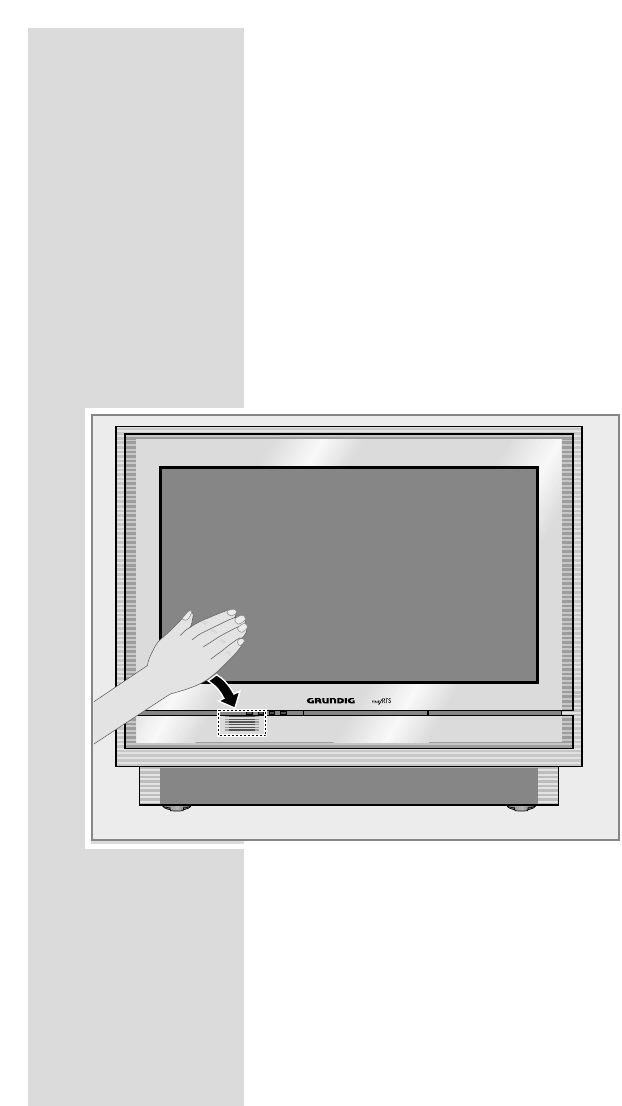
remote control does not work remote control not in » TV« position Switch remote control to »TV«
no optical connection point remote control at the TV set
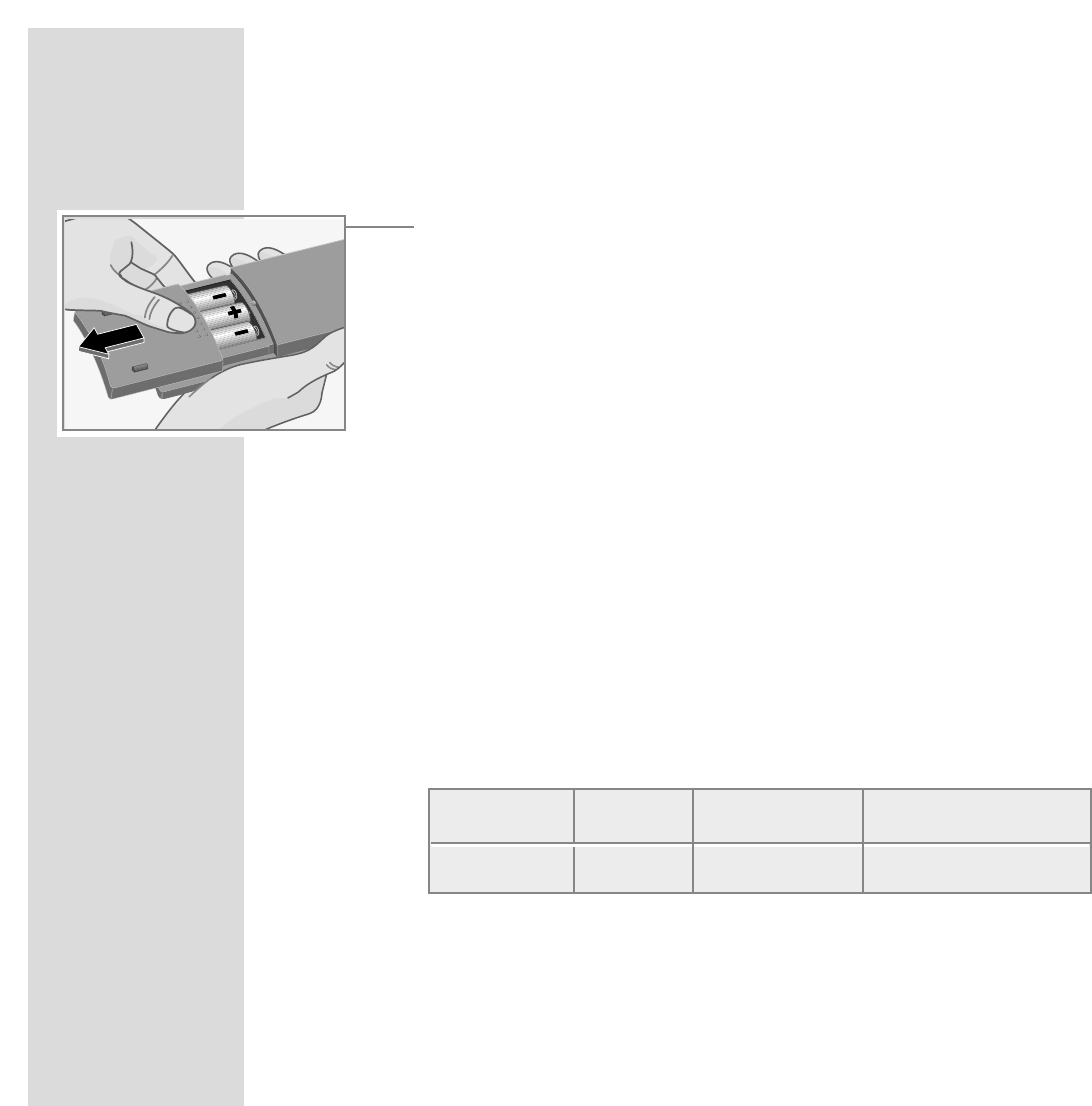
remote control batteries check or replace the batteries
pay attention to polarity
undefinable operating mode switch off TV set with the main
power button for about 2 minutes
After switching on, child lock is activated enter secret number or number
“child lock” appears on the menu combination 7038580.
Grundig AG •
Kurgartenstraße 37 • D-90762 Fürth • http://www.grundig.de