Dialing ................................................................................... 23
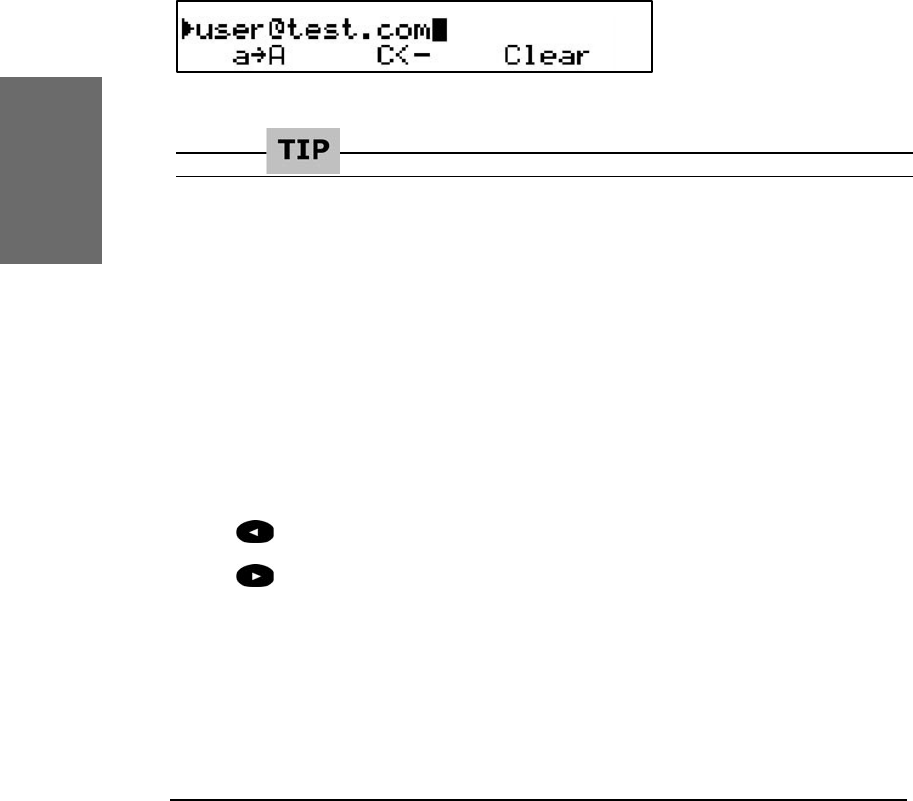
Input Modes
...............................................................................................................................................................................................
24
Dialing a phone number
.........................................................................................................................................................
25
Dialing an H.323/SIP address
..........................................................................................................................................
26
Dialing an IP address
....................................................................................................................................................................
27
Number guessing
................................................................................................................................................................................
28
Terminating a call ....................................................................28
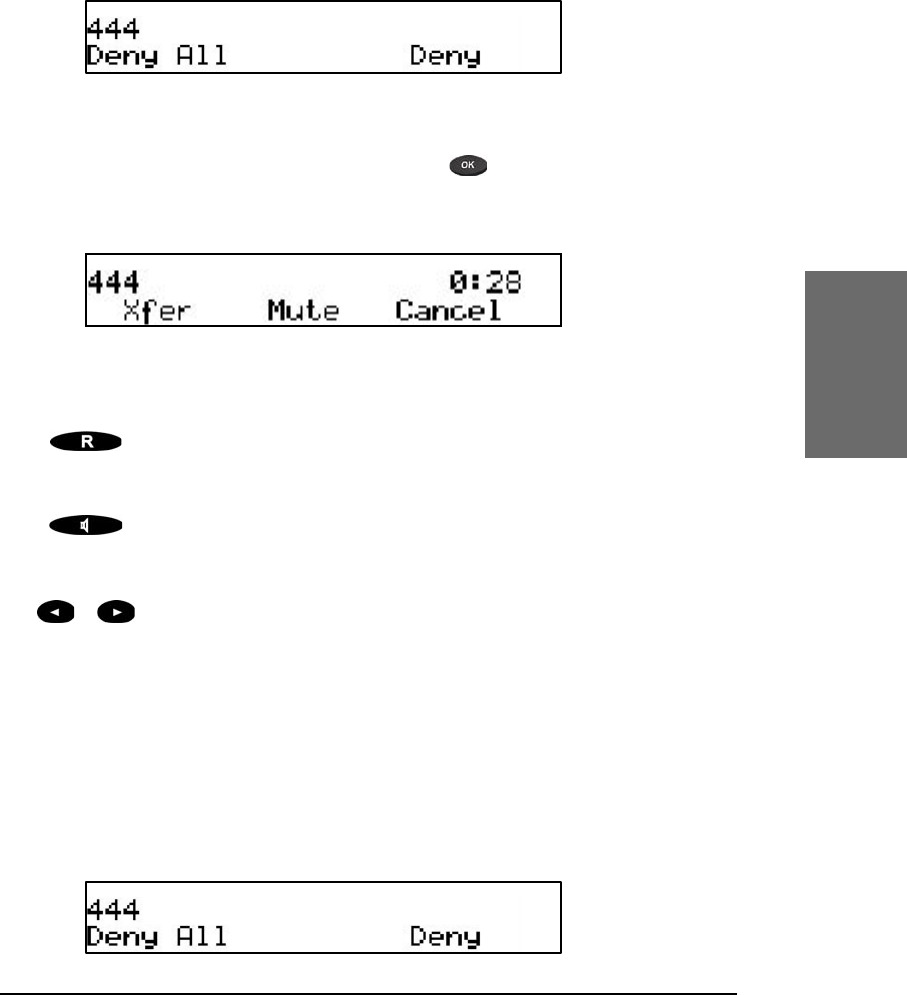
Incoming call ........................................................................... 28
Accepting a call
.....................................................................................................................................................................................
29
Denying/blocking a call.............................................................. 29
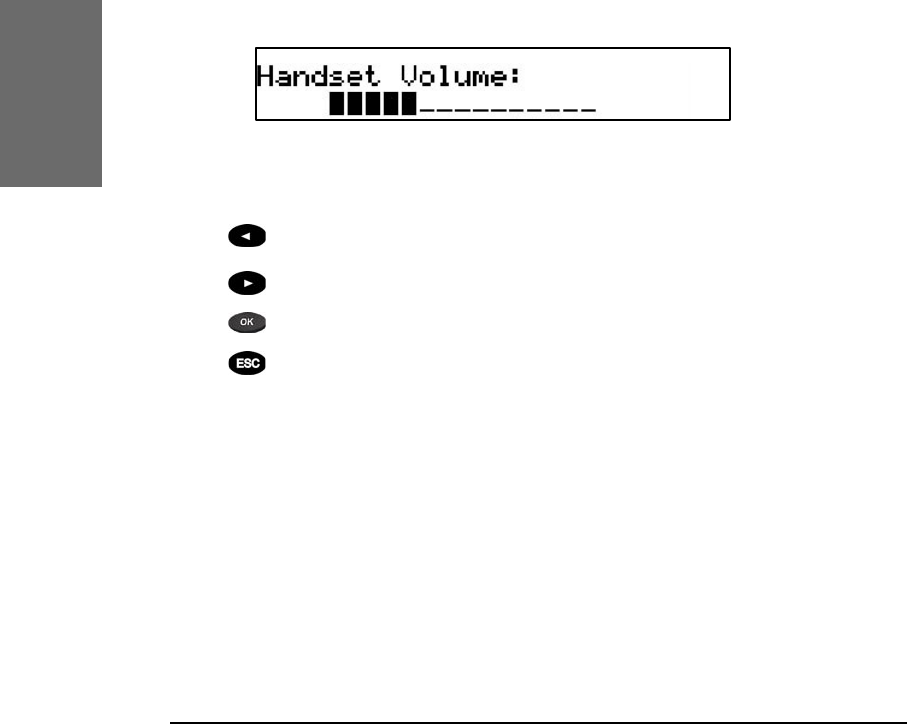
Adjusting the volume ................................................................ 30
Mute / Unmute ........................................................................ 30
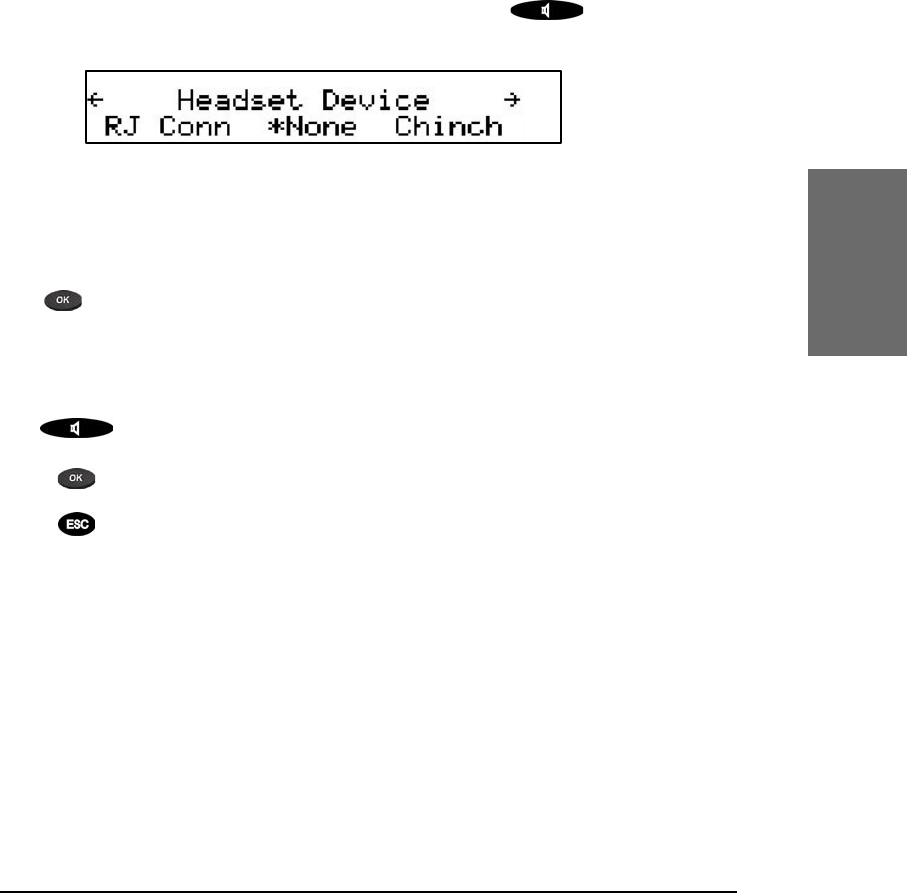
Handset / Handsfree / Headset .................................................. 31
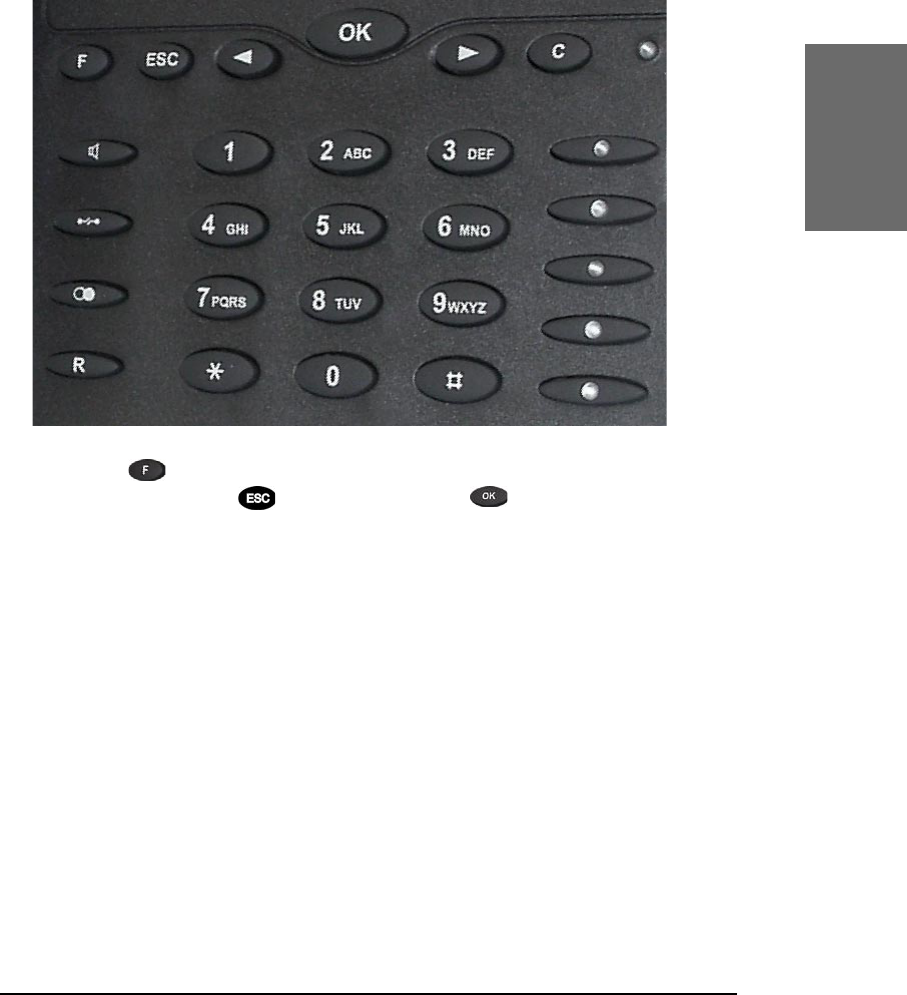
Programmable Keys .................................................................. 31
Line
.........................................................................................................................................................................................................................
32
Destination
...................................................................................................................................................................................................
33
Intercom
..........................................................................................................................................................................................................
33
Park orbit
........................................................................................................................................................................................................
33
Voice recorder
.........................................................................................................................................................................................
34
DTMF
....................................................................................................................................................................................................................
34
elmeg IP290 Menus...................................................................... 35
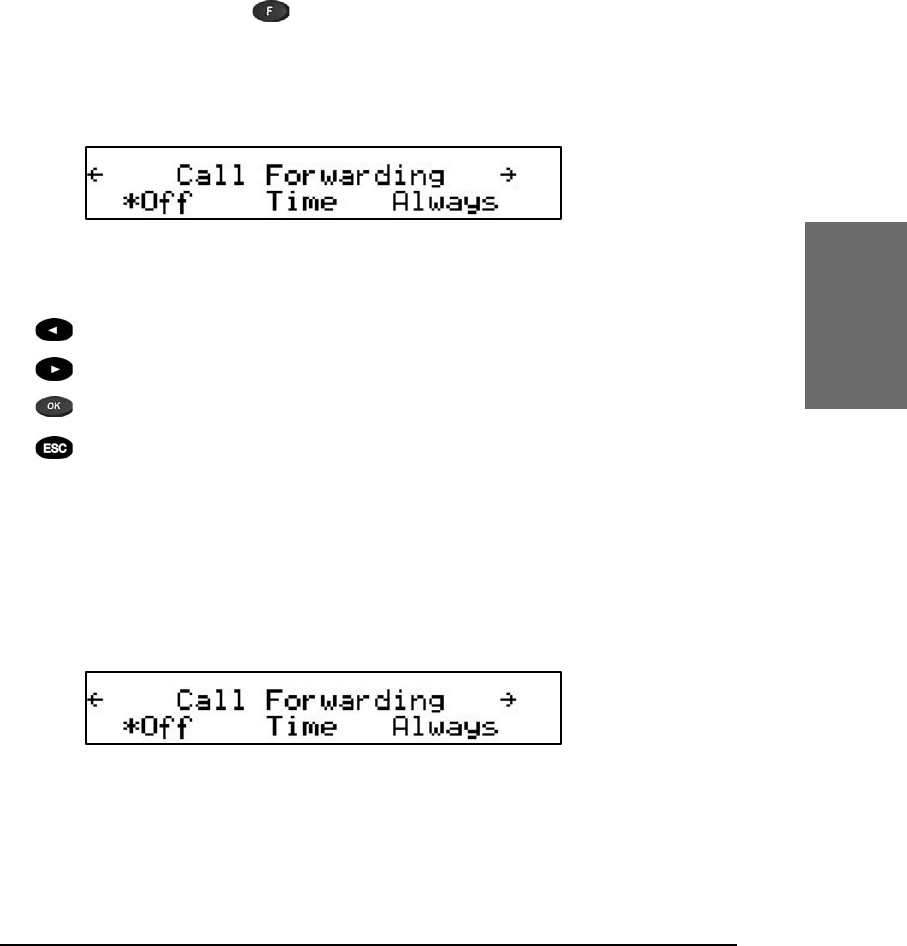
Call Forwarding
......................................................................................................................................................................................
35
Forwarding Options
.........................................................................................................................................................................
35
Conguration
............................................................................................................................................................................................
36
Volume Settings
...................................................................................................................................................................................
37
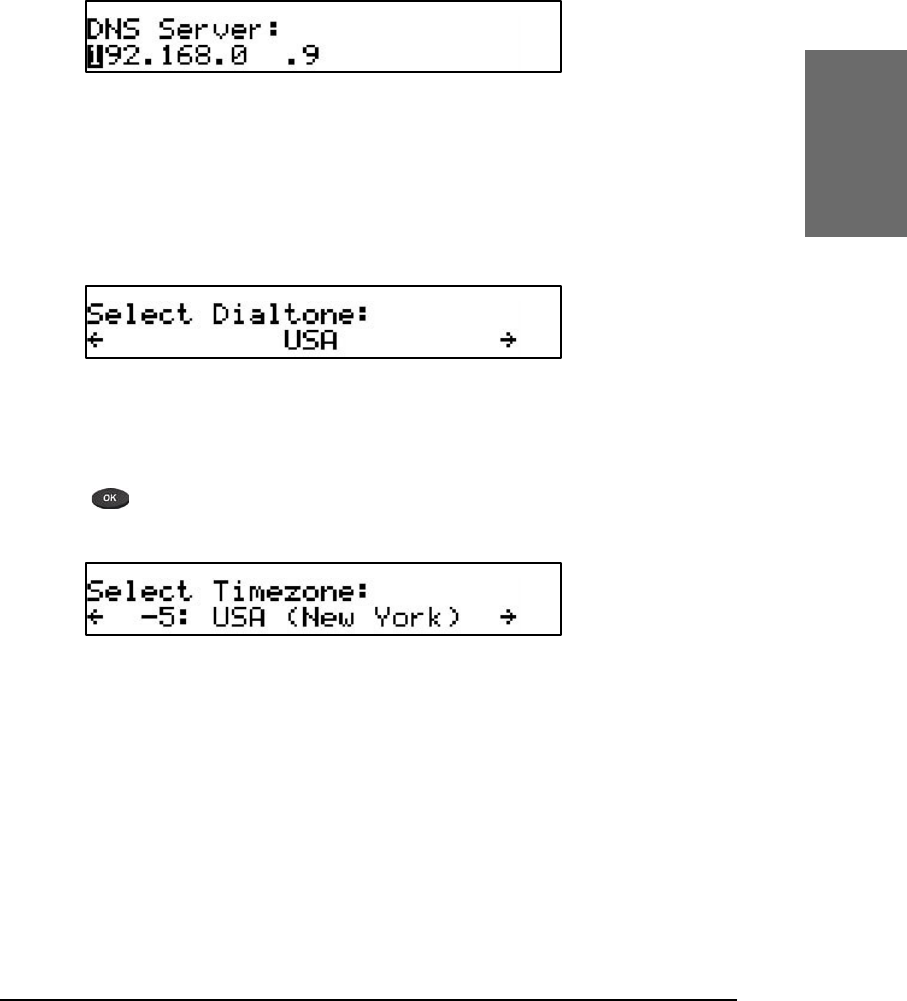
General Settings
..................................................................................................................................................................................
38
Web Interface
..........................................................................................................................................................................................
40
Other Settings
.........................................................................................................................................................................................
40
System Info
................................................................................................................................................................................................
41
VLAN Settings
..........................................................................................................................................................................................
41
SW Update
...................................................................................................................................................................................................
41
Keymapping
...............................................................................................................................................................................................
42
Information
.................................................................................................................................................................................................
43
Advanced Functions ................................................45
Hold and resume ..................................................................... 45
Transfer................................................................................... 46
Direct Transfer ......................................................................... 46
Consultation Transfer
...................................................................................................................................................................
47
Conference .............................................................................. 47
Call Diversion........................................................................... 48