68
■ SET–UP Menu Options
Settings Display Explanation
q
QUALITY
AUTO POWER
OFF
IMAGE
DISPLAY
SOUND
F
RESET ALL
DATE/TIME
:
SET
2MIN/5MIN/OFF
OFF/POSTVIEW/
PREVIEW
LOW/HIGH/OFF
:
OK
:
SET
Allows you to set the number of recorded pixels and quality (compression ratio)
settings for recorded images when pictures are taken. See P.69 for details.
Use this option to specify whether the camera’s power consumption is
reduced and the camera is subsequently switched off automatically when it
is not being used. See P.73 for details.
Use this option to specify whether the Preview screen (the photographed
image) is displayed after you take a shot. See P.70 for details.
Allows you to set the volume of the beep emitted when the camera
controls are used.
With the exception of the date/time, custom white balance and EVF/LCD
settings, this option resets all the camera settings to the factory default
values set at shipment. Press “c” to check the settings. If you are
happy with the settings shown, press the “MENU/OK” button again.
Use this option to correct the date or time. See P.16 for details.
Factory
default
1
NORMAL
2MIN
OFF
LOW
–
–
LANGUAGE
ENGLISH/FRANCAIS/
DEUTSCH
Select English, French or German as the language used for screen display.
ENGLISH
u
QUALITY
:
SET
Allows you to set the number of recorded pixels setting for recorded
images when movies are shot. See P.69 for details.
4
AF MODE AF/AF AREA Allows you to set the auto focus method. See P.71 for details.AF
SET ADAPTER
RING
YES/NO Select this setting when a conversion lens is used. See P.72 for details.NO
USB MODE DSC/PC CAM See P.75 for details.DSC
PRIMARY
MEDIA
(
SMART MEDIA
)
(
MICRODRIVE
)
Sets the media to be used when a SmartMedia and Microdrive are
loaded in the camera.
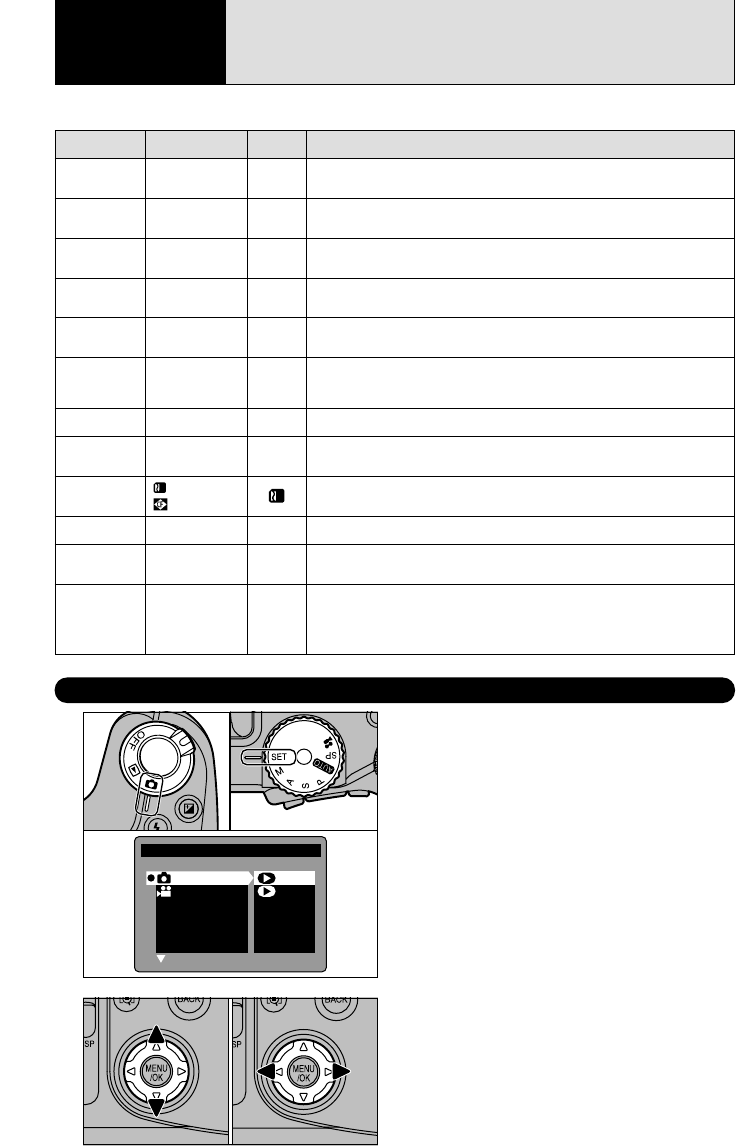
5 Settings
SET–UP
1Set Power switch to “q”.
2Set the Mode dial to “~” to display the
SET–UP menu.
●
!
Always switch the camera off when you replace the
batteries. If you open the battery cover or disconnect the
AC power adapter without switching the camera off, the
camera settings may revert to the factory default settings
set at shipment.
~ USING THE SET–UP SCREEN
1Press “a” or “b” to select a setting.
2Use “d” or “c” to change the settings.
●
!
Press “c” to select “QUALITY” “DATE/TIME” or “RESET
ALL”.
2
01 02