Reserved of technical modifications and/or errors - 1 - PVR ST190 CI HDMI Version en_1.0 FTE maximal
Index
0Control elements and connections.....................................................................3
0.1Receiver front panel......................................................................................................................................3
0.2Receiver Back Panel......................................................................................................................................4
Standard Functions............................................................................................16
2.1Switch on the receiver.................................................................................................................................16
2.9Stop the functions.......................................................................................................................................16
2.10Open Main menu..........................................................................................................................................17
2.11Watch the last viewed channel...................................................................................................................17
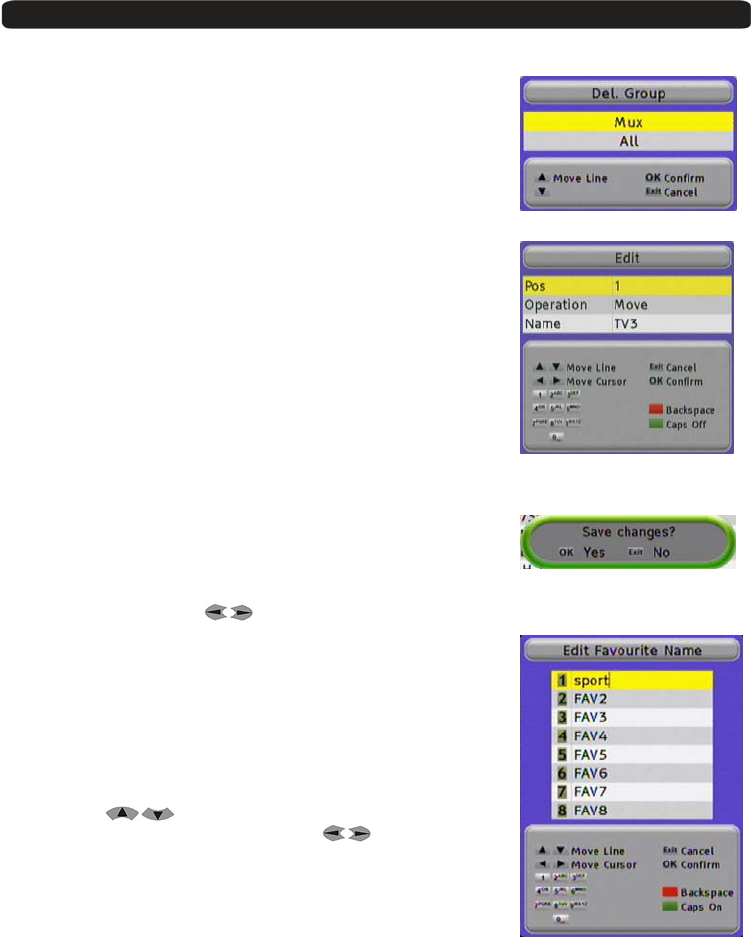
3.1.6List of favourite channels.......................................................................................................................21
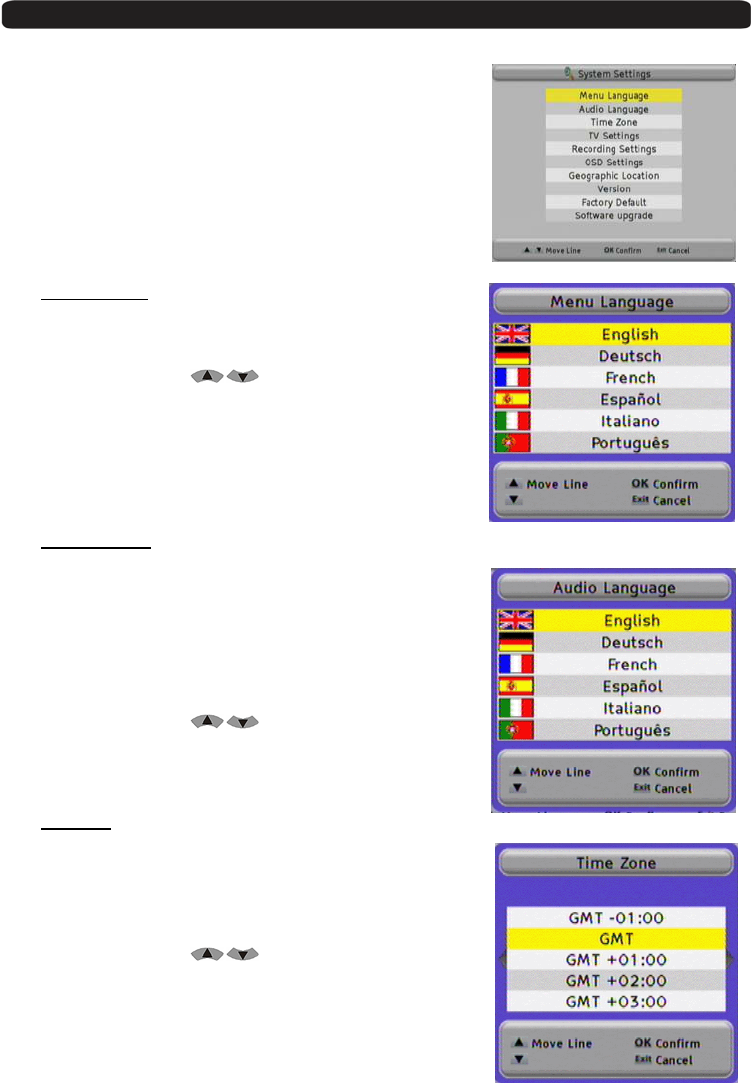
System Settings..................................................................................................29
8.1Menu Language ...........................................................................................................................................29
11.1Technical Data .............................................................................................................................................41
User’s Manual · PVR ST190 CI HDMI
Reserved of technical modifications and/or errors - 3 - PVR ST190 CI HDMI Version en_1.0 FTE maximal
0 Control elements and connections
0.1 Receiver front panel
1 2 3 4 5 6 7
1 POWER:Switches the receiver ON or in Standby mode. For total switching off, use the main
switch at the back side of the receiver.
2 STAND-BY-LED:Shows if the receiver is in Standby mode (when LPC mode is ON).
3 LOCK LED: Indicates a sufficient signal level at the input.
4 DISPLAY: 4 Digits to display the program numbers.
5 IR-SENSOR:Reception device for signals coming from the remote control.
6 CH+/-:These buttons allow changing the current channel.
7 FRONT COVER: Opening the front cover, you will access to the Conditiona Access system and to the
USB connector.
User’s Manual · PVR ST190 CI HDMI
Reserved of technical modifications and/or errors - 4 - PVR ST190 CI HDMI Version en_1.0 FTE maximal
0.2 Receiver Back Panel
1 2 3 4 5 6 7 8 9
10 11 12 13 14
1 IF OUT: Satellite output for cascading to other devices.
Note: The operation of another receiver at the same time is only possible with limited
channel selection.
2 IF IN: Satellite input.
3 TV OUT:Modulator output to TV.
4 ANT IN: Input of the modulator.
5 RS-232:Serial port to update the firmware of the receiver
6 OPTICAL/PDIF:Optical output for digital audio (AC3)
7 HDMI: Video & Audio Output to connect the TV.
8AC IN:Power cord 230VAC/50Hz.
9 POWER ON/OFF: Main switch to switch off totally the receiver
10 LOOP OUT: Terrestrial output for cascading to others devices.
11 ANTENNA IN: Terrestrial input of the digital tuner.
12 TV SCART:SCART output for connecting one TV set, mode RGB or CVBS selectable
13 VCR SCART:SCART connector for video recorder, DVD recorder or DVD player
14 COAXIAL/PDIF:Coaxial output for digital audio (AC3).
User’s Manual · PVR ST190 CI HDMI
Reserved of technical modifications and/or errors - 5 - PVR ST190 CI HDMI Version en_1.0 FTE maximal
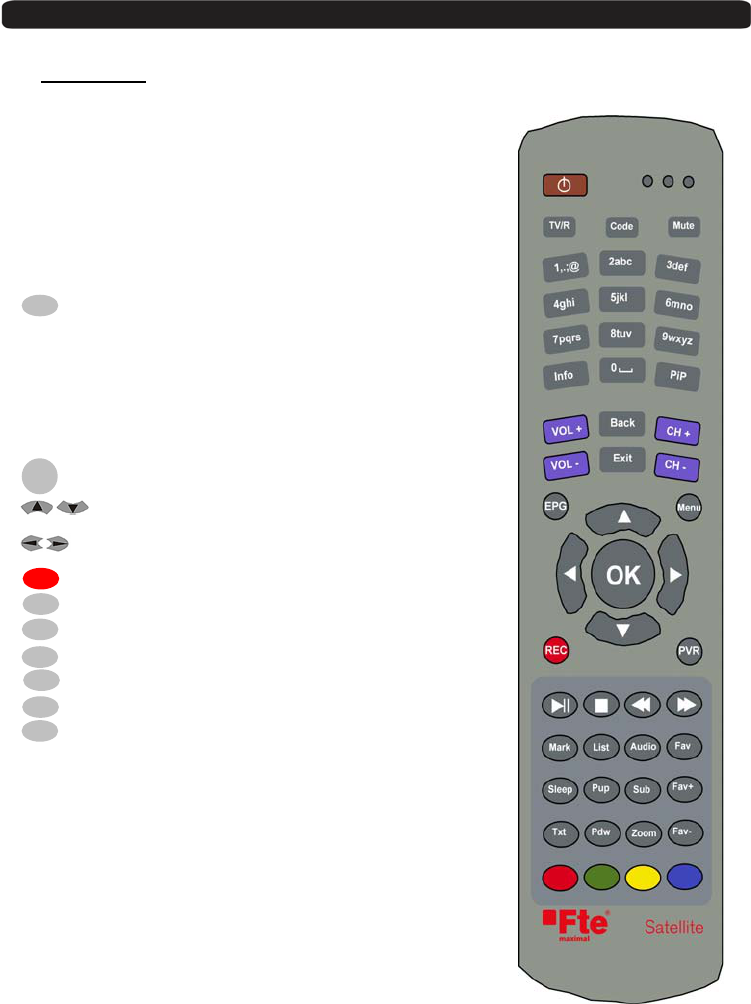
0.3 Remote Control
1. POWER:Switches receiver ON or in stand-by-mode.
2. 3-set LED:Shines as function control,
showing the selected transmission code 1, 2 or 3
3. TV/R:Switches between TV and Radio channels.
4. CODE: Changes transmission code of the remote control.
5. MUTE:Switches audio on and off.
6. NUMERIC KEYS:For direct typing values and names.
7. INFO:Shows channel information with signal bar.
8. :Starts Picture In Picture function.
9. VOL+ VOL-:Adjusts audio volume up and down.
10. CH+ CH-:Changes channel up and down.
11. Back: Watch the last viewed channel.
12. EXIT:Exit menus or stop operations.
13. EPG: Shows the EPG information.
14. MENU:Opens the main menu.
15. :Confirms selections or opens channel list.
16.
:Changes channels volume or controls the
cursor in menus.
17.
:Adjusts audio volume or controls the cursor in menus.
18. :Quick start for recording.
19. :Opens PVR menu.
20. :Start / Stop button for recording and TimeShift.
21. :Stop button for recording and TimeShift.
22. : Backward button for recording and TimeShift.
23. :Forward button for recording and TimeShift.
24. :Places marks within recording process.
25. List: Opens channel list.
26. Audio:Opens audio menu.
27. Fav:Opens favourite channel list.
28. App: Without function currently.
29. Sub: Switches subtitle on and off.
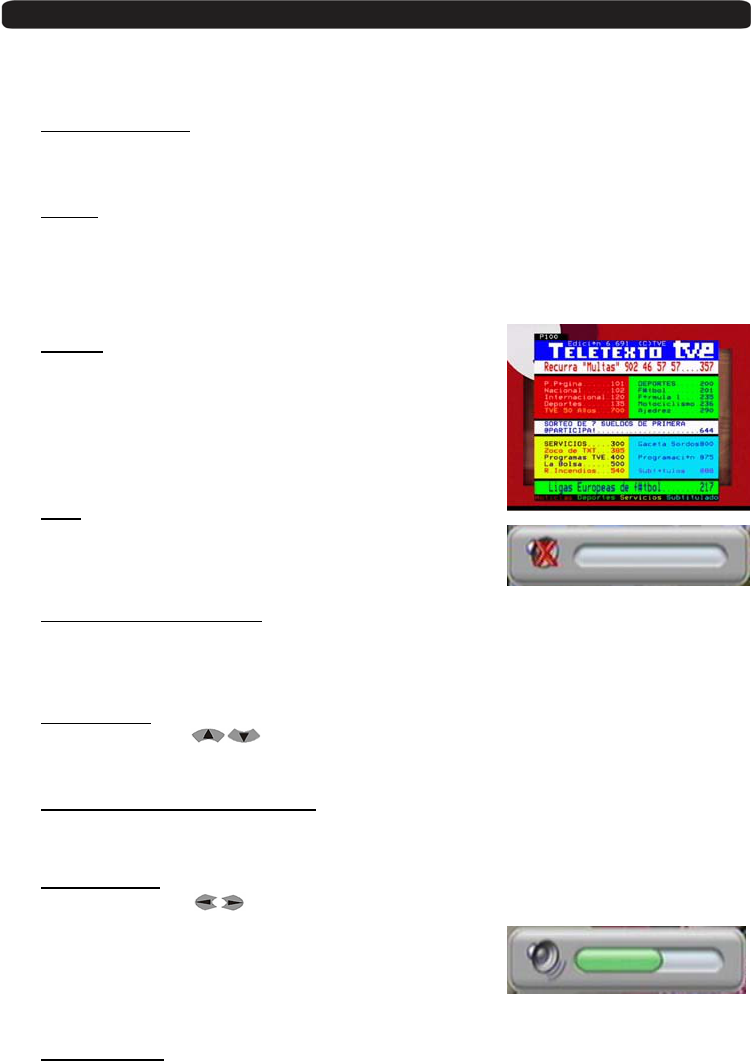
30. TEXT:Opens and closes teletext.
31. PupPdw:Moves cursor in block steps
32. Zoom:Zoom function.
33. Fav+ Fav-:Moves favourite channel up and down.
34. Color Keys:Controls menu options.
►II
◄◄
►►
■
PVR
MARK
REC
PIP
OK
1 2
7 8
9 10
11
12
22
16
21
24
18
1314
15
19
23 20
17 17
6
3
4
5
16
252627
2829
30313233
34
Back: Battery box
User’s Manual · PVR ST190 CI HDMI
Reserved of technical modifications and/or errors - 6 - PVR ST190 CI HDMI Version en_1.0 FTE maximal
1 First installation
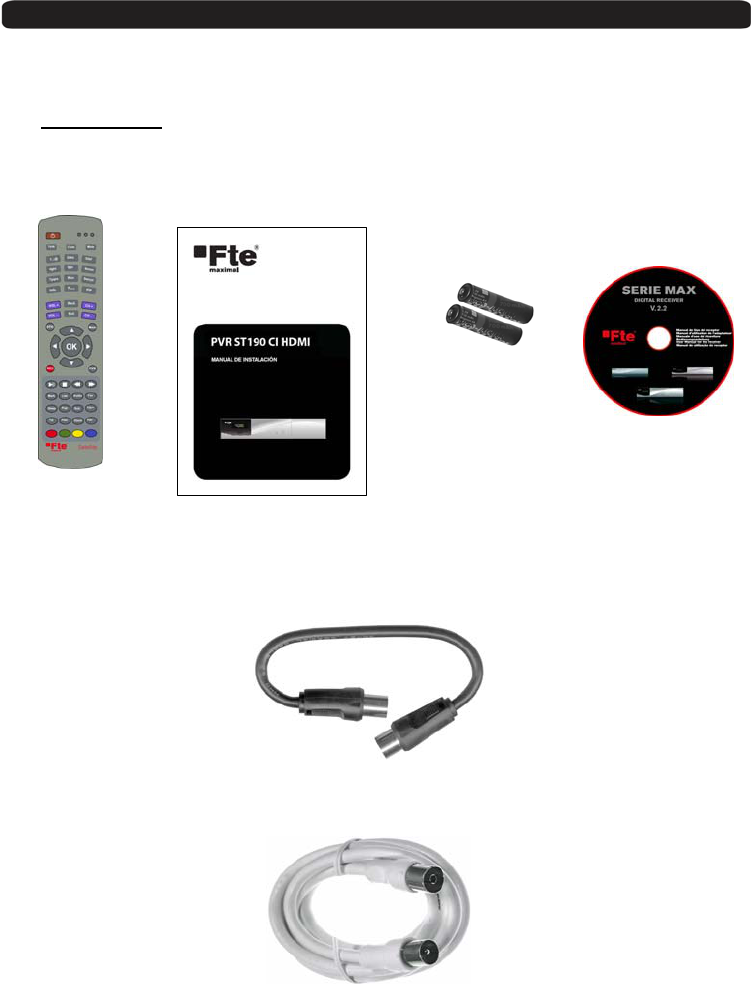
1.1 Complete Content
The following goods must be included in this package when you open it for the first time.
Remote ControlInstallation Guide Two batteries CD-Rom
Type AAA, Micro, 1,5V
IEC Bridge cable
IEC connection cable
User’s Manual · PVR ST190 CI HDMI
Reserved of technical modifications and/or errors - 7 - PVR ST190 CI HDMI Version en_1.0 FTE maximal
Libble takes abuse of its services very seriously. We're committed to dealing with such abuse according to the laws in your country of residence. When you submit a report, we'll investigate it and take the appropriate action. We'll get back to you only if we require additional details or have more information to share.
Product:
Forumrules
To achieve meaningful questions, we apply the following rules:
First, read the manual;
Check if your question has been asked previously;
Try to ask your question as clearly as possible;
Did you already try to solve the problem? Please mention this;
Is your problem solved by a visitor then let him/her know in this forum;
To give a response to a question or answer, do not use this form but click on the button 'reply to this question';
Your question will be posted here and emailed to our subscribers. Therefore, avoid filling in personal details.
Register
Register getting emails for FTE Maximal PVR ST190 CI HDMI at:
new questions and answers
new manuals
You will receive an email to register for one or both of the options.
Get your user manual by e-mail
Enter your email address to receive the manual of FTE Maximal PVR ST190 CI HDMI in the language / languages: English as an attachment in your email.
The manual is 1,87 mb in size.
You will receive the manual in your email within minutes. If you have not received an email, then probably have entered the wrong email address or your mailbox is too full. In addition, it may be that your ISP may have a maximum size for emails to receive.
If you have not received an email with the manual within fifteen minutes, it may be that you have a entered a wrong email address or that your ISP has set a maximum size to receive email that is smaller than the size of the manual.
The email address you have provided is not correct.
Please check the email address and correct it.
Your question is posted on this page
Would you like to receive an email when new answers and questions are posted? Please enter your email address.