See cover flap:
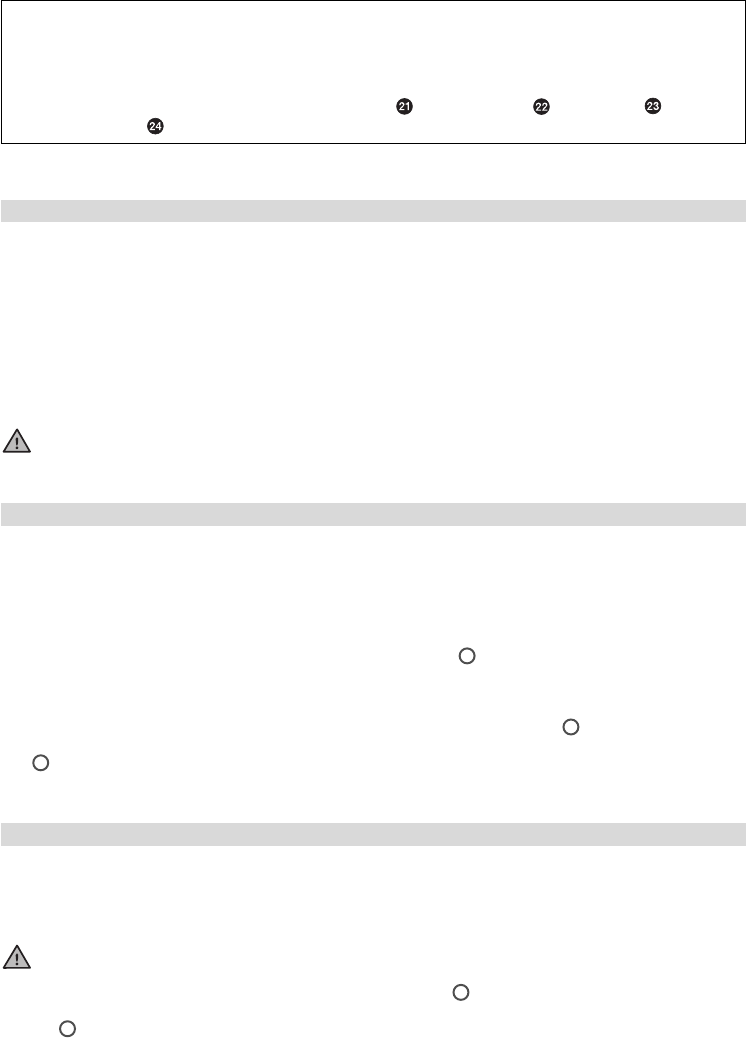
쐃 Threaded socket 쐇 suction and pressure joints 쐋 pump head 쐏 safety lock 쐄 sealing ring 쐂 preliminary
filter pad 쐆 preliminary filter 쐊 lid 쐎 carbon filter pad 쐅 fine filter pad 쐈 filter media containers with filter
material 쐉 slot 씈 multi-function lever 씉 filter canister 씊 rubber feet 씋 pump chamber 씌 impeller 씍 ball
with ball cage 씎 pump chamber cover 씏 2 x union nuts 2 x shut-off taps outlet elbow intake pipe
with intake strainer suction holders.
First stick the 4 rubber feet to the bottom of the filter canister. The shut-off taps are then screwed onto the suction and
pressure joints of the filter – which can be rotated in the required direction of the hose – by means of the threaded
sockets 쐃 and are marked with the stickers IN/OUT (Fig. B).
Then fix the outlet elbow to the aquarium by means of the suction holders. Join the intake pipe with the intake strainer
and attach them to the inside of the tank by means of the suction holders (Fig. C). Cut the hoses to the required
lengths and push them onto the intake pipe and outlet elbow for at least 1 cm. Make sure the hoses do not sag.
Connect the intake pipe to the suction joint “IN” of the filter, and the outlet elbow to the pressure joint “OUT” (Fig. D).
Secure hoses at both connections by tightening the union nuts in the direction of the pipe.
Note: All hose connections must be checked at regular intervals for correct fitting.
The external filter already contains the necessary standard filter material made of special filter pads, a preliminary
filter with filter foam, a carbon filter pad and a fine filter pad. Rinse the filter material in the basket und running
water until the water runs off clear. When you have finished installing the hose, the device is completely ready for
operation.
Suction function: Now open both shut-off taps on the hose connections (Fig. E) and slowly move down the multi-
function lever until it is flush with the safety lock (Fig. F), lever position . Water is hereby sucked out of the aquar-
ium and the overflow is established, so that the filter canister fills automatically.
As soon as the water begins to flow into the filter canister, slowly move the multi-function lever back
to its vertical operating position until it locks noticeably into place (Fig. G), lever position . Once the system is com-
pletely filled, the filter is put into operation via the mains connection. WARNING: If the system is operated in lever posi-
tion , mechanical and biological filtration cannot be guaranteed.
Opening:
IMPORTANT. First close the shut-off tap on the suction side “IN” (Fig. H), and afterwards the tap on the pressure side
“OUT” (Fig. I) before disconnecting the mains plug (Fig. J). Loosen both taps by turning the threaded sockets 쐃 to
separate the hose assembly from the filter.
WARNING: If the taps are not separated from the pump head the filter cannot be opened.
Now slowly move the multi-function lever into its horizontal position and then release the safety lock by apply-
ing strong pressure (Fig. L) so that the lever can be pushed over until it is touching the filter canister (Fig. M), lever
position . The pump head is thereby automatically pulled out of its seal and can be taken off.
A - D Installation
E - G Initial operation
H - M Opening and closing the filter
3
2
2
1
2