12. Cambio de las patas (Figura 11)
Es posible que al instalar su miniCool no necesite
las patas de 40 mm. Después de quitar estas patas,
puede volver a colocar las de 12 mm, que están
dentro de las patas de 40 mm, en los puntos de
fijación de la parte frontal y de la parte trasera.
Puede conservar, para un posible uso posterior, las
patas de 40 mm y los 4 tornillos restantes.
Figura 11.
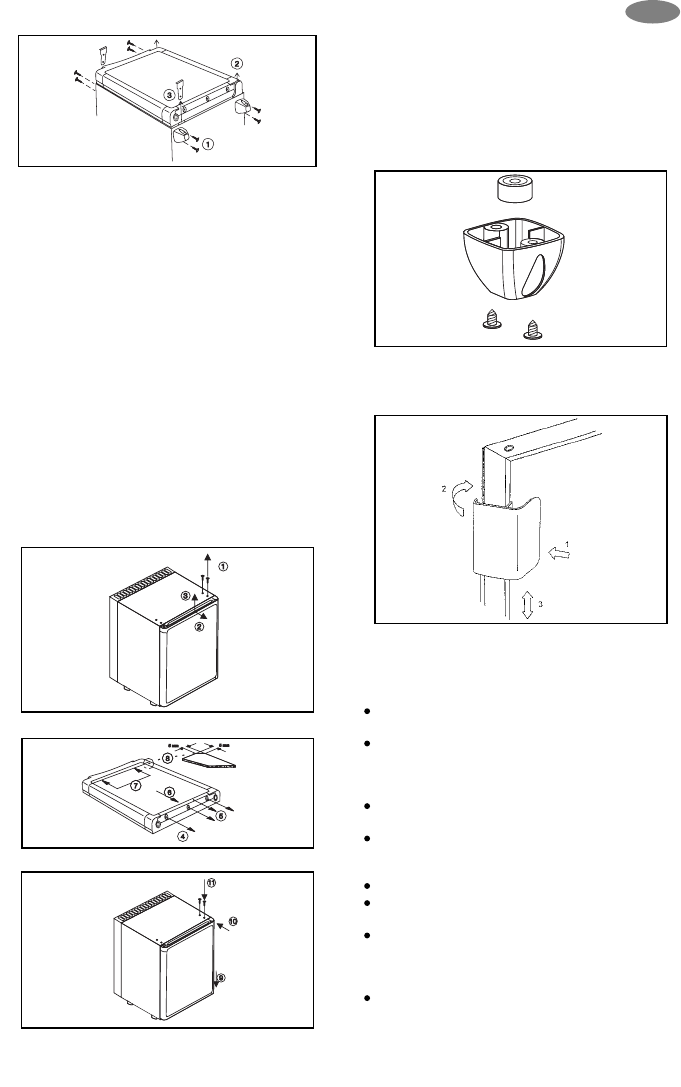
13. Montaje del tirador de la
puerta (Figura 12)
Figura 12.
14. Servicio al cliente
Antes de llamar a un técnico de servicio, realice las
siguientes pruebas:
¿Se trata de un fallo de corriente? Compruebe
los fusibles.
¿Está correctamente conectado el enchufe a una
toma de corriente que reciba energía?
Compruebe el enchufe colocando en él otro
aparato, por ejemplo, una lámpara de mesa.
¿Está colocado el termostato en la posición
correcta? (Normalmente, 3 ó 4).
¿Es posible que no se haya cerrado la puerta
adecuadamente, ocasionando un rápido
aumento de la temperatura interior?
¿Está nivelado el frigorífico?
¿Es posible que haya pulsado inadvertidamente
el botón de descongelación?
Si es así, gire el dial del termostato hasta el "0",
y se liberará el botón de descongelación. Vuelva
a colocar el dial en su posición habitual y el
frigorífico empezará a enfriar de nuevo.
¿Se ha obstruido la ventilación?
43
11. Colocación del panel
embellecedor de la puerta
(Figuras 8-10)
Extraiga los dos tornillos (1) del gozne superior de la
puerta.
Tire de la puerta junto con el gozne y sáquela del
soporte del gozne inferior, para extraerla de la carcasa
(2-3).
Extraiga los tornillos (4) y tire del borde del marco (5).
Deslice el panel embellecedor (6) por fuera del marco
de la puerta e inserte el nuevo panel (7), de forma que
el borde superior del panel discurra en paralelo con el
borde superior del marco. El nuevo panel se podrá
colocar más fácilmente por el borde superior del
marco, si se rebajan las esquinas aproximadamente
5 x 5 mm (8). Coloque el borde del marco (5) de nuevo
en su sitio y apriete los tornillos.
Coloque la puerta en el gozne inferior (9), introduzca el
gozne superior en la abertura y empuje la puerta contra
la carcasa, asegurándola con los dos tornillos (11).
Figura 8.
Figura 9.
Figura 10.
ES
Figura 7.