ESPAÑOL
33
Funcionamiento básico Funcionamiento básico
ESPAÑOL
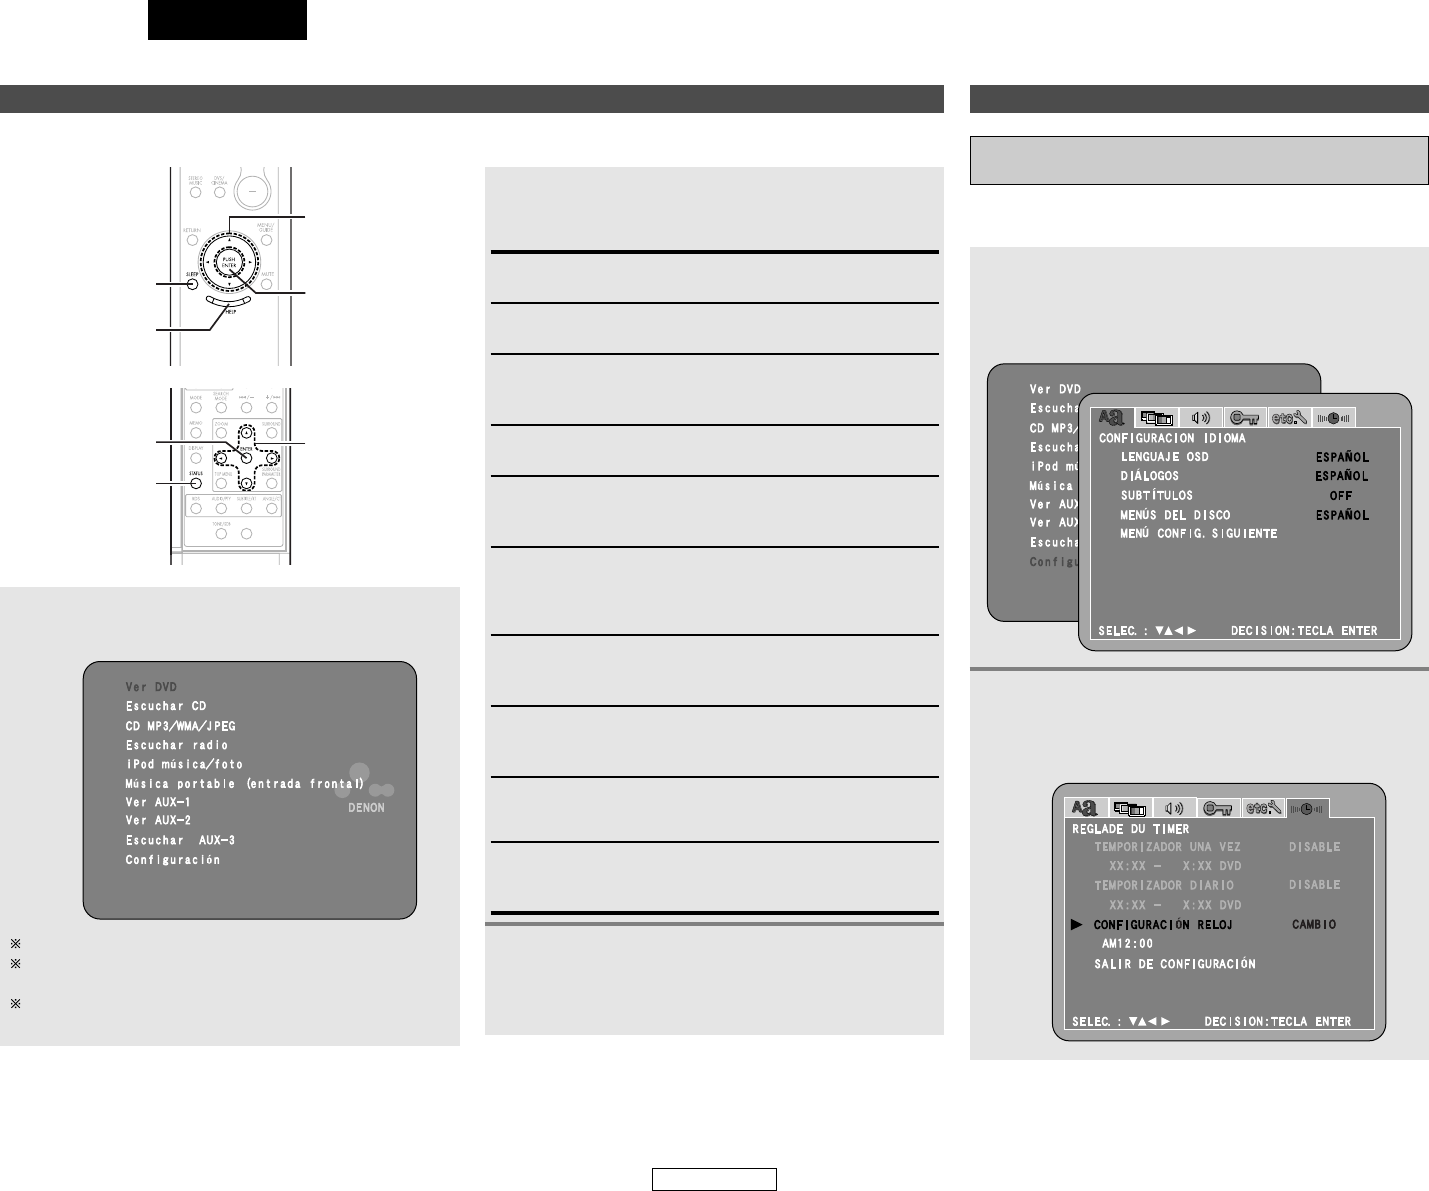
Uso del menú “HELP”
Es posible comprobar la función ajustada actualmente y cambiarla desde el OSD.
1
Pulse el botón HELP.
• Aparecerá la pantalla del menú “HELP”.
El elemento seleccionado se muestra en color azul claro.
Las partes grises indican que el dispositivo de entrada
correspondiente no está conectado.
Pulse de nuevo el botón HELP para desactivar la pantalla del
menú “HELP”.
Uso del temporizador de apagado automático
Ajuste del reloj (indicación en formato de 12
horas)
1
Pulse el botón CURSOR
•
o
ª
para seleccione
“SETUP” en “HELP” del menú , y pulse el
botón ENTER.
• Aparecerá la pantalla del menú “CONFIGURACIÓN”.
Asegúrese de ajustar el reloj a la hora correcta. El temporizador
no operación si el reloj no ha sido ajustado.
2
Pulse el botón CURSOR 0 o 1 para seleccionar
el icono “REGLADE DU TIMER”, a
continuación pulse el botón ENTER.
• Aparecerá la pantalla del menú “REGLADE DU TIMER”.
3
Pulse el botón ENTER para introducir la
configuración.
• El modo HELP queda cancelado y se regresa a las
funciones seleccionadas.
2
Pulse el botón CURSOR
•
o
ª
para seleccionar
el ítem de ajuste deseado y luego pulse el botón.
• La opción seleccionada se visualiza de color azul.
Ver DVD:
Seleccione esta opción para reproducir DVD y Video CD.
Escuchar CD:
Seleccione esta opción para reproducir un CD de música.
CD MP3/WMA/JPEG:
Seleccione esta opción para reproducir un disco MP3, WMA
o JPEG.
Escuchar radio:
Utilice esto para ajustar la función como TUNER.
iPod música/foto:
Seleccione esta opción para controlar el iPod conectado al
conector de iPod del panel delantero de la unidad ADV-S101’s.
Música portable (entrada frontal):
Seleccione esta opción para emitir las señales del reproductor
portátil de audio conectado a la toma portátil del panel delantero
de la unidad ADV-S101’s.
Ver AUX-1:
Seleccione esta opción para visualizar la imagen del
dispositivo externo conectado al terminal AUX1.
Ver AUX-2:
Seleccione esta opción para visualizar la imagen del
dispositivo externo conectado al terminal AUX2.
Escuchar AUX-3:
Seleccione esta opción para escuchar el sonido del
componente de audio conectado al terminal AUX3.
Configuración:
Seleccione esta opción para realizar cambios en la
configuración del sistema.