48
ENGLISH
System Setup System Setup
ENGLISH
2
Press the CURSOR
•
or
ª
button to select
“CHANNEL LEVEL”, then press the ENTER
button.
• The channel level setting screen appears.
3
Press the CURSOR 0 or 1 button to select
“AUTO”, “MANUAL” or “OFF” for the
“TEST TONE” mode, then press the ENTER
button.
AUTO:
Adjust the levels listening to test tones automatically output
from the different speakers.
MANUAL:
Select the speakers from which the test tones are output
when adjusting the levels.
OFF (Factory default):
The test tones are not output.
Detailed settings can be made when this is set to
“MANUAL” first.
• When the channel levels are adjusted at the channel level
settings, the adjusted values are applied to all playback modes.
4
-1
When “AUTO” mode is selected:
Press the CURSOR 0 or 1 button to adjust all
the speakers to the same volume.
•Test tones are automatically output from the speakers at
intervals of 4 seconds for two of the cycles shown
below, then at intervals of 2 seconds from the third
cycle on.
4
-2
When “MANUAL” or “OFF” mode is selected:
Press the CURSOR
•
or
ª
button to select the
speaker, then press the CURSOR 0 or 1 button
to adjust all the speakers to the same volume.
The level changes in units of 1 dB each time the
CURSOR
00
or
11
button is pressed.
The level can be adjusted in the range –12 dB to +12
dB.
5
Press the ENTER button twice.
• The “SPEAKER SETUP” screen appears.
Front left Front right
Subwoofer
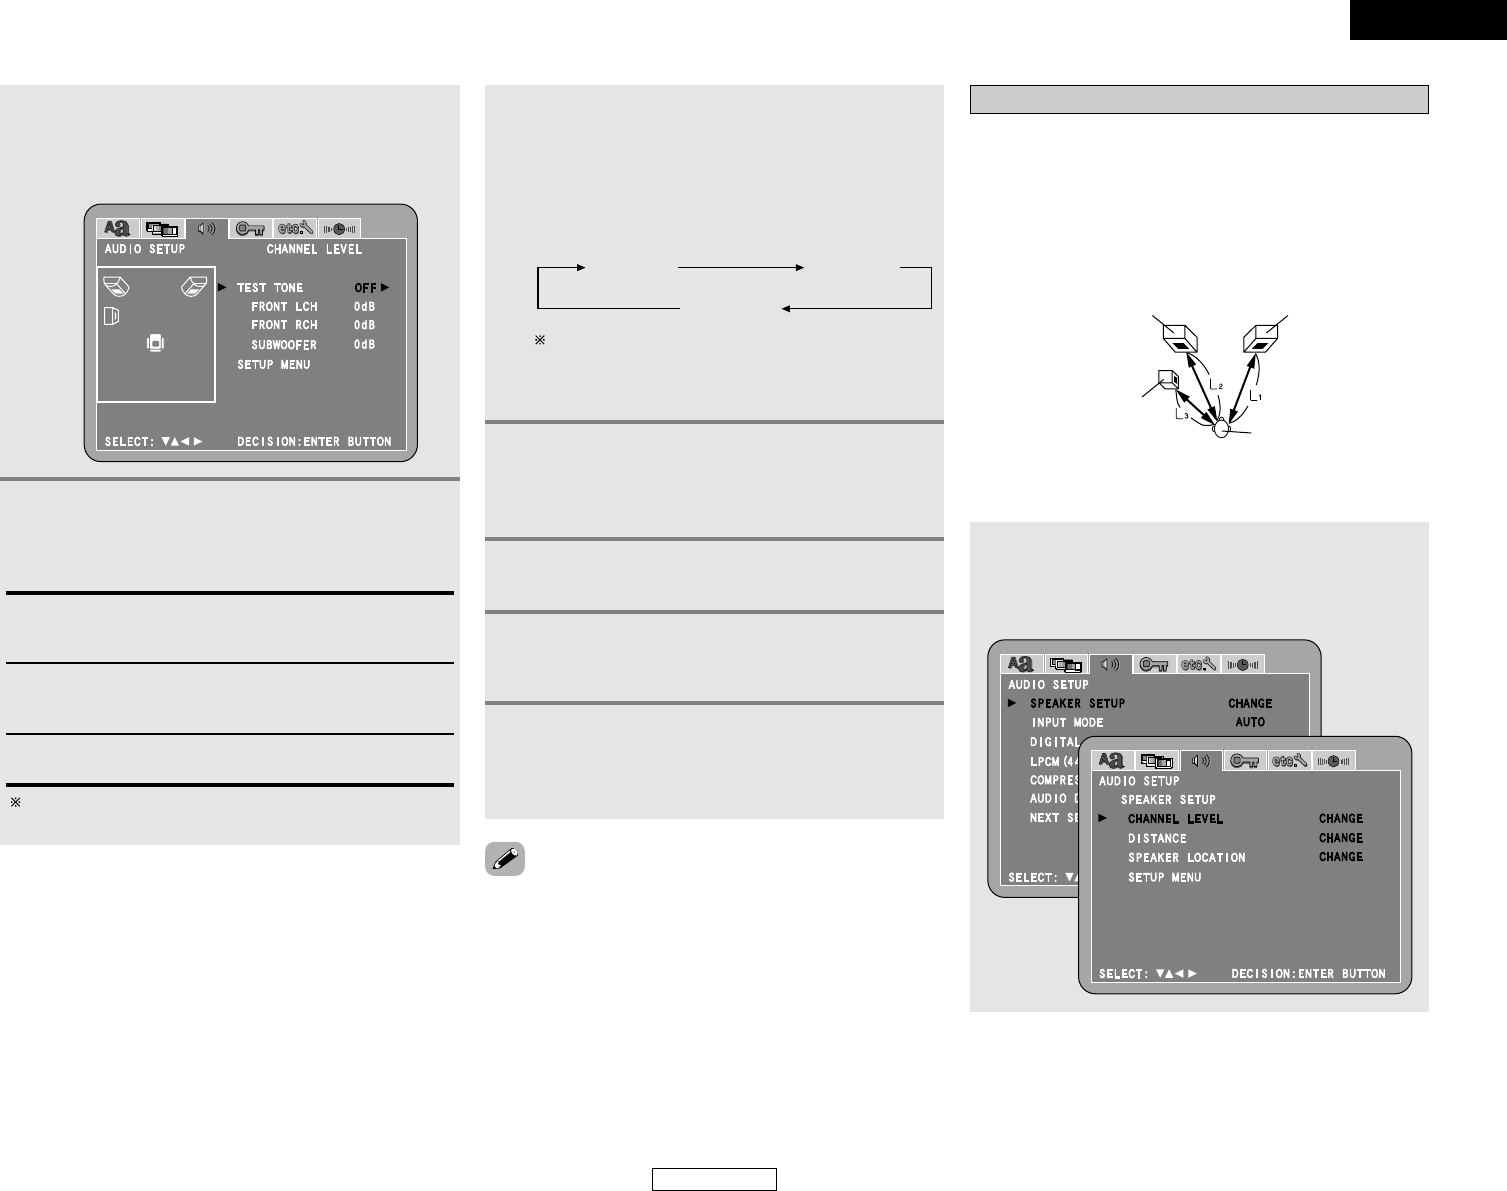
Setting “DISTANCE”
• Input the distances from the listening position and the various
speakers to set the surround delay time.
• Upon shipment from the factory default the distance is set to
the default values in step 4 below.
L1: Distance between front right speaker and listening position
L2: Distance between front left speaker and listening position
L3: Distance between subwoofer speaker and listening position
Preparation:
Measure the distance from the listening position to the various
speakers.
1
Press the CURSOR
•
or
ª
button to select
“SPEAKER SETUP” at the “AUDIO SETUP”,
then press the ENTER button.
•The “SPEAKER SETUP” screen appears.
7
Press the CURSOR
ª
button to select “NEXT
SETUP MENU”, then press the ENTER to enter
the setting.
• The next screen in the “SETUP” menu screen appears.
listening position
6
Press the CURSOR
ª
button to select “SETUP
MENU”, then press the ENTER button.
• The “AUDIO SETUP” screen appears.