45
ENGLISH
System Setup System Setup
ENGLISH
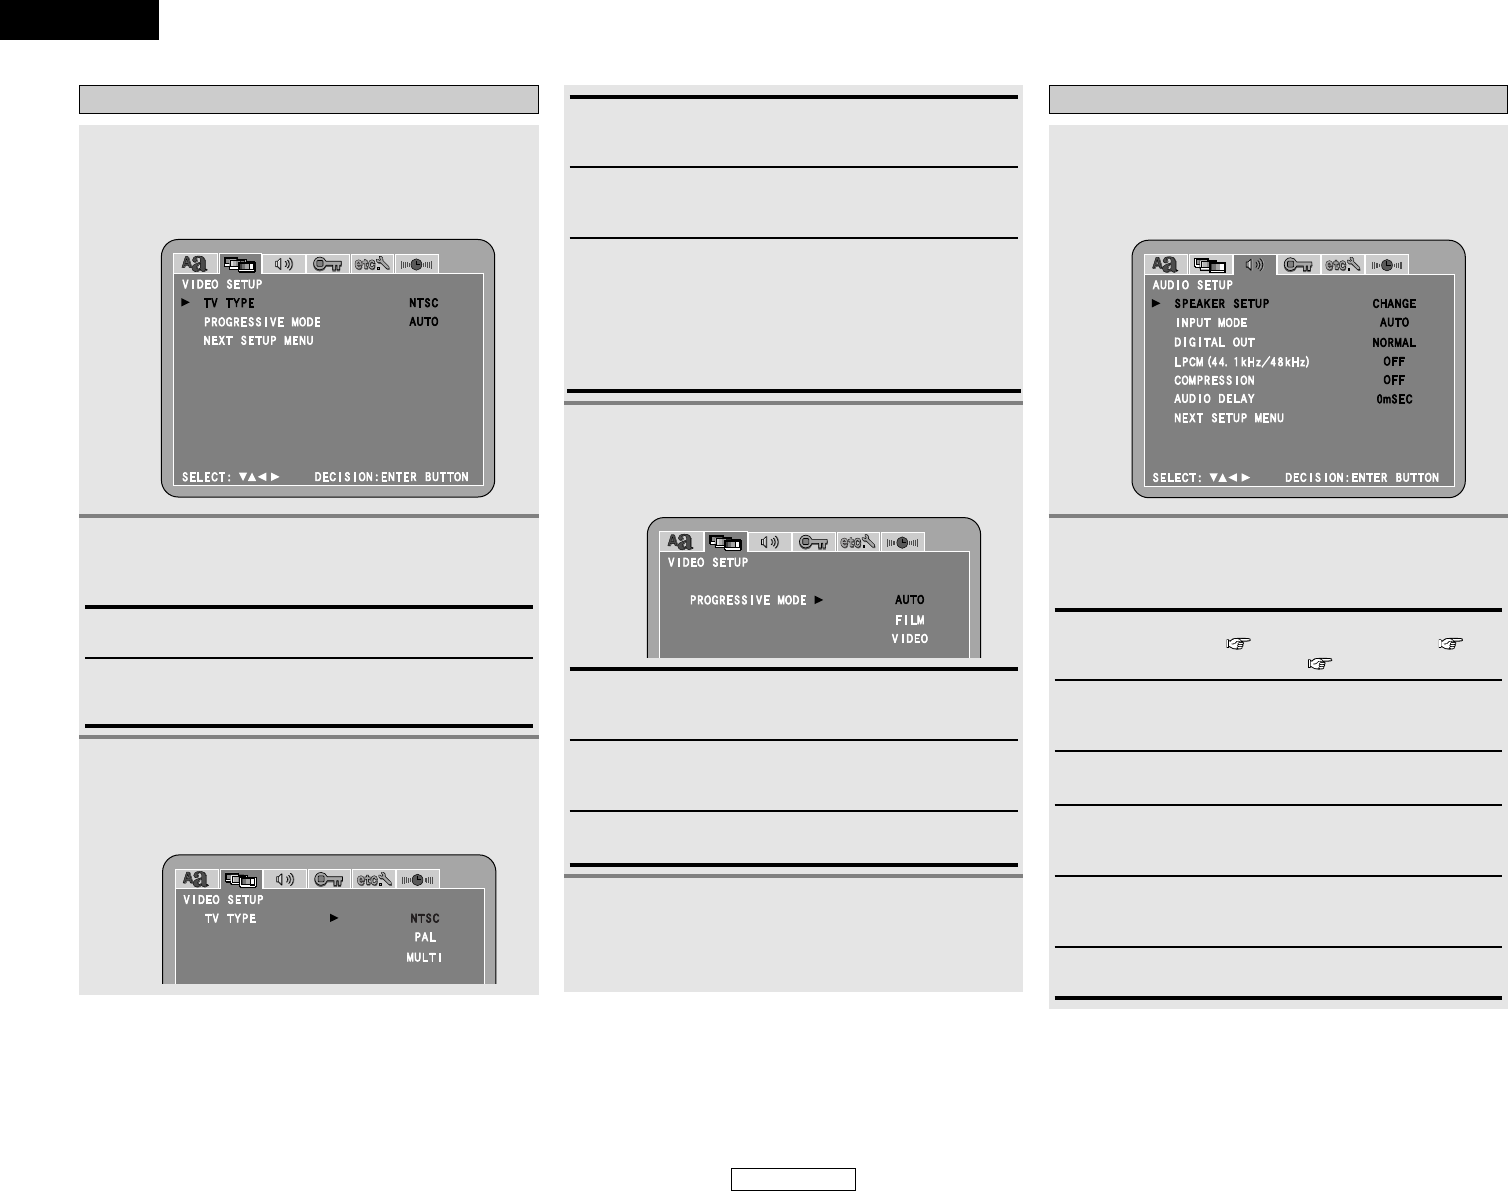
When “TV TYPE” is selected:
Press the CURSOR
•
or
ª
button to select the
desired setting item, then press the ENTER
button.
PROGRESSIVE MODE:
Use this to select the progressive mode (AUTO, FILM or
VIDEO).
TV TYPE:
Use this to set your TV’s video format (NTSC, PAL or MULTI).
PAL:
Select this when your TV’s video format is PAL.
If PAL is selected, output format is fixed to PAL.
MULTI:
Select this when your TV is compatible with both the NTSC
and PAL formats.
NTSC signals are output from the video output terminals
when discs recorded in NTSC format are played, and PAL
signals are output from the video output terminals when discs
recorded in PAL format are played.
NTSC (Factory default):
Select this when your TV’s video format is NTSC.
If NTSC is selected, output format is fixed to NTSC.
FILM:
The setting is suited for playing film material discs or video
material discs recorded with progressive scanning.
VIDEO:
The setting is suited for playing video material discs.
AUTO (Factory default):
The mode is selected by identifying the type of material (film
or video flag) from the disc.
Setting “VIDEO SETUP”
3
-1
3
-2
When “PROGRESSIVE MODE” is selected:
Press the CURSOR
•
or
ª
button to select the
desired setting item, then press the ENTER
button.
1
Press the CURSOR 0 or 1 button to select
“VIDEO SETUP” icon, then press the ENTER
button.
• The “VIDEO SETUP” menu screen appears.
2
Press the CURSOR
•
or
ª
button to select the
desired setting item, then press the ENTER
button.
4
Press the CURSOR
ª
button to select “NEXT
SETUP MENU”, then press the ENTER button
to enter the setting.
• The next screen in the “SETUP” menu screen appears.
INPUT MODE:
When DVD or AUX was selected as the input function, use
this to select the input mode.
SPEAKER SETUP:
“CHANNEL LEVEL” ( page 47), “DISTANCE” ( page
48) and “SPEAKER LOCATION” ( page 49) can be set.
DIGITAL OUT:
Use this to select the digital output’s signal format.
LPCM (44.1 kHz / 48 kHz):
Use this to set the digital audio output when playing DVDs
recorded in linear PCM audio.
COMPRESSION:
Use this to adjusts the dynamic range of the Dolby Digital or
DTS sound.
Setting “AUDIO SETUP”
AUDIO DELAY:
Use this to synchronize the sound and video.
1
Press the CURSOR 0 or 1 button to select
“AUDIO SETUP” icon, then press the ENTER
button.
• The “AUDIO SETUP” menu screen appears.
2
Press the CURSOR
•
or
ª
button to select the
desired setting item, then press the ENTER
button.