48
Basic Operation Basic Operation
ENGLISH
ENGLISH
4
Press the ENTER or CURSOR
GG
button once
again.
• The latest list of radio stations is downloaded from the
vTuner site. (Several minutes are required for this
download.)
5
Press the CURSOR
DD
or
HH
button to select the
desired setting item, then press the ENTER or
CURSOR
GG
button.
6
Press the CURSOR
DD
or
HH
button to select the
desired radio station, then press the ENTER or
CURSOR
GG
button.
• Connection starts, and the station starts playing once the
buffer reaches “100%”.
During playback, press the ENTER button once to pause
playback, then press ENTER button again to resume
playback.
If the ENTER button is pressed and held in for more than two
seconds when in the play or pause mode, playback stops
and the previous menu window reappears.
Finally, the list of Internet radio stations is displayed and
those that can be played are indicated by the “
∗
” mark in
front of them.
• There are many Internet radio stations on the Internet. The
programs they broadcast and their bit rates vary widely.
Generally, the higher the bit rate, the higher the sound quality,
but streamed music or sound may be broken if the
communication lines or servers are busy. Inversely, programs
with low bit rates have lower sound quality but tend to be more
stable.
• “Server Full” or “Connection Down” is displayed if the station
is congested or if it is not broadcasting.
• If you do not want the OSD to be displayed while playing
Network Audio (internet radio, music server or USB), set
“Function/Mode Status” at “Setting the On Screen Display” to
“OFF” ( page 73).
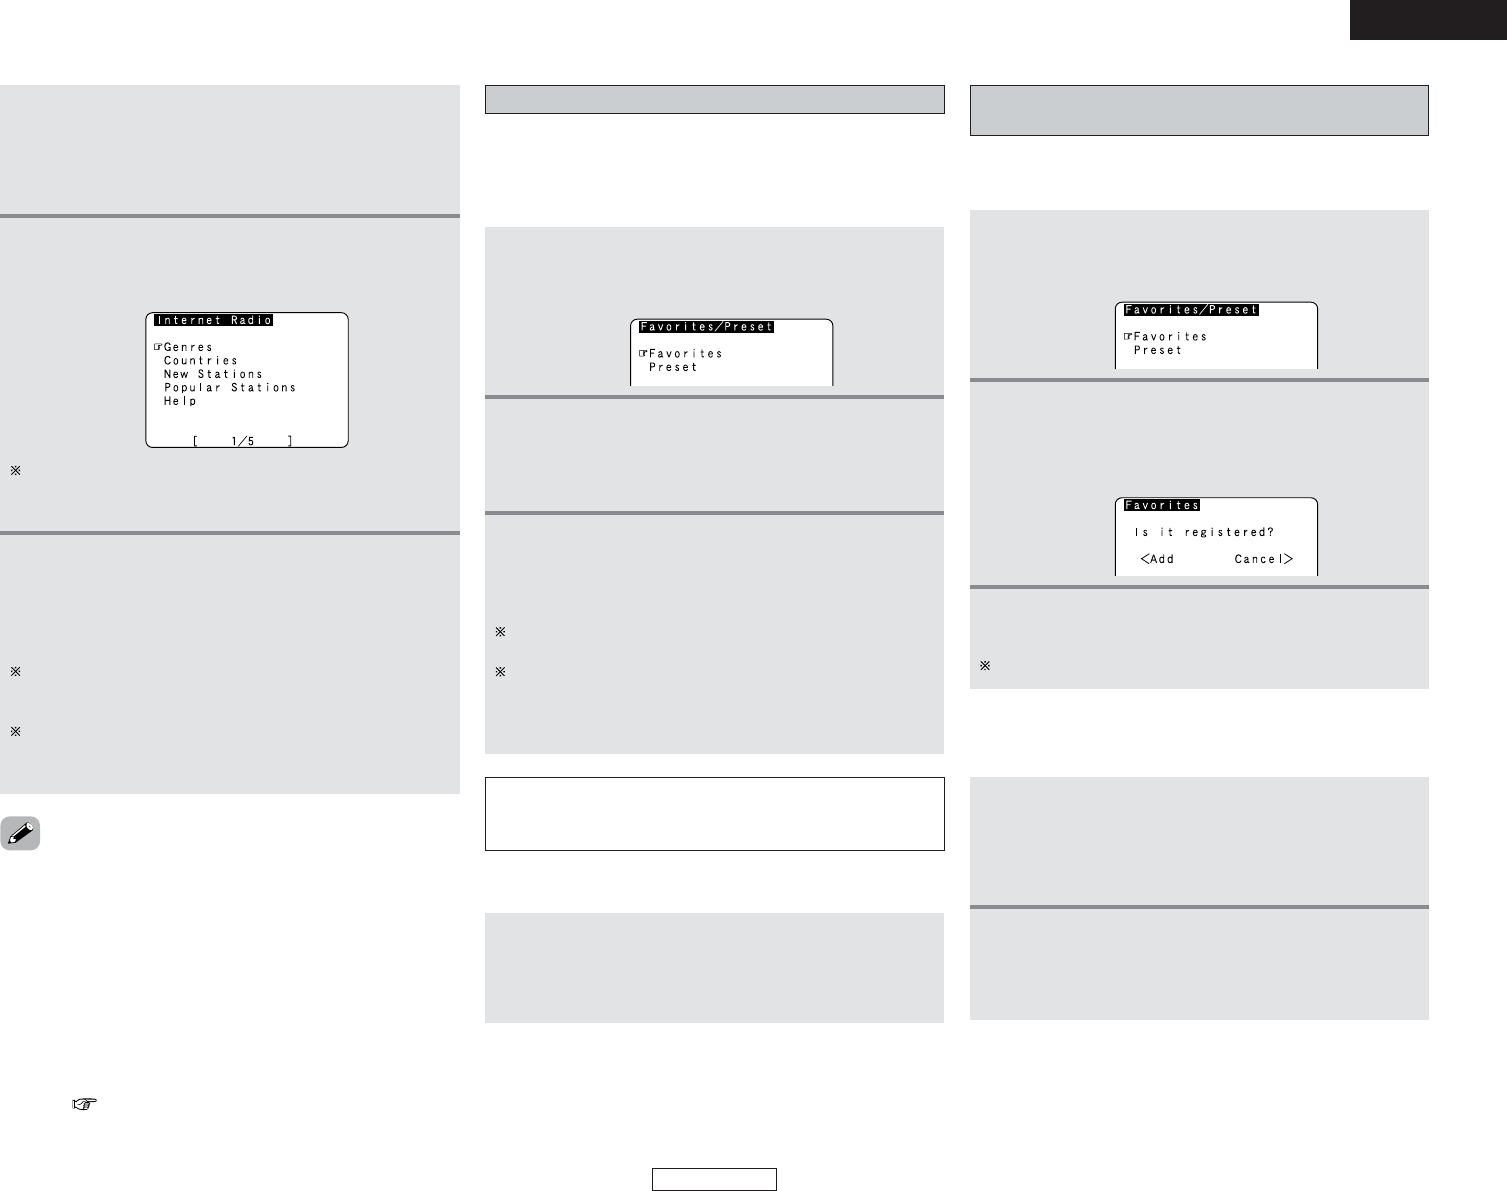
Presetting (registering) Internet radio stations
There are two ways to register stations: by presetting them or by
storing them in your favorites.
Stations that are preset can be tuned in directly from the remote
control unit.
1
Press the MEMORY button while playing the
Internet radio station you want to register.
• The registration menu screen appears.
2
Press the CURSOR
DD
or
HH
button to select
“Preset”, then press the ENTER or CURSOR
GG
button.
•The preset registration screen appears.
3
Press a MEMORY BLOCK (A ~ G) button, then
press a NUMBER (1 ~ 8) button to register the
station at the desired preset channel.
• This completes registration.
If no button is operated for approximately ten seconds, the
regular display reappears.
Registered presettings can be checked on the on screen
display.
The presettings can only be displayed with the on screen
display when the “AUX/Net” function is selected.
NOTE:
• Registered presettings are deleted when they are
overwritten.
When the “AUX/Net” function is selected, press a
MEMORY BLOCK (A ~ G) button, then press a
NUMBER (1 ~ 8) button.
• The connection is made automatically and playback starts.
2 Listening to preset Internet radio stations
Registering Internet radio stations in your
favorites
Your favorites are listed at the top of the menu screen, so
registered stations can be tuned in easily.
1
Press the MEMORY button while playing the
Internet radio station you want to register.
• The registration menu screen appears.
2
Press the CURSOR
DD
or
HH
button to select
“Favorites”, then press the ENTER or CURSOR
GG
button.
• The favorites registration screen appears.
3
Press the CURSOR
FF
button to register the
station.
To cancel without registering, press the CURSOR
GG
button.
1
When the “AUX/Net” function is selected, press
the CURSOR
DD
or
HH
button to select “Favorites”,
then press the ENTER or CURSOR
GG
button.
• The Internet radio stations registered in your favorites
are displayed.
2
Press the CURSOR
DD
or
HH
button to select the
desired radio station, then press the ENTER or
CURSOR
GG
button.
• Playback starts.
2 Listening to Internet radio stations registered
in your favorites