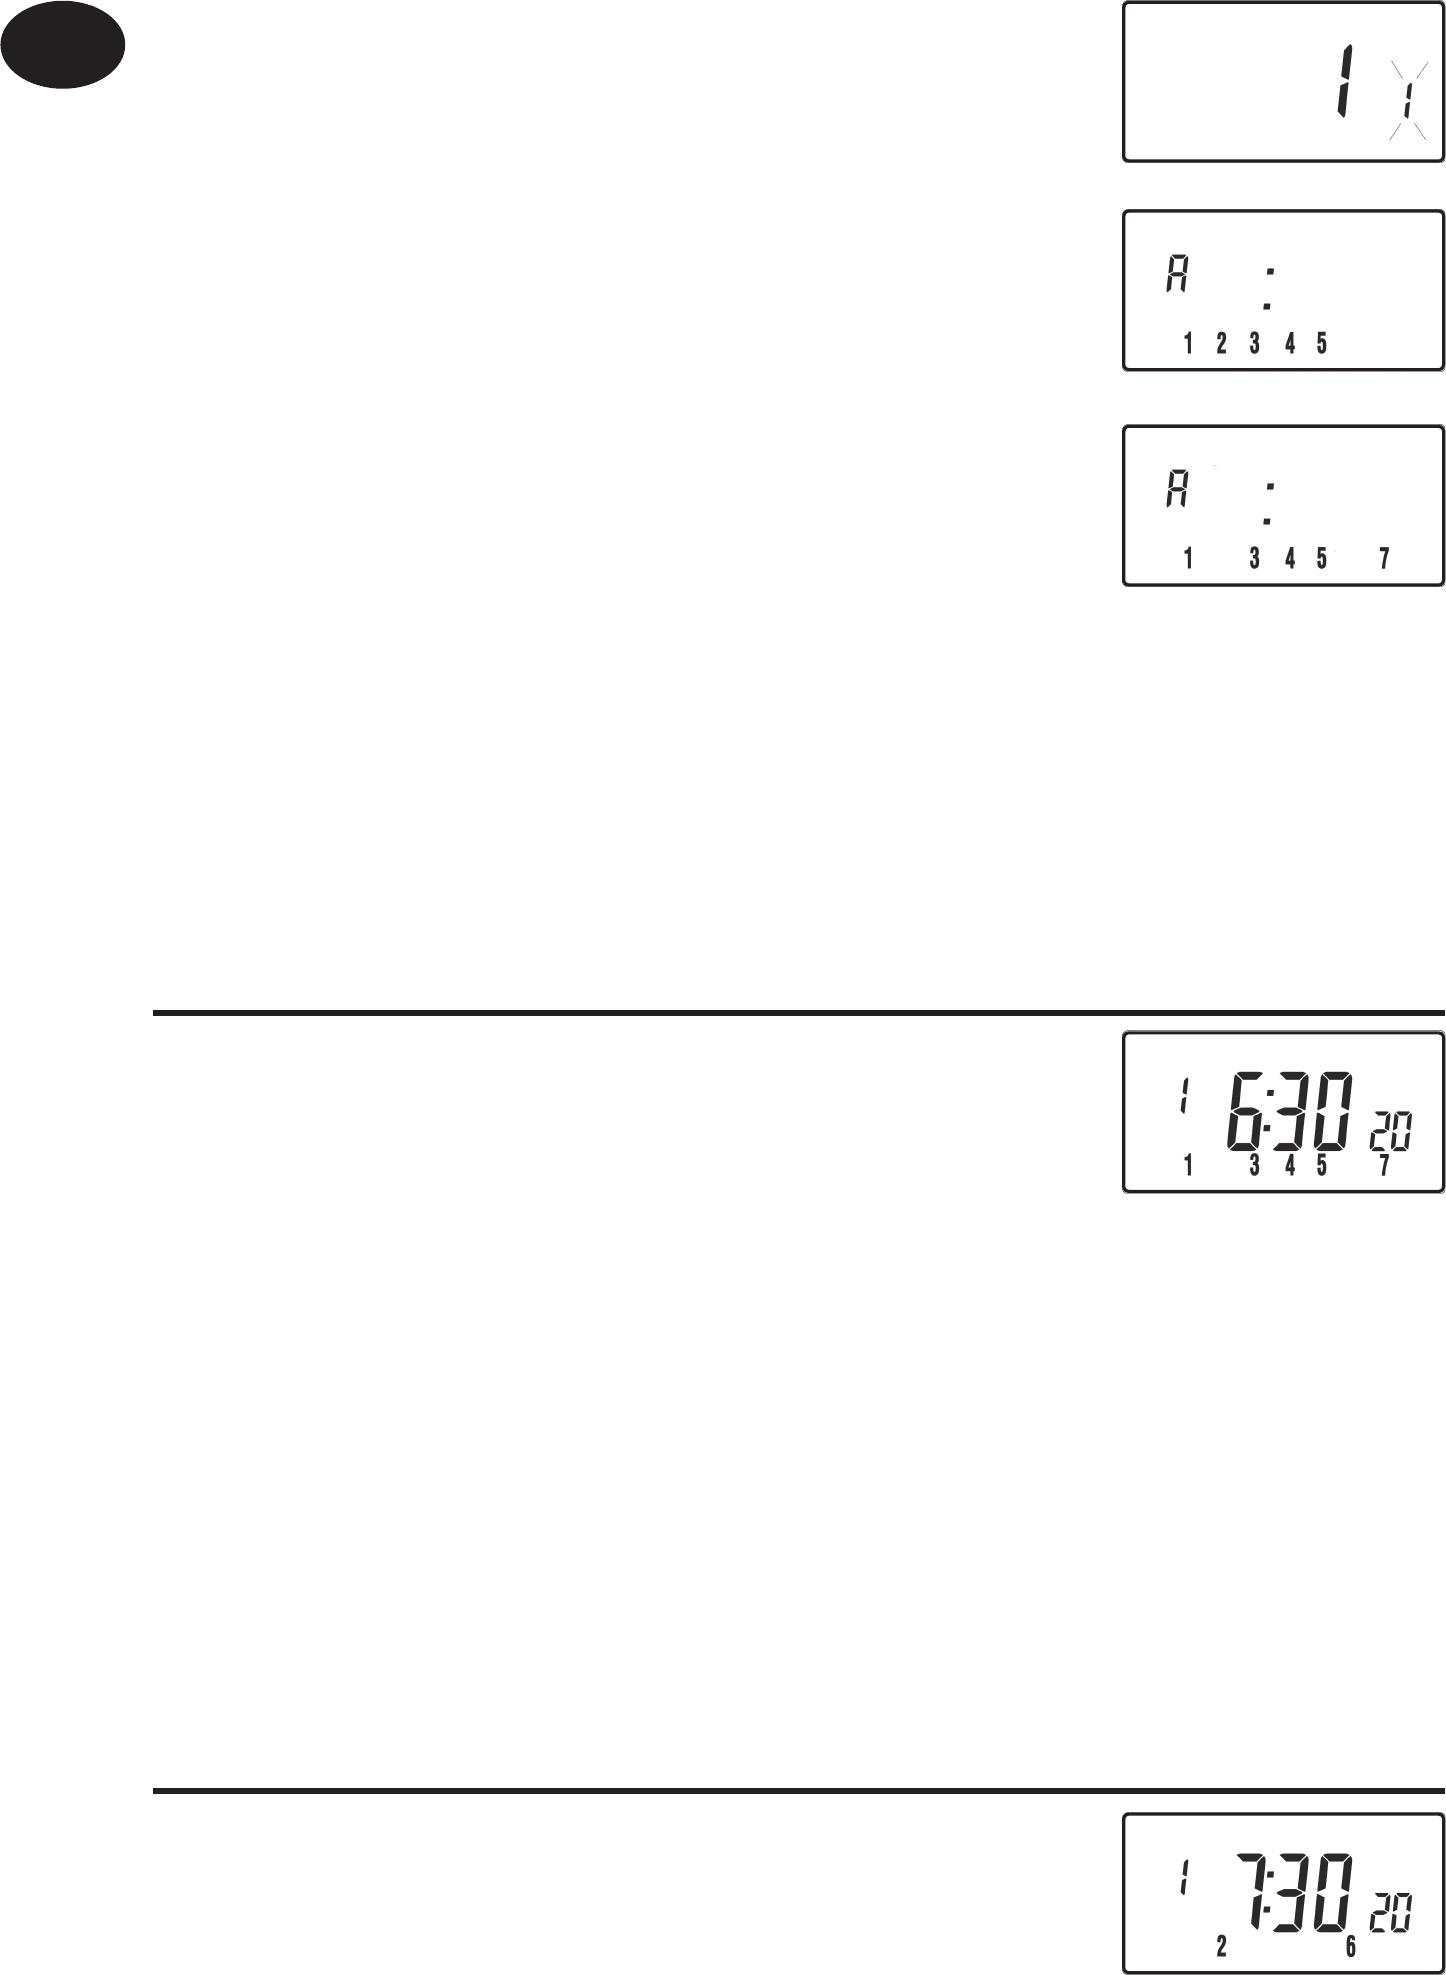
465415
2
Zoom out
Zoom in
Previous page
1/104
Next page
TP5001 Range
Electronic 5/2 day programmable room thermostat
Mains, Battery and RF versions
User Instructions
Bedienungsanleitung
Instrucciones del usuario
Brugervejledning
GB
D
ES
Instructies voor gebruik
Instructions d’utilisateur
Istruzioni per l’utente
DK
NL
F
I
2
An introduction to your programmable room thermostat
Your programmable room thermostat allows you to programme
di erent temperatures at di erent time periods. You can programme
one set of times and temperatures for week days with a di erent set of
temperatures for weekend days, this is referred to as 5/2 day operation.
The thermostat can also be set up by your installer to provide one set
of times and temperatures that are repeated each day of the week. This
is referred to as 24 hour operation.
The thermostat can also be set by you to provide two di erent
programming blocks which can then be assigned to any day of the
week, this is referred to as A/B programme operation.
All thermostats can be set by your installer to provide up 2, 4 or 6 time
and temperature settings each day.
All thermostats feature useful overrides, including a programmable
frost setting.
Your thermostat has some advanced features which the installer will
set-up if they are required. There are also a number of advanced features
which can be set up by you. These advanced settings alter the way that
your thermostat operates, some also a ect the programming functions
and the user overrides. Please read the User Advanced Programming
instructions before programming the unit (see page 10).
Preset programmes
Your TP5001 comes ready programmed with a set of operating times and
temperatures which suit most people. Please remember that some of the
options available will depend on how the installer has set up the unit.
User Instructions
User Instructions
GB
Weekdays (Mon-Fri) Weekend (Sat-Sun)
Event Time Temp. °C Event Time Temp. °C
1 06:30 20 1 07:30 20
2 08:30 15 2 09:30 20
3 11:30 20 3 11:30 20
4 13:30 15 4 13:30 20
5 16:30 21 5 16:30 21
6 22:30 15 6 22:30 15
Note: these are also times for Block
A programmes
Note: these are also times for Block “B”
programmes
3
Note: If set up for 4 events per day, events 3 & 4 are skipped. If set up
for 2 events per day, events 2, 3, 4 & 5 are skipped. In both cases the
events are re-numbered.
Before you start
Open the  ap on the front of the programmer and
press the RESET button with a non-metallic object
until the display goes blank. This will ensure that
the factory programmes are set and that the micro-
computer in the product is operating correctly.
Customising the display
For the sake of clarity, the instructions assume that the display setting
uses a 24 hour clock, °C and that days of the week are numbered 1-7,
(where 1 is Monday). All of these settings can be personalised after the
thermostat has been programmed, see pages 8 and 9.
Setting the correct date and time
Your TP5001 incorporates a real time clock with calendar function that
automatically changes time in both Spring and Autumn. The time and
date is set in the factory for the CET time zone, and does not normally
require adjustment. If you live in another time zone refer to Time zone
o set on page 11. However, should it be found necessary to adjust
time or date for any other reason refer to the following instructions.
User Instructions
GB
RESET
Setting the date
Press and hold Λ and PROG for 3 seconds, to
display date in dd/mm/yy format.
4
The YEAR number will  ash, use Λ or V to correct
the year.
Use - or + to move to MONTH, then use Λ or V to
correct month.
Use - or + to move to DATE in month, then use Λ or
V to correct day in month.
If you attempt to select an invalid date the unit software will reject it
and apply the nearest valid date. It is recommended that date is set in
the order, yy/mm/dd.
Setting the correct time
After setting the date, press PROG to display the
time. The time display will  ash on and o .
Use the + and - buttons to set the correct time
(press and hold to change in 10 min. increments).
Setting the correct day
The day of the week is set automatically. Press
PROG to return to normal operation (RUN).
Accepting the preset programmes
If you are happy with the preset times shown in the table on page 2 you
need take no further action.
User Instructions
GB
5
User Instructions
GB
Changing the preset programmes
Before you change the preset programmes
Your installer will have set the unit to operate in one of the following
modes:
5/2 day - one set of programmes for weekdays and another for
weekends (page 5-6).
24 hr - one set of programmes for the whole of the week (page 6).
Alternatively
A/B - The unit can also be set by you to provide two programme
blocks, either of which can be applied to di erent days of the week.
If this is required refer to page 6 for instructions on how to turn on
this feature.
Please Note
The unit must be programmed in sequence, event times cannot be
set out of sequence.
If you want to leave a preset time as it is, simply press PROG to
move to the next setting.
If you want to return the unit to RUN, press PROG and hold until
the colon in the display blinks. Alternatively leave alone and the
unit will automatically return to RUN after 2 minutes.
Your installer will have set your unit to programme 6, 4 or 2 events
per day. This will determine the number of events per day that you
are able to programme.
Changing the preset programmes in 5/2 day mode
For Days 1-5 (weekdays)
a) Press PROG until the  rst preset time and
temperature (Event 1 Days 1, 2, 3, 4, 5) appears
in display.
b) Use the + and - buttons to adjust the TIME
(press and hold to change in 10 minute increments).
c) Use the Λ and V buttons to adjust the required TEMPERATURE.
6
d) Press PROG to move to the next preset time
and temperature (Event 2).
e) Repeat steps b, c, & d to programme the
remaining weekday events.
For Days 6-7 (weekends)
Press PROG until the  rst preset time and
temperature (Event 1 Days 6-7) appears in display.
Repeat steps b, c, & d above to programme the
remaining weekend events.
Changing the preset programmes in 24 hour mode
a) Press PROG until the  rst preset time and
temperature (Event 1 for all days of the week)
appears in display.
b) Use the + and - buttons to adjust the TIME
(press and hold to change in 10 min increments).
c) Use the Λ and V buttons to adjust the required
TEMPERATURE.
d) Press PROG to move to the next preset time
and temperature (Event 2).
e) Repeat steps b, c, & d to programme the remaining events.
Changing preset programmes for AB programming
(Installer setting must be in 5/2 day mode)
Press and hold PROG and V for 3 seconds. The
display will change to the  gure opposite. This
will take you into User Advanced Programming
option 1.
Use Λ and V keys to enable or disable the function
(1=enabled, 0=disabled).
Press PROG for 5 seconds until the display changes
and the colon in the display  ashes to con rm that
you are in RUN.
Press PROG once, the display will change to show
the default days assigned to programme A (days
1, 2, 3, 4 & 5).
User Instructions
GB
7
Use the + and - keys to scroll forwards or backwards
through the days of the week.
To deselect a day press V, (for example Day 2). To
select a day press Λ (for example Day 7).
Any deselected days are automatically assigned to programme “B”.
Programming A programme days and events
a) Press PROG until the  rst preset time and temperature (Event 1 for
Programme A) appears in display.
b) Use the + and - buttons to adjust the TIME
(press and hold to change in 10 minute
increments).
c) Use the Λ and V buttons to adjust the required TEMPERATURE.
d) Press PROG to move to the next preset time and temperature
(Event 2).
e) Repeat steps b, c, & d to programme the remaining events.
Programming “B” programme days and events
a) Press PROG until the  rst preset time and temperature (Event 1 for
Programme B) appears in the display.
b) Use the + and - buttons to adjust the TIME
(press and hold to change in 10 minute
increments).
c) Use the Λ and V buttons to adjust the required TEMPERATURE.
d) Press PROG to move to the next preset time and temperature
(Event 2).
e) Repeat steps b, c, & d to programme the remaining events.
Running the programme
Press PROG to return to RUN, the colon in the display will blink. The
heating will now follow the times and temperatures
programmed.
User Instructions
GB
8
User Overrides
Altering the display to show time or temperature
Press + and - together to
change between settings.
Temporarily alter current programmed temperature
Press Λ or V until required temperature is displayed. Please note that
your installer may have restricted both upper and lower temperature
settings and the temperature override limits.
This override will automatically be cancelled at the beginning of the next
programmed event. Please note that your installer may have restricted
the duration of the override to something other than next event.
To change day of week legends from numbers to text
Press Λ and - together to toggle between day numbers and text.
To change time display between 12 & 24 hour clock
Press Λ and + together to toggle between 12 and 24 hour clock.
To change between °C and °F scaling
Press V and - together to toggle between °C and °F temperature
scaling.
Thermostat mode
a) A constant temperature of between 5-30°C can be selected if
required. This can provide frost protection for periods away from
home, it can also be used to provide untimed higher temperatures
if, for example, a family member is sick.
User Instructions
GB
9
User Instructions
GB
b) Press Λ and V together to enter thermostat mode. The default
setting is 8°C, but this can be reprogrammed, see User Advanced
Programming, step 10, (page 11).
c) A snow ake symbol will appear in the display
when the selected temperature is equal to or less
than the programmed frost protection setting.
d) Use the Λ or V buttons to change the
temperature away from the programmed frost protection
temperature to another value.
e) To return to automatic programming press both Λ and V together.
Changing the clock forwards and backwards
This is handled automatically, however, if the manual changeover has
been selected follow the instructions below.
To change from Summer to Winter (clocks back)
Press and hold - button.
To change from Winter to Summer (clocks forward)
Press and hold + button.
Remote override into and out of thermostat mode
Selected models are available with a feature which allows a telephone
activated switch or window contacts to step the unit into or out of
thermostat mode.
The required temperature to be maintained when the building is
unoccupied, or when windows are open, must  rst be set up in User
Advanced Programming, step 10, (page 11).
To locally override this feature press both Λ and V together.
Delay start feature
Your thermostat includes an optional delay start feature to hold o
the heating for a time on mild days when the room temperature at the
start of an event is close to the programmed value. If you have enabled
this function it can be overridden by pressing either Λ or V buttons.
To enable this feature, please refer to User Advanced Programming,
step 11, (page 12).
10
Optimum start control (OSC)
Your thermostat includes an optional optimum start control. This
feature allows you to set the time at which you require a room
temperature by. The thermostat then calculates how soon before the
event time the system must be turned up to ensure that the room is at
the temperature by the required time. A full description of this and how
to enable it and set it up is given in User Advanced Programming,
steps 12 & 13, (page 12 and 13).
Battery replacement (battery models only)
When batteries are low a battery symbol will
appear on the display. You have 15 days to replace
the batteries before the unit shuts down. When
replacing batteries ensure that only high quality
alkaline cells are use.
IMPORTANT: After replacing the batteries press and release the RESET
button to restart the unit. All date, time, programming and override
settings are maintained for the life of the product.
User Advanced Programming
Options
Important: The thermostat has been set in the factory to suit most
situations, however, there are additional optional settings which can
improve the comfort, convenience and energy e ectiveness of your
thermostat. These are set in the User Advanced Programming and
Installer Advanced Programming modes.
To access User Advanced Programming
Press and hold V and PROG for 3 seconds. This will take you into
User Advanced Programming. Use + and - keys to scroll backwards
and forwards between options then Λ and V keys to change option
settings. The ashing digit on the right hand of the display indicates
the number of the selected option.
User Instructions
GB
11
User Instructions
GB
Option 1 - Enable or disable A/B programming (Option 41 set to 5/2)
This enables or disables the A/B programming option. Press
+ until Option 1 is displayed, use Λ and V to select required
setting.
Setting 0
Disabled, unit operates as 5/2 or 24 hour product depending on
installer settings (factory setting)
Setting 1 Enabled: activates A/B programming
Option 3 - Calendar clock rules
This establishes the rules that the automatic calendar clock
follows to calculate changes between summer and winter
time. Press + until Option 3 is displayed, use Λ and V to select
required setting.
Setting 0 Disabled.
Setting 1
Manual: user must change using + to advance and - to retard
displayed time.
Setting 2 European rules. (Factory Setting)
Setting 3 USA rules (2007 onwards)
Setting 4 USA rules (pre-2007)
Option 4 - Time zone o set
This feature allows the time zone to be established and
corrects time display. Press + until Option 4 is displayed, use Λ
and V to select required setting
Setting 0 UK models: this feature should be left at the factory setting of 0.
Setting 1
Central European time models: this feature should be left at the
factory setting of +1:00.
-12 Hours +14 Hours
Rest of World: use Λ and V keys to select o set from Universal time (GMT) for the
location in which the thermostat is being installed.
Option 10 - Frost/ thermostat mode setting
This feature allows the default frost/thermostat mode
temperature to be set. Press + until Option 10 is displayed, use
Λ and V to select required setting.
5-40°C - Factory setting is 8°C, but can be changed to any value between 5 -40°C.
20
Mit den Tasten Λ“ und V“ aktivieren oder
deaktivieren Sie die Funktion (1=aktiviert,
0=deaktiviert).
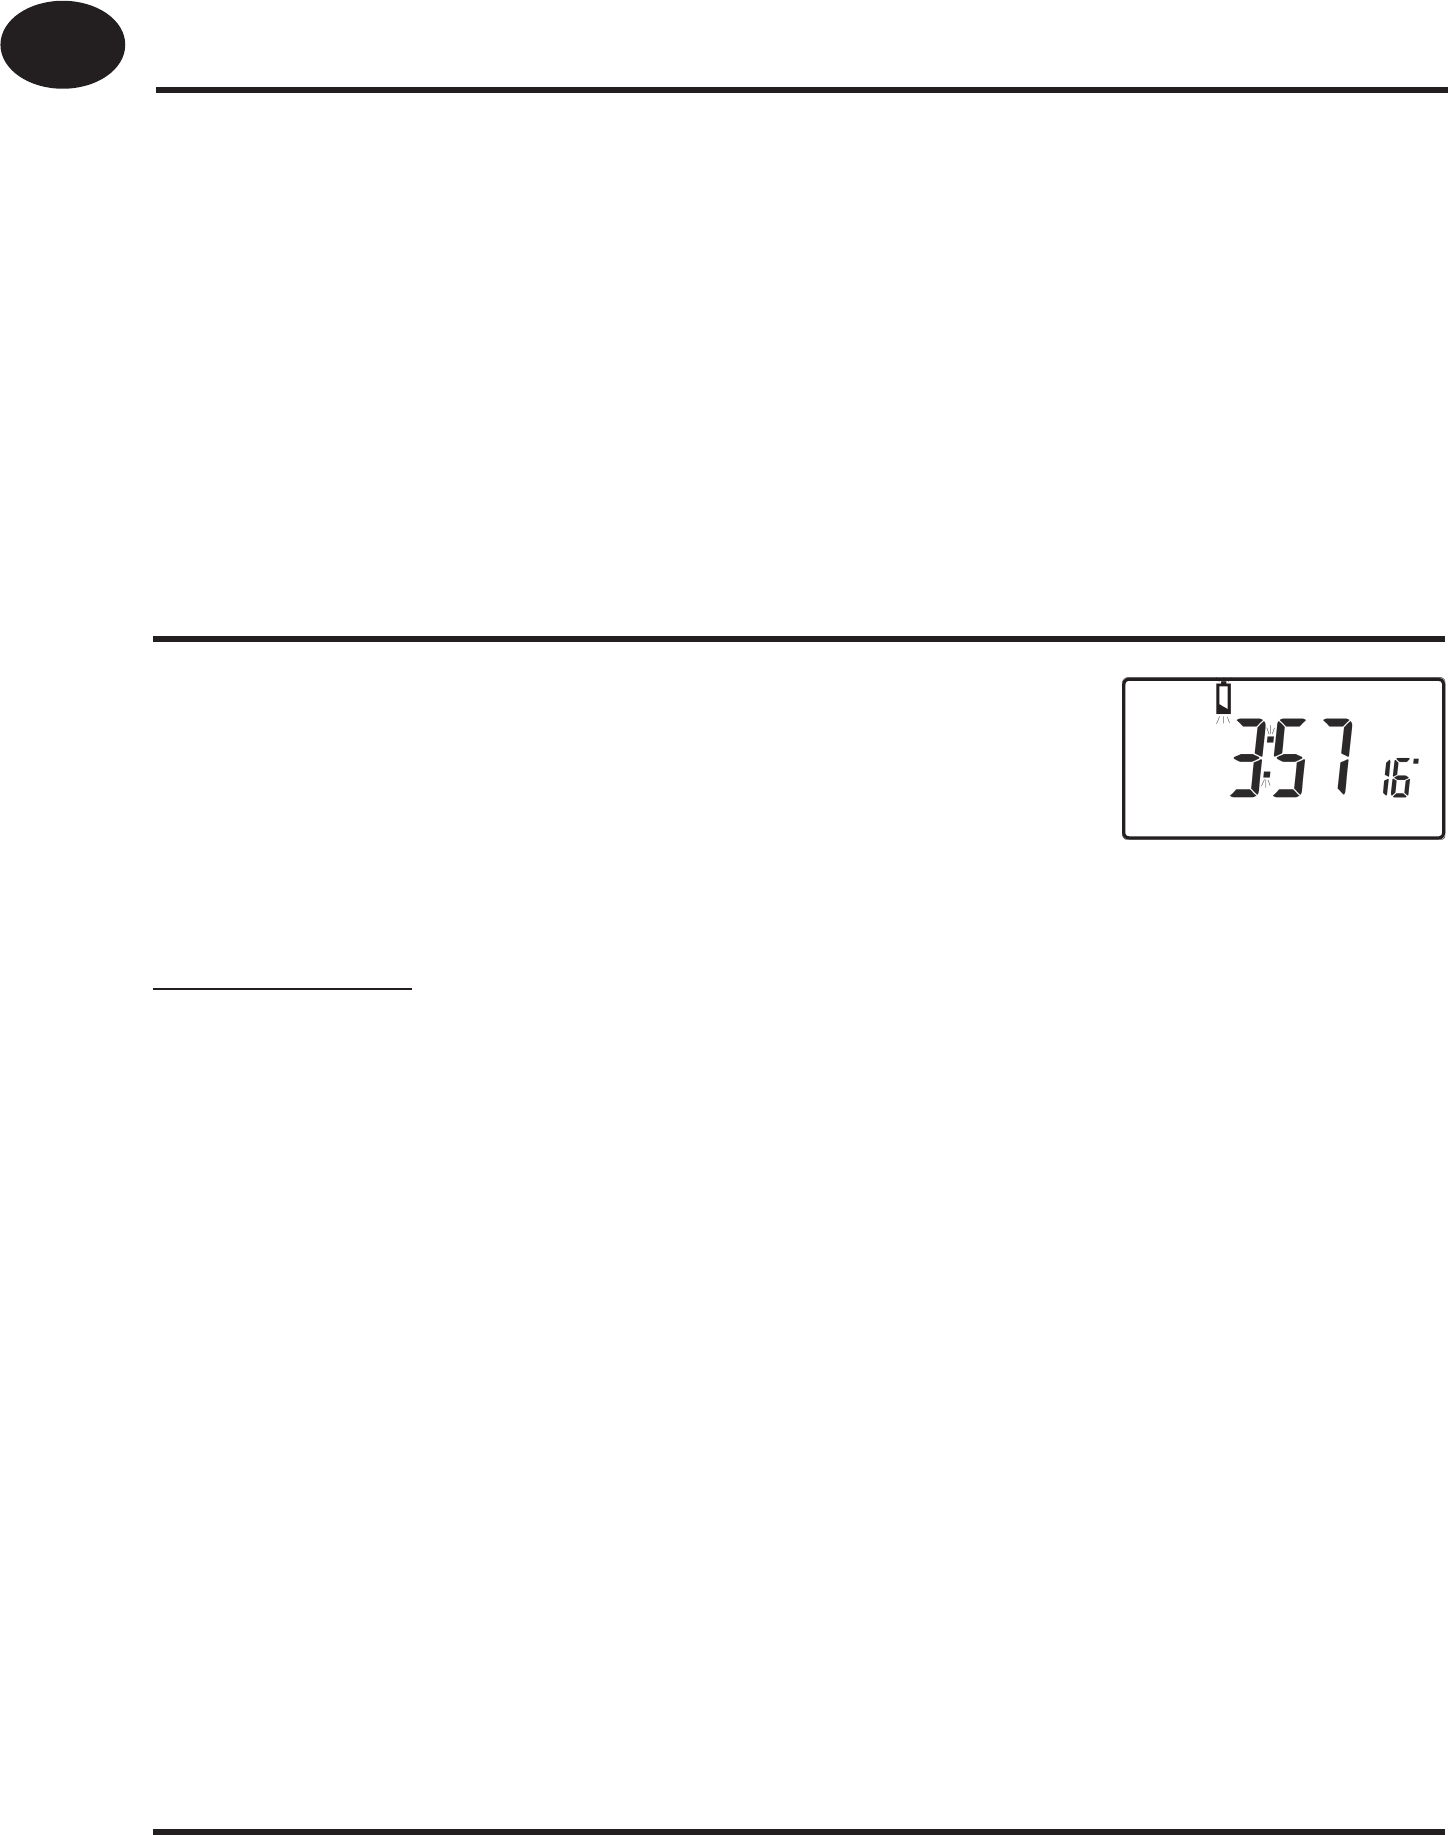
Drücken Sie fünf Sekunden lang die Taste „PROG
bis die Anzeige wechselt und der Doppelpunkt in
der Anzeige blinkt. Dies bedeutet, dass Sie in der
Betriebsart RUN sind.
Drücken Sie ein Mal PROG. Auf der Anzeige sehen
Sie nun die standardmäßig dem Programm „A
zugeordneten Tage (Tage 1, 2, 3, 4, und 5).
Mit den Tasten +“ und -“ können Sie vor und
zurück durch die Wochentage scrollen.
Um einen Tag zu entfernen (zum Beispiel Tag 2), drücken Sie V. Um
einen Tag hinzuzufügen (zum Beispiel Tag 7, Sun), drücken Sie Λ“.
Alle nicht hinzugefügten Tage werden automatisch Programm „B“
zugeordnet.
Tage und Schaltpunkte für Programm „A“ programmieren
a) Drücken Sie „PROG, bis die erste voreingestellte
Zeit und Temperatur (Schaltpunkt 1, Programm
A) in der Anzeige erscheinen.
b) Stellen Sie die ZEIT mit den Tasten +“ und -“ ein. (Durch Drücken
und Halten können Sie sie in 10-Minuten-Schritten ändern.)
c) Stellen Sie mit den Tasten Λ“ und V“ die gewünschte TEMPERATUR
ein.
d) Schalten Sie mit „PROG“ zur nächsten voreingestellten Zeit und
Temperatur weiter (Ereignis 2).
e) Wiederholen Sie die Schritte b, c und d, um die verbleibenden
Schaltpunkte zu programmieren.
Tage und Ereignisse für Programm „B“ programmieren
a) Drücken Sie „PROG, bis die erste voreingestellte
Zeit und Temperatur (Schaltpunkt 1, Programm
B) in der Anzeige erscheinen.
b) Stellen Sie die ZEIT mit den Tasten +“ und -“ ein. (Durch Drücken
und Halten können Sie sie in 10-Minuten-Schritten ändern.)
c) Stellen Sie mit den Tasten Λ“ und V“ die gewünschte TEMPERATUR ein.
Bedienungsanleitung
D
30
Nota: Si se con guran 4 eventos diarios, se anulan los eventos 3 y 4. Si
se con guran 2 eventos diarios, se anulan los eventos 2, 3, 4 y 5 y los
eventos se renumeran
Antes de comenzar
Abra la tapa del frente del cronotermostato y pulse
el botón RESET (Reinicio) con un objeto no metálico
hasta que la pantalla quede en blanco. Esto asegurará
la activación de los programas de fábrica y el correcto
funcionamiento del microprocesador del equipo.
Con guración de la pantalla de acuerdo a sus necesidades
Para su información: tenga en cuenta que en estas instrucciones se
asume que la pantalla está con gurada para utilizar un reloj de 24
horas, la temperatura está expresada en °C y los días de la semana están
numerados del 1 al 7 (donde 1 es el lunes). Todos estos ajustes pueden
ser personalizados después de haber programado el termostato; para
ello vea las página 35.
Ajuste de la fecha y la hora correctas
Su TP5001 tiene incorporado un reloj de tiempo real con función
calendario que cambia automáticamente la hora en primavera y en
otoño. La hora y la fecha están  jadas de fábrica para la zona horaria CET,
y normalmente no necesita ajustarse. Si usted vive en otra zona horaria
consulte el párrafo Corrección de la zona horaria en la página 39. Sin
embargo, si fuera necesario ajustar la hora y la fecha por cualquier otro
motivo utilice las instrucciones que se indican a continuación.
Días de semana (Lun. a Vie.) Fin de semana (Sab. y Dom.)
Evento Hora Temp. °C Evento Hora Temp. °C
1 06:30 20 1 07:30 20
2 08:30 15 2 09:30 20
3 11:30 20 3 11:30 20
4 13:30 15 4 13:30 20
5 16:30 21 5 16:30 21
6 22:30 15 6 22:30 15
Nota: estos horarios también se usan
en los programas del bloque A
Nota: estos horarios también se usan
en los programas del bloque “B”
RESET
Instrucciones del usuario
ES
2


Need help? Post your question in this forum.

Forumrules


Report abuse

Libble takes abuse of its services very seriously. We're committed to dealing with such abuse according to the laws in your country of residence. When you submit a report, we'll investigate it and take the appropriate action. We'll get back to you only if we require additional details or have more information to share.

Product:

For example, Anti-Semitic content, racist content, or material that could result in a violent physical act.

For example, a credit card number, a personal identification number, or an unlisted home address. Note that email addresses and full names are not considered private information.

Forumrules

To achieve meaningful questions, we apply the following rules:

Register

Register getting emails for Danfoss TP5001Range gebruik at:


You will receive an email to register for one or both of the options.


Get your user manual by e-mail

Enter your email address to receive the manual of Danfoss TP5001Range gebruik in the language / languages: English, German, Dutch, Danish, French, Italian as an attachment in your email.

The manual is 3,48 mb in size.


You will receive the manual in your email within minutes. If you have not received an email, then probably have entered the wrong email address or your mailbox is too full. In addition, it may be that your ISP may have a maximum size for emails to receive.

The manual is sent by email. Check your email

If you have not received an email with the manual within fifteen minutes, it may be that you have a entered a wrong email address or that your ISP has set a maximum size to receive email that is smaller than the size of the manual.

The email address you have provided is not correct.

Please check the email address and correct it.

Your question is posted on this page

Would you like to receive an email when new answers and questions are posted? Please enter your email address.


Info