3) Nun können Sie das Gerät hinzufügen. Geben Sie nicht die Standard-Portnummer wie TCP-Port in der
Abbildungs-Portnummer ein. Die Geräte-ID hier muss die gleiche ID sein, die Sie in Abbildung 4-100
eingegeben haben. Klicken Sie auf Hinzufügen (Add), um die Einstellung zu beenden.
4) Jetzt können Sie den Proxy-Server hochfahren. Wird der Netzwerkstatus als Y angezeigt, so ist Ihre
Registrierung in Ordnung. Sie können den Proxy-Server anzeigen, wenn das Gerät online ist.
Wichtiger Hinweis
Die Server IP-Adresse kann ebenfalls Domain sein. Sie müssen jedoch einen Domainnamen registrieren, bevor Sie
den Proxy-Geräteserver ablaufen lassen.
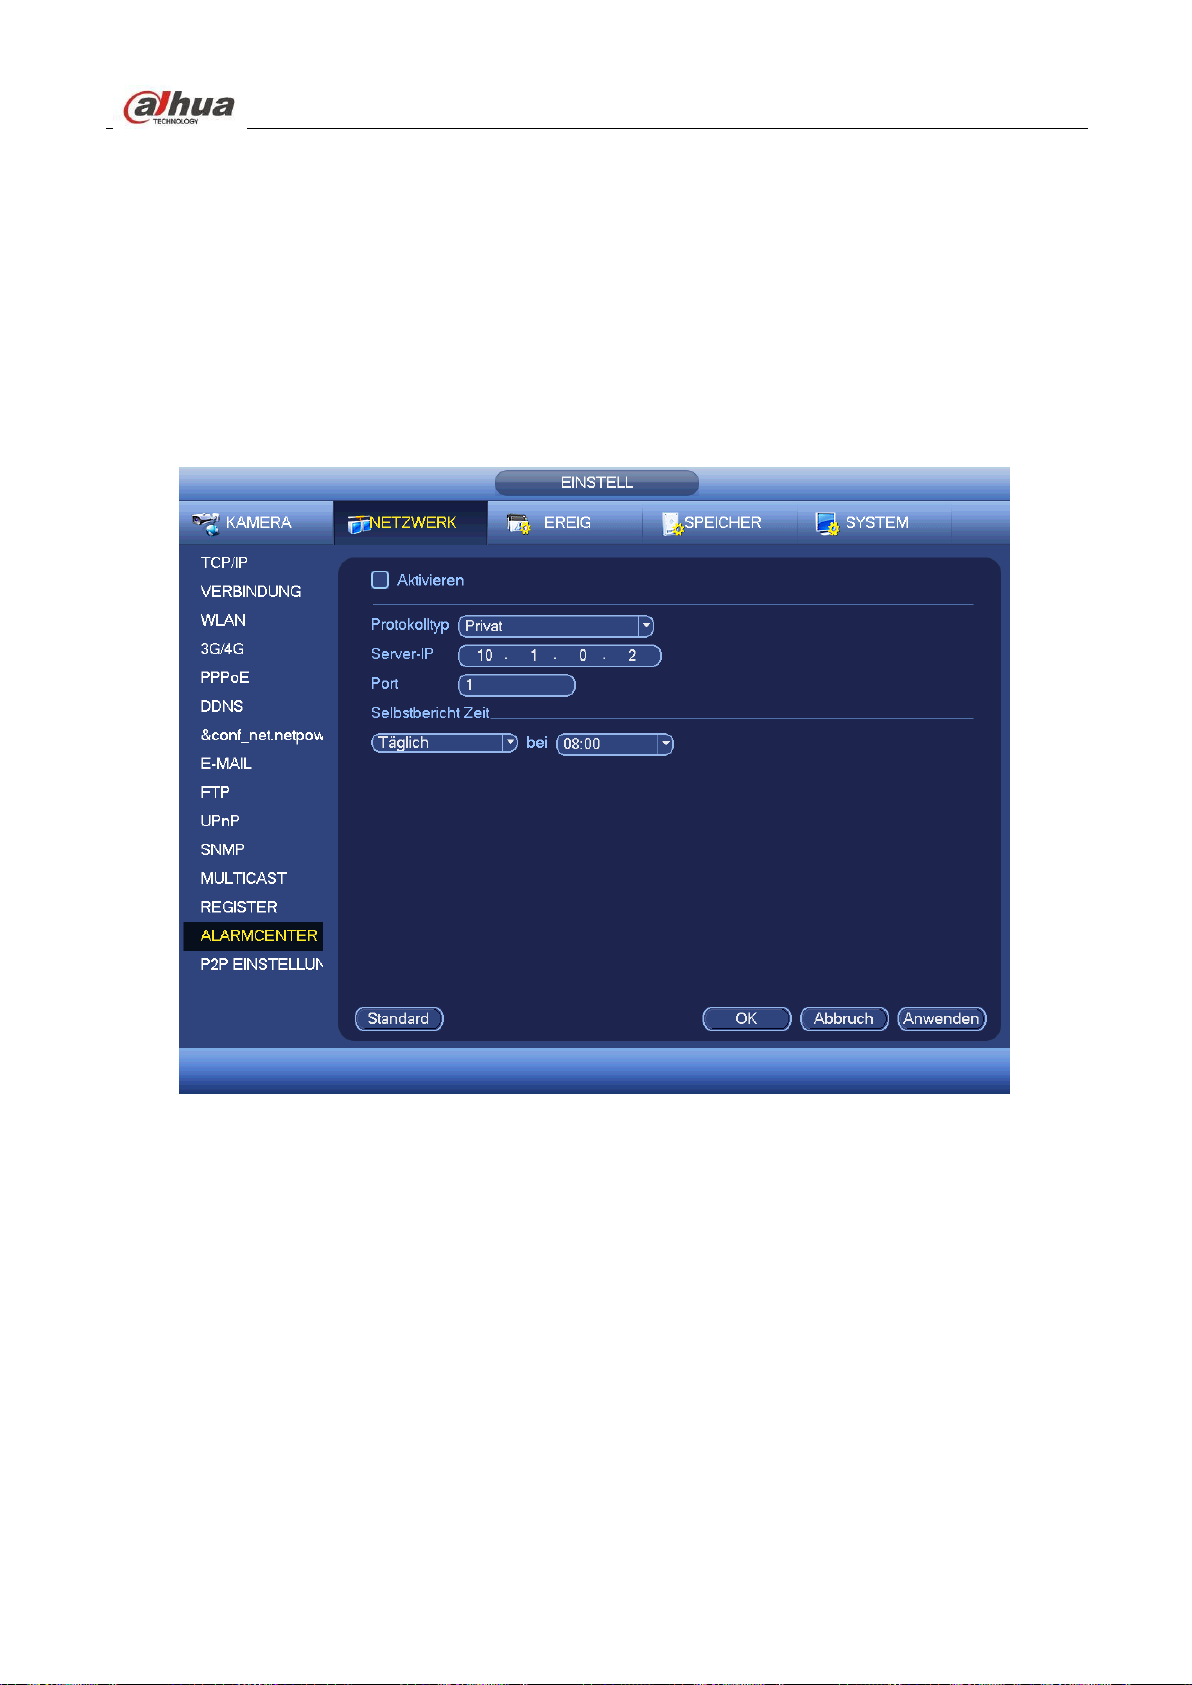
4.11.2.14 Alarmcenter
Das Menü ist für Ihre Entwicklung reserviert. Siehe Abbildung 4-101.
Abbildung 4-101
4.11.2.15 P2P
Verwenden Sie Ihr Smartphone zum Scannen des QR-Codes und fügen Sie ihn als Smartphone-Client hinzu.
Über die SN vom Scannen des QR-Codes haben Sie im WAN Zugriff auf das Gerät. Siehe
P2P-Bedienungsanleitung auf der Ressourcen-CD.
Von Hauptmenü -> Einstellung -> Netzwerk -> P2P (Main menu -> Setting -> Network -> P2P) navigieren Sie zum
nachstehenden Menü, das Menü P2P ist in Abbildung 4-102 dargestellt.
Haken Sie Aktivieren ab, um die P2P-Funktion zu aktivieren und klicken Sie auf Speichern. Jetzt können Sie den
Gerätestatus und die SN anzeigen.