2120
Timer recording using ShowView
ShowView is an automatic system which makes it easier to set the timer.
Press PROG. to select the ShowView screen. (If ShowView
mode does not appear on the screen, it is not available on
your video. Go to page 21).
ShowView numbers are shown in TV guides.
From your current TV guide, type in the number next to the
programme you want to record using the number buttons 0-9.
Press OK to confirm.
1
0-9:SHOWVIEW NUMBER
:CORRECT
OK:CONFIRM MENU:END
SHOWVIEW
83077----
2
Press PR+ or PR- to select how often you want to make the
recording, for example, once, weekly and so on.
Press OK to confirm.
If you wish to change any details:
Move to the details you want to change using the /
buttons.
Change the setting using the PR+ or PR- or number buttons 0-9.
If all the settings are correct, press OK. The on screen display
will remind you to enter a cassette and turn the video off.
3
4
Press to switch your video off. Your video will not
record unless you do this.
You can switch the video on again if you want to set the timer
to record another programme. Remember to switch the video
off when you have finished setting the timer.
If VPS/PDC does not appear on the screen, it is not available on your video.
VPS=Video Programming System PDC= Programme Delivery Control.
• VPS/PDC sets your video to adjust the start times of your timed recording. This happens even if a
programme starts earlier or later than advertised.
VPS/PDC works when the broadcaster sends a signal, but the signal is not always sent.
If you are not sure the signal will be sent, it is best to switch VPS/PDC off.
•
If there is no programme number displayed under ‘PR’ in the change menu, the video doesn’t yet
know the number for the programme you want. Type it in and this will be stored for later recordings.
•
If you wish to record from a satellite receiver, select under ‘PR’ the satellite programme or AV
(depending whether the video is connected with the antenna cable or the scart-cable). Leave the
satellite tuner switched on and set the programme you want to record.
• The video will warn you if you have set the timer to start recording a second programme before the
first recording has finished.
• To stop the recording after it has already started, press and hold the STOP button for about
five seconds until the video stops recording.
• ShowView and ShowView code are trademarks of Gemstar Development Corporation.
ShowView system is manufactured under license from Gemstar Development Corporation.
HOW OFTEN DO YOU WANT
TO RECORD THIS PROGRAM?
PR+/-:SELECT
OK:CONFIRM MENU:END
ONCE
WEEKLY(ONCE A WEEK)
DAILY(MON-FRI)
DAILY(MON-SAT)
DAILY(MON-SUN)
TIMER PROGRAM (ONCE)
PR 03
START TIME 21:20
END TIME 22:20
START DATE 14/09(WED)
TAPE SPEED SP
VPS/PDC ON
PR+/-:SELECT (AV1/AV2)
0-9 : SETUP (PR)
/ :CORRECT
OK:CONFIRM MENU:END
Normal timer recording
◆ For timer recordings, clock, date, and stations must be set correctly.
◆ Load a cassette with its safety tab in place (see page 25) and with enough free tape for the recording.
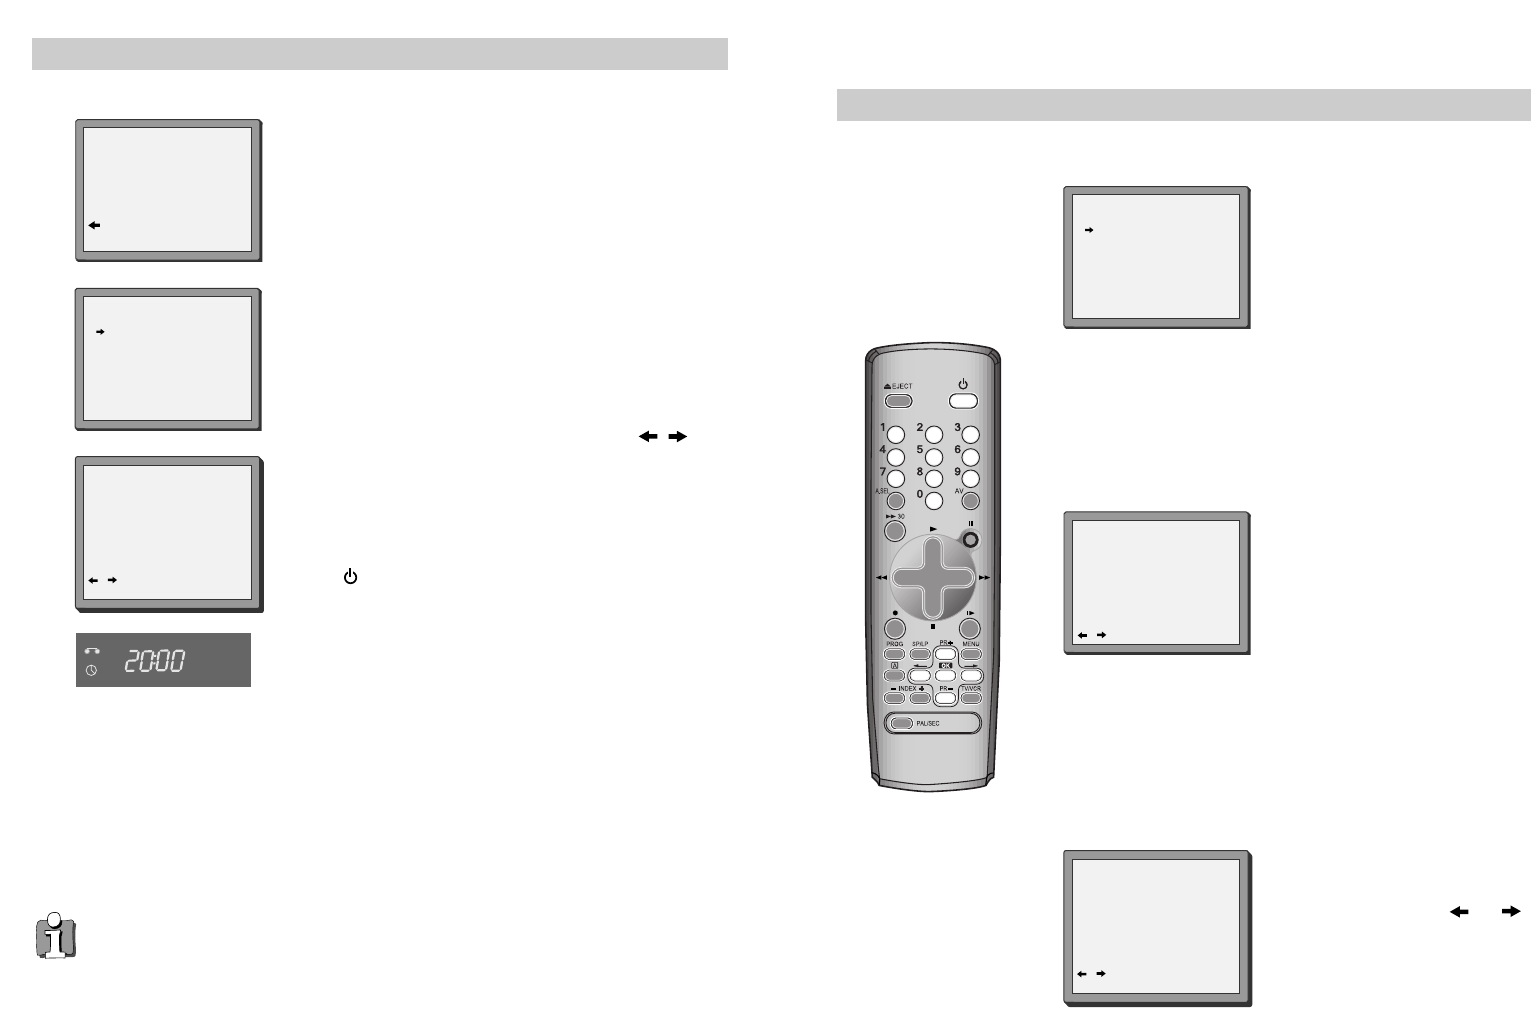
1
Press MENU.
Choose "Timer Program" by
pressing OK.
There are positions for eight timer
programs.
Press PR+ or PR- to select an
unused program, for example ‘- - - -’
then press OK to confirm.
Press PR+ or PR- to select how
often you want to make the
recording, for example, once, weekly
and so on. Press OK to confirm.
2
3
PR+/-:SELECT (AV1/AV2)
0-9 :SETUP(PR)
/ :CORRECT MENU:END
PR --
START TIME --:--
END TIME --:--
START DATE --/--
TAPE SPEED SP
VPS/PDC OFF
TIMER PROGRAM (ONCE)
◆ PR : Use PR+ if you want to choose
the AV channel (see page 9) or 0 to 9
for other channels.
◆ Start time : Use buttons 0 to 9 to
enter the start time.
◆ End time : Use buttons 0 to 9 to enter
the end time.
◆ Start date : Use buttons 0 to 9 to
enter the date.
◆ Tape Speed : Use PR+ if you want to
choose LP (see page 19).
◆ VPS/PDC : Use PR+ if you want to
switch VPS/PDC on (see page 20).
If VPS/PDC does not appear on the screen,
it is not available on your video.
If you want to change any of the
details. Move to the details you
want to change using the and
buttons.
Change the setting using the PR+ or
PR- or number buttons 0 to 9.
These buttons are used
on the following two
pages.
HOW OFTEN DO YOU WANT
TO RECORD THIS PROGRAM?
PR+/-:SELECT
OK:CONFIRM MENU:END
ONCE
WEEKLY(ONCE A WEEK)
DAILY(MON-FRI)
DAILY(MON-SAT)
DAILY(MON-SUN)
TIMER PROGRAM (ONCE)
PR 01
START TIME 18:10
END TIME 20:30
START DATE 19/09(MON)
TAPE SPEED LP
VPS/PDC ON
PR+/-:SELECT (AV1/AV2)
0-9 : SETUP (PR)
/ :CORRECT
OK:CONFIRM MENU:END