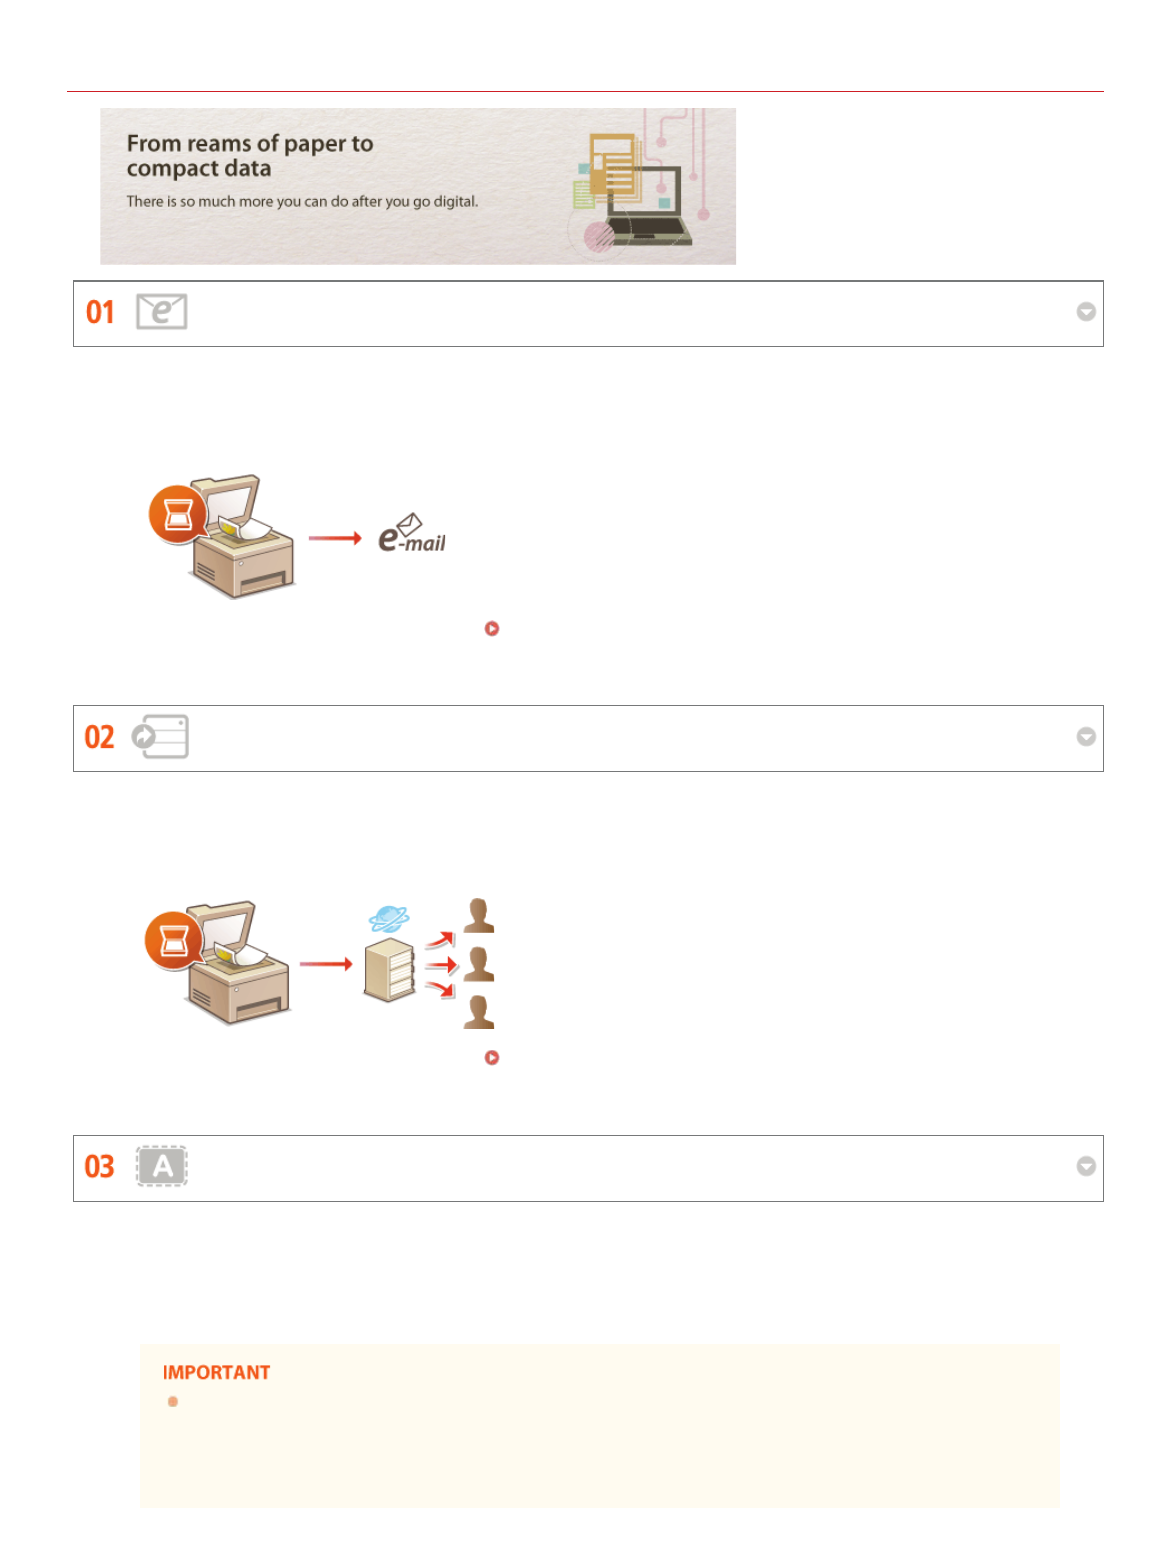
Example: Scanning to e-mail/I-Fax/shared folder/FTP Server
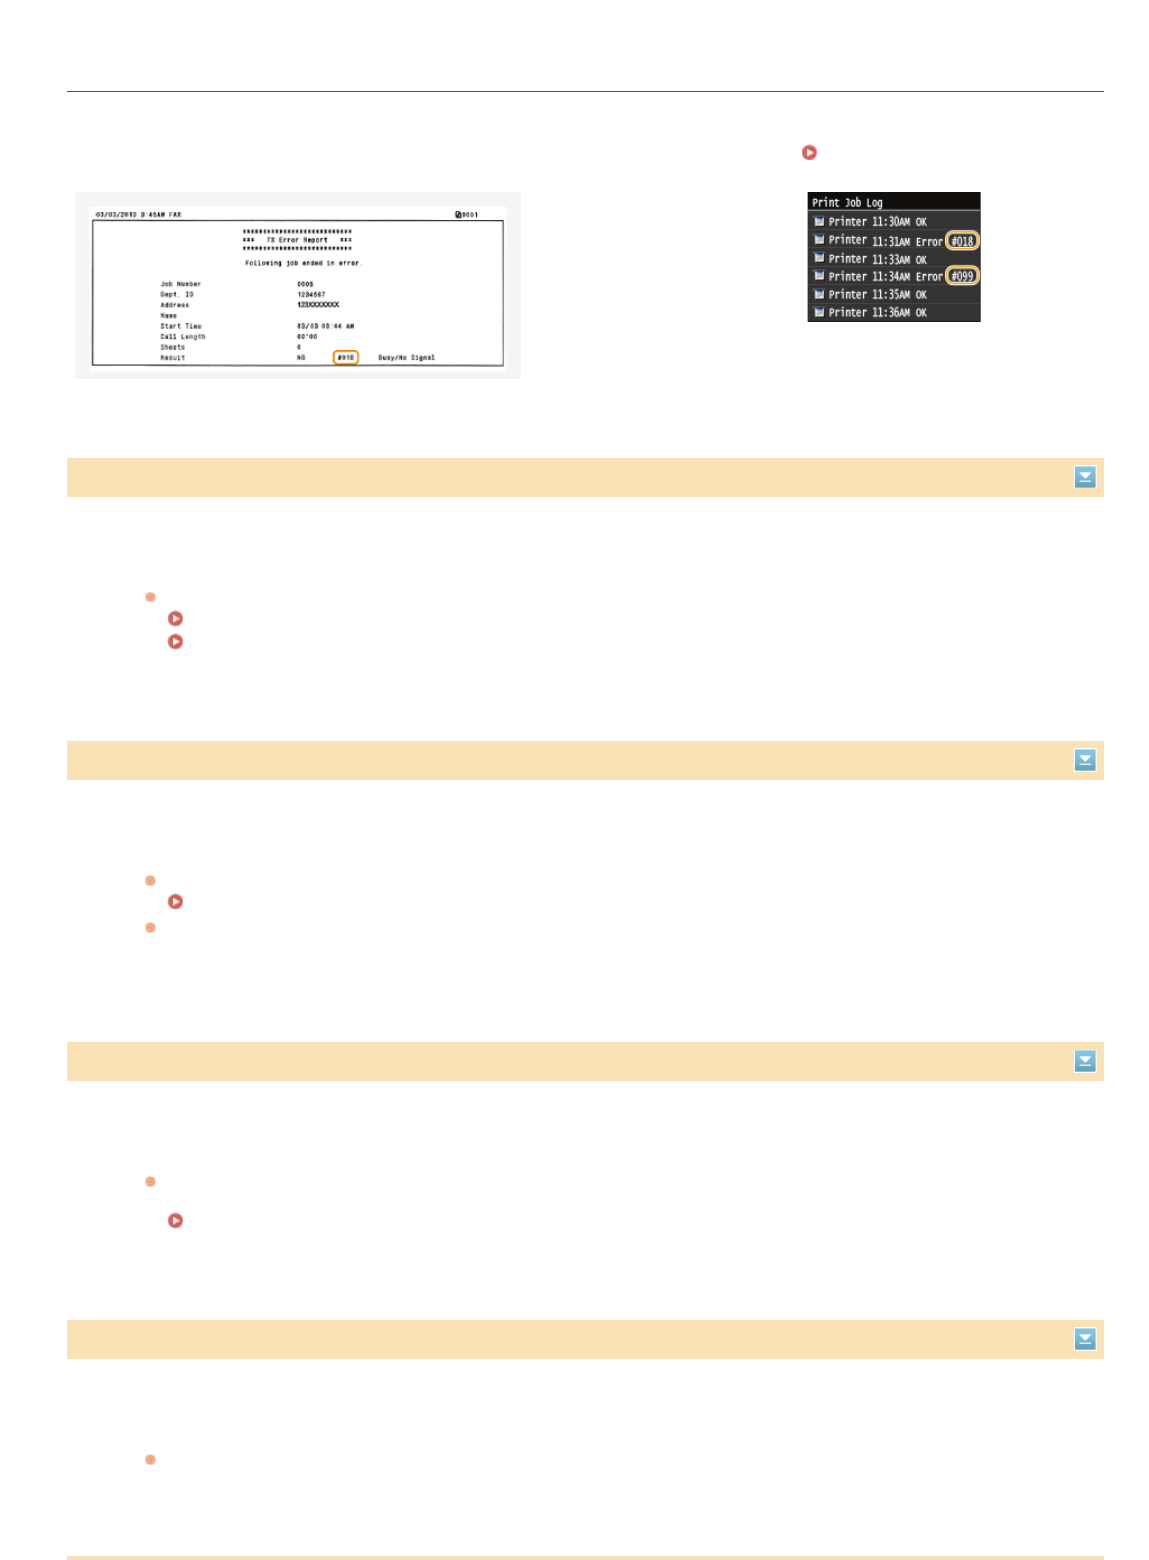
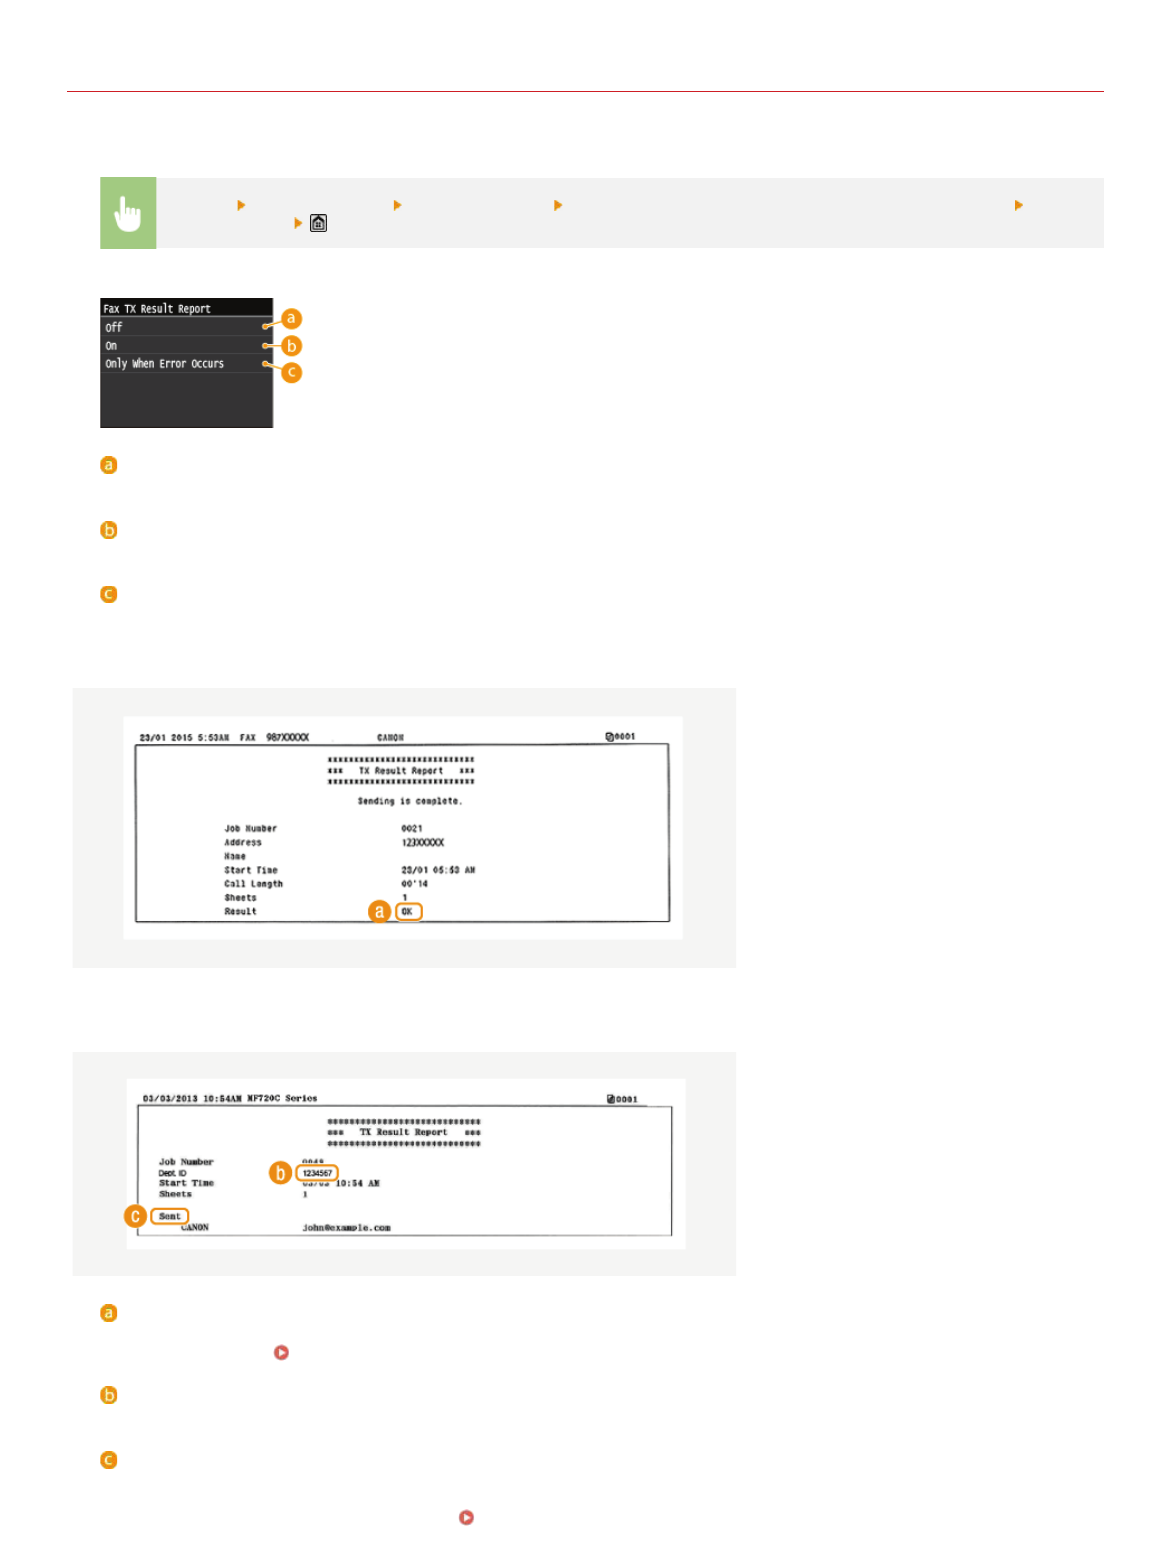
Result
"OK" indicates that the transmission was completed successfully while "NG" and three digits (an error code) indicates that the
transmission failed (
When an Error Code Appears).
Department ID
The Department ID is shown when Department ID Management is enabled.
Sent/Error
For e-mail, TX Result Reports indicate the transmission result between the machine and the mail server, not between the machine
and the destination address. Even if the transmission fails, a three-digit error code will not be printed. To check the error code,
print a Communication Management Report (
Communication Management Report).
㻢㻡㻤㻌㻛㻌㻣㻟㻡
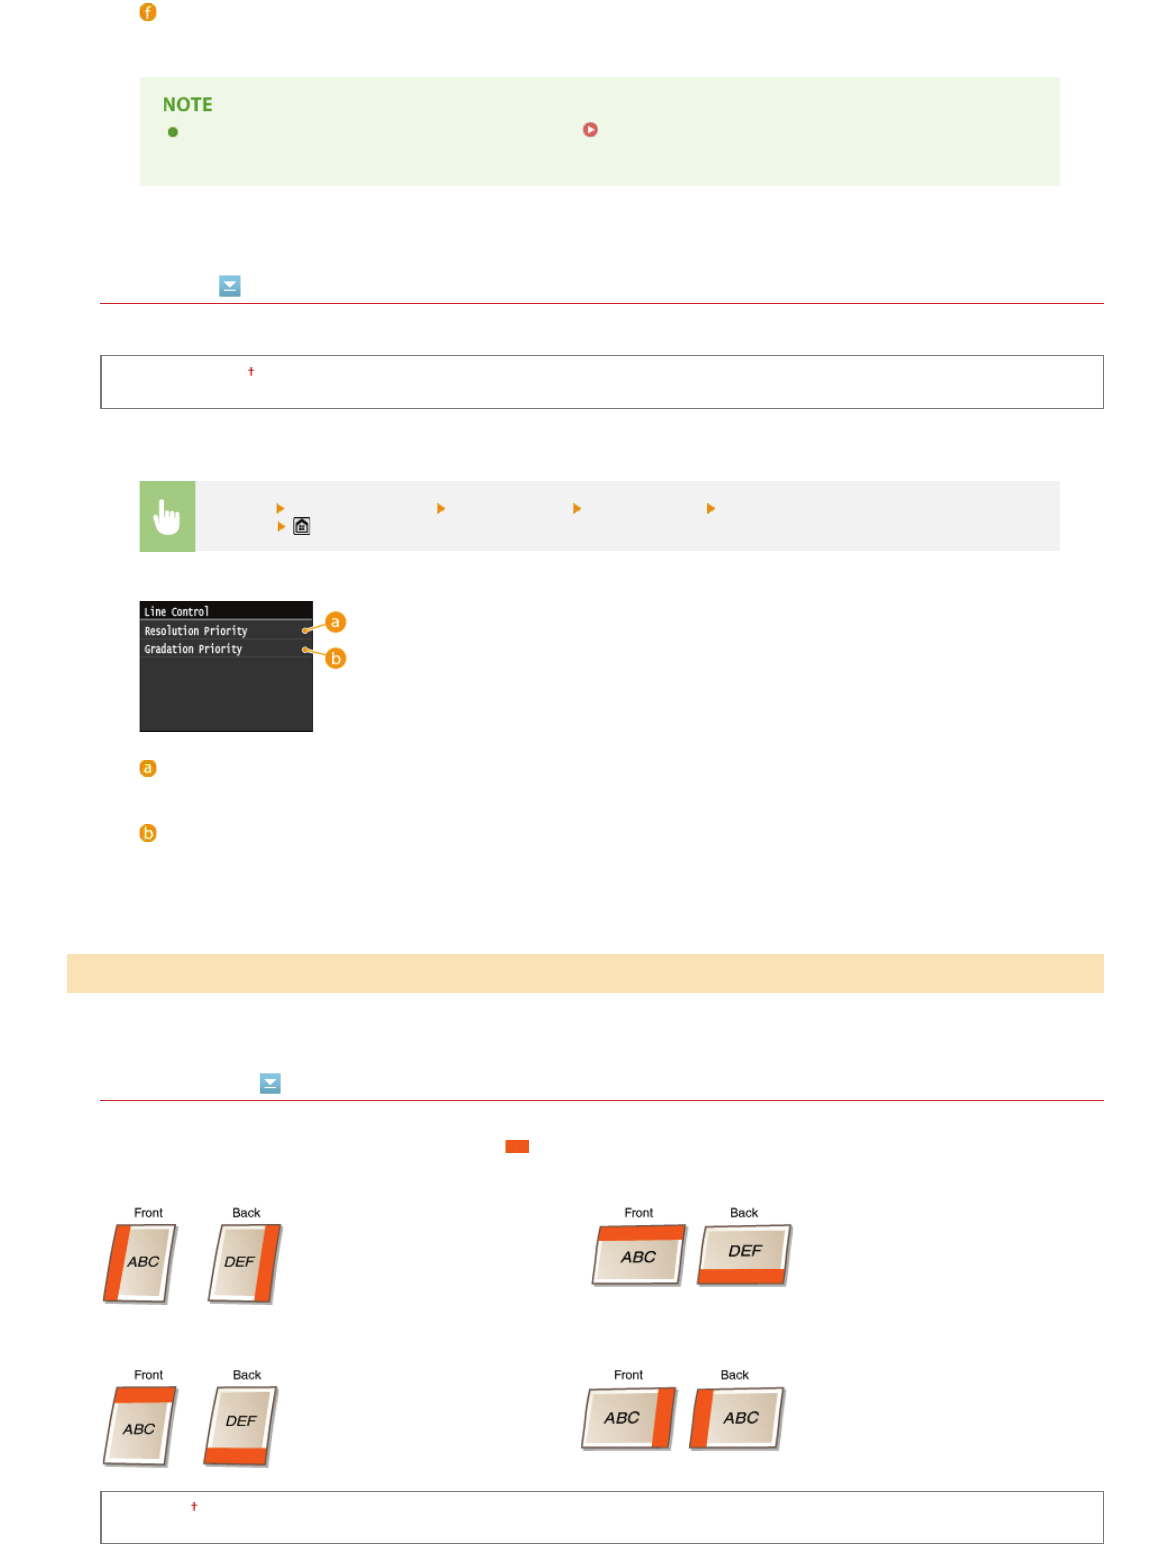
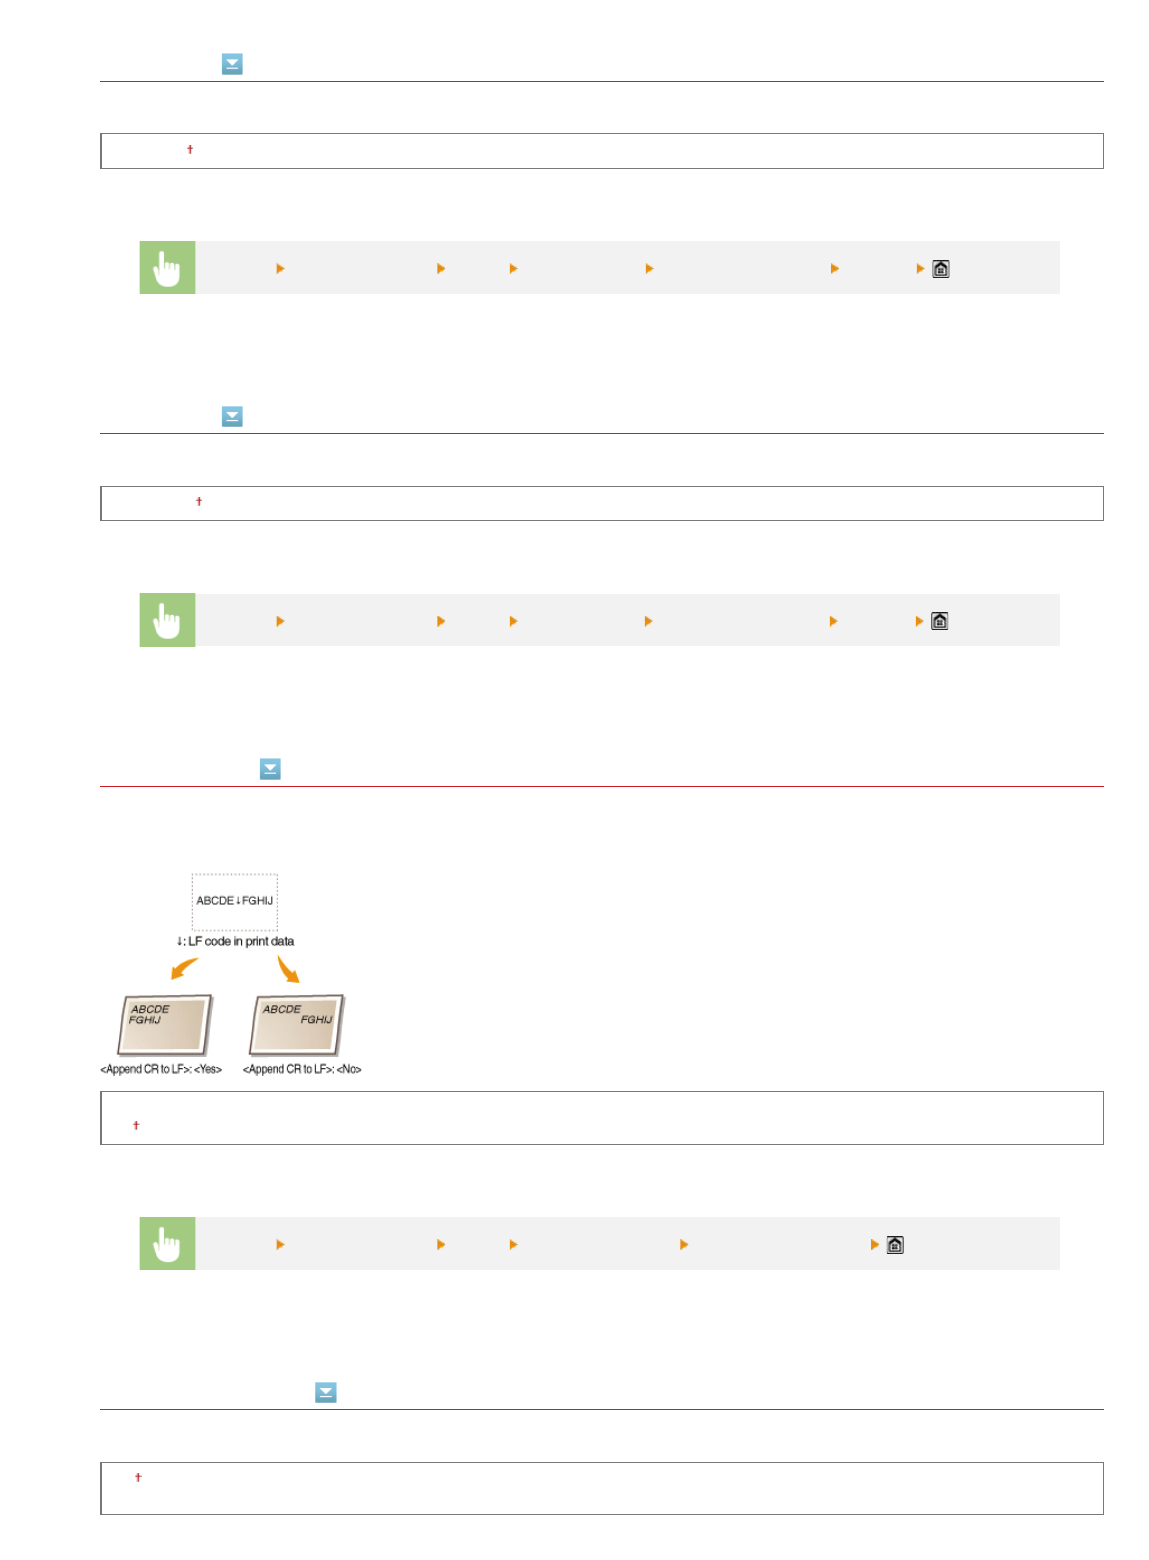
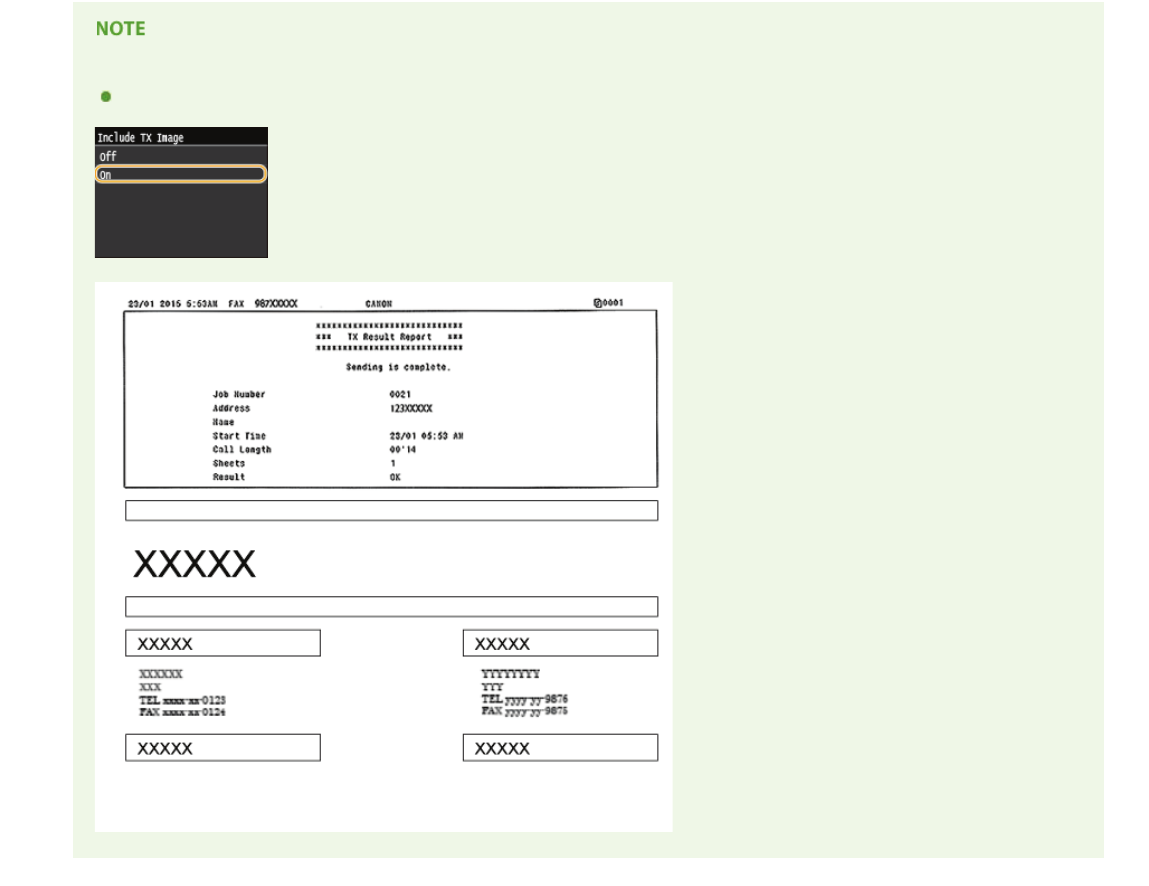
To print a part of a fax document on the report
When you select <On> or <Only When Error Occurs>, a part of a fax document can be included in the report. Set <Include TX
Image> to <On>.
㻢㻡㻥㻌㻛㻌㻣㻟㻡
0SCJ-0E0
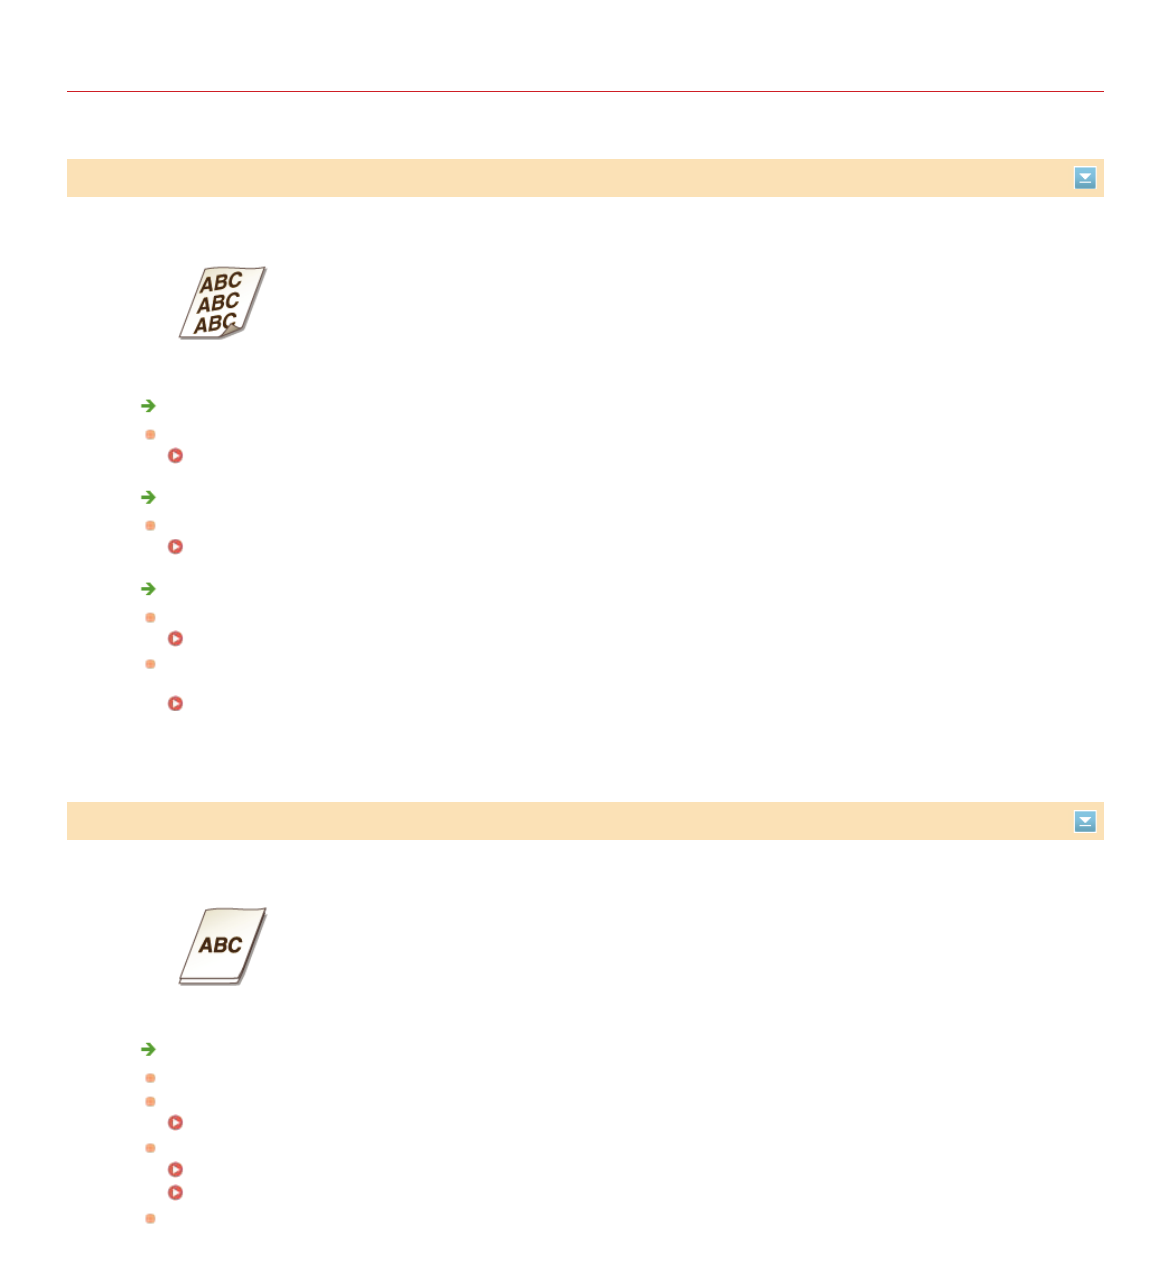
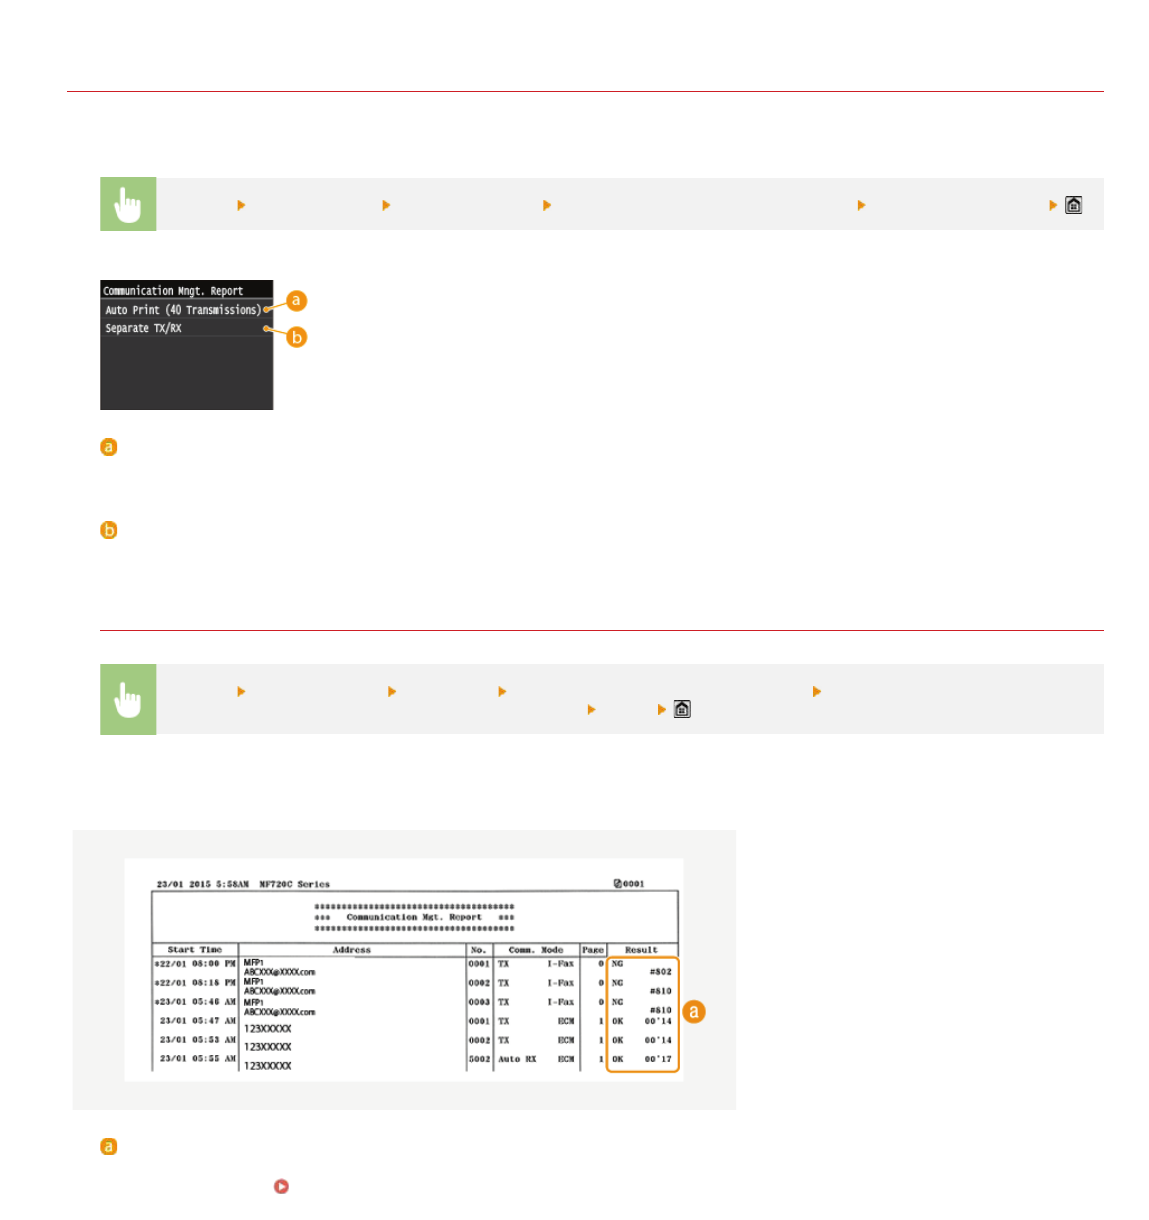
Communication Management Report
You can check the fax and e-mail logs of sent and received documents by printing a Communication Management Report. The report can
be printed automatically after every 40 transmissions, or you can print it manually.
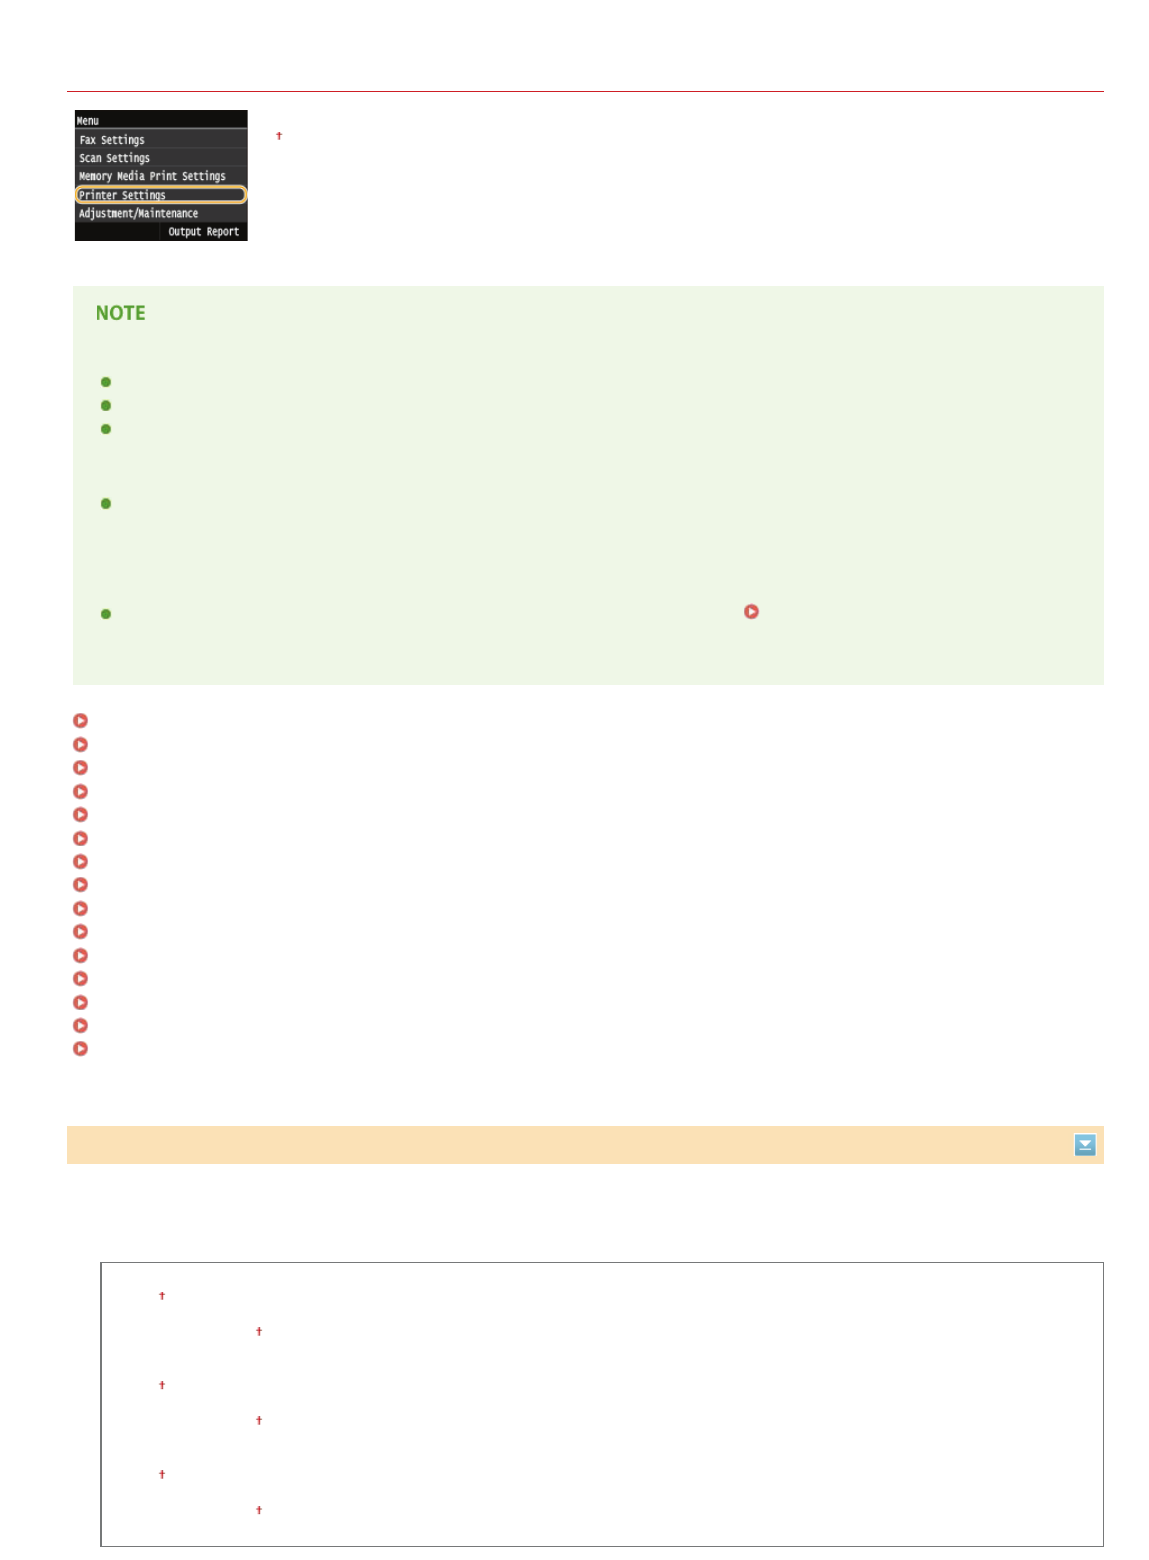
<Menu>
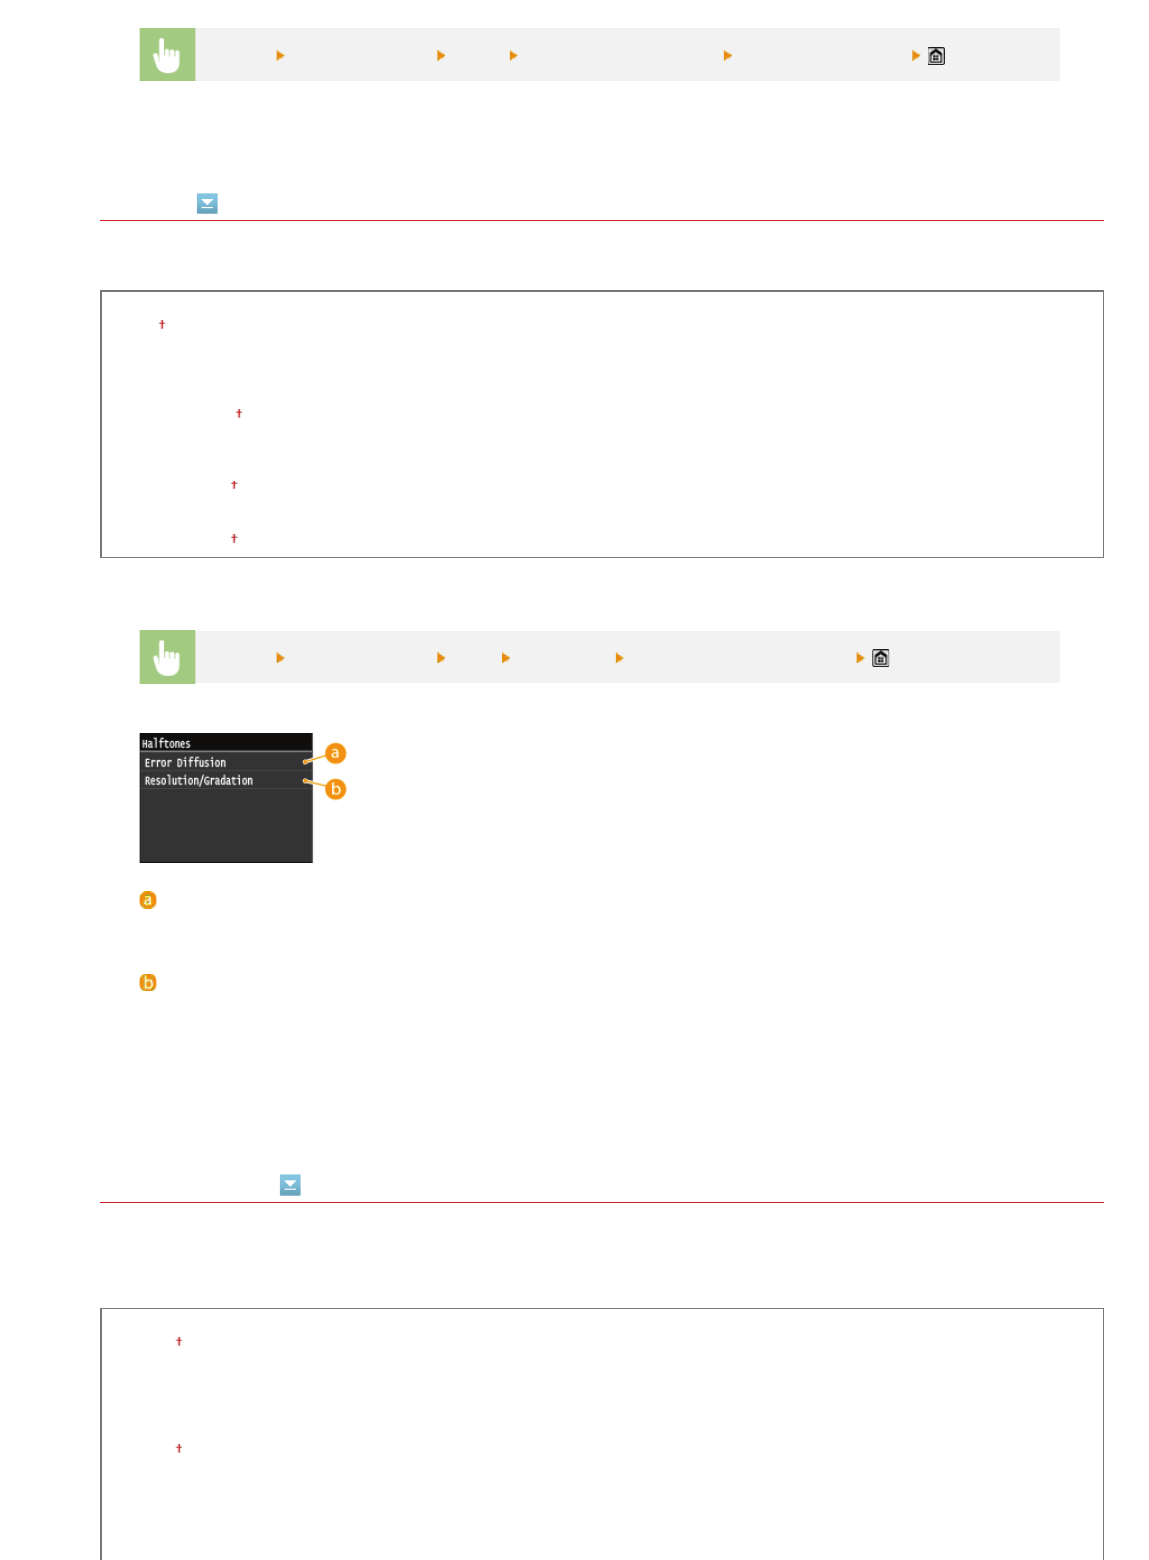
<Output Report> <Report Settings><Communication Management Report>Select the print setting
<Auto Print (40 Transmissions)>
Select <On> to print the report automatically after every 40 transmissions, or <Off> if you do not want to print the report
automatically.
<Separate TX/RX>
Select <On> to print sent and received reports separately, or <Off> to print both reports on one sheet.
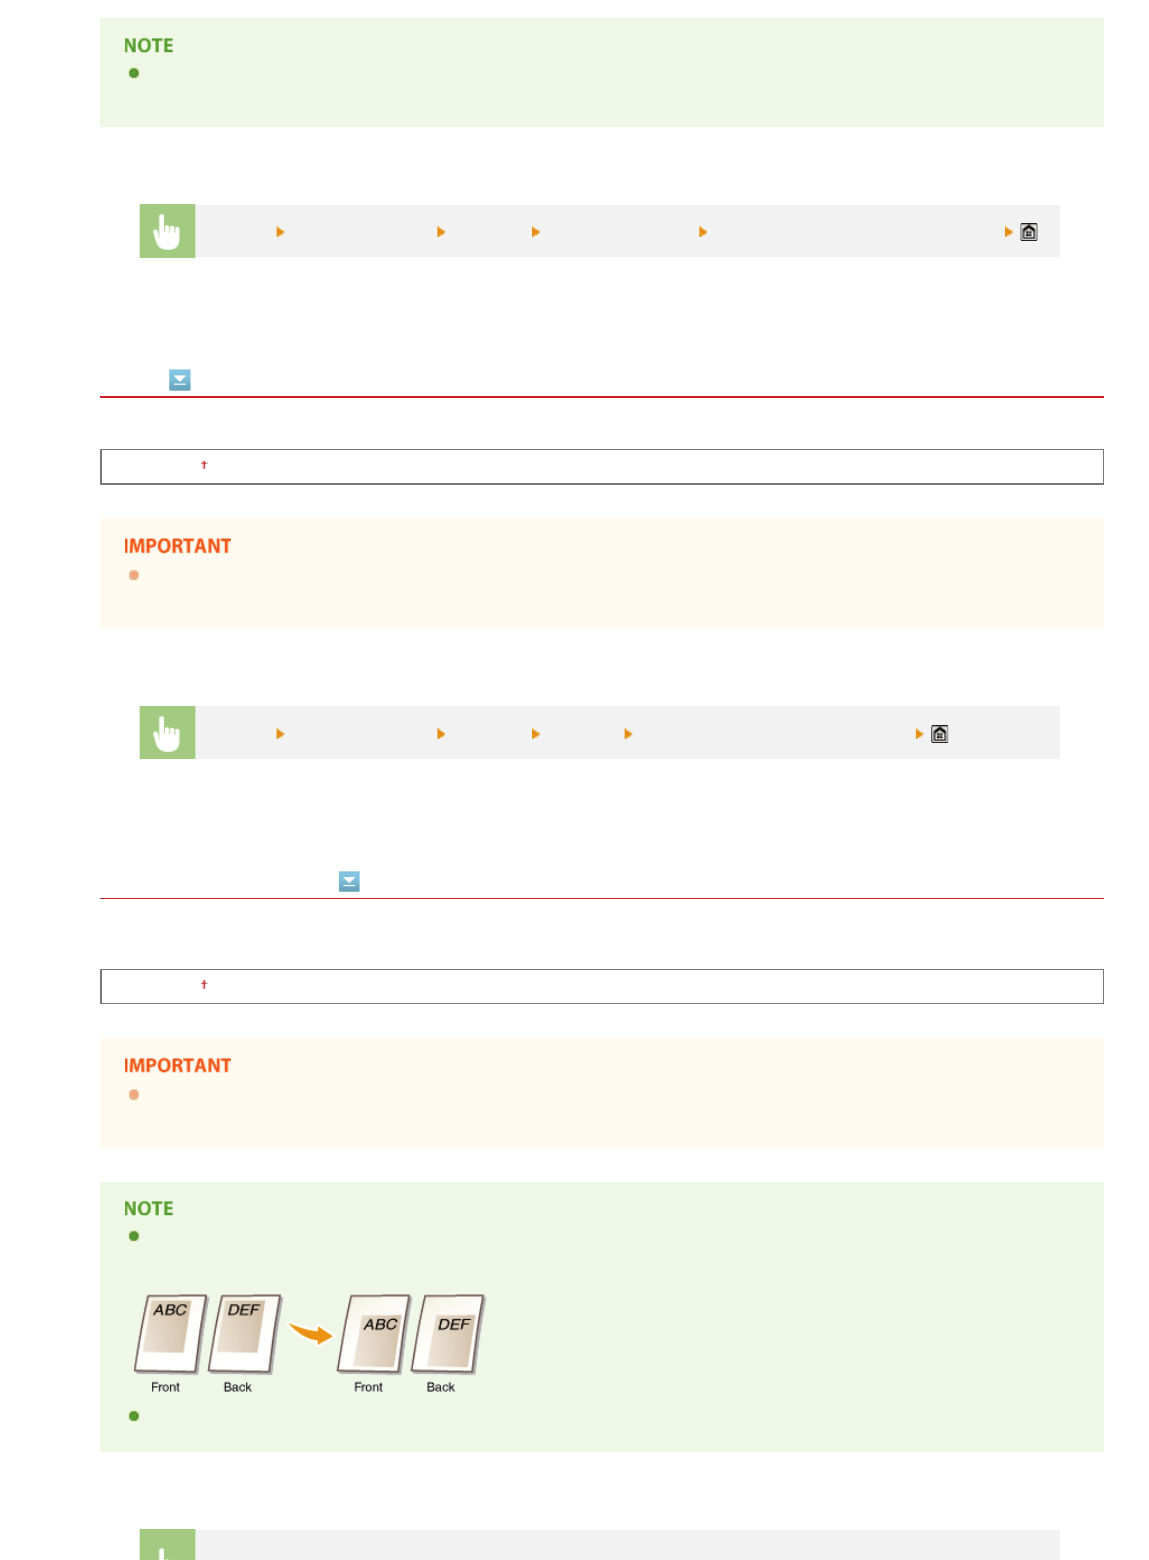
Print the Report Manually
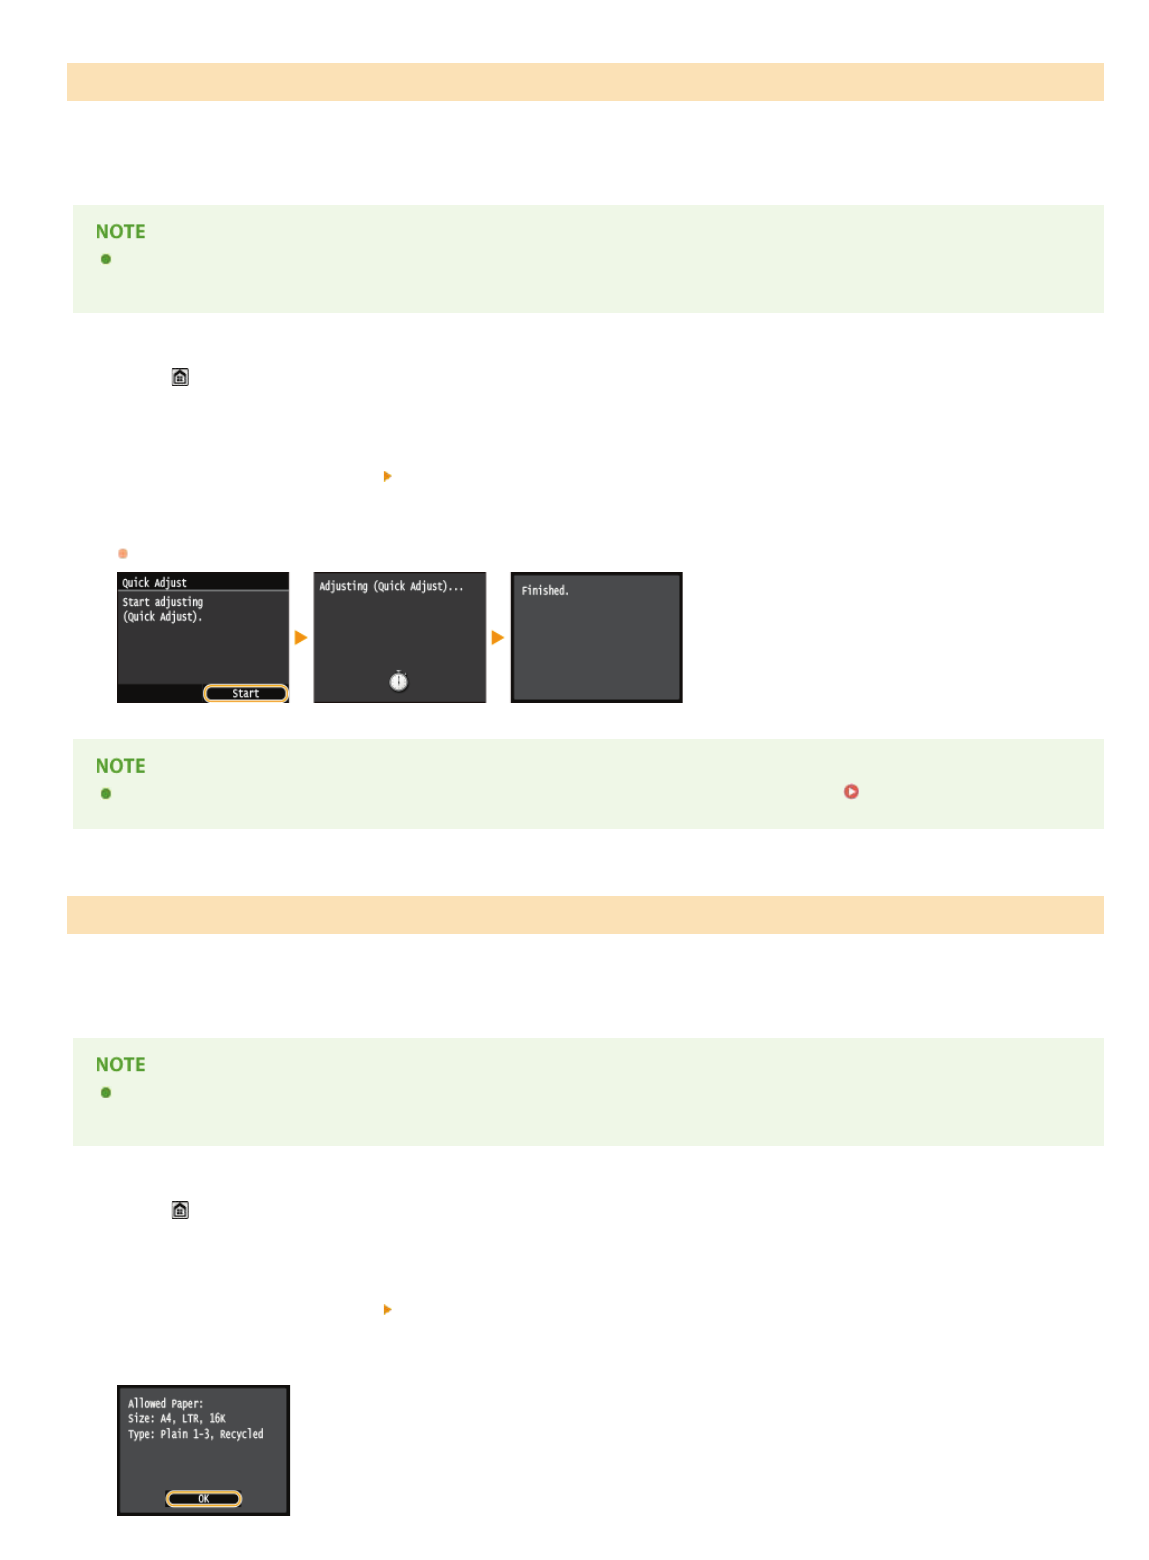
<Menu> <Output Report> <Print List><Communication Management Report>Check that the size and type of
paper displayed on the screen is loaded in the machine
<Yes>
Example:
Result
"OK" indicates that the transmission was completed successfully while "NG" and three digits (an error code) indicates that the
transmission failed (
When an Error Code Appears). For e-mail, Communication Management Reports indicate the transmission
result between the machine and the mail server, not between the machine and the destination address.
㻢㻢㻜㻌㻛㻌㻣㻟㻡
0SCJ-0E1
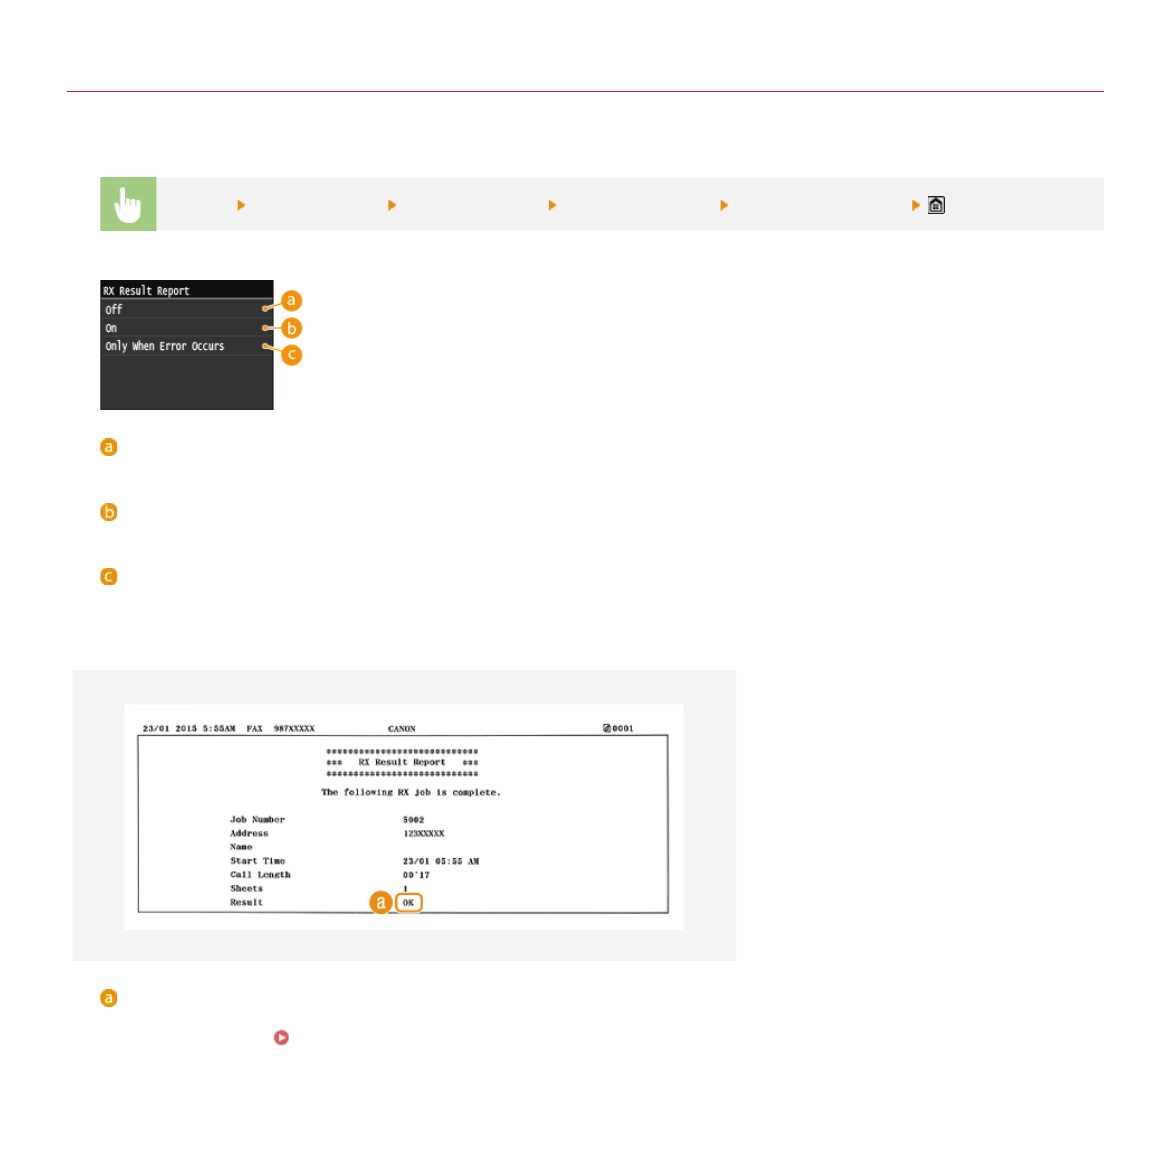
RX Result Report
You can check the logs of received fax and I-Fax documents by printing an RX Result Report. The report can be printed either every time
a transmission is completed or only when a receiving error occurs.
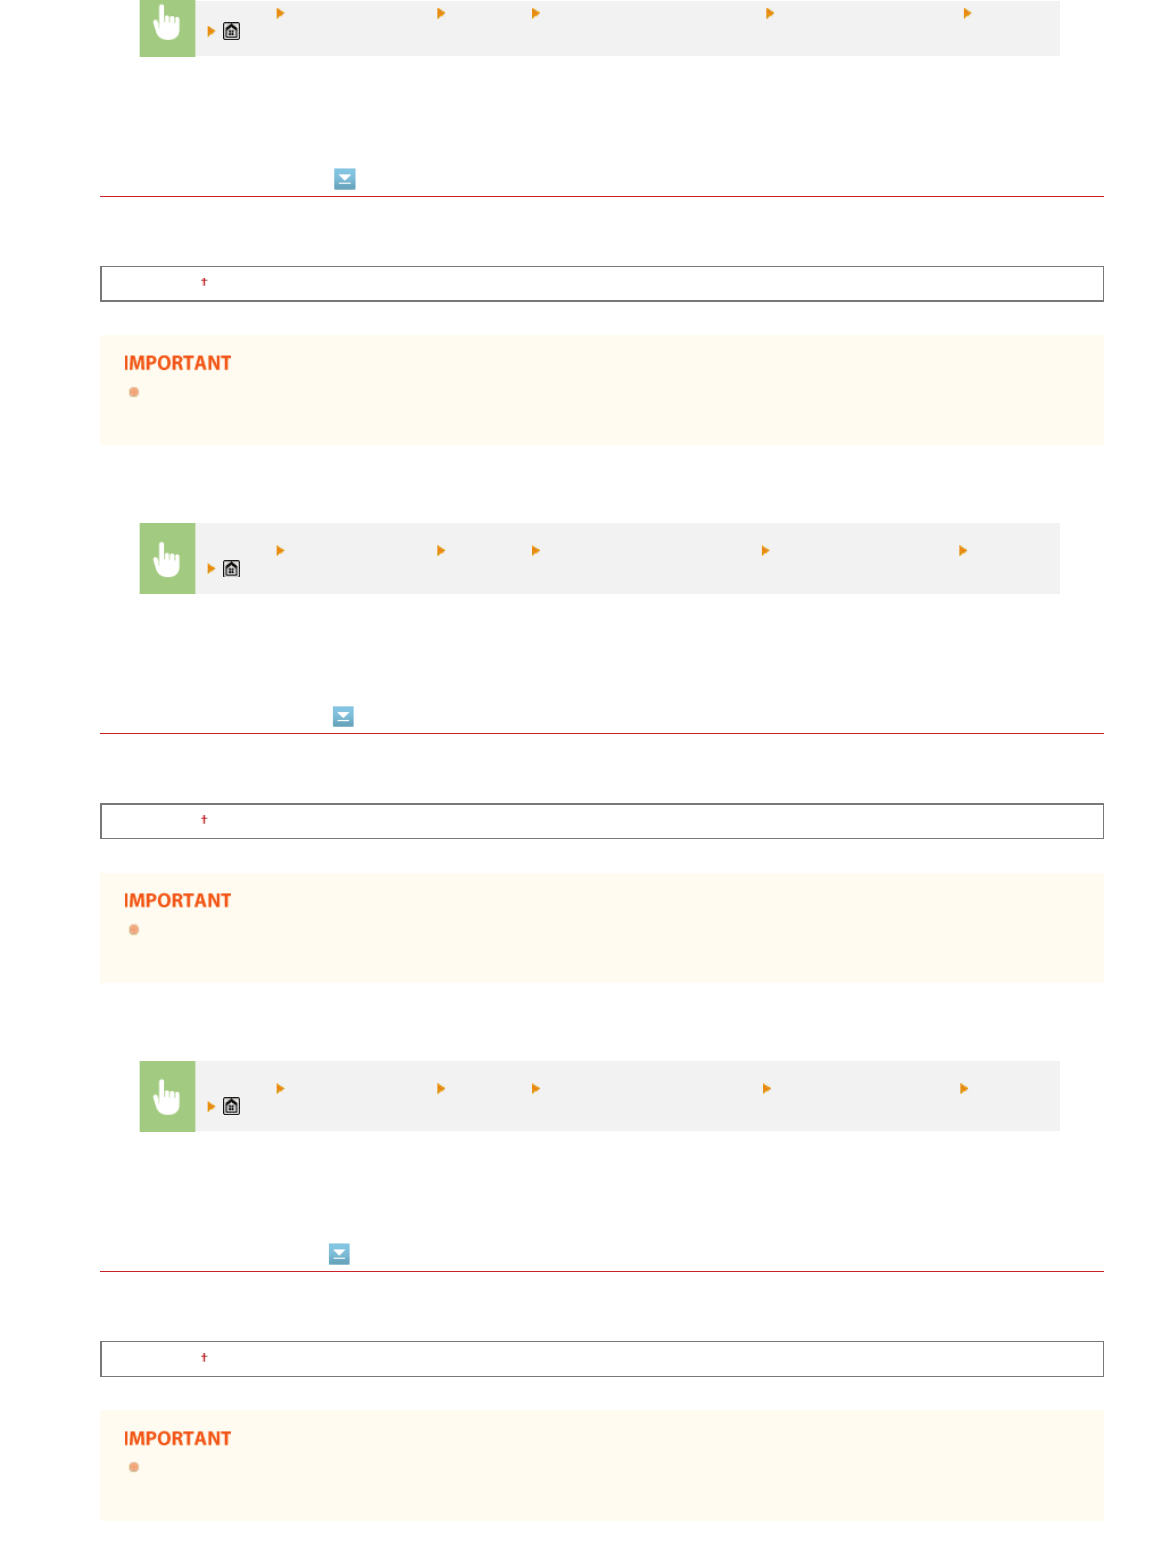
<Menu>
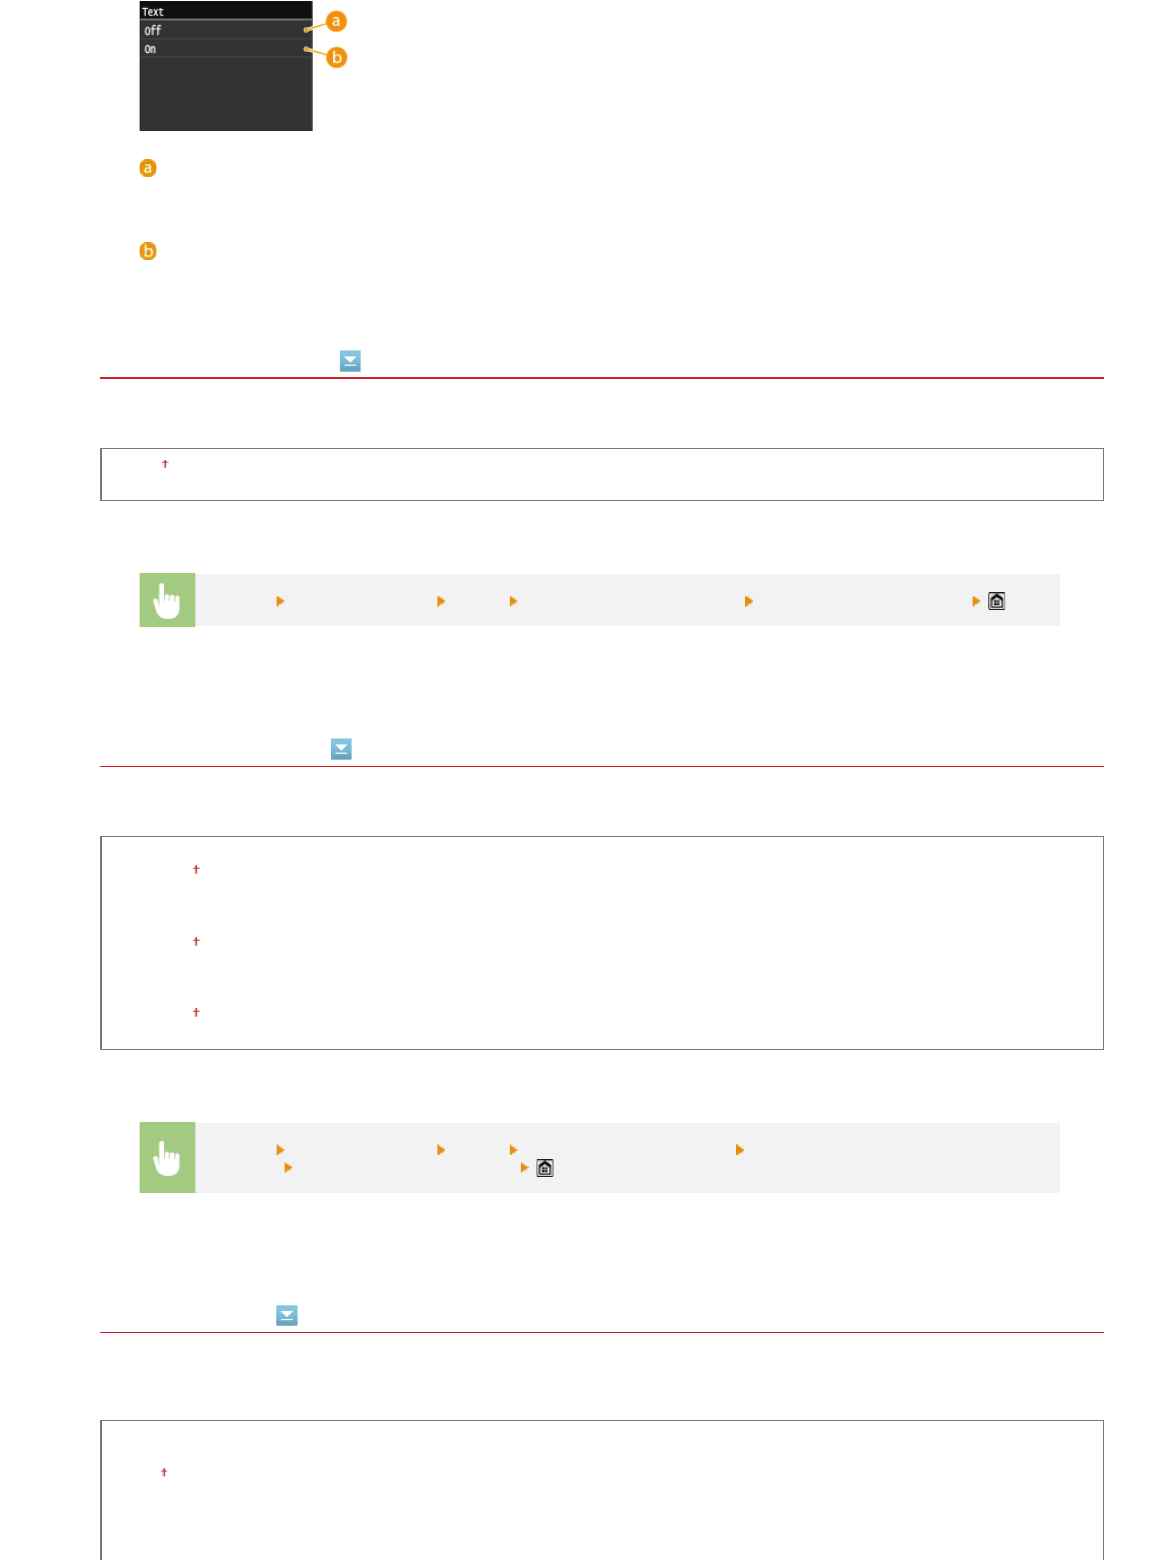
<Output Report> <Report Settings><RX Result Report>Select the print setting
<Off>
Select if you do not want to print RX Result Reports.
<On>
Select to print an RX Result Report every time you receive a document.
<Only When Error Occurs>
Select to print an RX Result Report only when a receiving error occurs.
Example:
Result
"OK" indicates that the transmission was completed successfully while "NG" and three digits (an error code) indicates that the
transmission failed (
When an Error Code Appears).
㻢㻢㻝㻌㻛㻌㻣㻟㻡
0SCJ-0E2
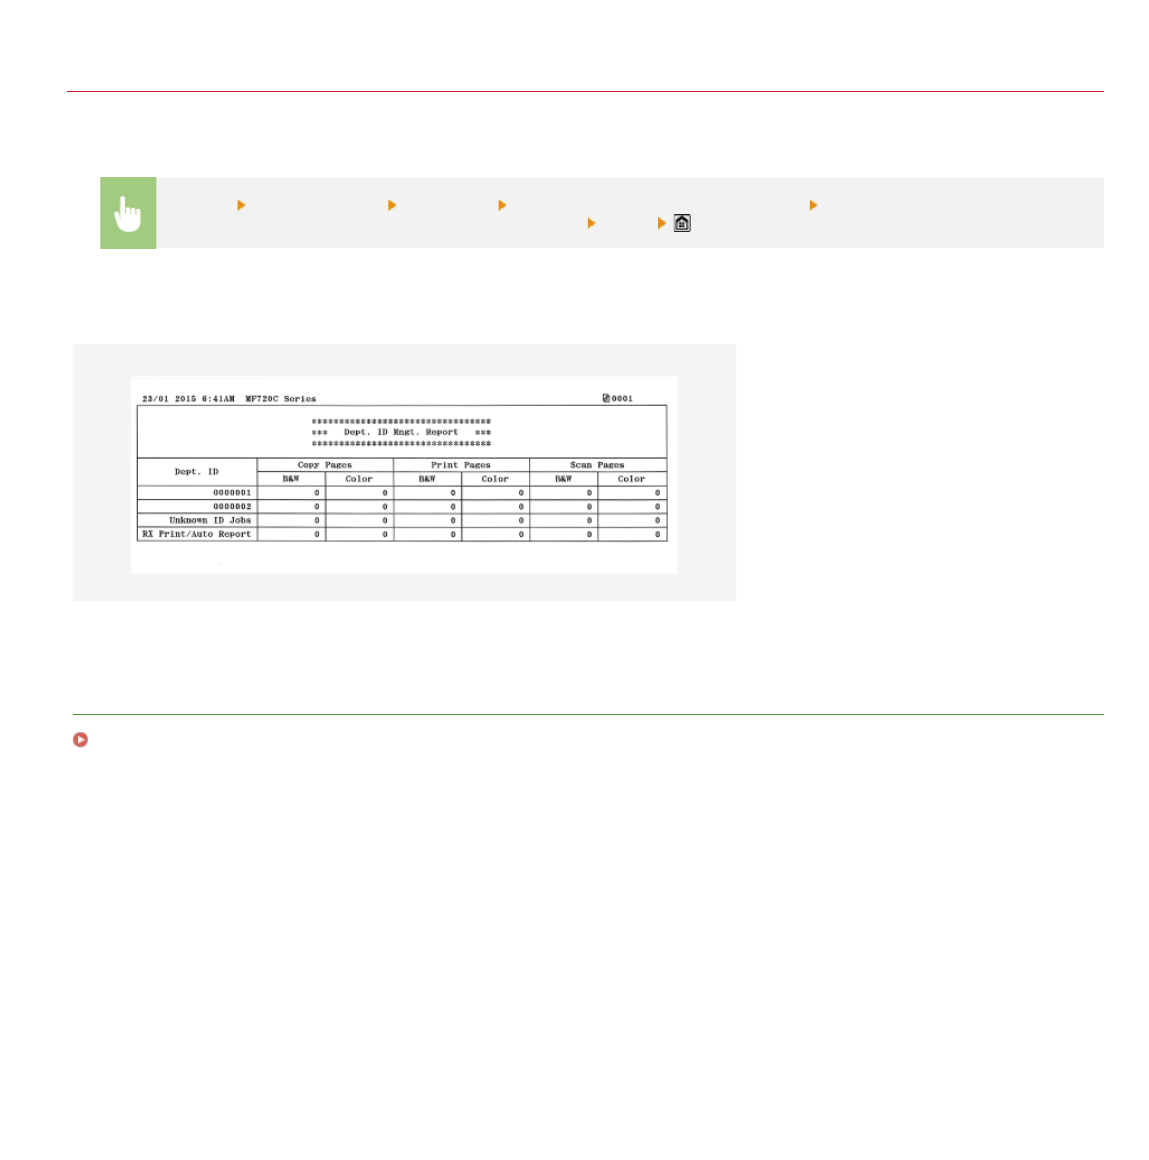
Department ID Management Report
When Department ID Management is enabled, you can check the total volume of printouts for each <Department ID> by printing a
Department ID Management Report. By checking the printout totals, you can better manage your paper and toner cartridge supplies.
<Menu>
<Output Report> <Print List><Department ID Management Report>Check that the size and type of
paper displayed on the screen is loaded in the machine
<Yes>
Example:
LINKS
Setting the Department ID Management
㻢㻢㻞㻌㻛㻌㻣㻟㻡
0SCJ-0E3
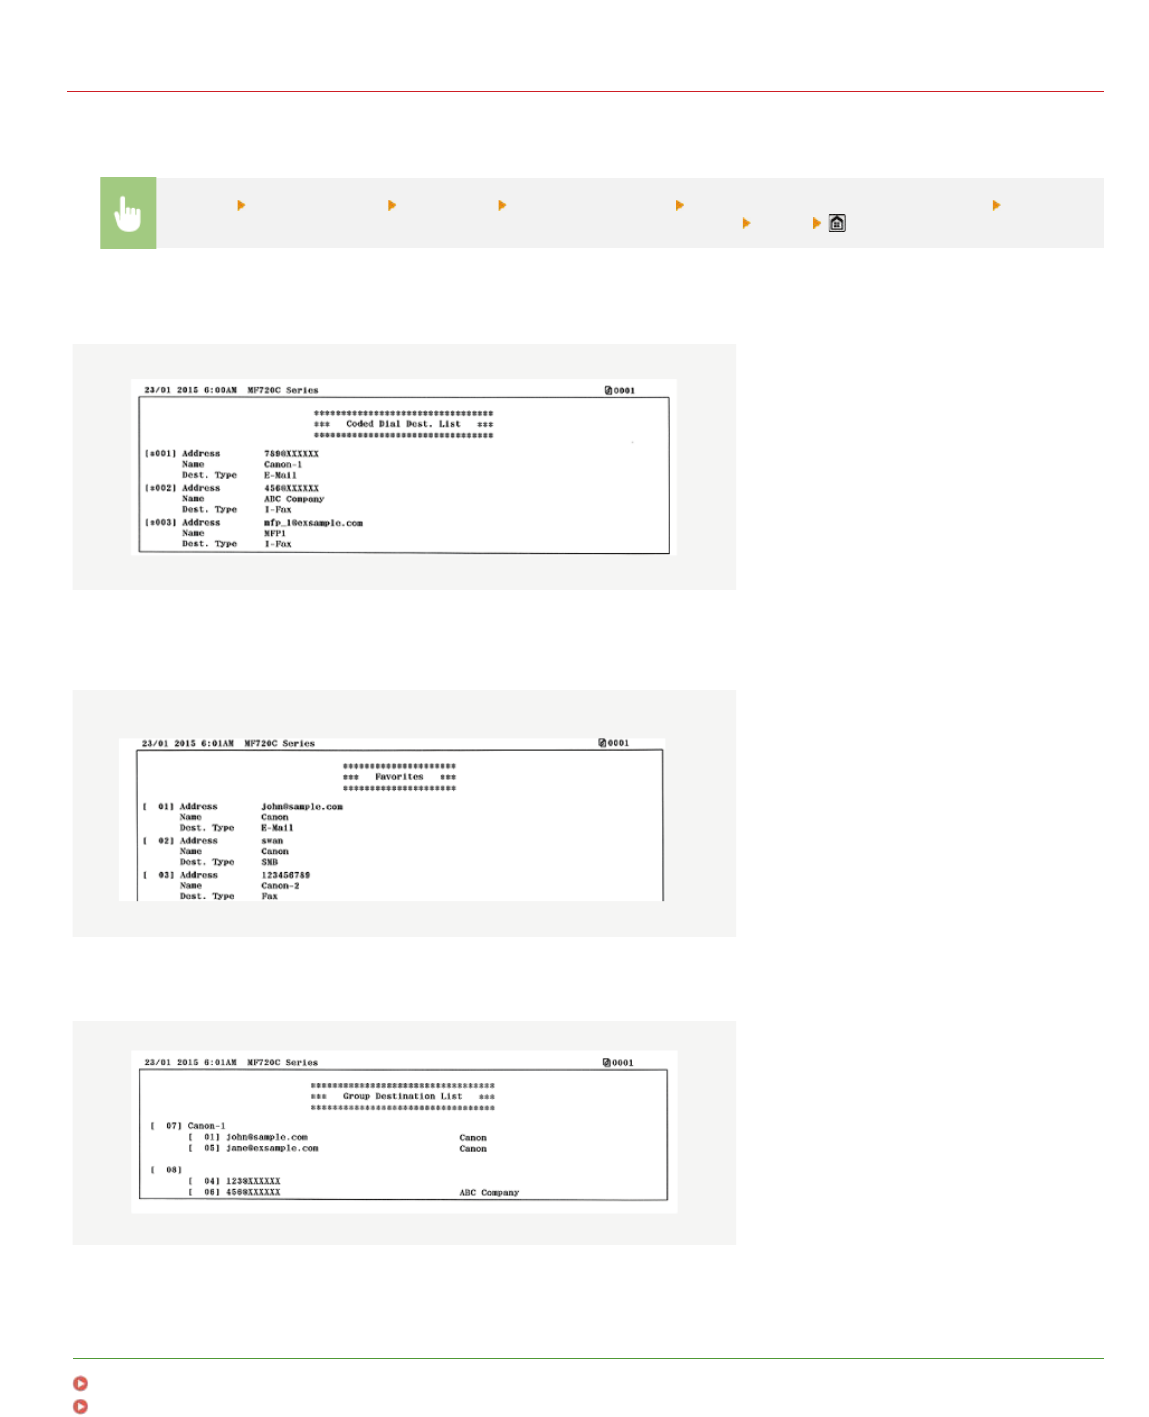
Address Book List
You can check the list of destinations registered in the Address Book as <Coded Dial>, <Favorites>, and <Group Dial> by printing an
Address Book List.
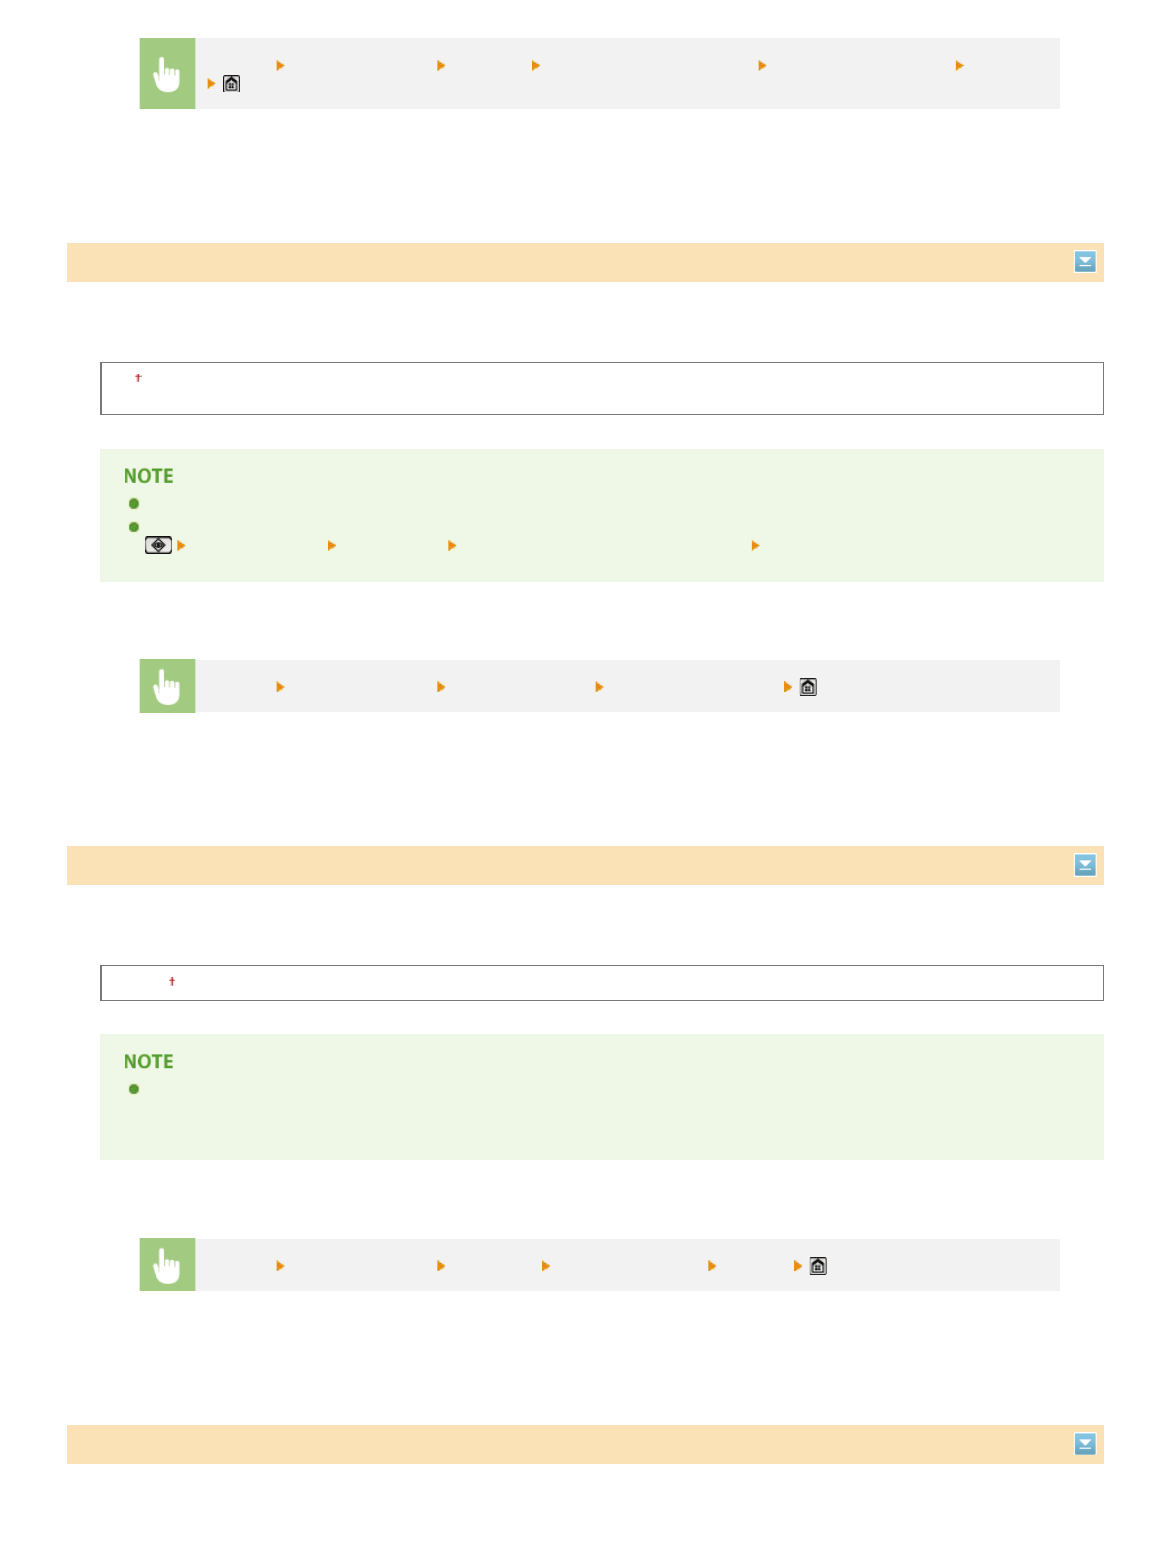
<Menu>
<Output Report> <Print List><Address Book List>Select the setting you want to print outCheck that
the size and type of paper displayed on the screen is loaded in the machine
<Yes>
Example: <Coded Dial>
Example: <Favorites>
Example: <Group Dial>
LINKS
Registering in the Address Book
Registering Address Book from Remote UI
㻢㻢㻟㻌㻛㻌㻣㻟㻡
0SCJ-0E4
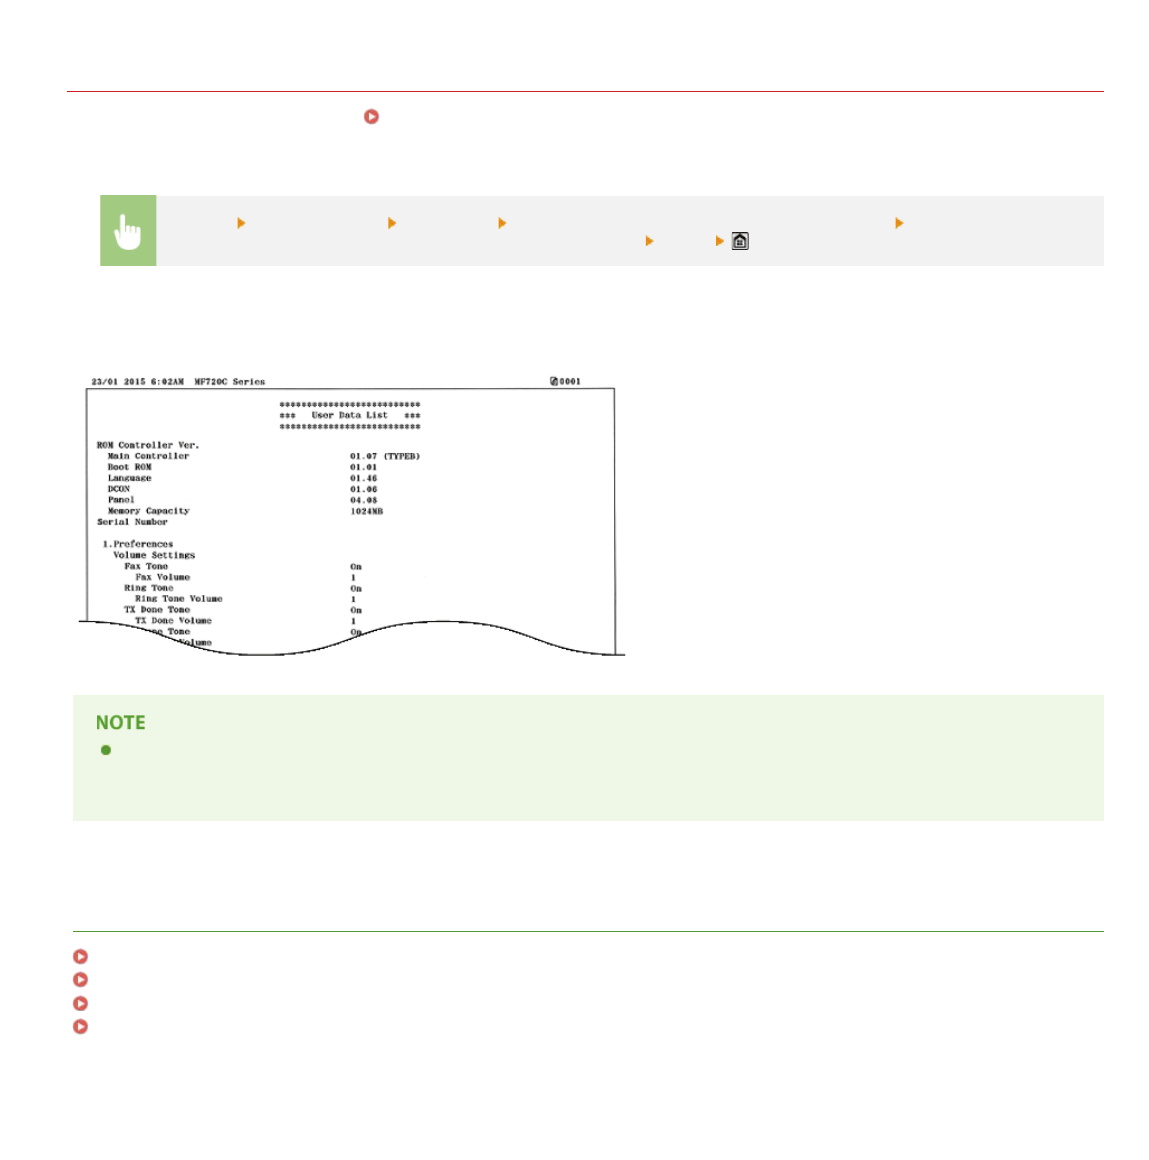
User Data List/System Manager Data List
You can check the list of the settings (Setting Menu List) as well as the content that has been registered in the machine by printing a
User Data List or a System Manager Data List. Both lists include the paper size and type registered in the machine, the print settings of
<TX Result Report>, <Communication Management Report>, and <RX Result Report>.
<Menu>
<Output Report> <Print List><User Data List> or <System Manager Data List>Check that the size and
type of paper displayed on the screen is loaded in the machine
<Yes>
Example:
The User Data List does not include the setting lists of <Network Settings>, <System Management Settings>, or a portion of
<Fax Settings>. To check all the settings items, including <Network Settings>, <System Management Settings>, and all <Fax
Settings>, print the <System Manager Data List>.
LINKS
TX Result Report
Communication Management Report
RX Result Report
Loading Paper
㻢㻢㻠㻌㻛㻌㻣㻟㻡
0SCJ-0E5
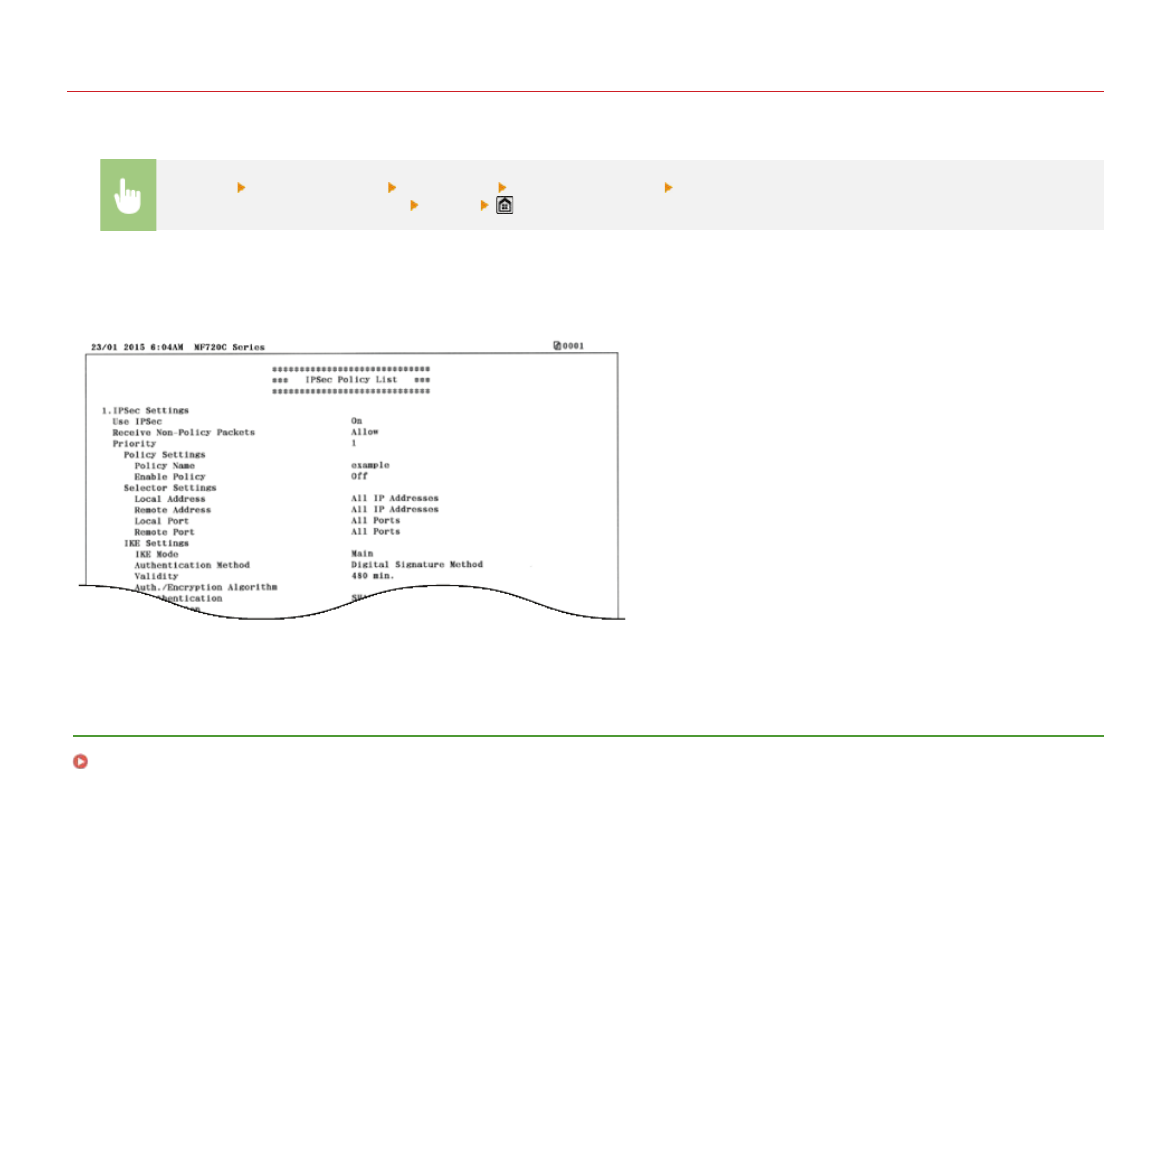
IPSec Policy List
You can check the list of policy names and the IPSec settings registered in the machine by printing an IPSec Policy List.
<Menu>
<Output Report><Print List><IPSec Policy List>Check that the size and type of paper displayed on the
screen is loaded in the machine
<Yes>
Example:
LINKS
Configuring IPSec Settings
㻢㻢㻡㻌㻛㻌㻣㻟㻡
0SCJ-0EH
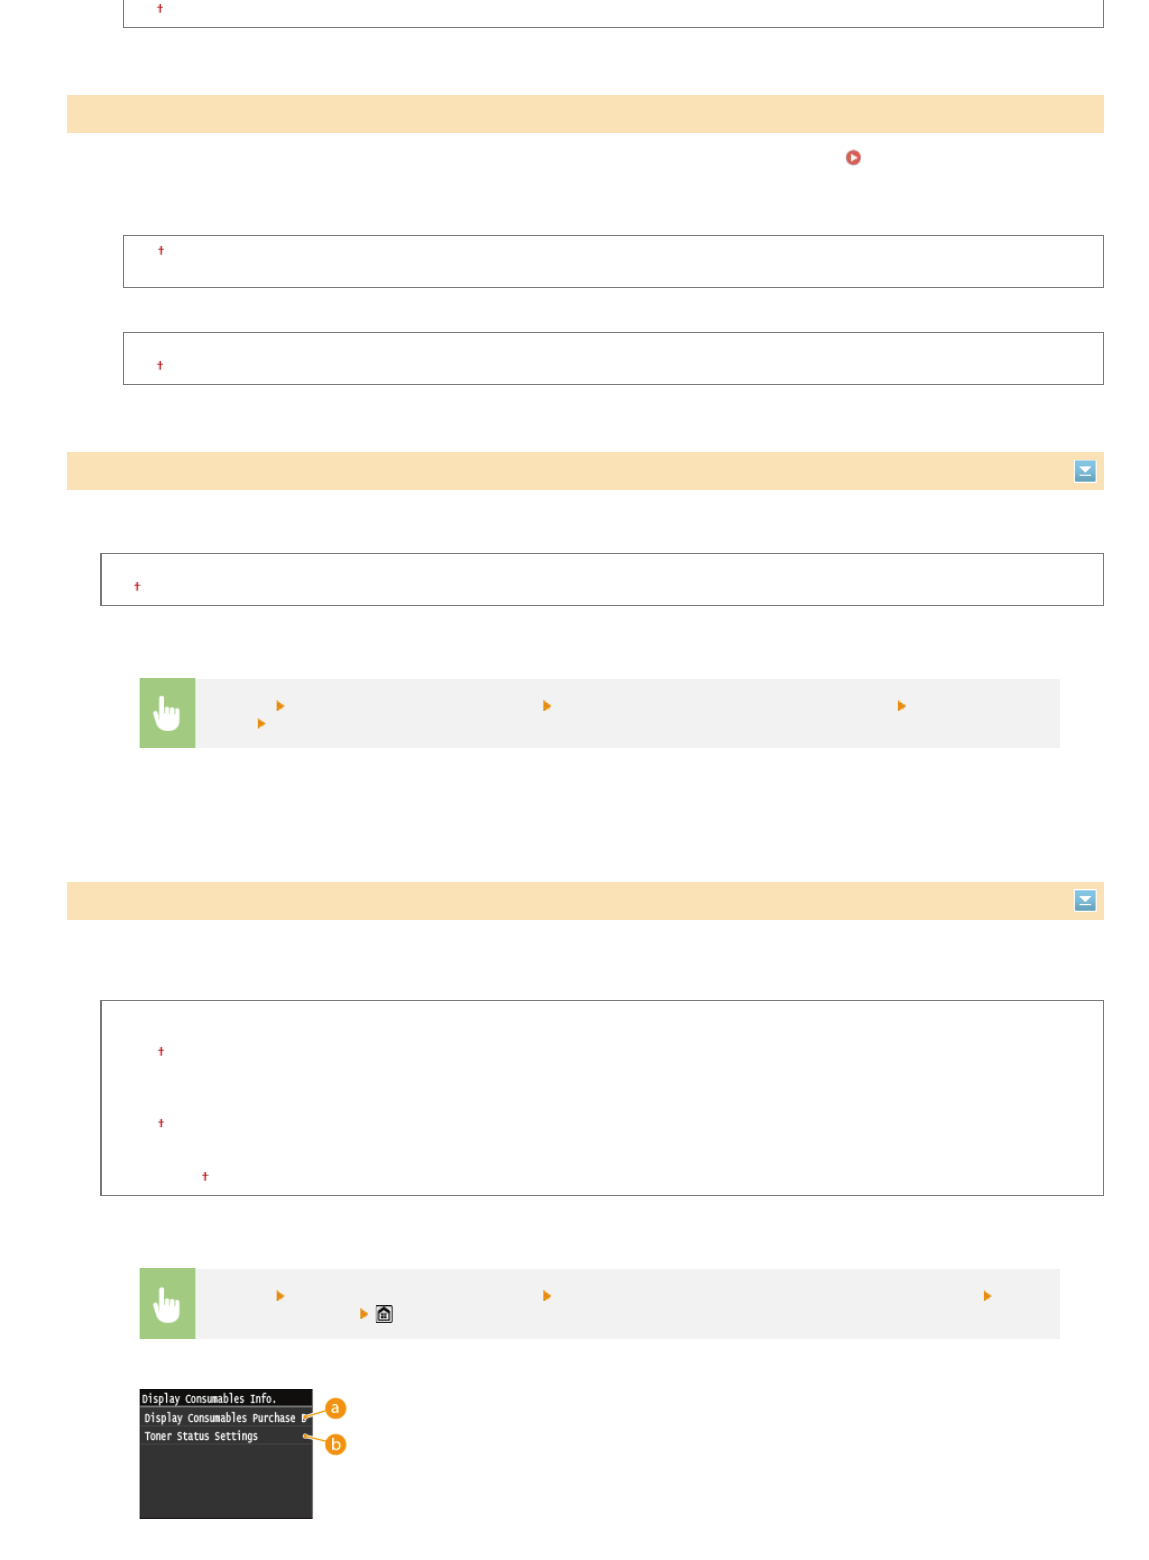
Consumables Status Report
You can check the consumables status installed in the machine.
<Menu>
<Output Report> <Print List> <Consumables Status Report> Check that the size and type of paper
displayed on the screen is loaded in the machine
<OK> <Yes>
Example:
LINKS
Replacing Toner Cartridges
㻢㻢㻢㻌㻛㻌㻣㻟㻡
0SCJ-0E6
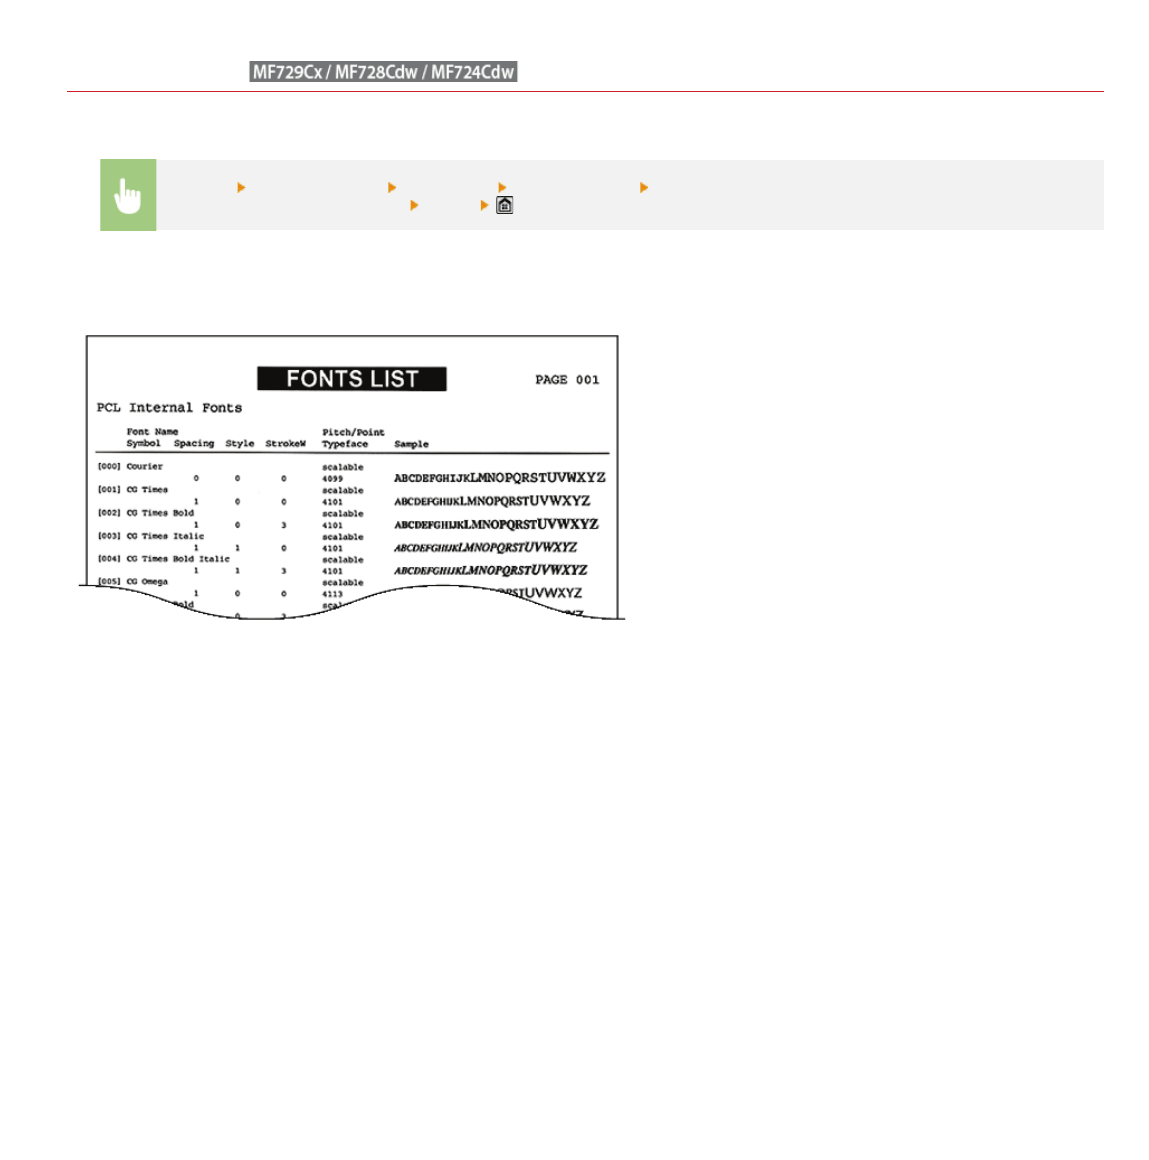
PCL Font List
You can print a list to check the fonts available in PCL mode.
<Menu>
<Output Report><Print List><PCL Font List>Check that the size and type of paper displayed on the
screen is loaded in the machine
<Yes>
Example:
㻢㻢㻣㻌㻛㻌㻣㻟㻡
0SCJ-0EF
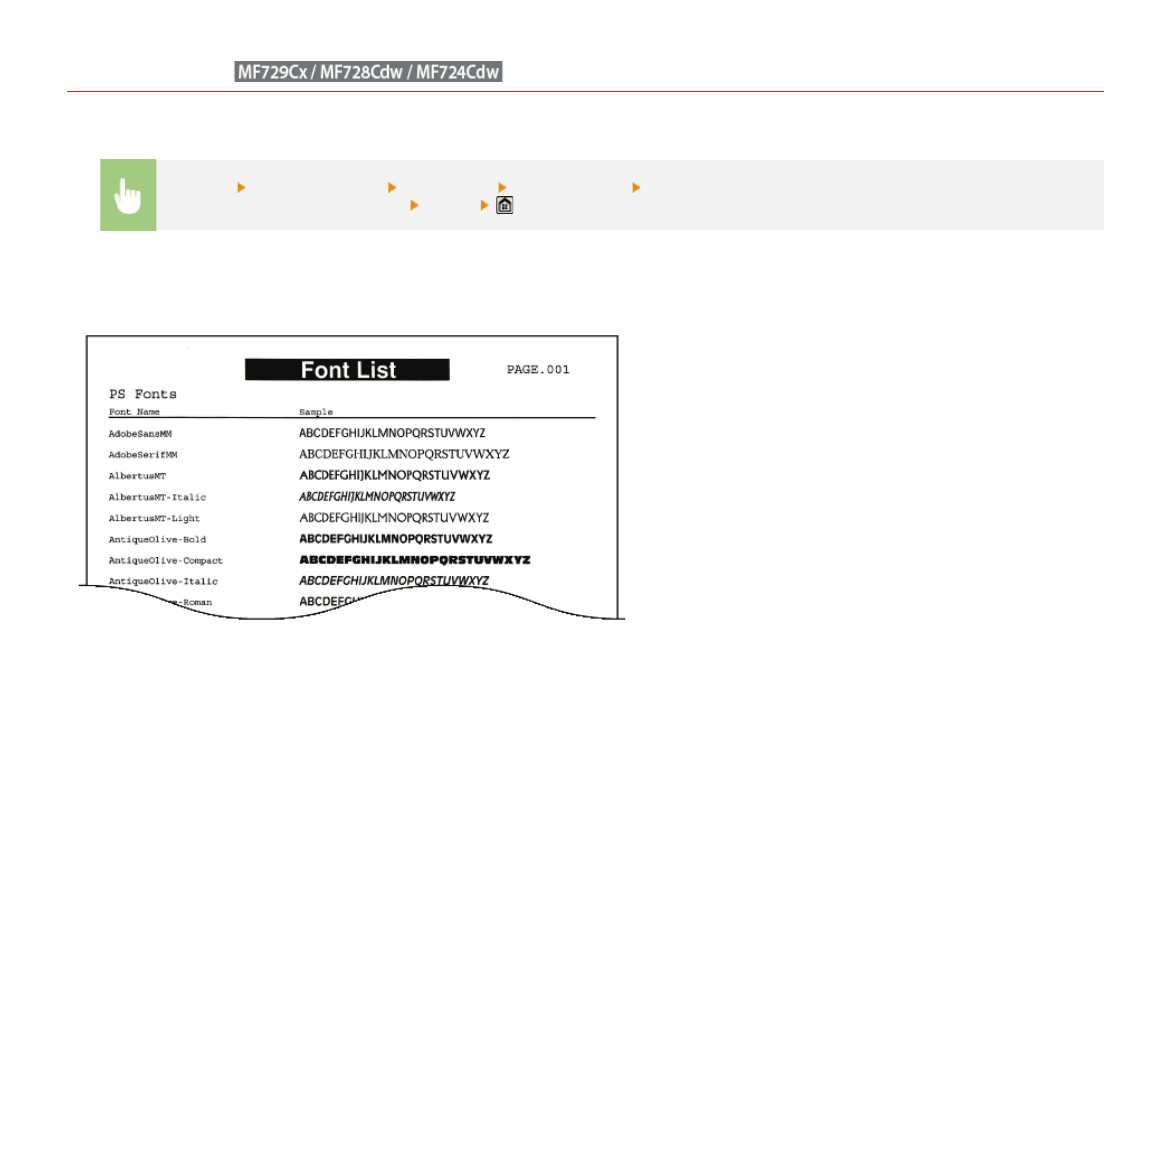
PS Font List
You can print a list to check the fonts available in PS mode.
<Menu>
<Output Report><Print List><PS Font List>Check that the size and type of paper displayed on the
screen is loaded in the machine
<Yes>
Example:
㻢㻢㻤㻌㻛㻌㻣㻟㻡
0SCJ-0E7
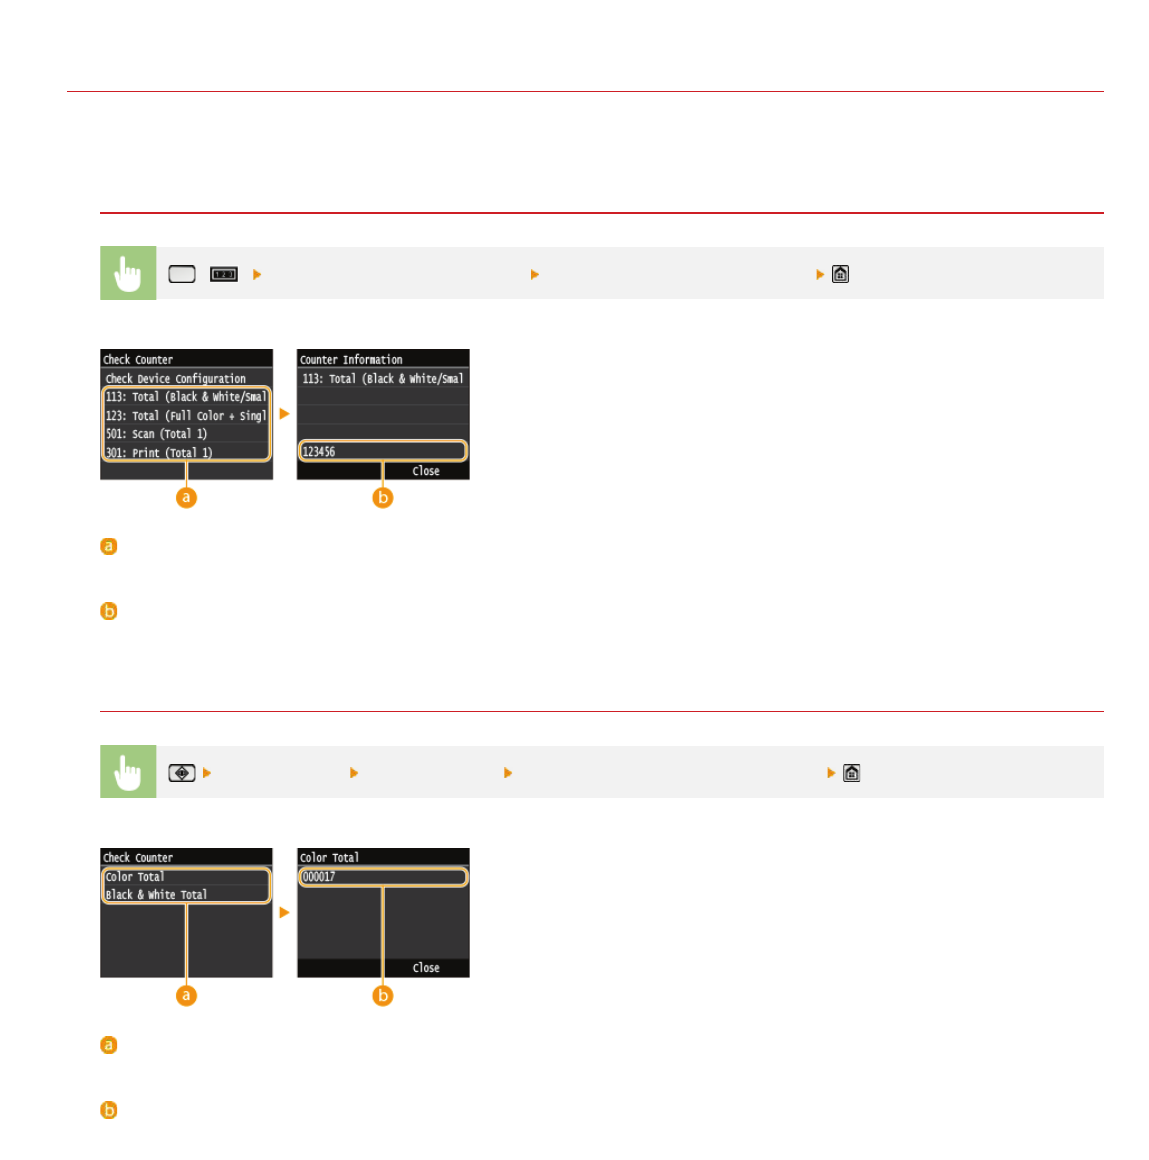
Viewing the Counter Value
You can check separate totals for the number of pages used for color printouts and black and white printouts. These totals include faxes,
reports, and lists, in addition to copies and printouts of data from computers.
MF729Cx
() Select the item you want to check Check the number of pages printed
Counters
Select the counter to check the counter value. Items have different defaults depending on the country or region of purchase.
Counter Value
You can check the count of the selected item.
MF728Cdw / MF724Cdw / MF628Cw / MF623Cn
<Device Status><Check Counter><Color Total> or <Black & White Total>
Counters
Select the counter to check the counter value. Items have different defaults depending on the country or region of purchase.
Counter Value
You can check the count of the selected item.
㻢㻢㻥㻌㻛㻌㻣㻟㻡
0SCJ-0EJ
Using a USB Memory Device to Export/Import Registered Data
Data such as Address Book entries and machine settings can be exported and saved to a USB memory device. You can also import the
data saved to a USB memory device. Because data exported from the machine can be imported into other models, this provides a simple
way to copy information such as Address Book entries onto multiple machines.
Importing of Address Book data exported from this machine may not be supported on some models. Note also that you can only import and export data other
than Address Book entries, such as machine settings, between the same model.
Exporting Registered Data to a USB Memory Device
Importing Registered Data from a USB Memory Device
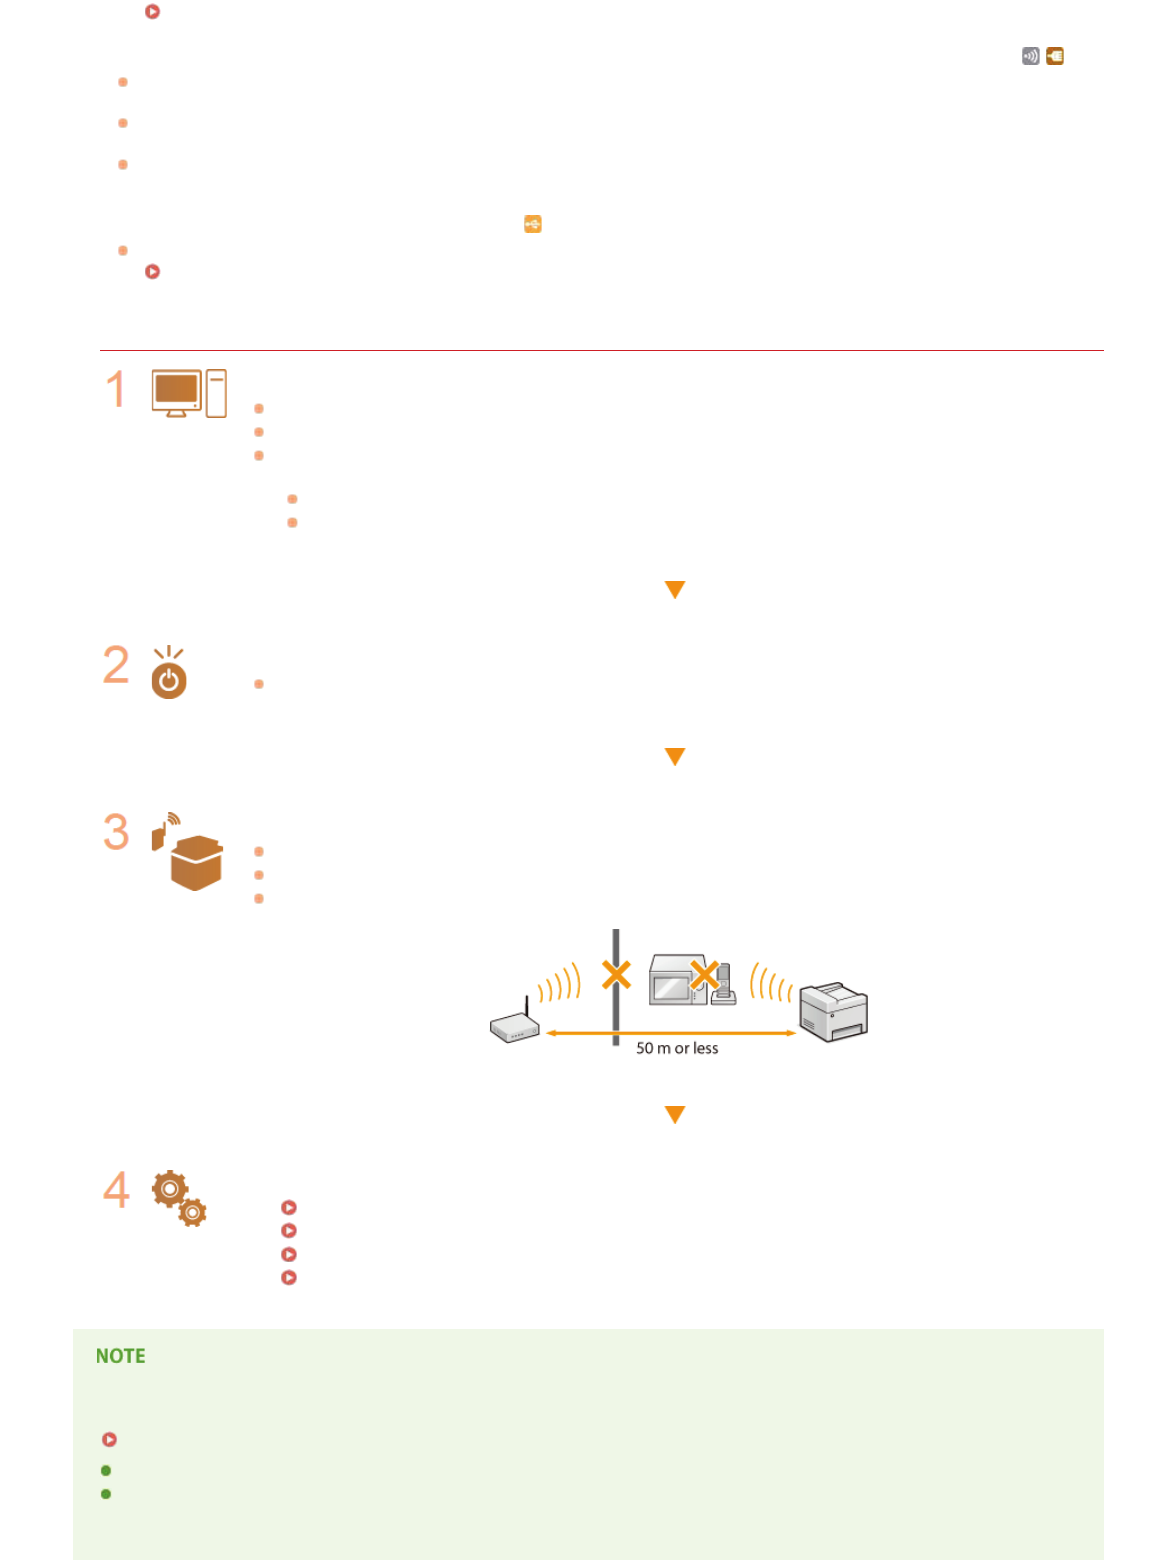
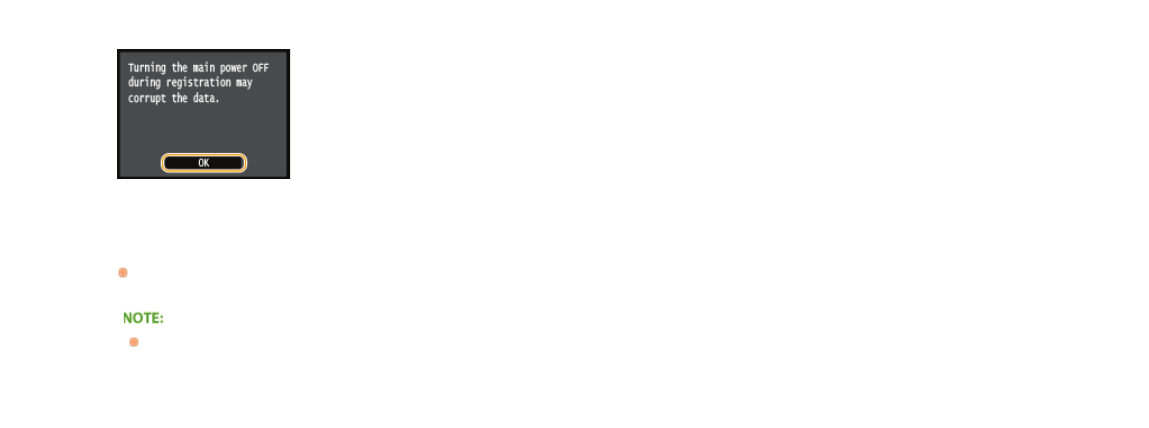
Do not turn OFF the machine until the export/import process is complete
It may take a few minutes to complete the process. If the machine is turned OFF during the process, it may result in damage
to data or the machine.
Do not operate the machine during the export/import process
Before exporting/importing, check that no operations such as printing documents are currently in progress.
In situations where you want to selectively import or export settings data (e.g. only export Address Book entries), run the
procedure from the Remote UI.
Where settings cannot be imported or exported, the same will apply if you run the procedure from the Remote UI.
Saving/Loading Registered Data
Available USB Memory Devices
You can use USB memory devices with the following format styles.
FAT16 (memory capacity: up to 2 GB)
FAT32 (memory capacity: up to 32 GB)
Do not use non-standard USB memory devices. You may not be able to export/import data properly with some USB
memory devices.
Do not connect anything other than a USB memory device. USB memory devices cannot be connected via a USB hub or an
extension cable.
Do not use USB memory devices with special functions such as built-in security functions.
*
*
㻢㻣㻜㻌㻛㻌㻣㻟㻡
0SCJ-0EK
Exporting Registered Data to a USB Memory Device
Data such as Address Book entries and machine settings can be exported and saved to a USB memory device. It is recommended that
you regularly back up important settings.
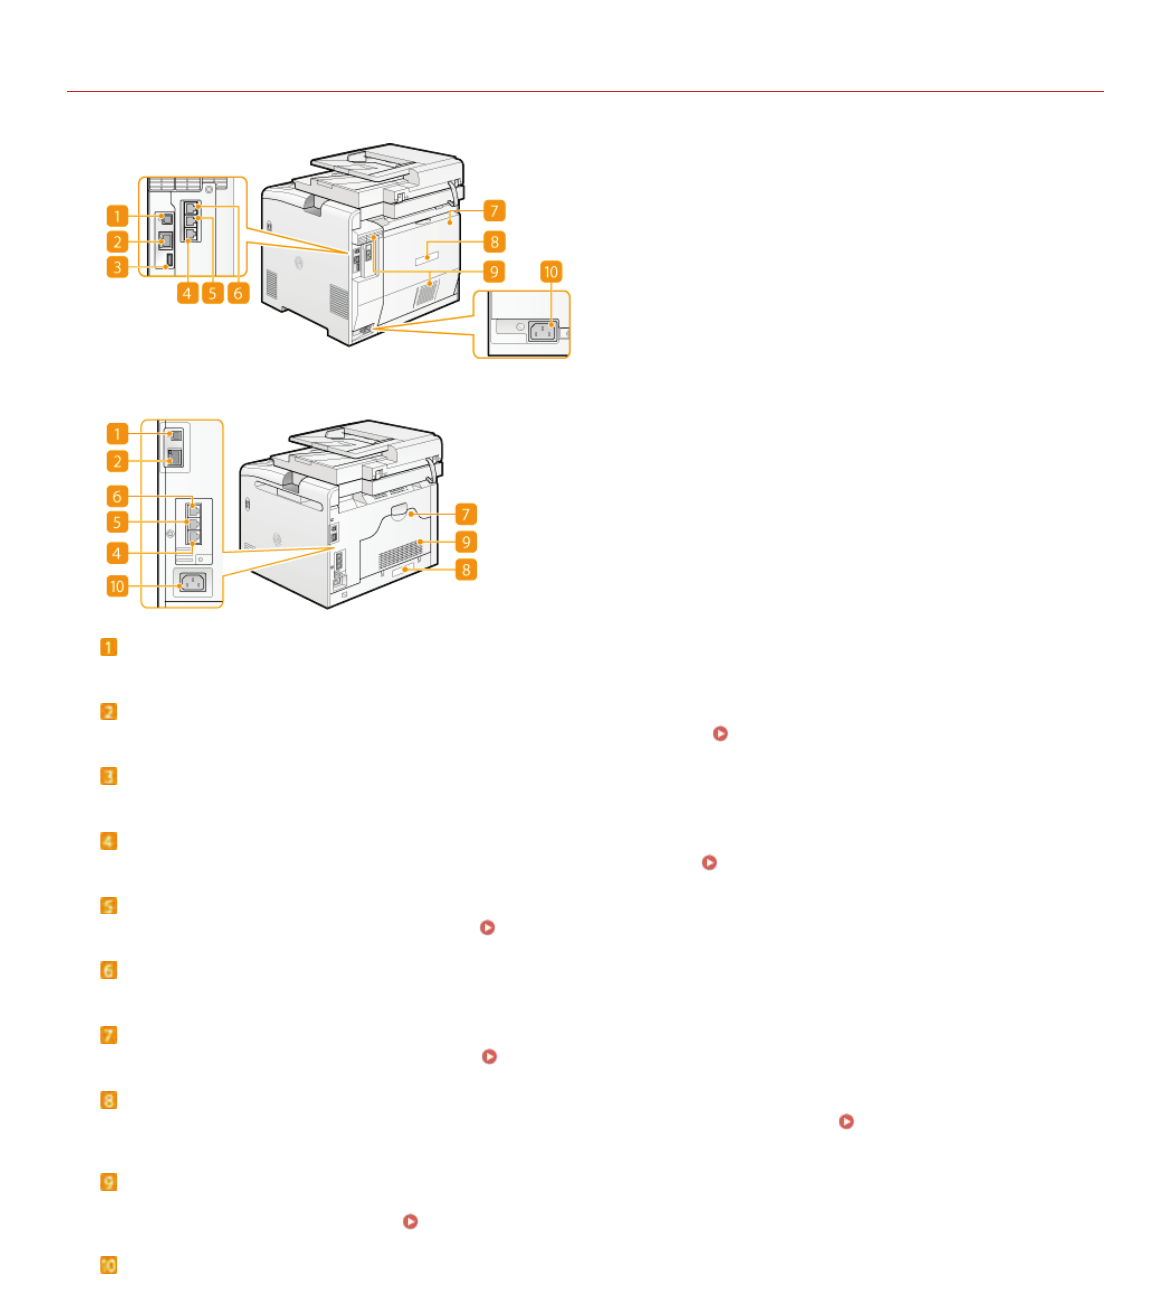
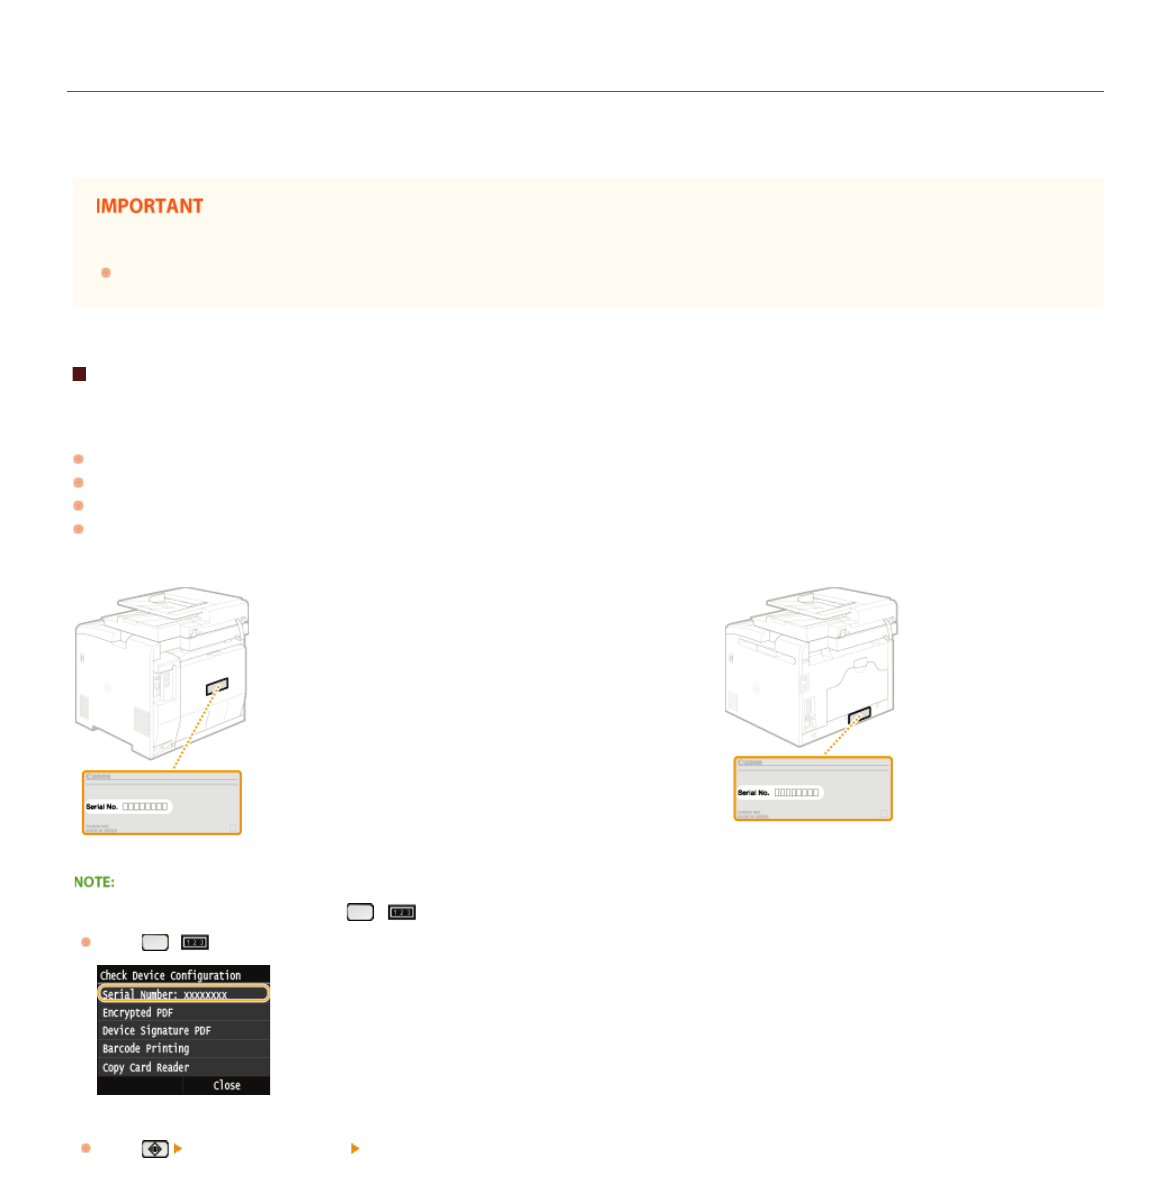
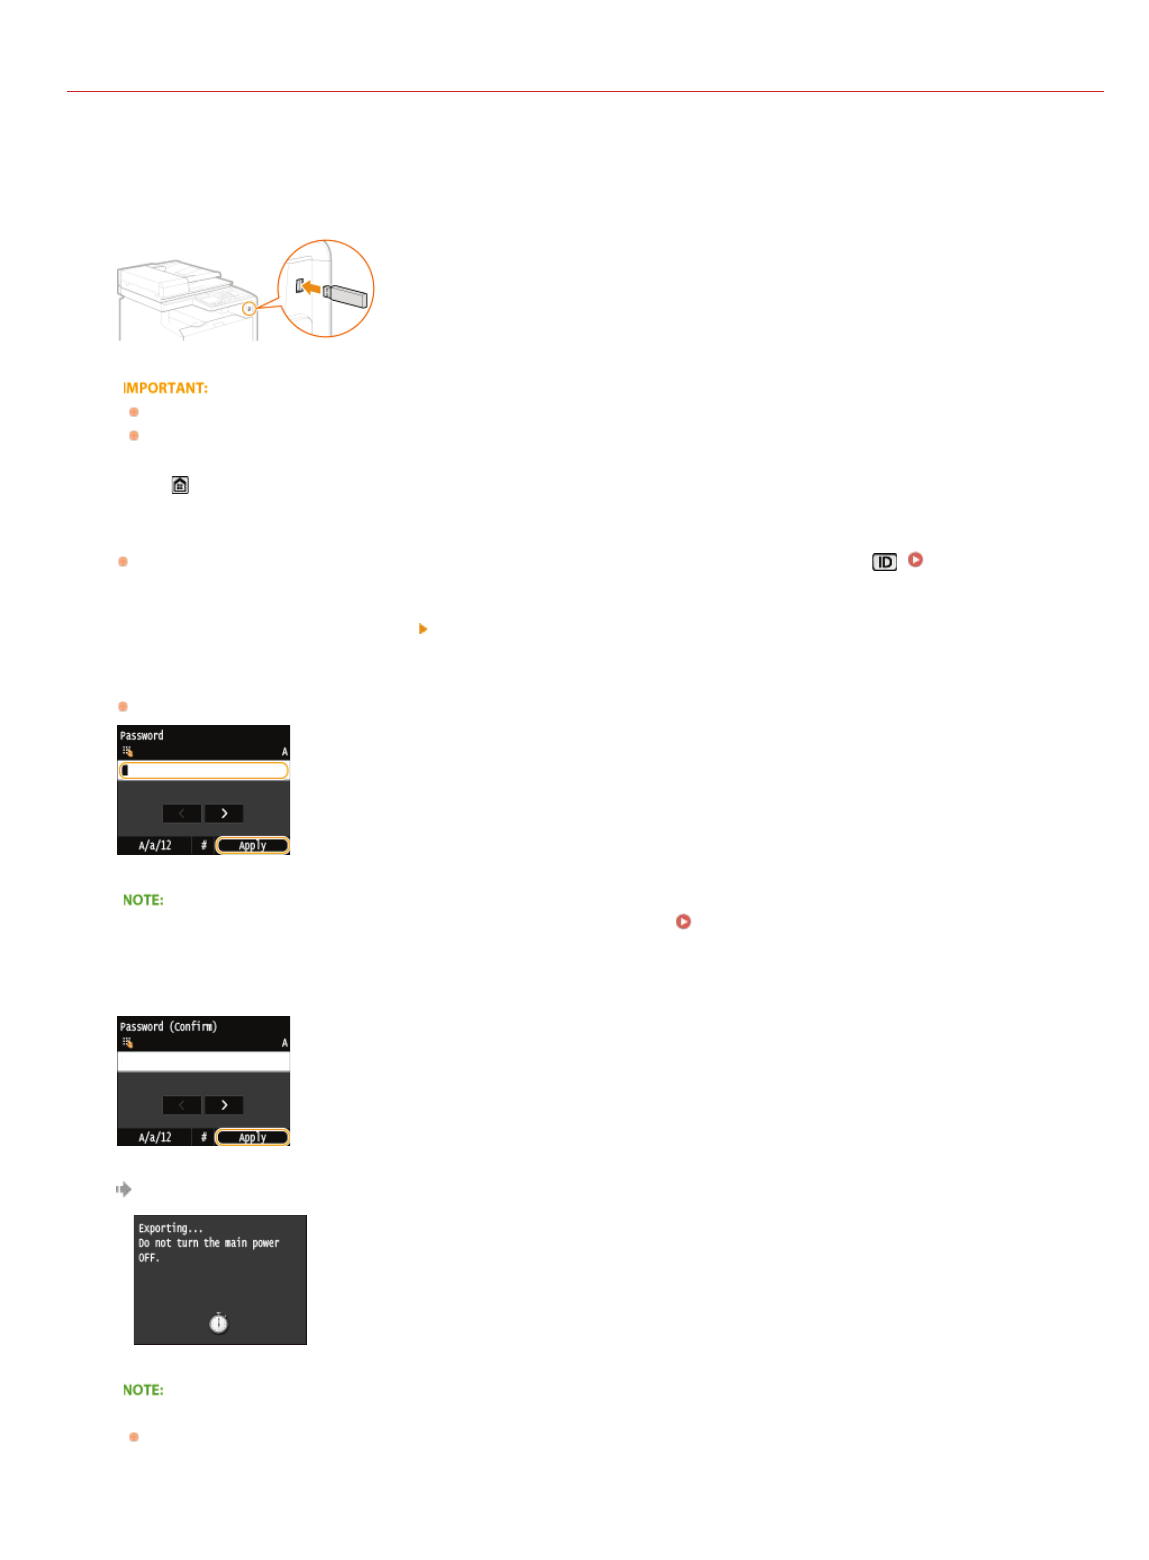
Connect a USB memory device to the USB port (USB2.0).
The USB port on the right side of the machine toward the rear is not available.
Do not disconnect, jostle, or turn OFF the machine or USB memory device while the data is being transferred.
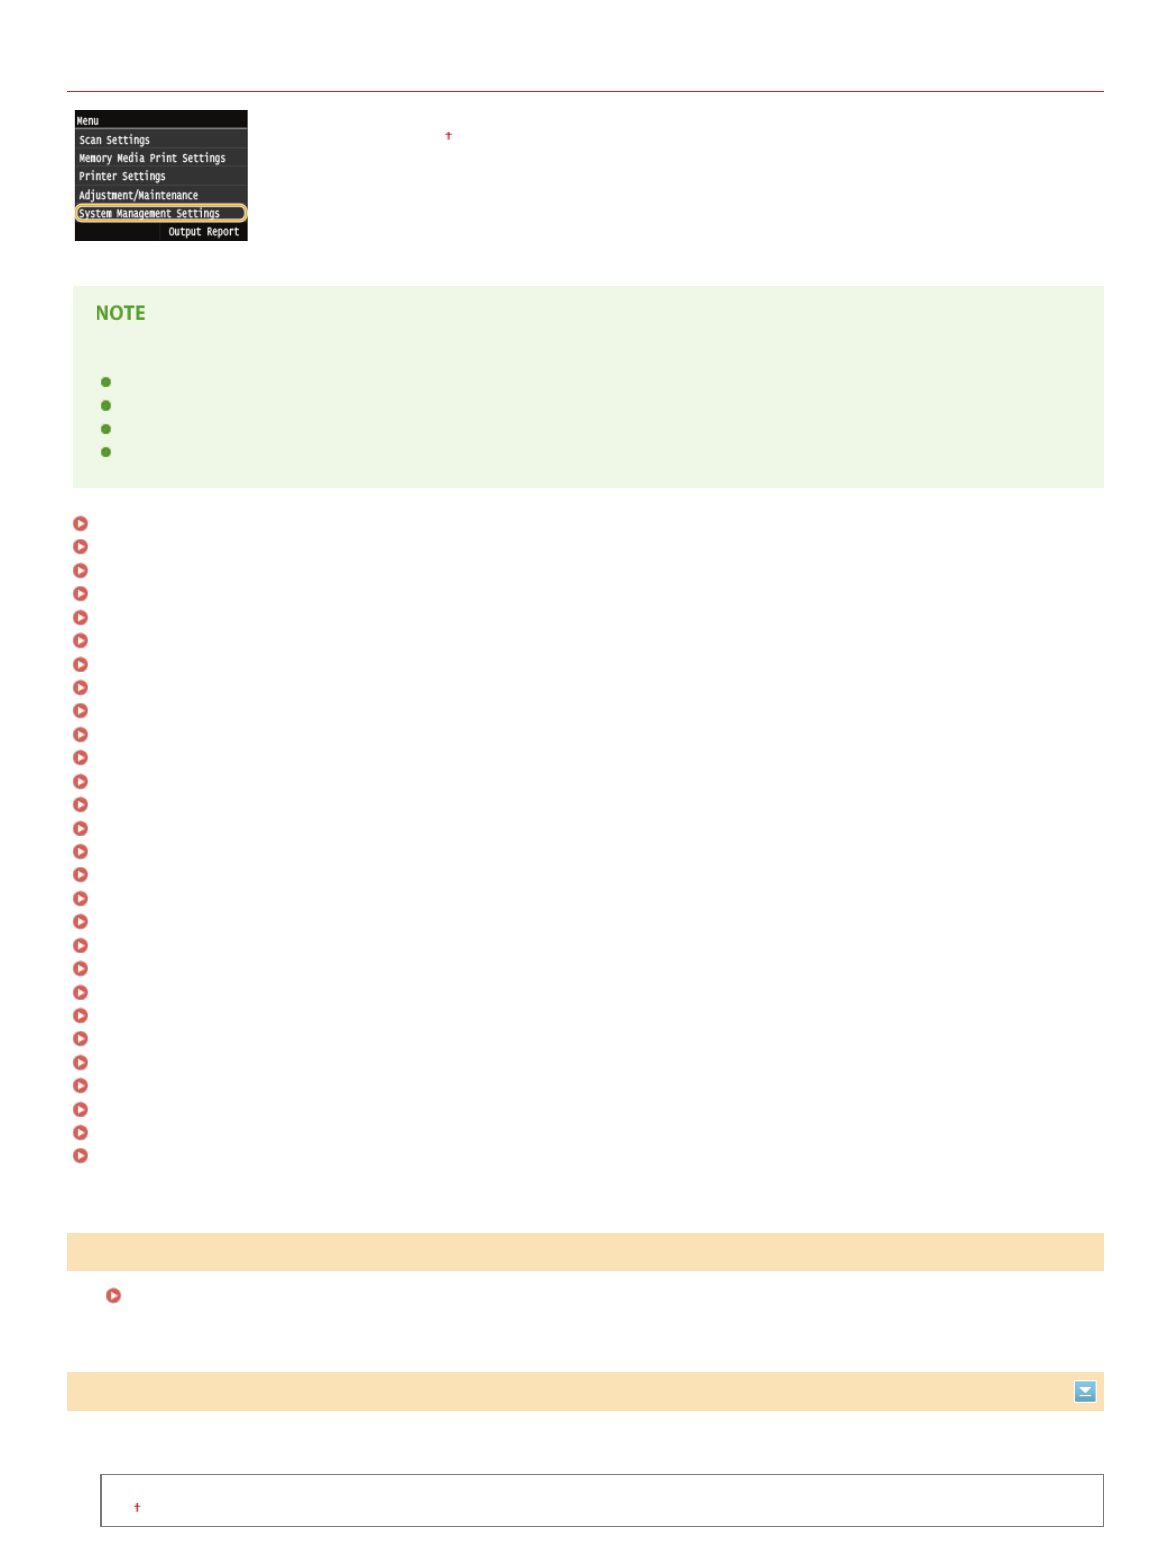
Press and tap <Menu>.
Tap <System Management Settings>.
If the logon screen appears, enter the correct ID and PIN using the numeric keys, and then press .Logging on to the
Machine
Tap <Import/Export of Settings> <Export>.
Enter the password, and tap <Apply>.
Enter a password for the export data up to 32 alphanumeric characters.
This password will be required when you import the data to the machine. Importing Registered Data from a USB Memory
Device
Enter the password again for confirmation, and tap <Apply>.
}
Exporting starts.
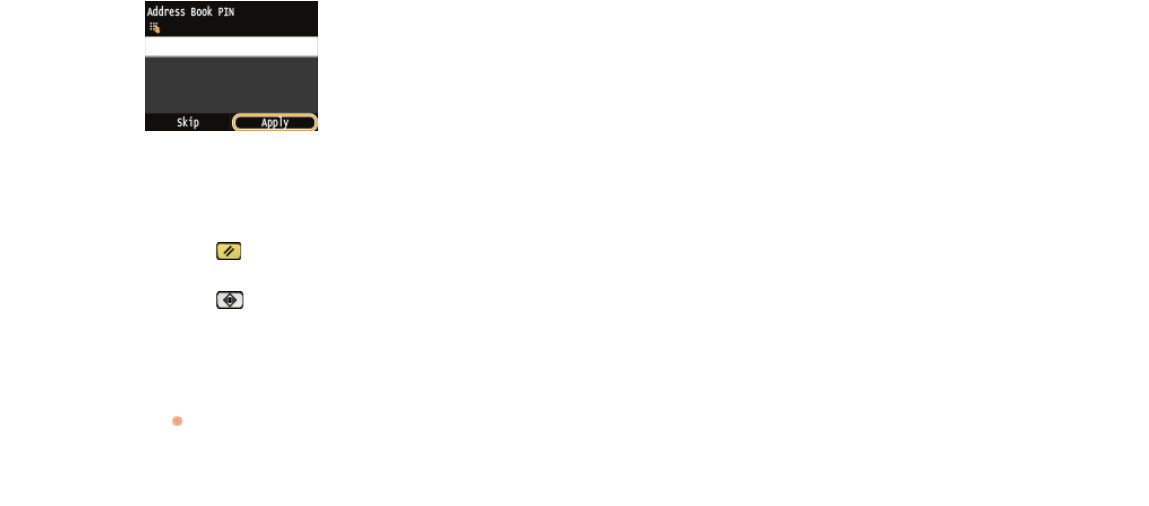
If the <Address Book PIN> screen appears
If a PIN has been set for the Address Book, the <Address Book PIN> screen appears during exporting. Enter the Address Book
PIN and tap <Apply>. Tap <Skip> to cancel Address Book data exporting.
1
2
3
4
5
6
㻢㻣㻝㻌㻛㻌㻣㻟㻡
Disconnect the USB memory device from the USB port (USB2.0).
1
Press .
2
Press .
3
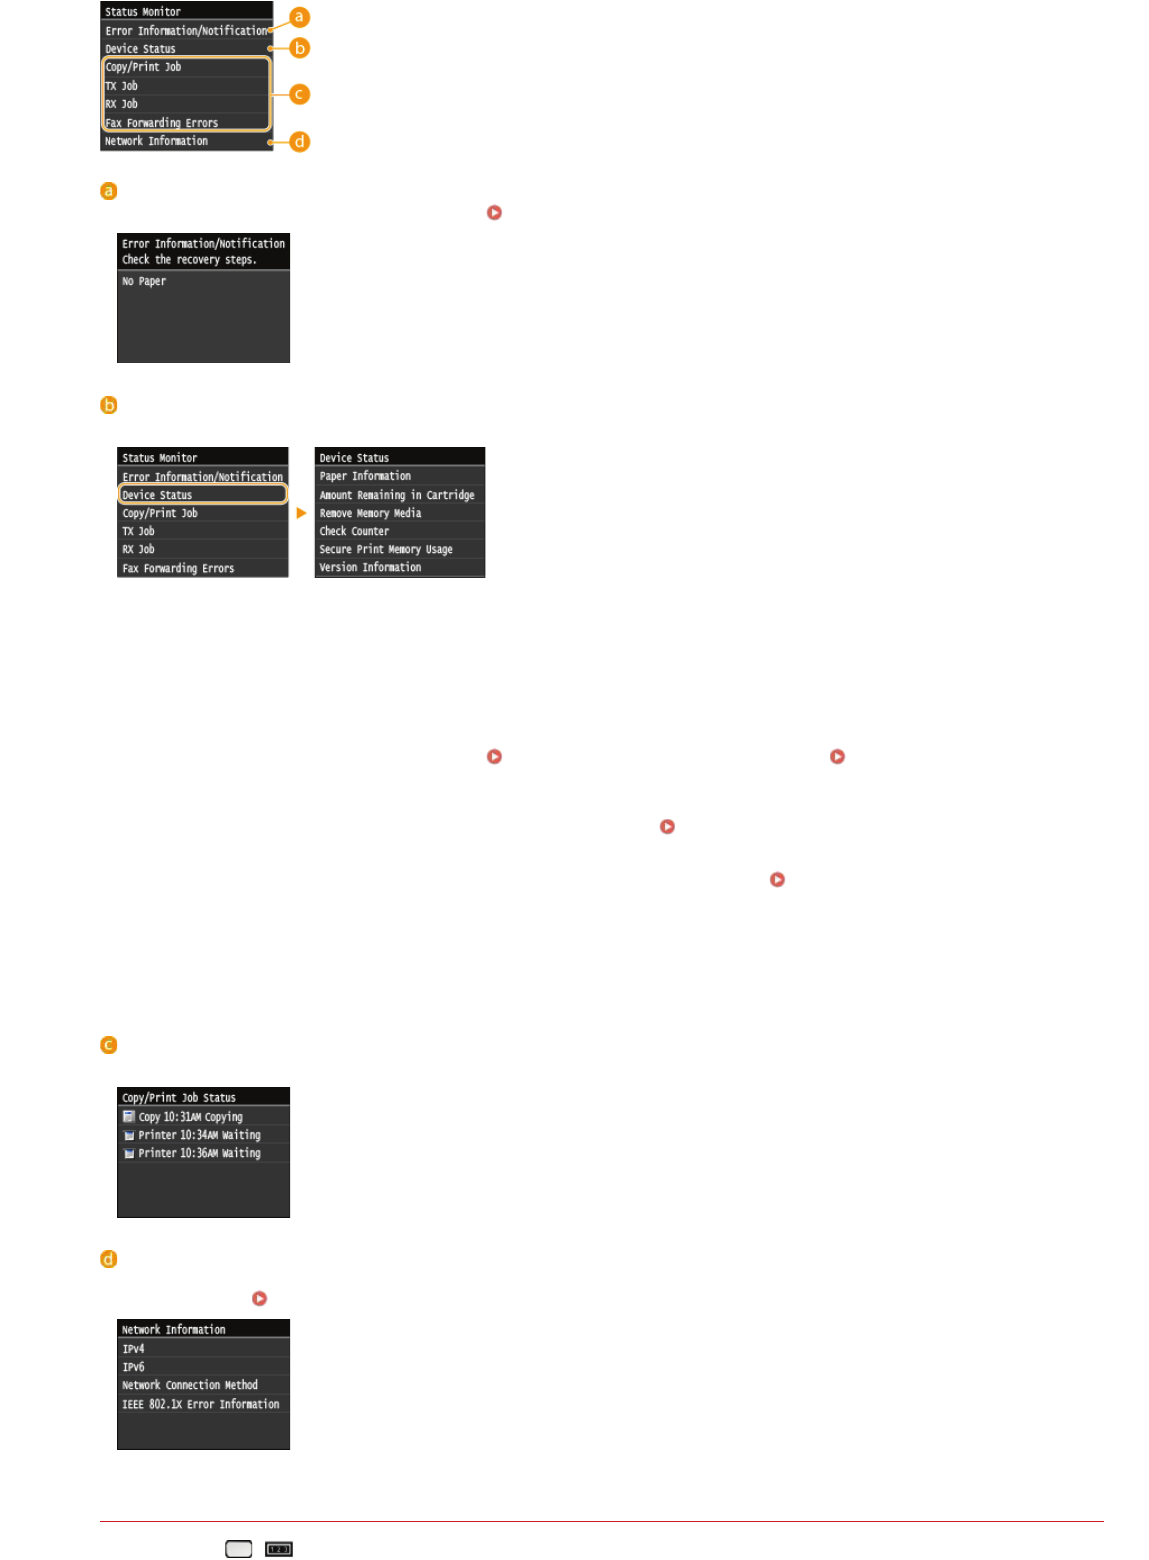
Tap <Device Status>.
4
Tap <Remove Memory Media>.
Wait until the <The memory media can be safely removed.> message is displayed.
5
Disconnect the USB memory device.
7
㻢㻣㻞㻌㻛㻌㻣㻟㻡
0SCJ-0EL
Importing Registered Data from a USB Memory Device
Use this procedure to import data that was exported from the machine to a USB memory device. If the models are the same, you can
also import the settings from another machine to this machine.
Importing Address Book data will overwrite the Address Book entries currently registered on the machine.
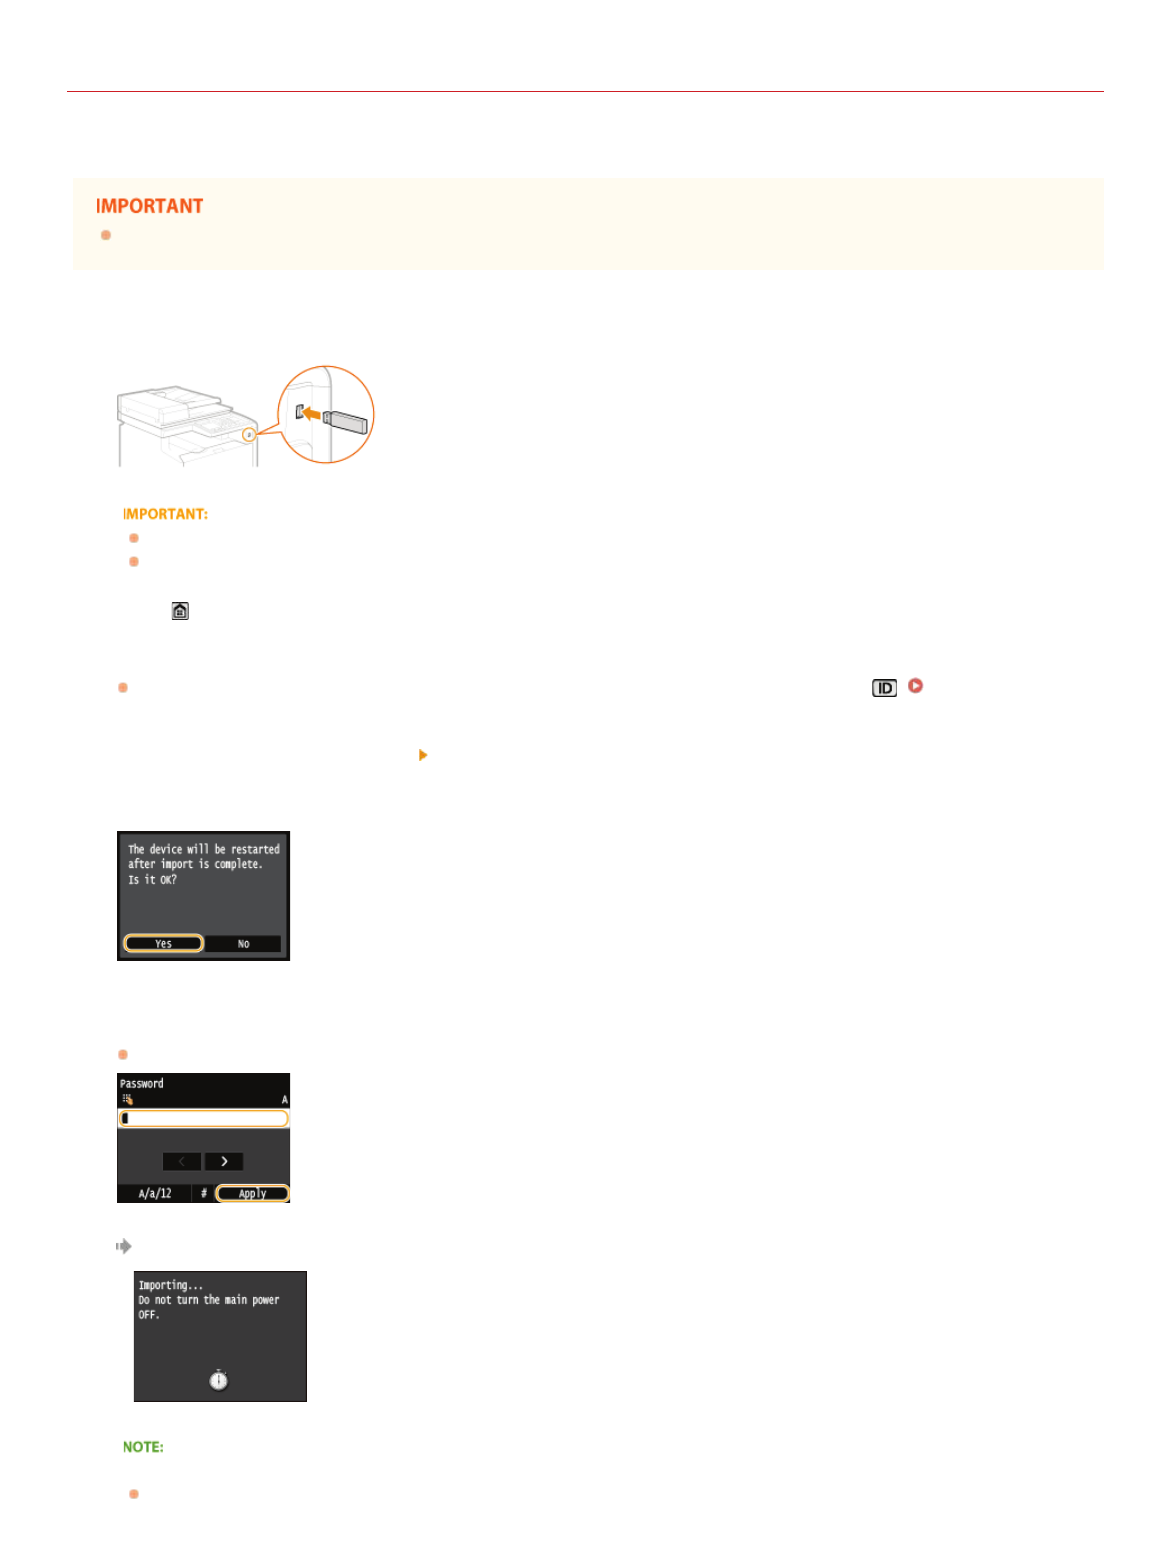
Connect a USB memory device to the USB port (USB2.0).
The USB port on the right side of the machine toward the rear is not available.
Do not remove, bump or jostle the USB memory device while data is being imported or exported.
Press and tap <Menu>.
Tap <System Management Settings>.
If the logon screen appears, enter the correct ID and PIN using the numeric keys, and then press .Logging on to the
Machine
Tap <Import/Export of Settings> <Import>.
Check the message and tap <Yes>.
Enter the password, and tap <Apply>.
Enter the password that was set when exporting the data.
Importing starts. The machine automatically restarts after the import is complete.
If the <Address Book PIN> screen appears
If a PIN has been set for the Address Book, the <Address Book PIN> screen appears during importing. Enter the Address Book
PIN and tap <Apply>. Tap <Skip> to cancel Address Book data importing.
1
2
3
4
5
6
㻢㻣㻟㻌㻛㻌㻣㻟㻡
Disconnect the USB memory device from the USB port (USB2.0).
1
Press .
2
Press .
3
Tap <Device Status>.
4
Tap <Remove Memory Media>.
Wait until the <The memory media can be safely removed.> message is displayed.
5
Disconnect the USB memory device.
7
㻢㻣㻠㻌㻛㻌㻣㻟㻡
0SCJ-0E8
Initializing Settings
You can restore the following settings:
Initializing Menu
Initializing Key and Certificate
Initializing Address Book
㻢㻣㻡㻌㻛㻌㻣㻟㻡
0SCJ-0E9
Initializing Menu
You can restore the settings of the machine (Setting Menu List). Depending on the settings selected, you may need to restart the
machine after initialization.
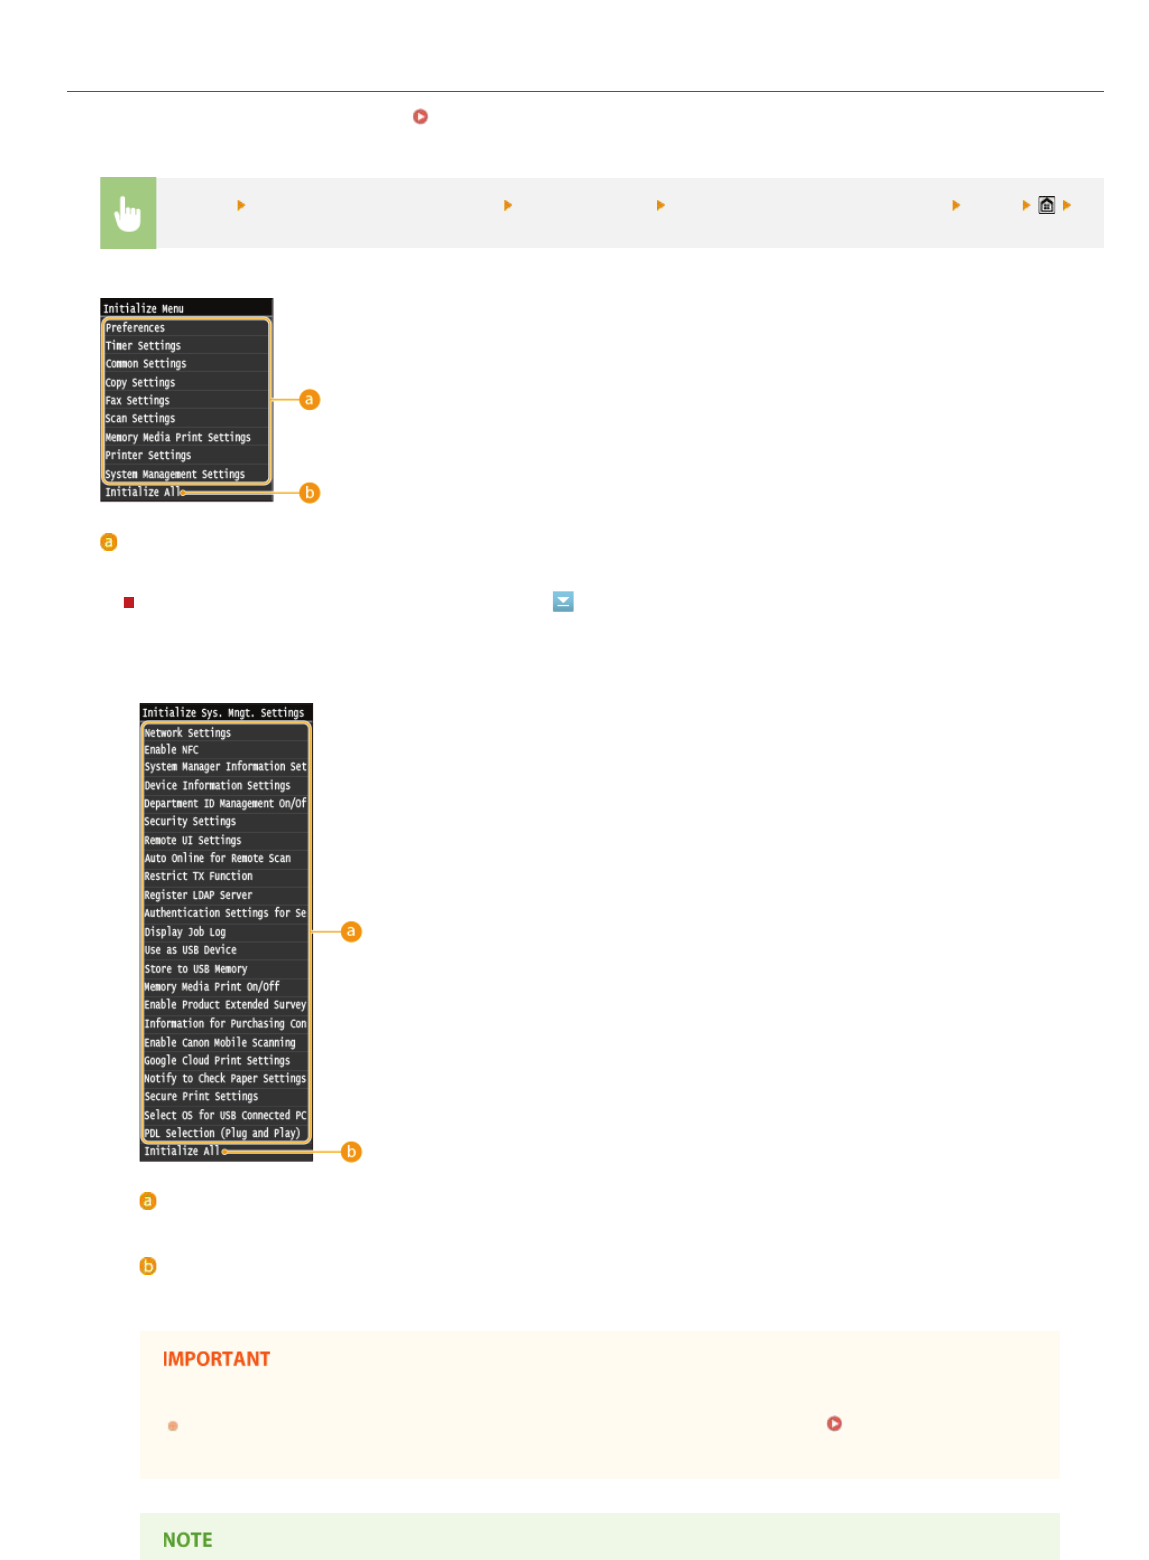
<Menu>
<System Management Settings><Initialize Menu>Select the item you want to initialize<Yes>
Restart the machine if necessary
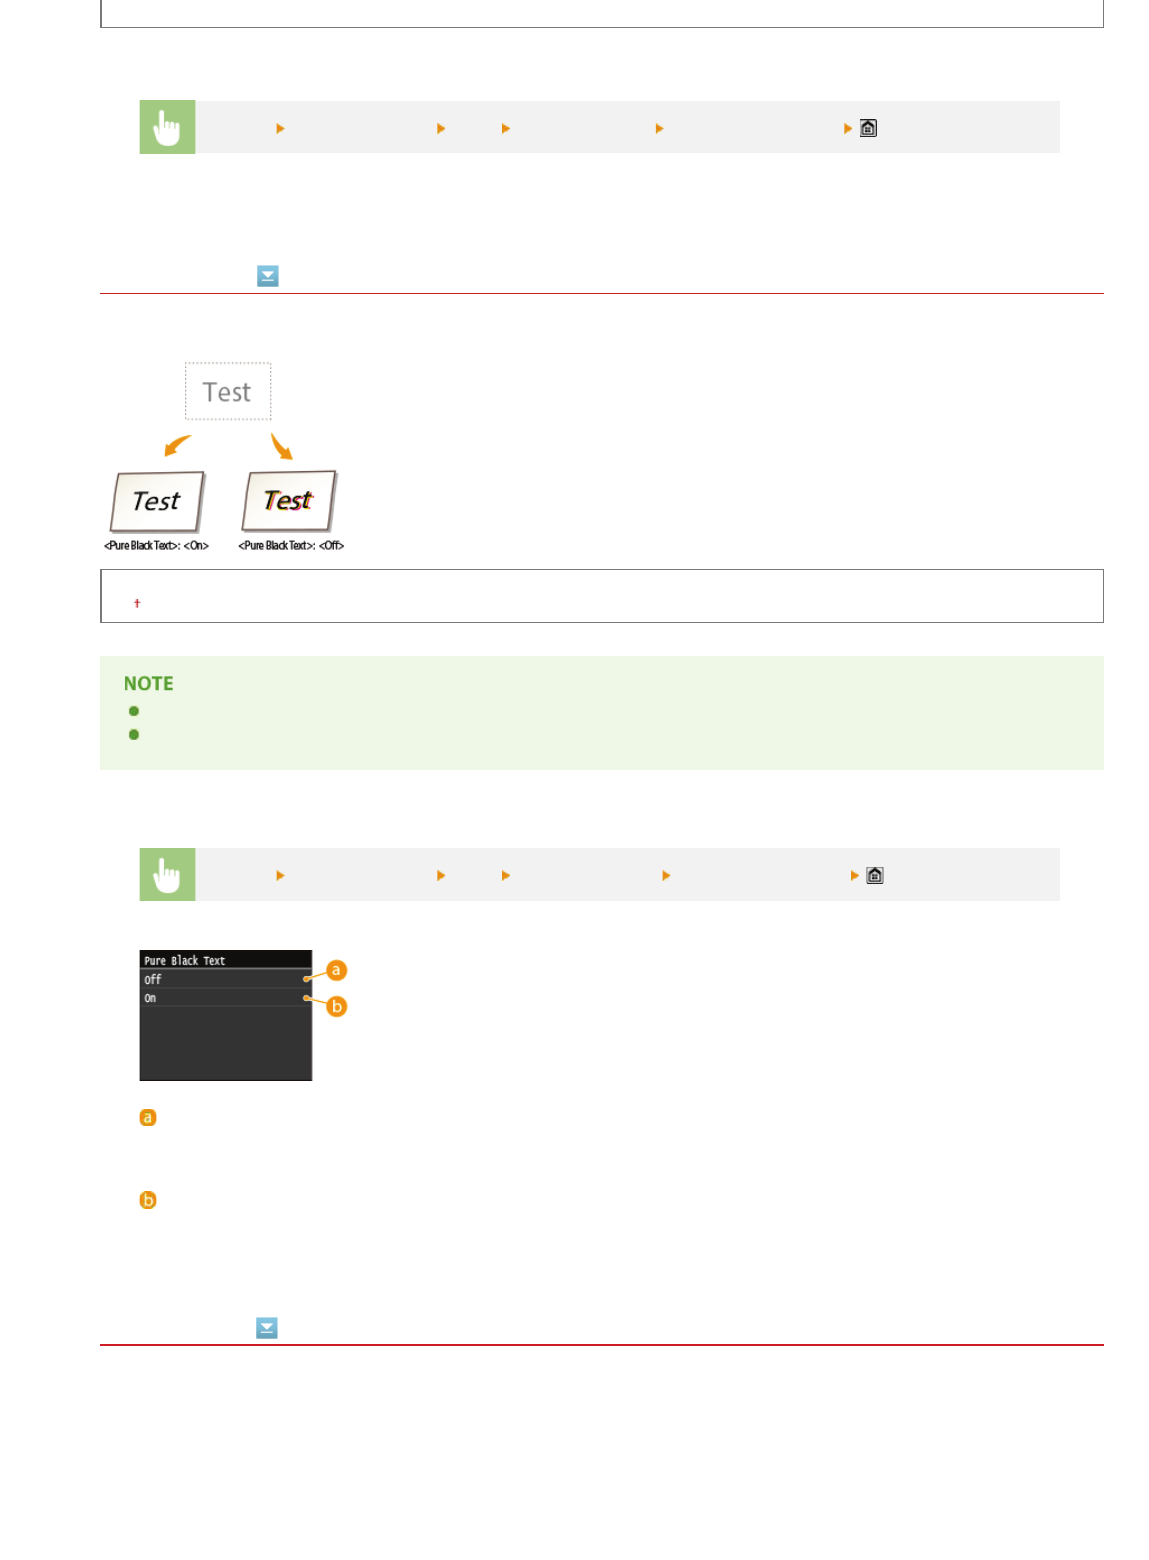
Items for initializing
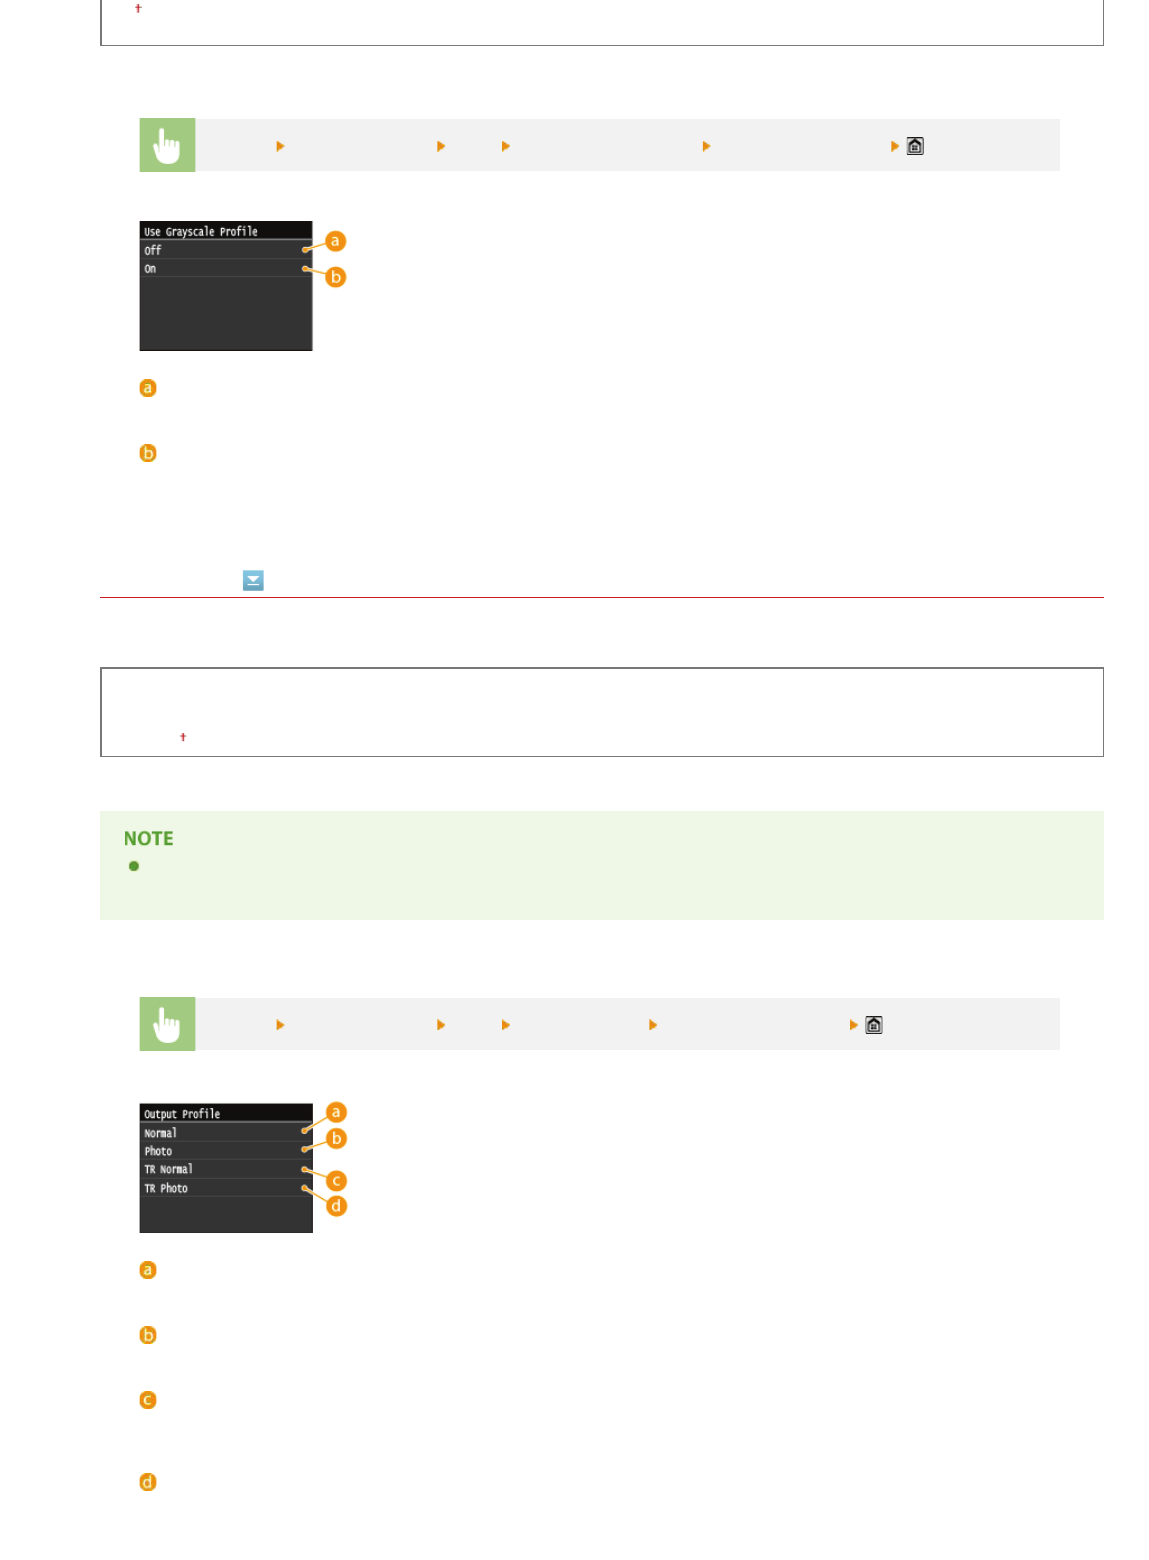
Select the setting you want to initialize.
When <System Management Settings> is selected
Select the specific system management settings that you want to initialize and tap <Yes>.
Settings to be initialized
Select the settings to be initialized.
<Initialize All>
Initializes all the system management settings.
If Remote UI settings are initialized
The Remote UI PIN is also initialized. After an initialization, reset the Remote UI PIN. Setting a Remote UI
PIN
㻢㻣㻢㻌㻛㻌㻣㻟㻡
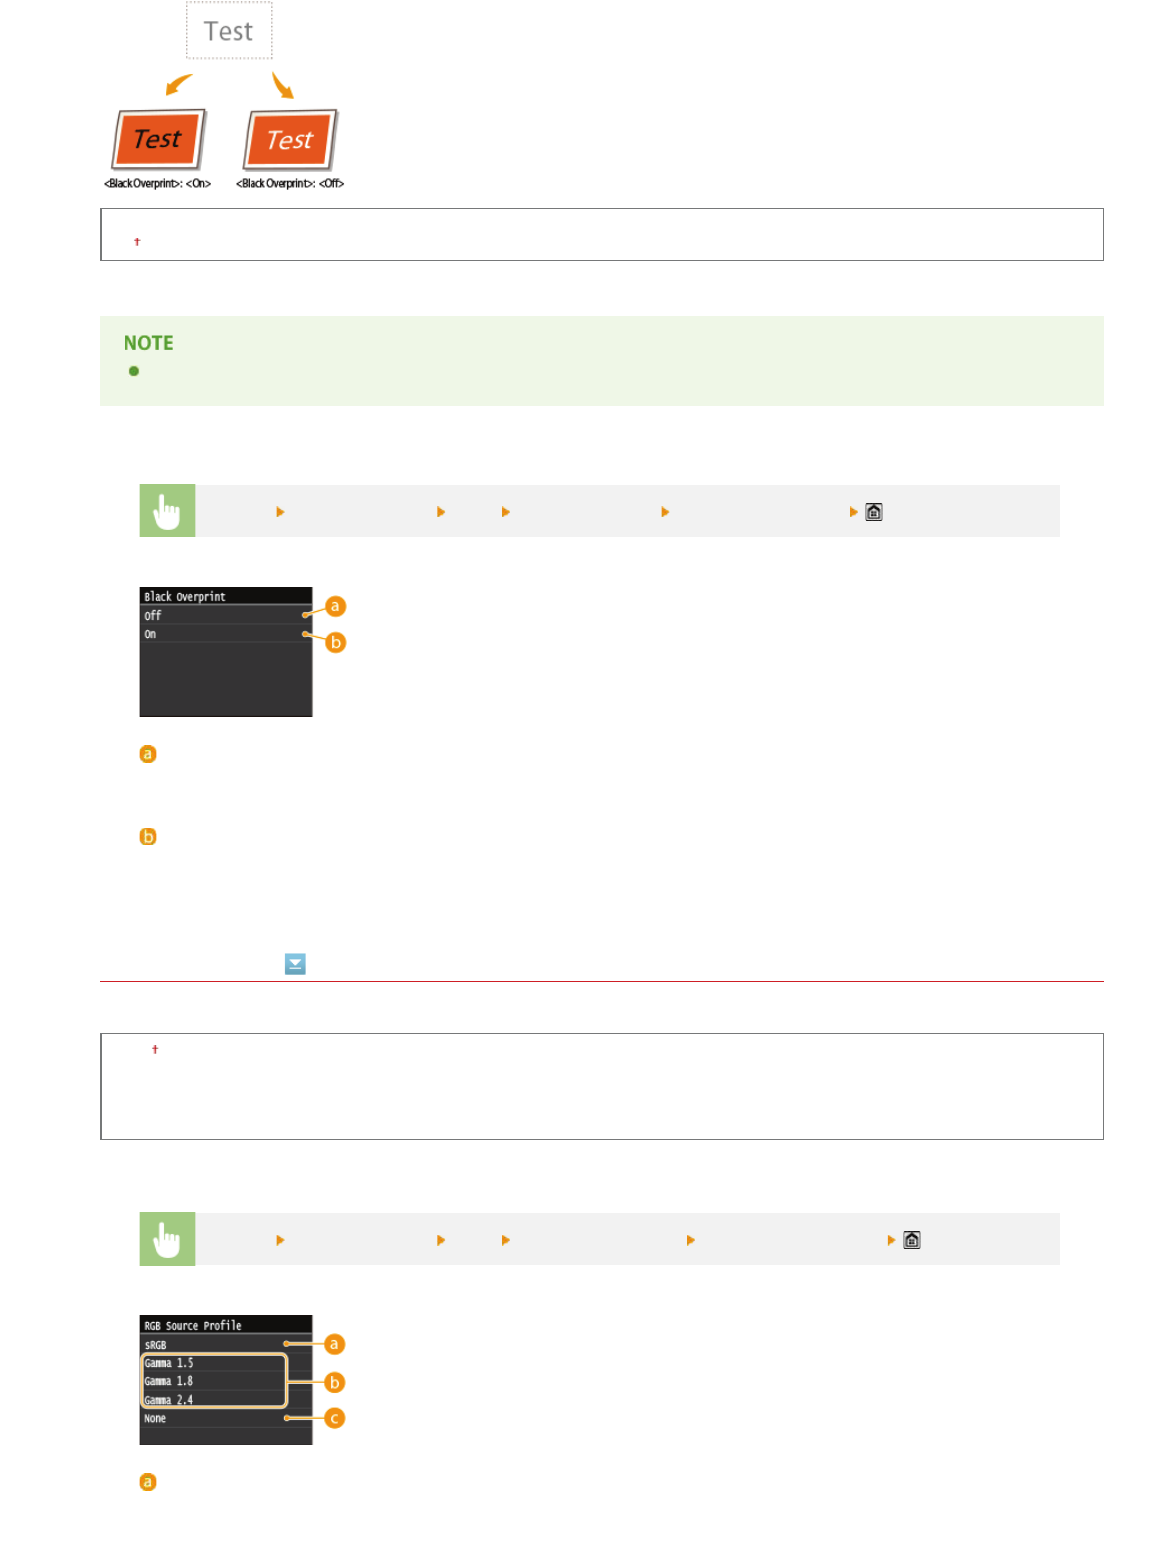
<Initialize All>
Initializes all the settings on the machine.
You can use the procedure below to restore the default <Network Settings>. Select <Menu> <Network
Settings>
<Initialize Network Settings> <Yes> and then restart the machine.
㻢㻣㻣㻌㻛㻌㻣㻟㻡
0SCJ-0EA
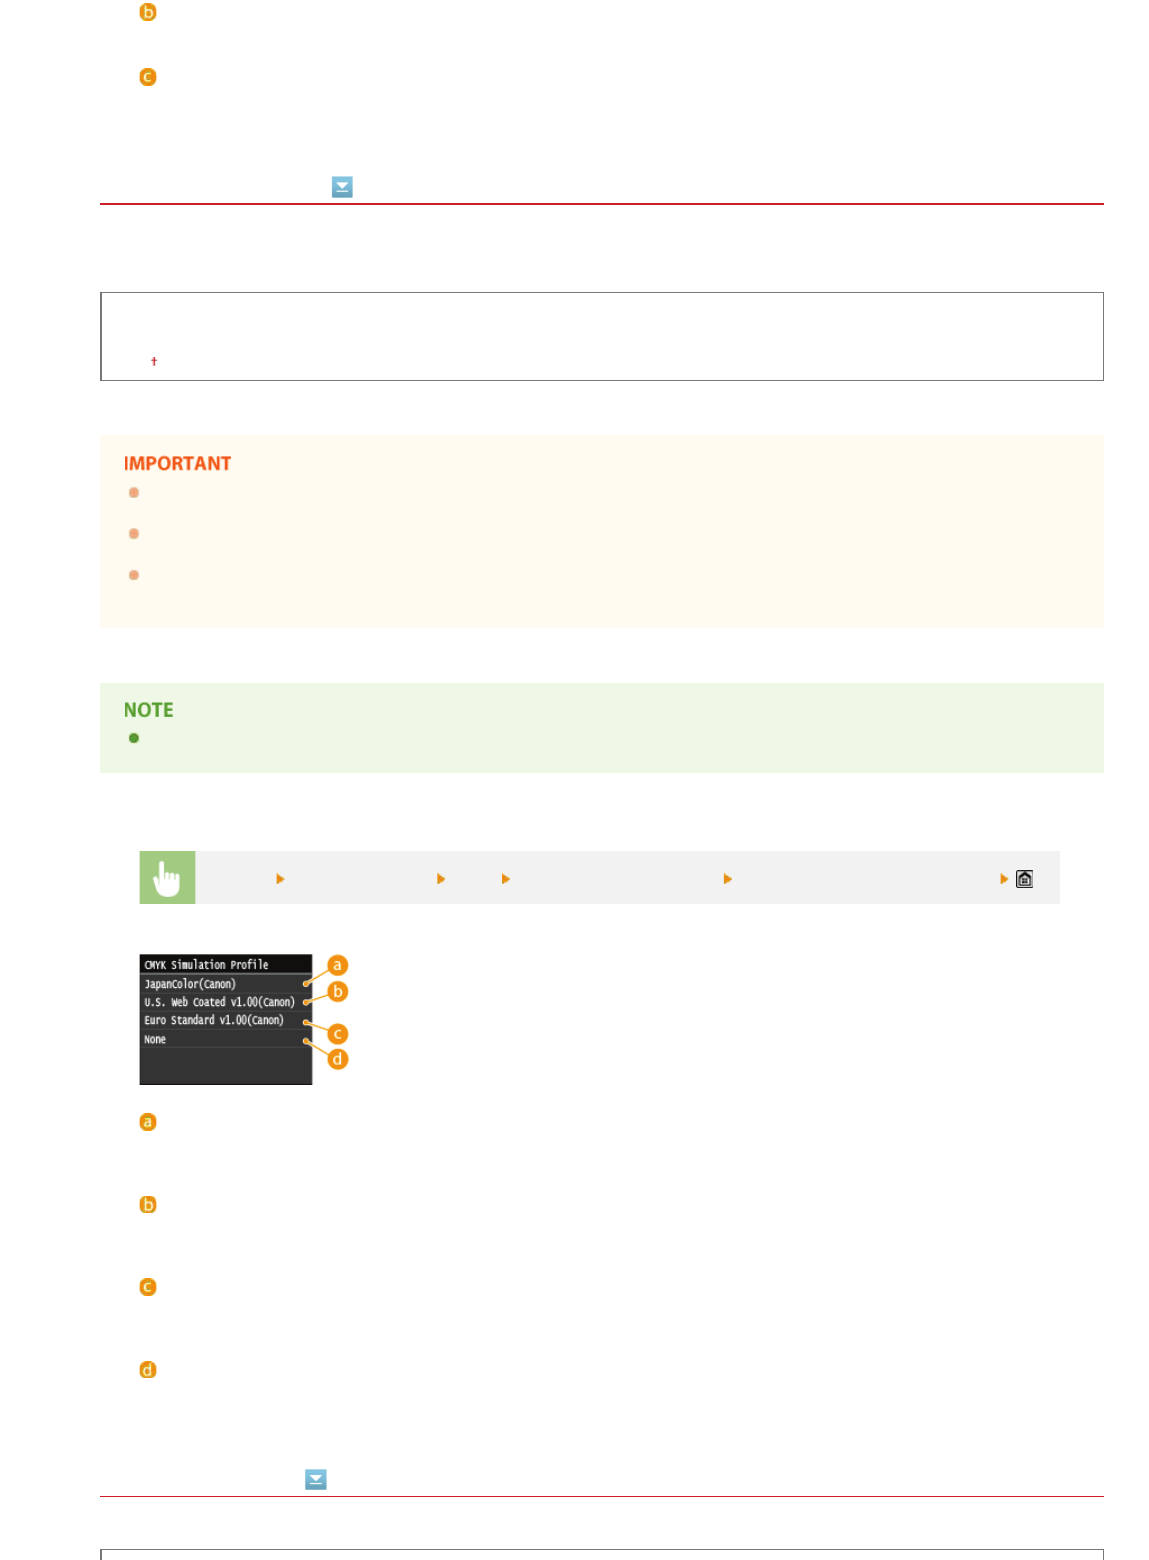
Initializing Key and Certificate
You can restore the settings of the key pairs and digital certificates. Note that all the key pairs that you registered in the machine and
certificates (except the preinstalled digital certificates) will be deleted after initializing.
After initializing, functions that require key pairs such as SSL encrypted communication and TLS of the IEEE 802.1X
authentication are not available. To use these functions, configure the settings for the key pairs and activate the functions
again.
<Menu>
<System Management Settings><Initialize Key and Certificate><Yes>
LINKS
Configuring Settings for Key Pairs and Digital Certificates
㻢㻣㻤㻌㻛㻌㻣㻟㻡
0SCJ-0EC
Initializing Address Book
You can restore the settings of the Address Book. Note that all the information registered in the Address Book will be deleted after
The copy speed on A4 size plain paper on one-side printing is measured during continuous copying. However, this varies depending on the use conditions
and environment of the machine.
*1
*1
㻣㻜㻜㻌㻛㻌㻣㻟㻡
0SCJ-0F8
Fax Specifications
Line Used
Public Switched Telephone Network (PSTN)
Communication
Mode
Super G3, G3
Compression
Method
MH, MR, MMR, JBIG
Modem Speed
Super G3: 33.6 Kbps, G3: 14.4 Kbps
Automatic Fallback
Transmission
Speed
Approx. 3 seconds per page
(ECM-JBIG, transmitting from the memory at 33.6 Kbps)
Sending from
Memory/Receiving
in Memory
Maximum approx. 512 pages (Total pages of transmission/reception)
(Maximum number of fax jobs that can be sent from the memory: 30 jobs/Maximum number of fax jobs
that can be received into the memory: 90 jobs)
Fax Resolution
Normal: 200 x 100 dpi
Fine: 200 x 200 dpi
Photo: 200 x 200 dpi
Superfine: 200 x 400 dpi
Ultrafine: 400 x 400 dpi
Dialing
Favorites (19 destinations)
Coded dialing (281 destinations)
Group dialing (299 destinations)
Address Book dialing
Regular dialing (with numeric keys)
Automatic redialing
Manual redialing
Sequential broadcast (310 destinations)
Receiving
Automatic reception
Manual reception
Remote reception by telephone (Default ID: 25)
Reports
TX Result Report
Communication Management Report
(By default, auto output every 40 destinations)
RX Result Report
Telephone Type
Handset (optional)/External telephone/External telephone with the built-in answer function/Data modem
Depending on your locale or your telephone connection, you may be unable to perform data communication. In this case, contact your local authorized
Canon dealer or the Canon help line.
Based on ITU-T (ITU Telecommunication Standardization Sector) Standard Chart No. 1, JBIG standard mode.
*1
*2
*2
*1
*2
㻣㻜㻝㻌㻛㻌㻣㻟㻡
0SCJ-0F9
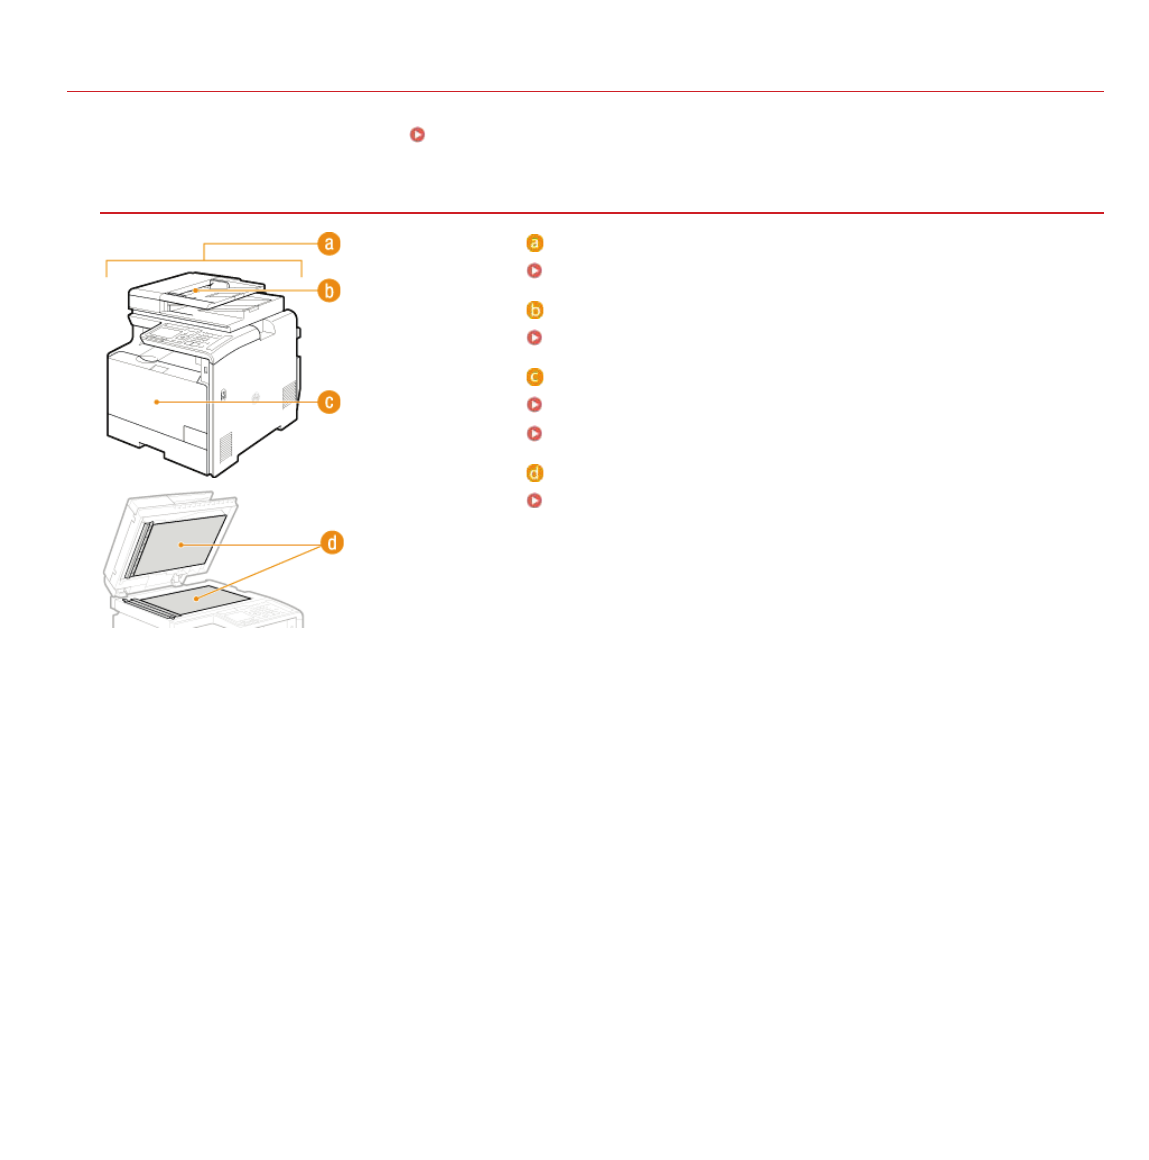
Scanner Specifications
Type
Color scanner
Maximum
Scan Size
Platen glass: up to 216 x 297 mm
Feeder: up to 216 x 356 mm
Scan
Resolution
Optical resolution
Platen glass: up to 600 x 600 dpi
Feeder: up to 300 x 300 dpi
Software interpolation resolution
9,600 x 9,600 dpi
Scan Speed
(A4, 300 x 600
dpi)
Color: 10 sheets/minute
Black and White:20 sheets/minute
Driver
TWAIN
WIA 2.0 (Windows Vista/7/8)
ICA (Mac OS X 10.6.x or later)
The communication time is not included.
*1
*1
㻣㻜㻞㻌㻛㻌㻣㻟㻡
0SCJ-0FA
Printer Specifications
Printing
Method
Indirect electrostatic system (On-demand fixing)
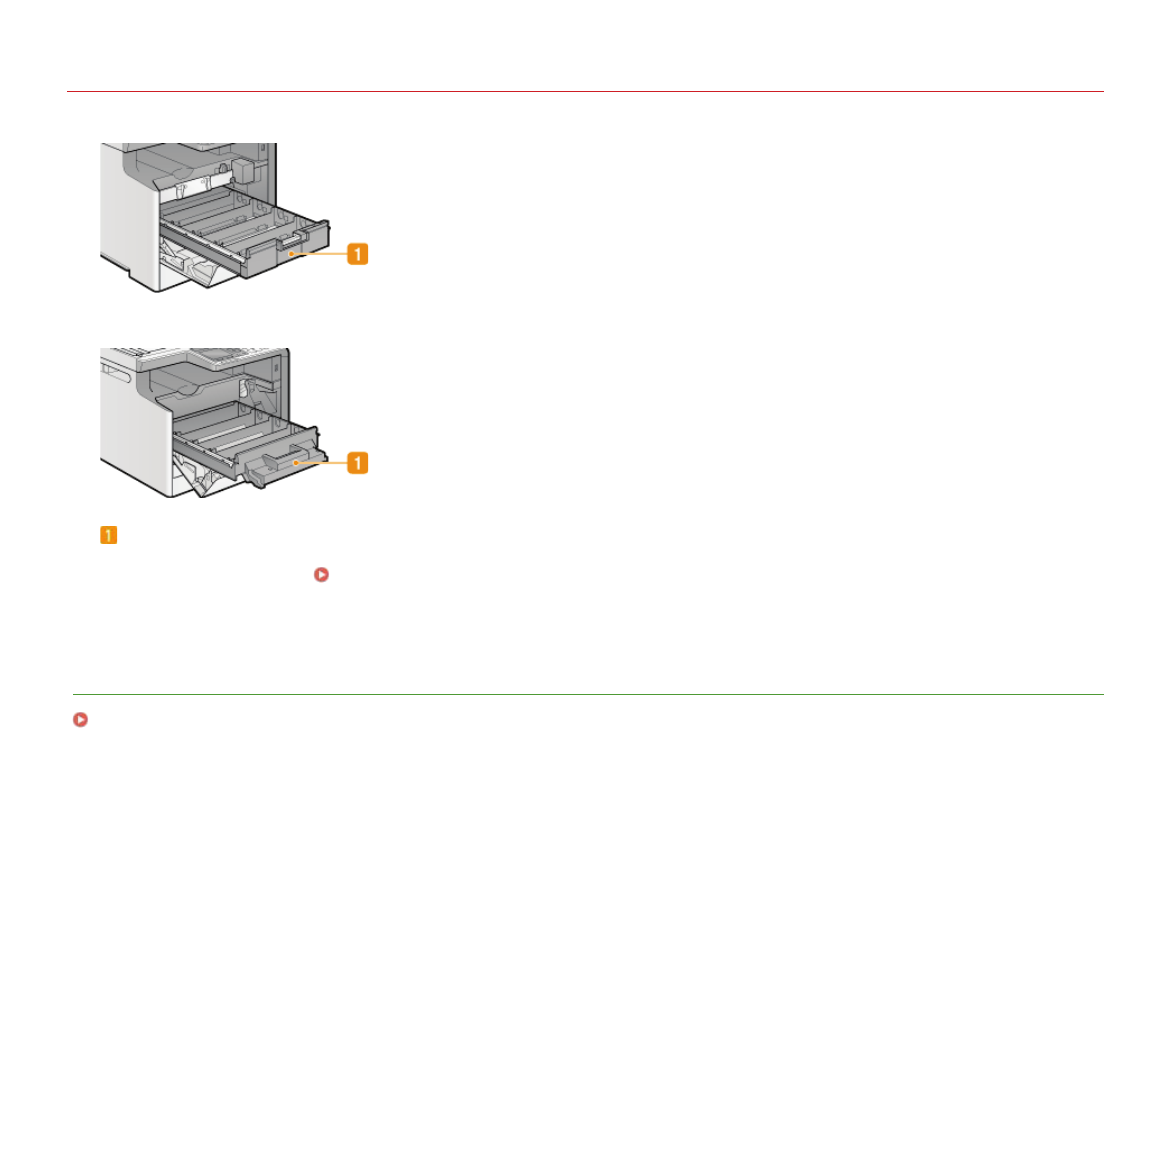
Paper
Capacity
MF729Cx / MF728Cdw / MF724Cdw
Manual feed slot: Approx. 50 sheets (60 to 90 g/m²)
Paper drawer: Approx. 250 sheets (60 to 90 g/m²)
Cassette Feeding Module-V1(optional): Approx. 250 sheets (60 to 90 g/m²)
MF628Cw / MF623Cn
Manual feed slot: 1 sheet
Paper drawer: Approx 150 sheets (60 to 90 g/m²)
Output Tray
Capacity
(a fresh stack
of A4 size
paper)
Approx. 125 sheets (60 to 90 g/m²)
Print
Speed
(A4 Plain
Direct)
MF729Cx / MF728Cdw / MF724Cdw (1-sided printing)
Color: 20 ppm
B/W: 20 ppm
MF729Cx / MF728Cdw / MF724Cdw (2-sided printing)
Color: up to 10 ppm (pages per minute), 5 spm (sheets per minute)
B/W: up to 10 ppm (pages per minute), 5 spm (sheets per minute)
MF628Cw / MF623Cn
Color: 14 ppm
B/W: 14 ppm
First Print
Time
(A4)
MF729Cx / MF728Cdw / MF724Cdw
Color: 14.5 seconds or less
B/W: 14.5 seconds or less
MF628Cw / MF623Cn
Color: 18 seconds or less
B/W: 18 seconds or less
Output
Resolution
600 x 600 dpi
Gradation
256 gradations
Toner
Cartridges
Consumables
May varies depending on the installation environment and paper type used.
The print speed on A4 size plain paper is measured during continuous printing. However, this varies depending on the use conditions and environment of the
machine.
May vary depending on the output environment.
*1
*2
*3
*1
*2
*3
㻣㻜㻟㻌㻛㻌㻣㻟㻡
0SCJ-0FC
Specifications for E-mail Sending
Communication
Protocol
SMTP
Data Format
PDF, PDF (Compact), PDF (Compact/OCR), PDF (OCR), JPEG, TIFF
Resolution
Black and White
JPEG: 300 dpi
TIFF: 300 dpi (MMR Compression)
PDF/PDF (OCR): 300 dpi (MMR Compression)
PDF (Compact)/PDF (Compact/OCR): Text 300 dpi, Background 150 dpi
Color
JPEG: 300 dpi
TIFF: 300 dpi (JPEG Compression)
PDF/PDF (OCR): 200 dpi (JPEG Compression)
PDF (Compact)/PDF (Compact/OCR): Text 300 dpi, Background 150 dpi
System
Environment
Windows Vista/7/8/Server 2003/Server 2008/Server 2012
Solaris Version 2.6 or later (with Samba 2.2 or later)
Mac OS X
Red Hat Linux 7.2 or later (with Samba 2.2 or later)
Interface
100BASE-TX, 10BASE-T
Color Mode
Color, Black/White
Inputted
Image
Text, Text/Photo, Photo
Paper Size
A4, A5
POP3 is available to use only when authenticating before sending.
*1
*1
㻣㻜㻠㻌㻛㻌㻣㻟㻡
0SCJ-0FE
Specifications for Scanning to Shared Folders
Communication
Protocol
SMB (TCP/IP)
Data Format
PDF, PDF (Compact), PDF (Compact/OCR), PDF (OCR), JPEG, TIFF
Resolution
Black and White
JPEG: 300 dpi
TIFF: 300 dpi (MMR Compression)
PDF/PDF (OCR): 300 dpi (MMR Compression)
PDF (Compact)/PDF (Compact/OCR): Text 300 dpi, Background 150 dpi
Color
JPEG: 300 dpi
TIFF: 300 dpi (JPEG Compression)
PDF/PDF (OCR): 200 dpi (JPEG Compression)
PDF (Compact)/PDF (Compact/OCR): Text 300 dpi, Background 150 dpi
System
Environment
Windows Vista/7/8/Server 2003/Server 2008/Server 2012
Solaris Version 2.6 or later (with Samba 2.2 or later)
Mac OS X
Red Hat Linux 7.2 or later (with Samba 2.2 or later)
Interface
100BASE-TX, 10BASE-T
Color Mode
Color, Black/White
Inputted
Image
Text, Text/Photo, Photo
Paper Size
A4, A5
㻣㻜㻡㻌㻛㻌㻣㻟㻡
0SCJ-0FF
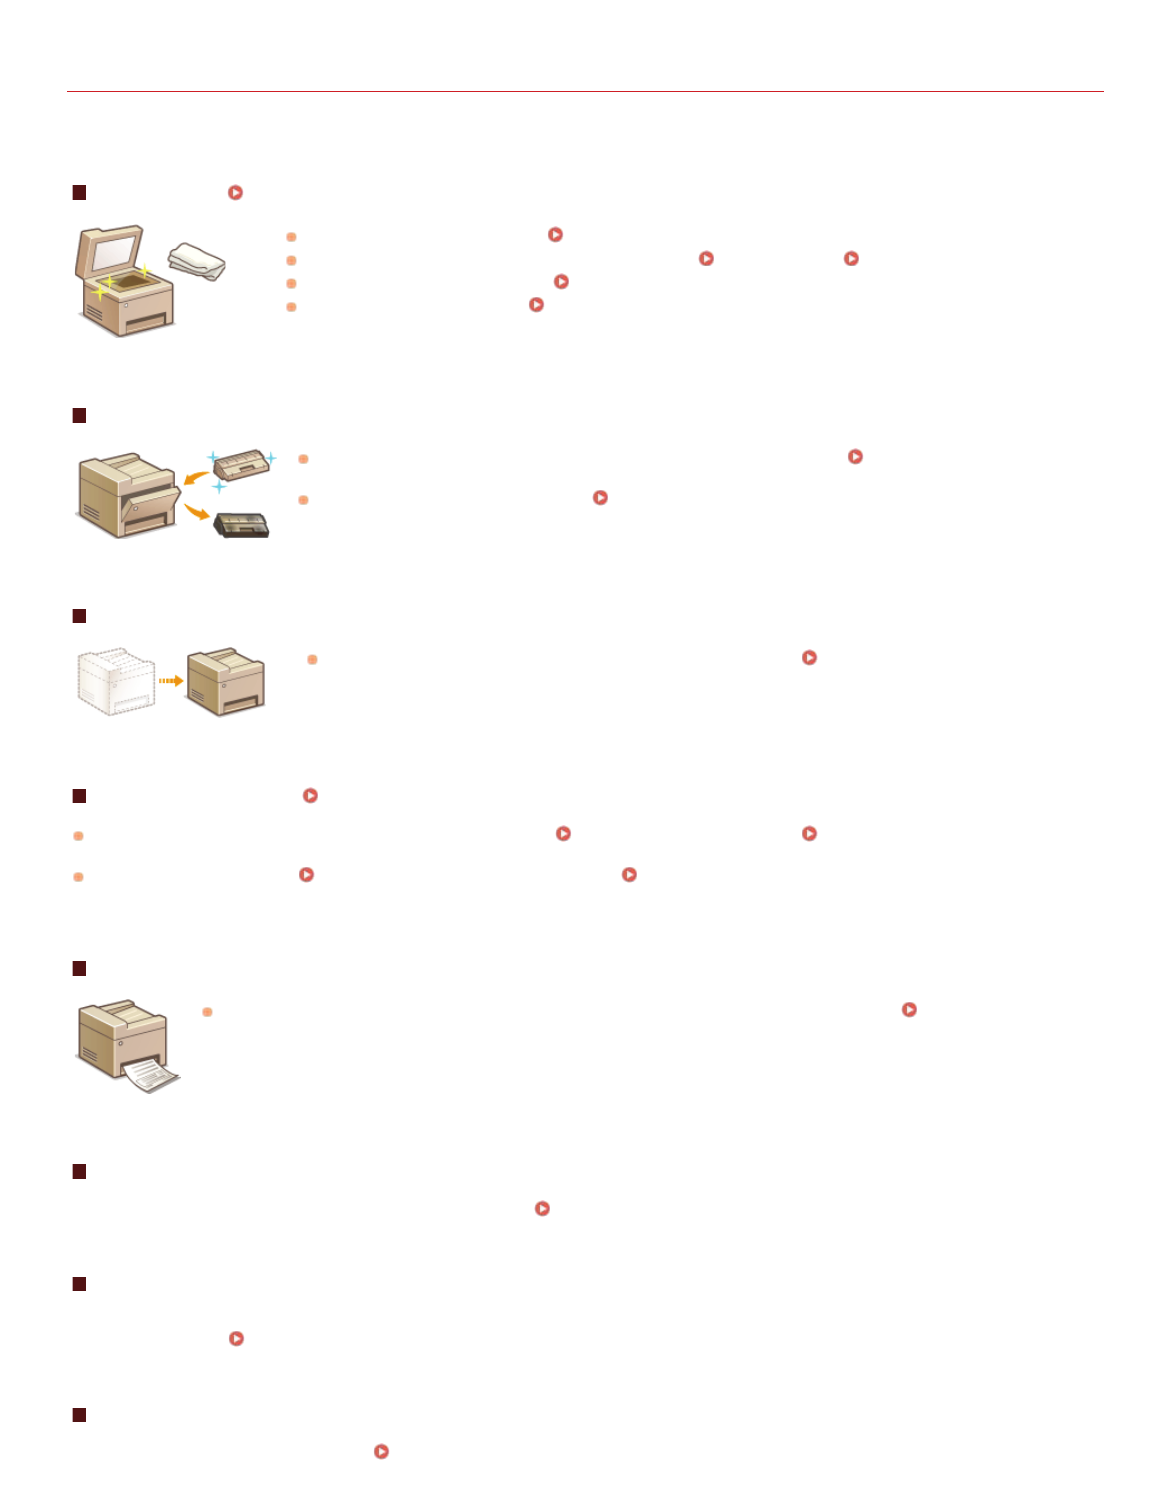
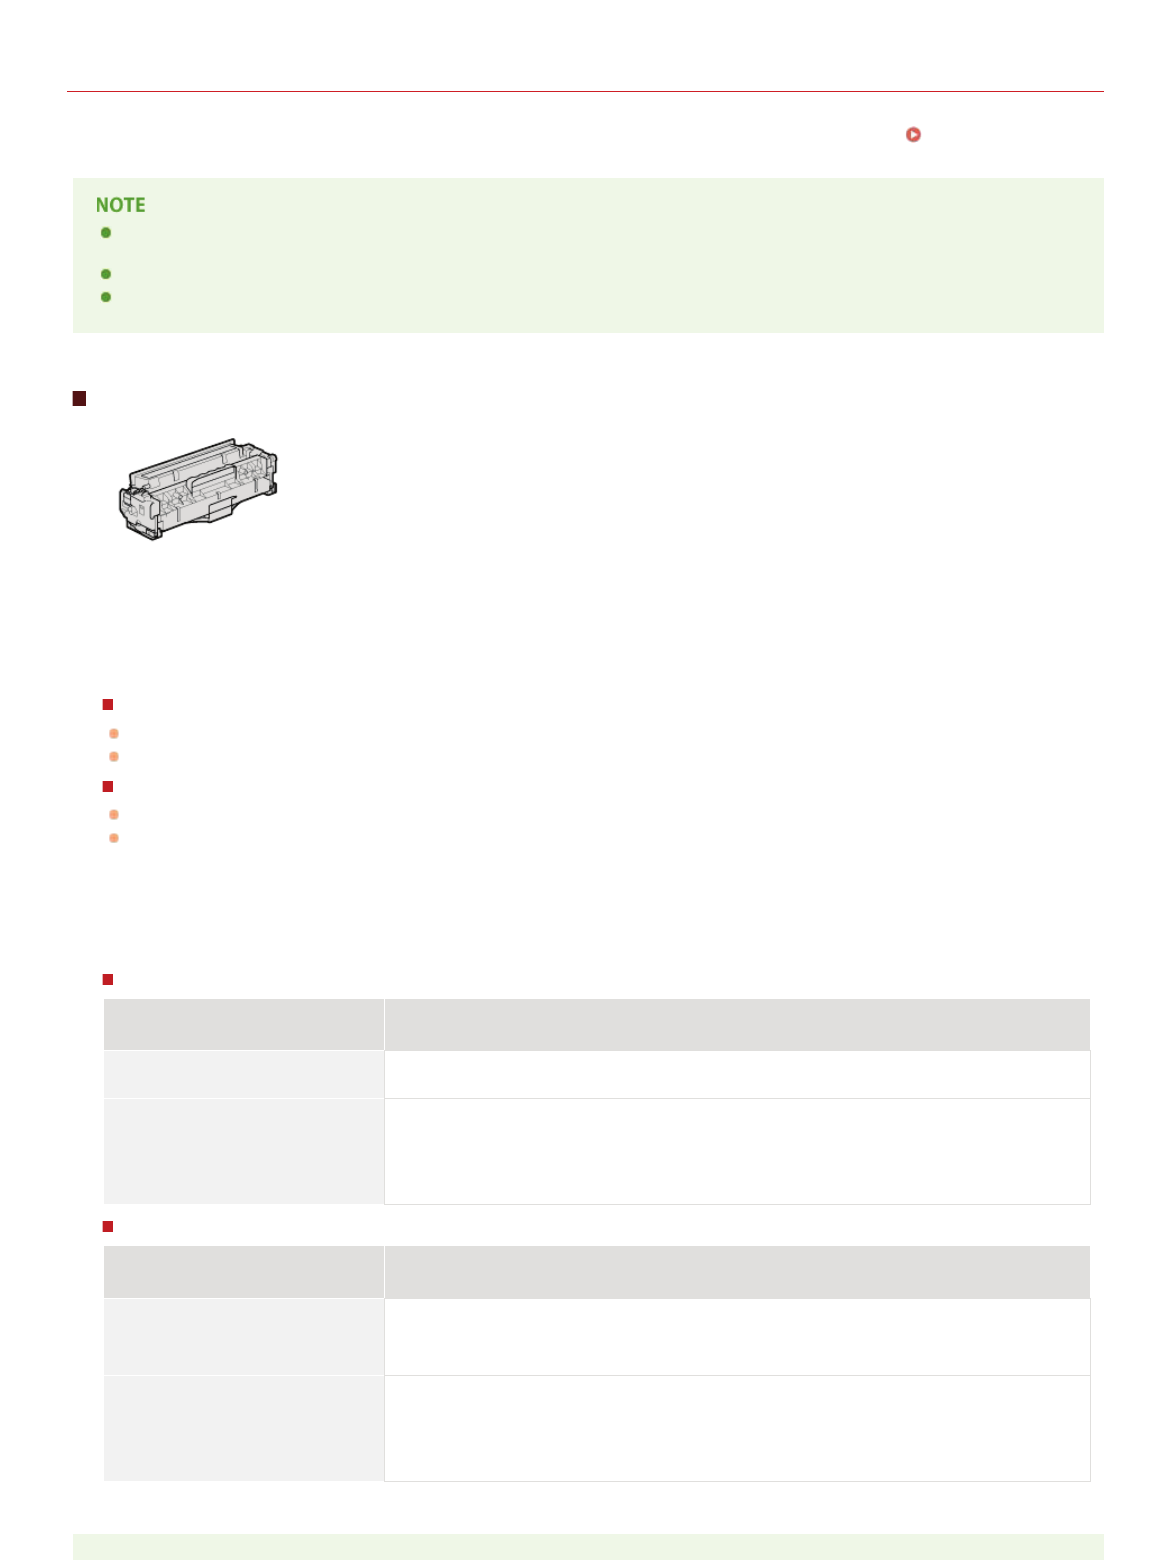
Consumables
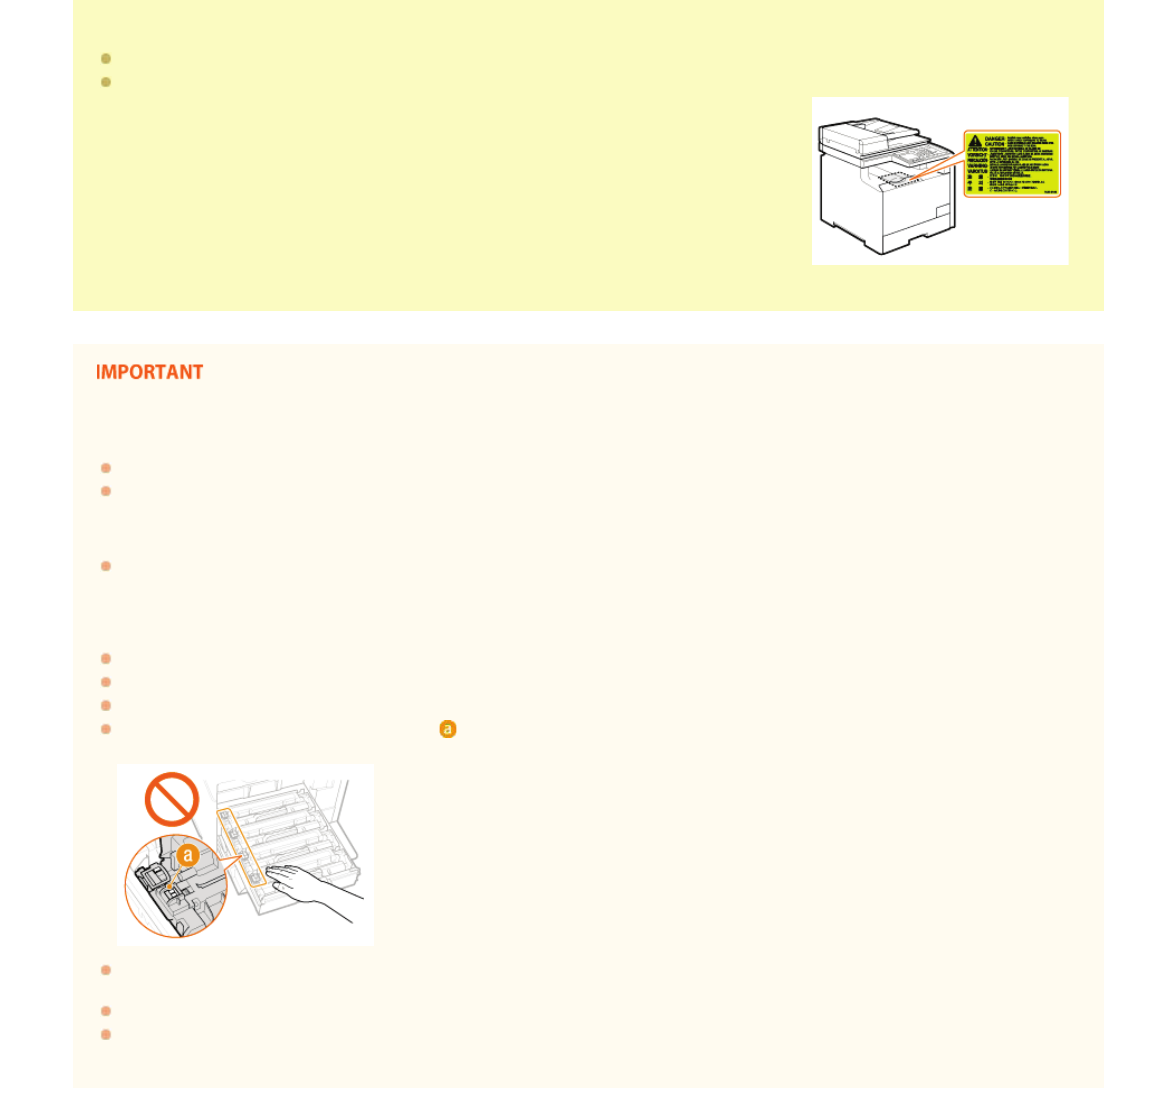
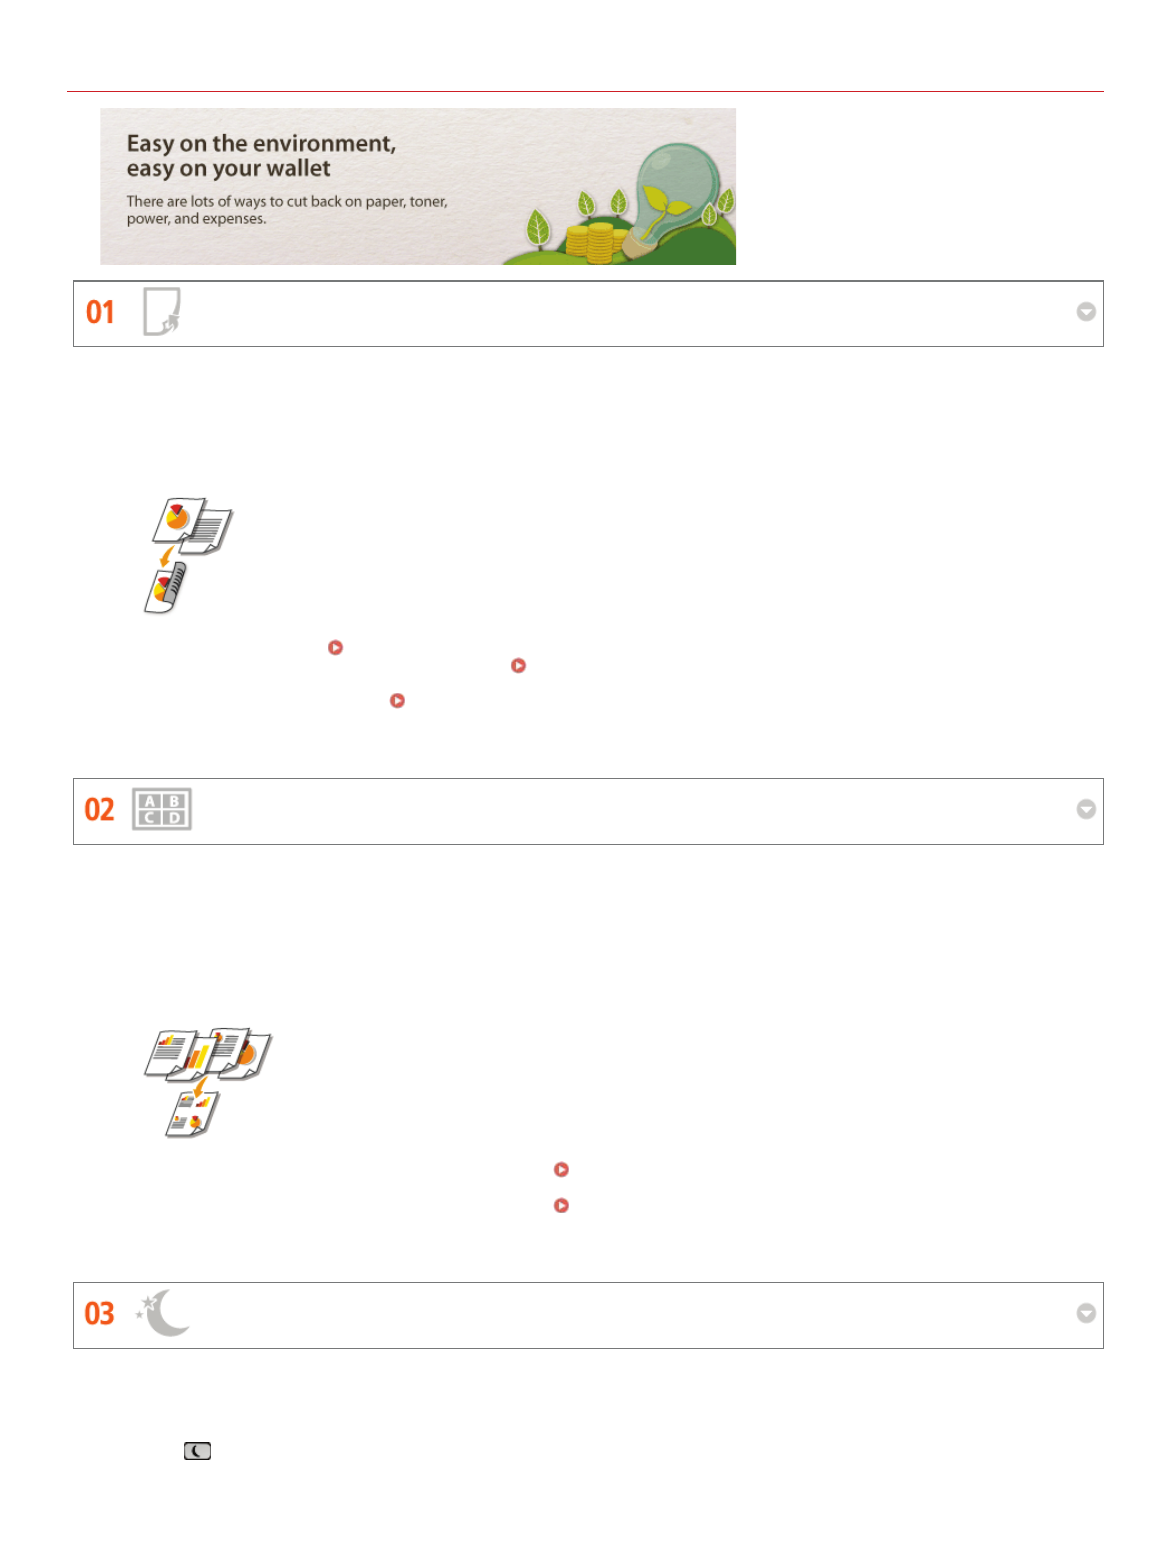
The following is a guide to the estimated replacement time for the consumables used in this machine. Purchase consumables at your
local authorized Canon dealer. Observe safety and health precautions when storing and handling consumables (
Consumables).
Depending on the installation environment, printing paper size, or document type, you may need to replace consumables
before the end of the estimated lifetime.
Replacement toner cartridges are different from the supplied toner cartridges, so the yield may also differ.
Specifying an auto shutdown time shorter than the default setting (4 hours) may shorten the life of the toner cartridges.
Toner Cartridges
Supplied Toner Cartridges
The average yields of the toner cartridges that come with the machine are shown in the table below.
The average yield is based on "ISO/IEC 19798" (the global standard related to "Method for the determination of toner cartridge yield for monochromatic
electrophotographic printers and multi-function devices that contain printer components" issued by ISO [International Organization for Standardization])
when printing A4 size paper with the default print density setting.
MF729Cx / MF728Cdw / MF724Cdw
Black: 1,200 sheets
Composite Y (Yellow), M (Magenta), and C (Cyan): 1,400 sheets
MF628Cw / MF623Cn
Black: 800 sheets
Composite Y (Yellow), M (Magenta), and C (Cyan): 800 sheets
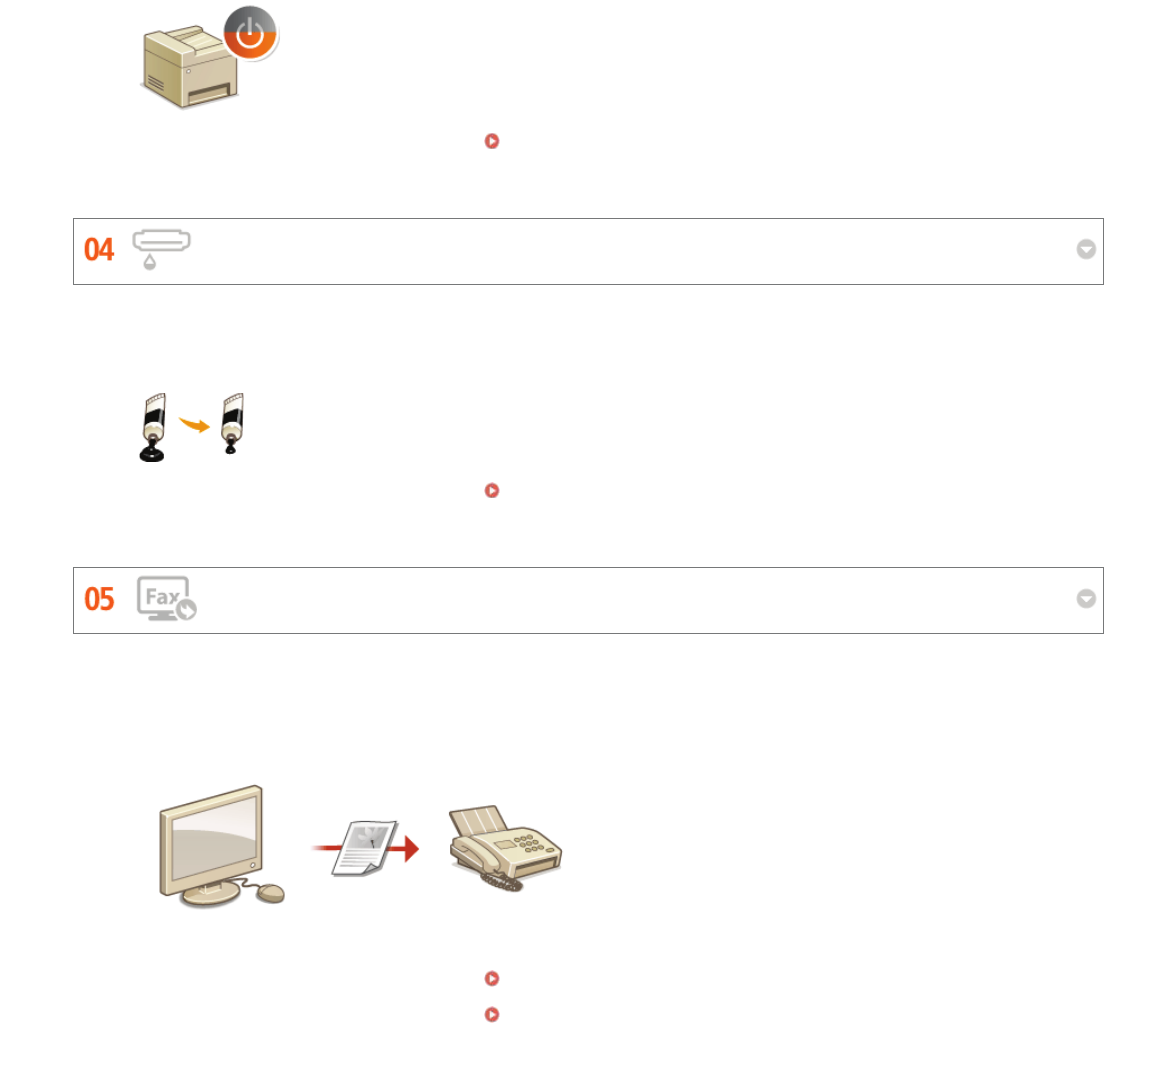
Replacement Toner Cartridges
For optimum print quality, using Canon genuine toner cartridges is recommended.
MF729Cx / MF728Cdw / MF724Cdw
Canon Genuine Toner CartridgeAverage yield of toner cartridge
Canon Cartridge718 Black3,400 sheets
Canon Cartridge718 Yellow
Canon Cartridge718 Magenta
Canon Cartridge718 Cyan
Composite Y (Yellow), M (Magenta), and C (Cyan): 2,900 sheets
MF628Cw / MF623Cn
Canon Genuine Toner CartridgeAverage yield of toner cartridge
Canon Cartridge731 Black
Canon Cartridge731 H Black
1,400 sheets
2,400 sheets
Canon Cartridge731 Yellow
Canon Cartridge731 Magenta
Canon Cartridge731 Cyan
Composite Y (Yellow), M (Magenta), and C (Cyan): 1,500 sheets
*
*
*
*
㻣㻜㻢㻌㻛㻌㻣㻟㻡
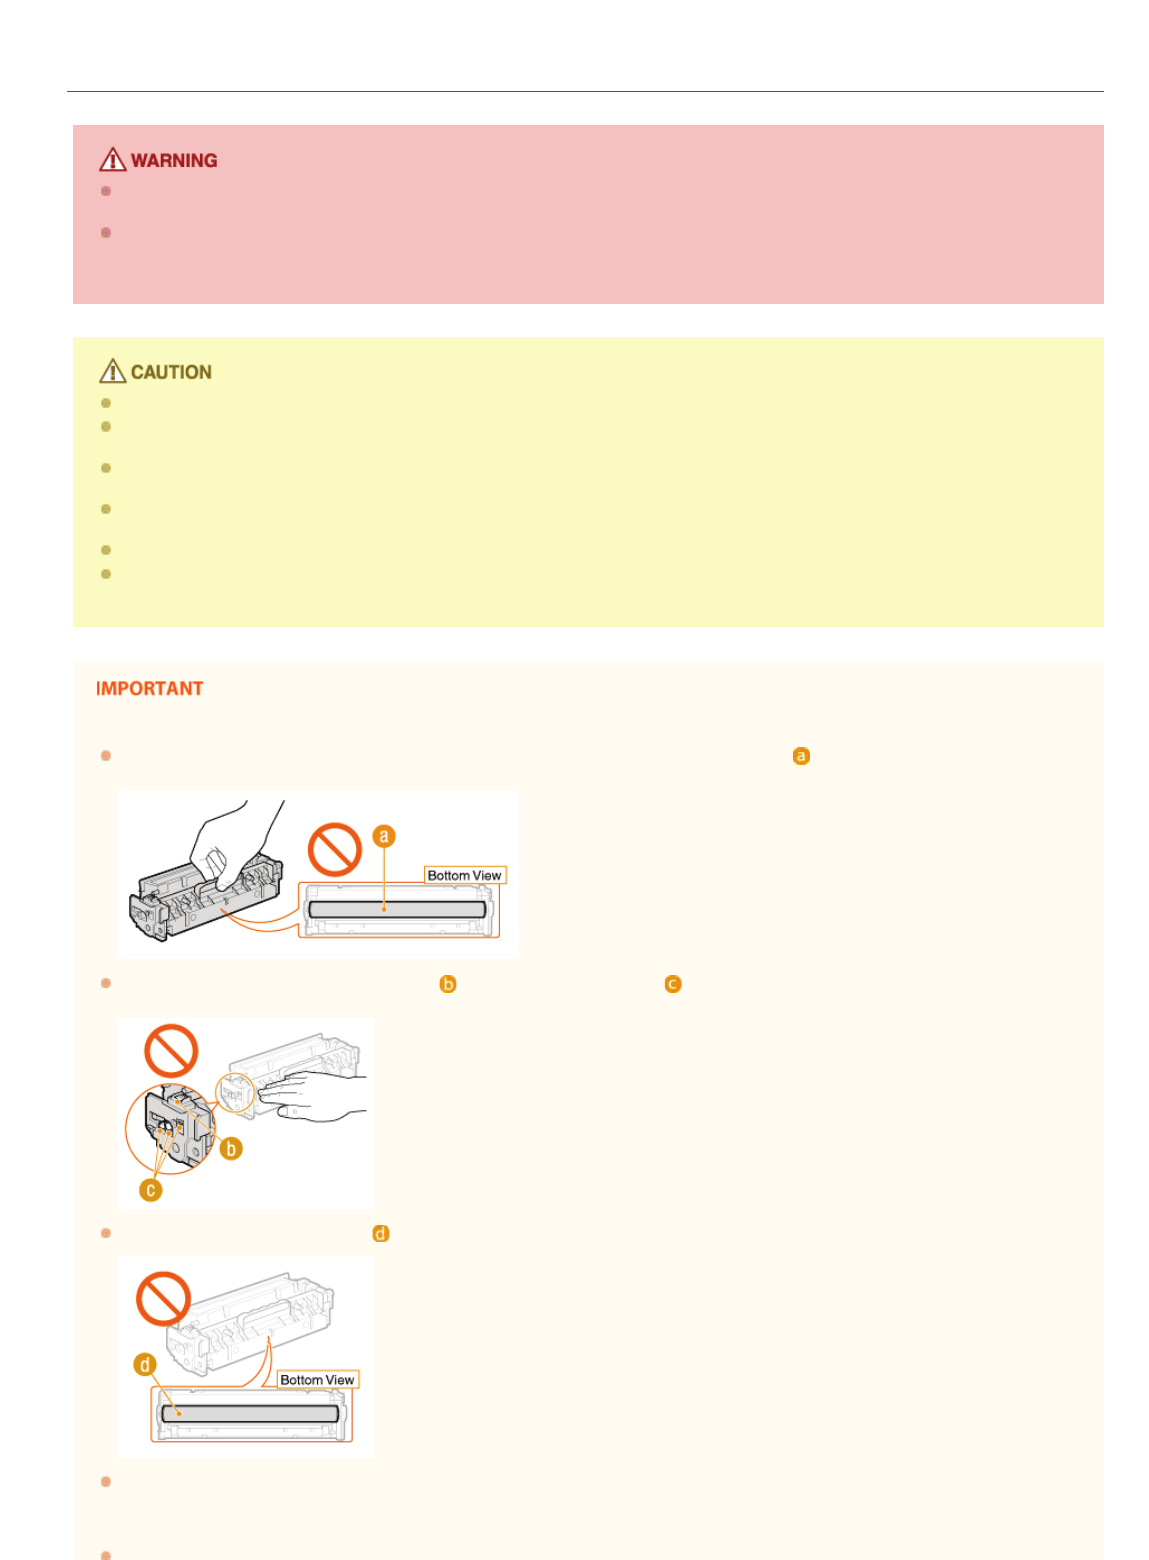
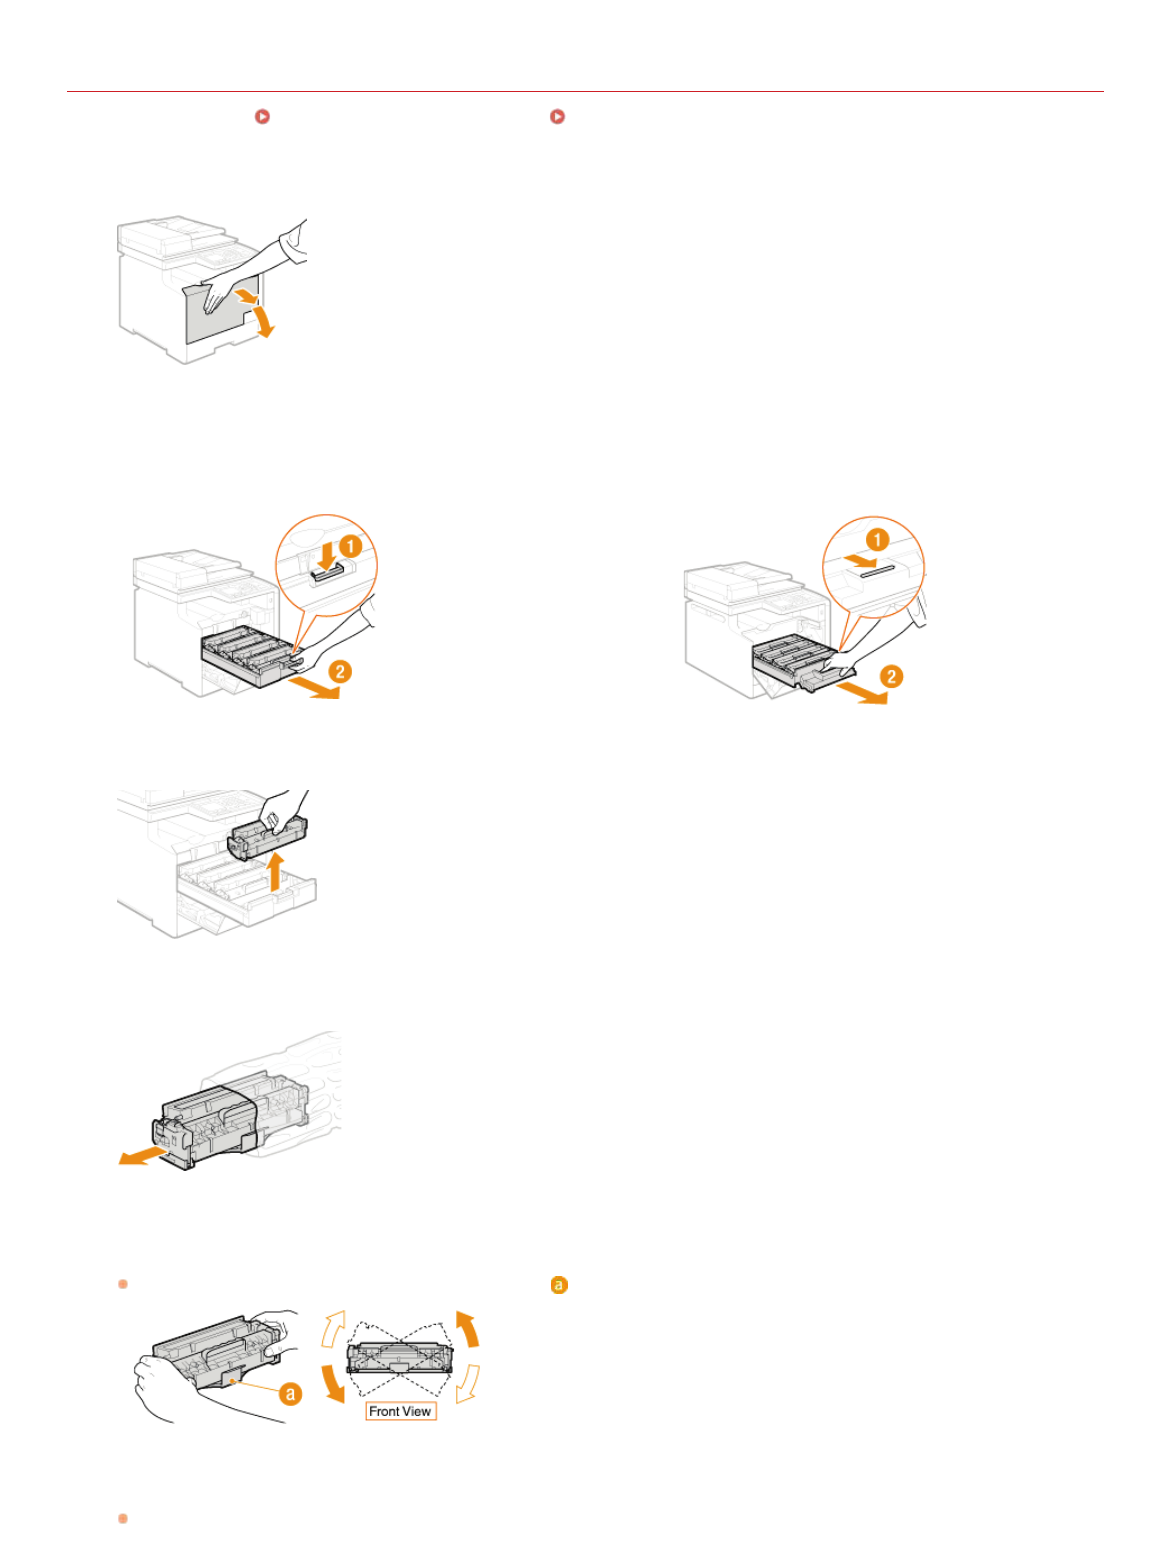
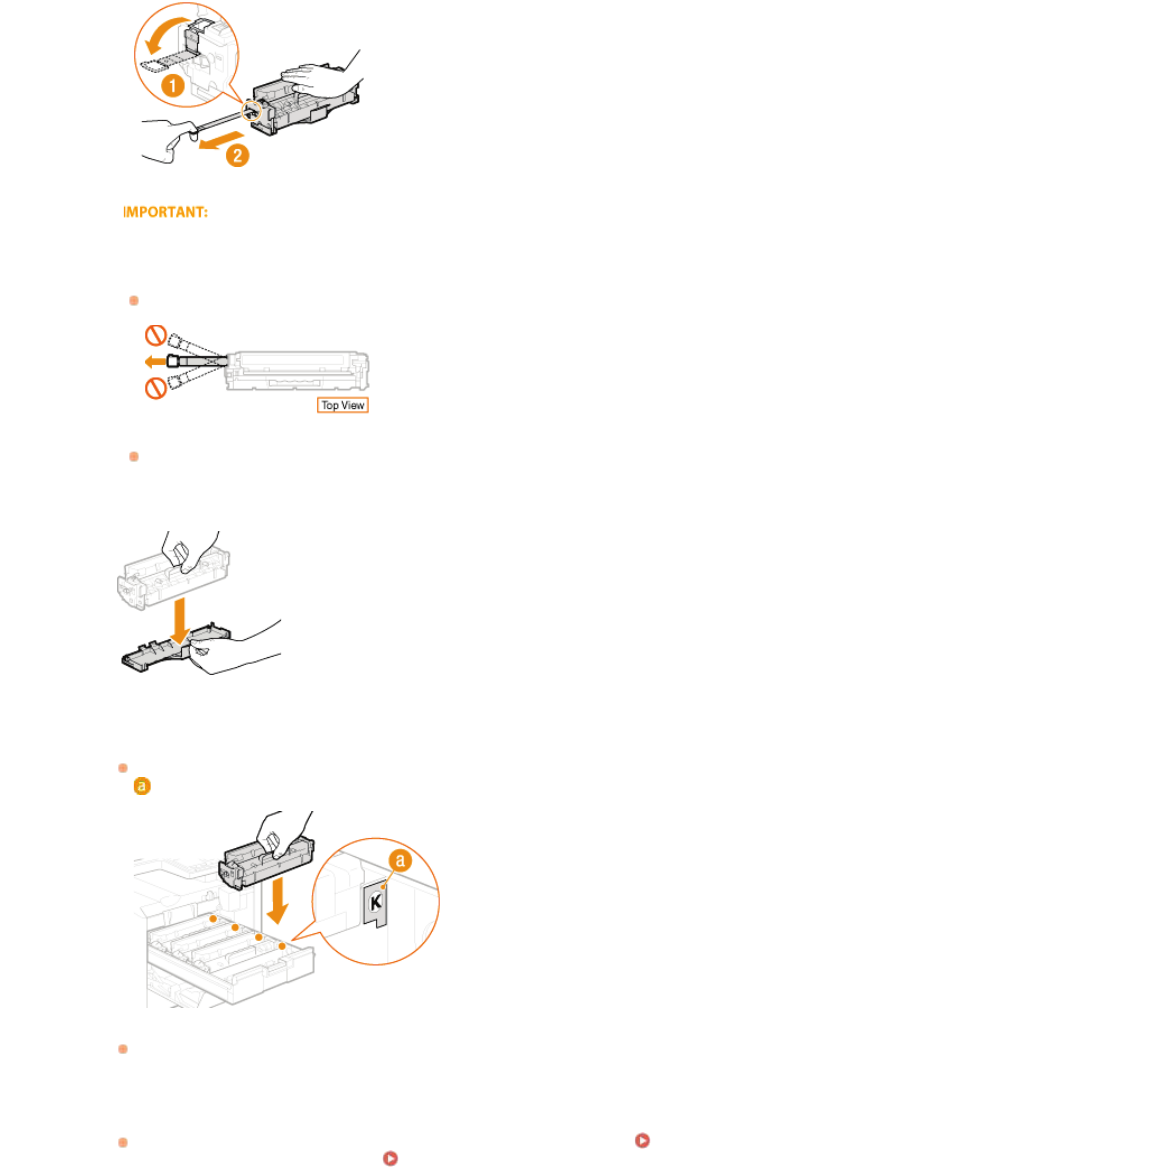
When replacing toner cartridges, see How to Replace Toner Cartridges.
㻣㻜㻣㻌㻛㻌㻣㻟㻡
0SCJ-0H1
Optional Items
The functionality of the machine can be fully utilized by using the optional items described below. Optional items can be purchased from
the retail outlet where you purchased the machine or from your local Canon dealer.
Libble takes abuse of its services very seriously. We're committed to dealing with such abuse according to the laws in your country of residence. When you submit a report, we'll investigate it and take the appropriate action. We'll get back to you only if we require additional details or have more information to share.
Product:
Forumrules
To achieve meaningful questions, we apply the following rules:
First, read the manual;
Check if your question has been asked previously;
Try to ask your question as clearly as possible;
Did you already try to solve the problem? Please mention this;
Is your problem solved by a visitor then let him/her know in this forum;
To give a response to a question or answer, do not use this form but click on the button 'reply to this question';
Your question will be posted here and emailed to our subscribers. Therefore, avoid filling in personal details.
Register
Register getting emails for Canon MF728 at:
new questions and answers
new manuals
You will receive an email to register for one or both of the options.
Get your user manual by e-mail
Enter your email address to receive the manual of Canon MF728 in the language / languages: English as an attachment in your email.
The manual is 12,31 mb in size.
You will receive the manual in your email within minutes. If you have not received an email, then probably have entered the wrong email address or your mailbox is too full. In addition, it may be that your ISP may have a maximum size for emails to receive.
If you have not received an email with the manual within fifteen minutes, it may be that you have a entered a wrong email address or that your ISP has set a maximum size to receive email that is smaller than the size of the manual.
The email address you have provided is not correct.
Please check the email address and correct it.
Your question is posted on this page
Would you like to receive an email when new answers and questions are posted? Please enter your email address.