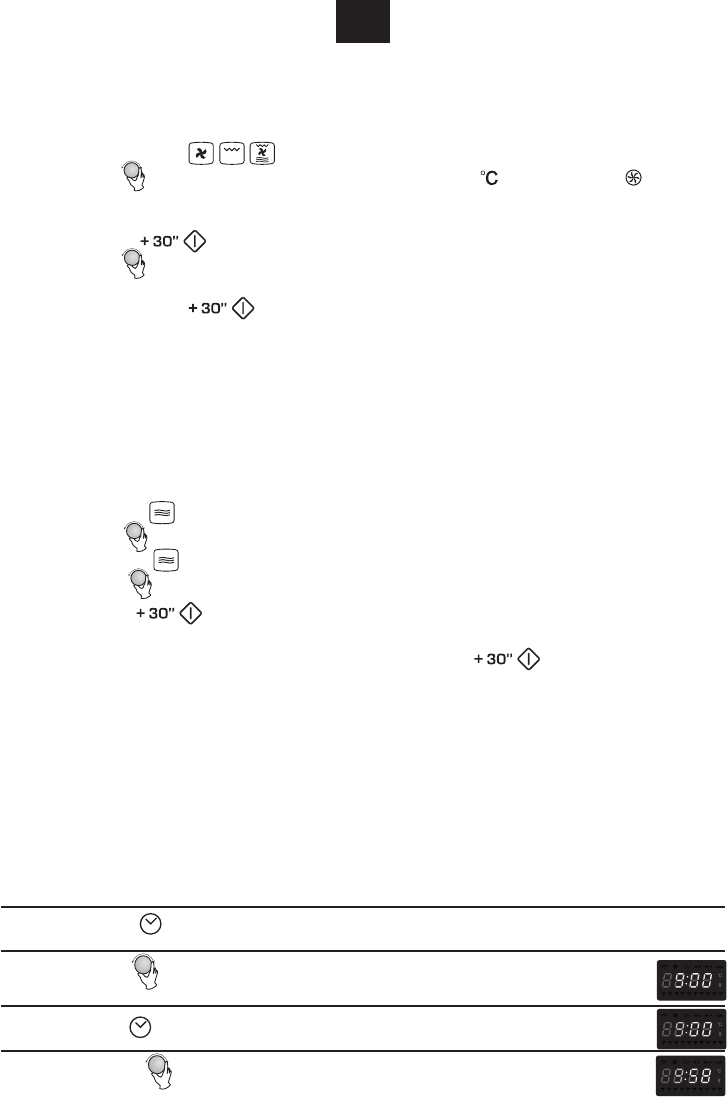
6. Cottura a convezione ( Senza la funzione di pre-riscaldamento)
1) Premere il tasto " " una volta, "140" lampeggerà
2) Ruotare " " per selezionare la funzione convezione. " " lampeggerà." " sarà
acceso.
Per scegliere la temperatura di convezione richiesta continuare con la rotazione
3) Premere " " per confermare.
4) Ruotare " " per regolare il tempo di cottura. (Il tempo massimo di impostazione è
95 minuti.)
5) Premere il tasto " " per iniziare la cottura.
7. Cotture in sequenza
E’ possibile impostare al massimo tre programmi di cottura in sequenza. Se un
programma è lo scongelamento, questo passerà automaticamente al primo posto. Un
segnale acustico verrà emesso dopo ogni programma e quindi avrà inizio il programma
successivo.
Nota: Il menu Auto non può essere impostato come uno dei menu in sequenza.
Esempio: se volete cuocere con una potenza a microonde del 100% per 10 minuti +
potenza a microonde dell’80% per 5 minuti. I passi da seguire sono i seguenti:
1) Premere " " una volta per scegliere una potenza microonde del 100%;
2) Ruotare " " per regolare un tempo di cottura di 10 minuti;
3) Premere " " due volte per scegliere una potenza microonde dell’80%;
4) Ruotare "
" per regolare un tempo di cottura di 5 minuti;
5) Premere " " per iniziare la cottura.
8. Avvio rapido ed estensione del tempo di cottura
Quando il forno è in condizioni di attesa, premere il tasto " "
per iniziare la cottura alla massima potenza microonde per 30 secondi. Il tempo di
cottura aumenterà di 30 secondi ogni volta che verrà premuto questo tasto; il tempo
massimo di cottura è di 95 minuti.
Nota: La funzione non sarà attiva per cotture con altri programmi.
9. Cotture con partenza differita
1) Prima impostare l’orologio. (Consultare le istruzioni relative all’impostazione
dell’orologio.)
2) Impostare il programma di cottura. È possibile impostare al massimo tre programmi.
Lo scongelamento, la cottura Memory e il menu auto non possono essere impostati
con questa funzione.
3) Premere " ". L’orologio viene visualizzato. La cifra relativa alle ore
lampeggia;
4) Ruotare " " per regolare l’ora; la cifra inserita per le ore dovrebbe
5) Premere " ", le cifre dei minuti lampeggeranno.
6) Ruotare " " per regolare i minuti, la cifra inserita per i minuti
dovrebbe essere compresa tra 0-59.
essere compresa tra 0-23 (24 ore) o 1-12 (12 ore).
IT