64
CHANGING THE CATALYTIC WALLS
•
Before commencing disassembly, allow the
appliance to cool down and check that the
cooking selector switch is in the 0 position.
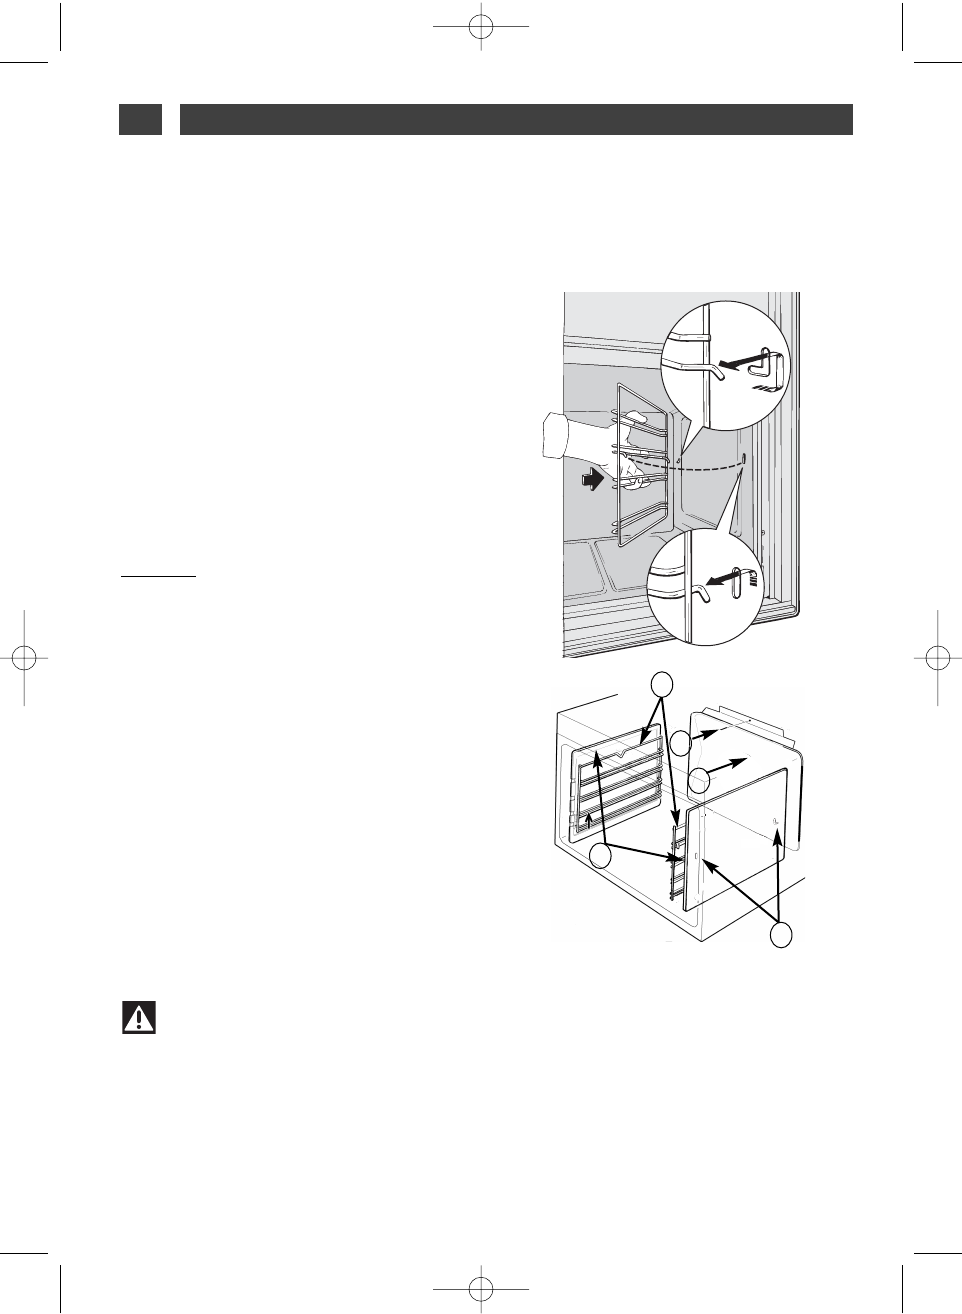
Lateral walls (1)
Unhook the wire shelf support (2) at the front
by lifting it (
diagram
A). Pull the shelf support
structure towards you, lifting it so as to un-
hook the rear attachment (
diagram
B). Re-
move it from the 2 holes (3) in the catalytic
wall and from the oven cavity. Then remove
the catalytic wall (1). Replace the new ele-
ments (wall and/or shelf supports) by per-
forming the operation in reverse.
Bac
k w
all (4)
Before performing this operation, unplug
the oven.
Completely unscrew the screw (5) located
at the top of the back wall. Tilt the wall for-
wards in order to remove it from the oven
cavity. Position the new panel by reversing
these steps.
Plug in the oven again.