12
Before self-cleaning
The cooking compartment must be empty. Remove
accessories, ovenware and shelf rails from the cooking
compartment. Please see the Care and cleaning section for
how to unhook the rails.
Clean the oven door and the along the edges of the cooking
compartment in the area around the seal. Do not clean the seal.
ã=Risk of fire!
Loose food residues, grease and meat juices may catch fire.
Wipe the cooking compartment and the accessories that are to
be cleaned at the same time with a damp cloth.
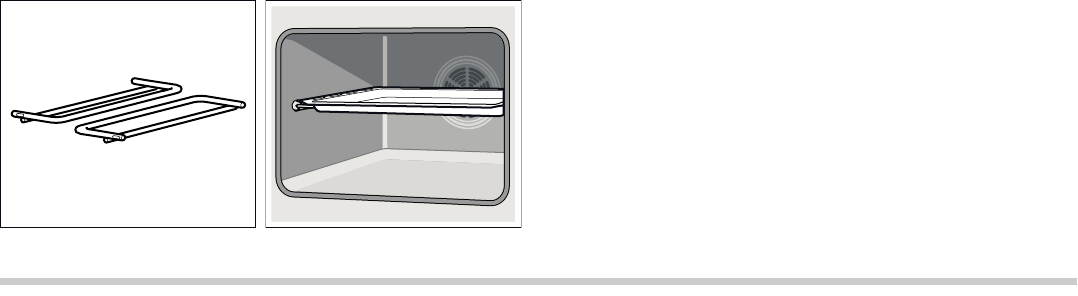
Cleaning accessories at the same time
The rails are not suitable for the self-cleaning programme. Take
them out of the cooking compartment. If you wish to clean
accessories at the same time, you can obtain accessory
holders from the after-sales service. You can use the holders to
clean enamelled accessories without a non-stick coating at the
same time, e.g. the universal pan. Always only clean one
accessory at a time.
Non-enamelled accessories, e.g. the wire rack, are not suitable
for the self-cleaning programme. Remove them from the
cooking compartment.
ã=Risk of serious damage to health.!
Never clean non-stick baking trays and baking tins at the same
time using the self-cleaning programme. High temperatures
damage the non-stick coating and poisonous gases are
released.
You can obtain the accessory holders from the after-sales
service or on the internet using the material number 466546.
The accessory holders are inserted on the left- and right-hand
sides.
Making settings
When you have selected a cleaning level, set the oven.
1. Set the function selector to q Self-cleaning.
2. Use the temperature selector to set the cleaning level.
The display shows the time at which the self-cleaning
programme will end and the p symbol is in brackets. Self-
cleaning starts after a few seconds. You will see the time
counting down and the
r symbol is in brackets. The p symbol
goes out.
The oven door locks shortly after the program starts. The
L
symbol lights up in the display. The oven door cannot be
opened again until the
L symbol goes out.
Self-cleaning has finished
00:00 is shown in the display. The oven stops heating. Turn the
function selector to the off position. The oven switches off. The
oven door cannot be opened again until the
L symbol goes
out in the display.
Changing the cleaning level
Once the programme has started, you can no longer change
the cleaning level.
Cancelling the self-cleaning programme
Turn the function selector to the off position. The oven switches
off. The oven door cannot be opened again until the L symbol
goes out in the display.
Setting a later end time
The end time of the self-cleaning programme can be delayed.
In this way, self-cleaning can run overnight, for example, so that
you can use your oven during the day.
Make settings as described in steps 1 and 2. Before self-
cleaning starts, use the @ or A button to set a later end time.
The oven switches to standby. The display shows the time at
which self-cleaning will end and the p symbol is in brackets.
When self-cleaning starts, you can see the time counting down
in the display and the
r symbol is in brackets. The p symbol
goes out.
After self-cleaning
Once the cooking compartment has cooled down, wipe out the
ash that has been left behind in the cooking compartment with
a damp cloth.
Care and cleaning
With good care and cleaning, your oven will remain clean and
fully-functioning for a long time to come. Here we will explain
how to maintain and clean your oven correctly.
Notes
■ Slight differences in the colours on the front of the oven are
caused by the use of different materials, such as glass,
plastic and metal.
■ Shadows on the door panel which look like streaks, are
caused by reflections made by the oven light.
■ Enamel is baked on at very high temperatures. This can
cause some slight colour variations. This is normal and does
not affect their function. The edges of thin trays cannot be
completely enamelled. As a result, these edges can be
rough. This will not impair the anti-corrosion protection.
Cleaning agents
To ensure that the different surfaces are not damaged by using
the wrong cleaning agent, observe the information in the table.
Do not use
■ sharp or abrasive cleaning agents,
■ cleaning agents with a high concentration of alcohol,
■ hard scouring pads or sponges,
■ high-pressure cleaners or steam cleaners.
Wash new sponge cloths thoroughly before use.